
OMTech RYGEL-UCW0604BU
Contents
OMTech 60W CO2 Laser Engraver User Manual
Model: RYGEL-UCW0604BU
Brand: OMTech
1. Introduction and Overview
The OMTech 60W CO2 Laser Engraver is a versatile machine designed for precision engraving and cutting on a variety of non-metallic materials. This manual provides essential information for safe and effective operation, from initial setup to advanced engraving techniques.

Figure 1: OMTech 60W CO2 Laser Engraver with included Water Chiller and LightBurn software.
This machine is capable of engraving as deep as 0.4 inches (10 mm) on materials such as wood, glass, acrylic, and leather. It features a generous 16"x24" (400x600 mm) work area and convenient two-way pass-through doors for larger items. The high-performance DC tube delivers 60W of power, designed for longevity and consistent performance.
2. Safety Information
Your OMTech laser engraver is a Class 2 laser product with an output power of 0.827 mW. Adherence to safety guidelines is crucial for preventing injury and ensuring proper machine function.
- Eye Protection: Always wear appropriate laser safety glasses when operating the machine.
- Ventilation: Ensure adequate ventilation to remove fumes and smoke produced during engraving and cutting.
- Fire Safety: Keep a fire extinguisher nearby. The widened viewing window is made from flame-retardant material for enhanced safety.
- Interlock System: The machine is equipped with a cover interlock that automatically cuts the laser beam if the lid is opened during operation, preventing accidental exposure.
- Material Compatibility: Only engrave or cut materials specified as safe for CO2 lasers. Avoid materials that produce toxic fumes or are highly flammable.
3. Setup
Proper setup is vital for optimal performance and safety.
- Placement: Position the laser engraver on a stable, level surface in a well-ventilated area.
- Water Chiller Connection: Connect the included water chiller to the laser tube. The water chiller (CW-5200 Industrial Chiller) is essential for maintaining optimal laser performance and extending the lifespan of the laser tube by keeping it cool.
- Software Installation: Install the LightBurn software on your computer. LightBurn is compatible with Windows, Linux, and macOS, enhancing engraving precision and efficiency.
- Work Bed Setup: The machine comes with both a honeycomb bed and an aluminum blade bed, offering versatility for different materials and projects.
- Two-Way Pass-Through: Utilize the two-way pass-through doors to accommodate larger and longer items, expanding your project capabilities.
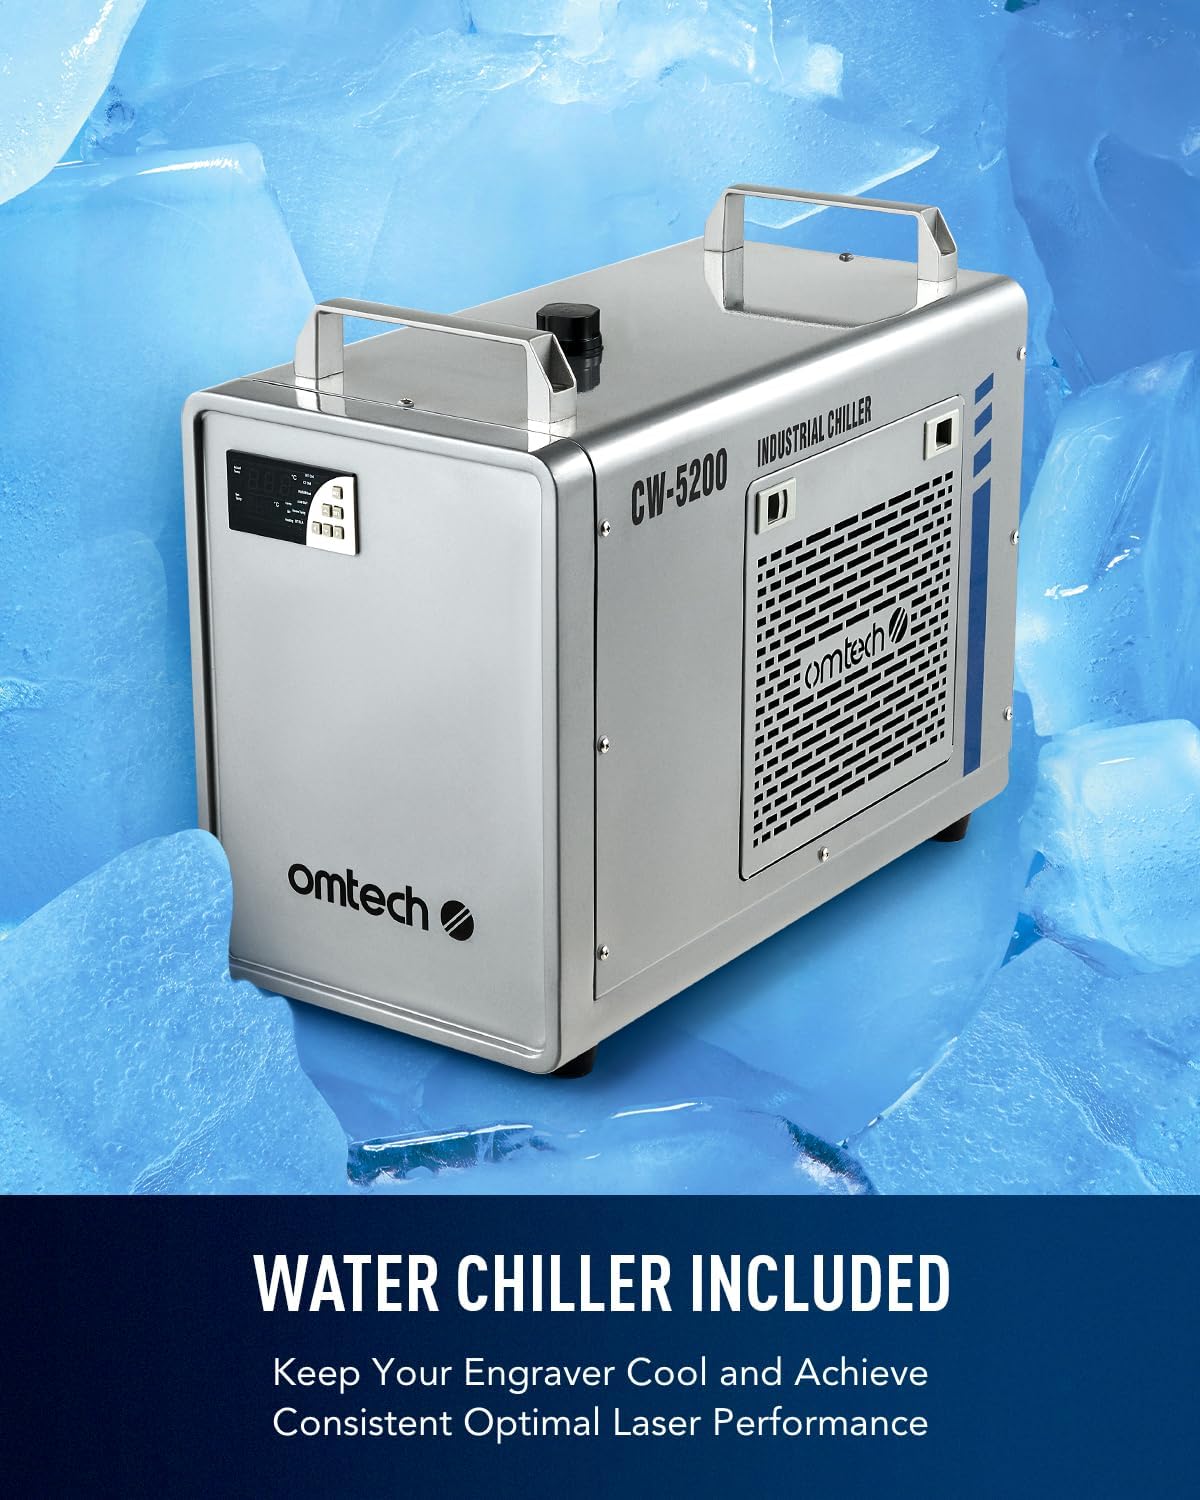
Figure 2: The included water chiller ensures consistent optimal laser performance.

Figure 3: LightBurn software for design and control.
4. Operating Instructions
Operating your OMTech laser engraver involves preparing your design, setting up the material, and initiating the engraving or cutting process.
4.1. Material Preparation
When working with acrylic mirror, ensure the shiny side is facing down on the work bed. Engraving is performed on the backside to achieve the mirrored effect on the front.
4.2. Design and Software Operation
Use LightBurn to create or import your designs. For mirrored engravings, it is crucial to flip your design horizontally in the software. This ensures the final engraved image appears correctly when viewed from the front of the mirrored material.

Figure 4: Design, engrave, and impress with the OMTech 60W CO2 Laser Engraver.
The machine can achieve engraving speeds of up to 600 mm/s, significantly boosting productivity for batch work.

Figure 5: Boost productivity with speeds up to 600 mm/s.
4.3. Practical Demonstration: Acrylic Mirror Engraving
Watch the official product video below for a step-by-step guide on laser engraving and cutting acrylic mirror. This video demonstrates material loading, software settings, and post-engraving cleaning for optimal results.
Video 1: Laser Engraving and Cutting on Acrylic Mirror - DIY Project by OMTech Direct. This video demonstrates the process of engraving and cutting acrylic mirror, including material setup, software adjustments for reverse engraving, and post-processing steps to achieve a clean, mirrored finish.
Key steps from the video:
- Load acrylic mirror with the non-shiny (back) side facing up for engraving.
- In LightBurn, import your design and use the "Mirror Horizontally" function to flip the image. This ensures the design appears correctly on the mirrored side after engraving.
- Set engraving parameters: For the example keychain, settings were 150 mm/s speed at 20% power for engraving, and 12 mm/s speed at 40% power for cutting (on a 55W machine).
- After engraving, a white residue may be present on the engraved area.
5. Maintenance
Regular maintenance ensures the longevity and performance of your laser engraver.
5.1. Post-Engraving Cleaning
After engraving acrylic mirror, a white powdery residue will be present on the engraved surface. This is normal and can be easily removed.
- Washing: Rinse the engraved piece under running water.
- Brushing: Use a dedicated soft-bristle brush (like a toothbrush) to gently scrub away the white residue. This will clean the engraved areas and make them more translucent.
- Drying: Dry the piece thoroughly.
- Protective Film Removal: Carefully peel off any remaining protective film from the acrylic mirror surface to reveal the clean, reflective finish.
5.2. Enhancing Engraving Contrast (Optional)
For a darker, more crisp contrast on engraved acrylic mirror, you can apply black spray paint to the engraved areas. This fills the engraved lines, making them stand out against the mirrored surface.
- Application: Lightly spray black paint over the engraved side, ensuring the paint fills the etched lines.
- Drying: Allow the paint to dry completely before handling.
6. Troubleshooting
No specific troubleshooting information is available in the provided data. Please refer to the comprehensive user manual included with your product or contact OMTech customer support for assistance with any operational issues.
7. Specifications
| Feature | Detail |
|---|---|
| Product Dimensions | 44.9 x 30.7 x 25.4 inches |
| Item Model Number | RYGEL-UCW0604BU |
| Item Weight | 187 pounds |
| Manufacturer | OMTech |
| Max. Engraving Speed | 600 mm/s |
| Data Transmission | USB Cable, Ethernet Cable, USB Flash Drive, Offline |
| Front/Back Pass Size | 28.3 x 1.9 inches |
| Processing Area | 16 x 24 inches |
| Machine Dimensions | 44.9 x 30.7 x 25.4 inches |
| Machine Weight | 187 lb. |
8. Warranty and Support
For warranty information, technical support, or any inquiries regarding your OMTech 60W CO2 Laser Engraver, please contact OMTech Direct. Their contact details can typically be found in the product packaging or on their official website.
This product is from a small business brand. Your support is appreciated.
Ask a question about this manual
Ask about setup, troubleshooting, compatibility, parts, safety, or missing instructions. Manuals+ will review the question and use this page’s manual context to help answer it.