1. Introduction
This manual provides essential information for the installation and use of your new sparefixd control unit, designed as a replacement part for various Bauknecht washing machine models. The control unit is a critical component responsible for managing the washing machine's functions, including wash cycles, water levels, and motor operations. Proper installation is crucial for the safe and effective operation of your appliance.
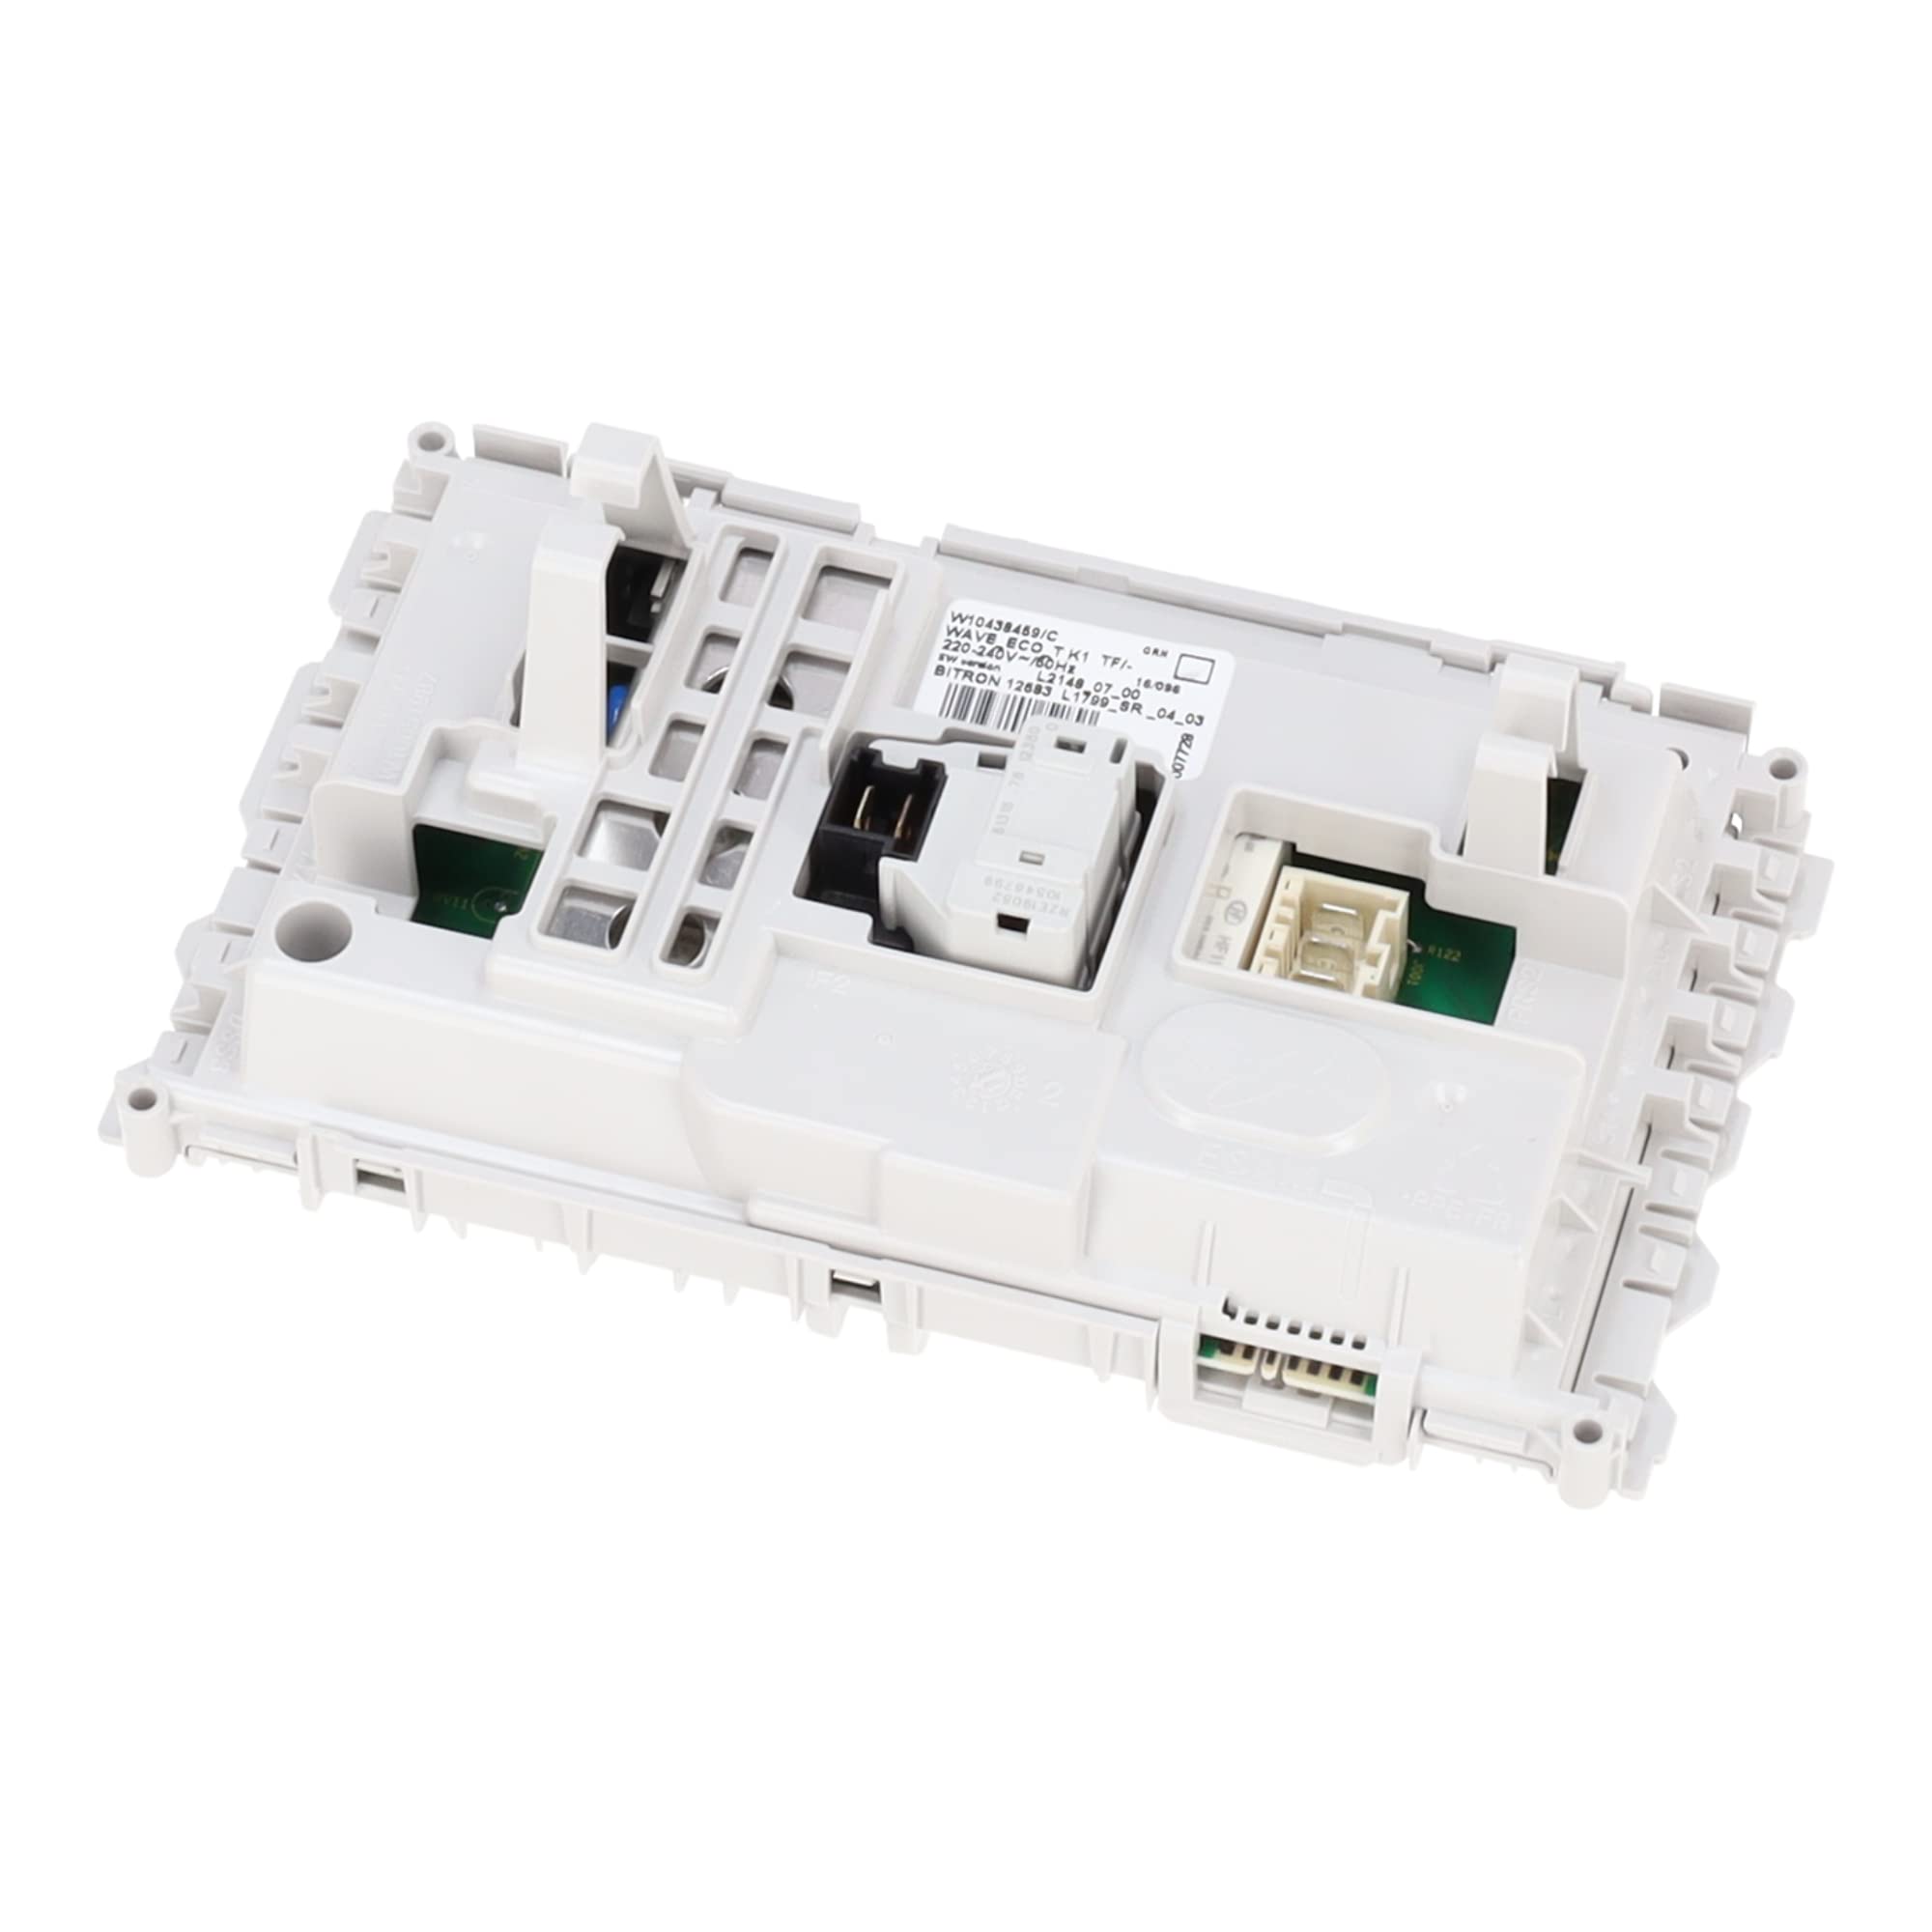
Figure 1: Overview of the sparefixd Control Unit.
2. Safety Information
WARNING: Before attempting any installation or repair, always disconnect the washing machine from the main power supply by unplugging it or switching off the circuit breaker. Failure to do so can result in electric shock, serious injury, or death.
- Ensure you have the correct tools and a clear workspace.
- If you are unsure about any step, consult a qualified appliance technician.
- Wear appropriate personal protective equipment, such as gloves, if necessary.
- Keep children and pets away from the work area.
This control unit contains electronic components. Handle with care to avoid damage from static electricity or physical impact.
3. Compatibility
This sparefixd control unit is equivalent to Bauknecht Part Number 481010438414 and is compatible with a wide range of Bauknecht washing machine models. To ensure compatibility, verify your washing machine's model number against the list below. The model number is typically found inside the door, below or above the door seal, or on a sticker at the rear or side of the machine.
Compatible Bauknecht Washing Machine Models:
- WAPLUS624BW
- WAPLUS624SD
- WAPLUS624TDi
- WAPLUS626BW
- WAPLUS64TDI
- WAPLUS66TDI
- WAPLUS724BW
- WAPLUS734DI
- WASENSE44DI
- WASENSEXL34SD
- WASENSITIVE24DI
- WASENSITIVE24SD
- WASensitive32Di
- WASensitive34Di
- WASensitive34SD
- WASensitive36Di
- WASO4Di
- WASTAR50EX
- WASTAR552EX
- WASTAR55EX
- WAStar56EX
- WASTAR66EX
- WASTAR67EX
- WASuper12
- WASuper14
- WAT4564W
- WAT4568W
- WAT4588W
- WAT6316WA
- WAT6516W
- WAT6518W
- WAT710
- WAT720
- WAT7355
- WAT7359
- WATCARE12
- WATCare20
- WATCare22
- WATCARE30SD
- WATCARE32SD
- WATCARE40SD
- WATCARE42SD
- WATE9590/1
- WATE9600
- WATEco10Di
- WATECO2255
- wateco9560
- WATECO9595
- WATECO9600
- WATEXCELLENCE2255
- WATPL960DI
- WATPL962DI
- WATPLATINUM12DI
- WATPLATINUM22DI
- WATPlatinum32DI
- WATPLUS510DI
- WATPLUS511DI
- WATPLUS512DI
- WATPLUS520DI
- WATPLUS522DI
- WATPLUS622DI
- WATPRESTIGE2255
- WATPrimeline90Di
- WATPrimeline92Di
- WATSENSITIVE22DI
- WATSensitive30Di
- WATSensitive31Di
- WATSensitive32Di
- WATUNIQ622Di
- WMTEcostar6Di
- ECO6610AAA
- EK14DI
- Extra9066
- HDW7001
- KOBLENZ1470
- SUPERECO6410
- SuperEco6411
- SuperEco67/1
- WA5341
- WA5345
- WA54DI
- WA5555
- WA5560
- WA5565
- WA6520
- WA6520/1
- WA74SD
- WACARE24DI
- WACare24SD
- WACare32Di
- WACare34Di
- WACare34SD
- WACARE542DI
- WACARE544DI
- WACARE544DI/1
- WACARE544SD
- WACARE644DI
- WACARE644SD
- WACARE654DI
- WACare654SD
- WAE/D5410
- WAE/D5419
- WAE6100
- WAE6120
- WAEco130DI
- WAGH61
- WAGH62
- WAHappy60DI
- WAHAPPY60SD
- WAI2641
- WAI2642
- WAI26422
- WAI26428
- WAK12
- WAK14
- WAK24
- WAK3462
- WAK3471
- WAK3472
- WAK3901
- WAK4312
- WAK4350W
- WAK4500
- WAK4555
- WAK4555W
- WAK4612
- WAK4660W
- WAK4760W
- WAK4860
- WAK5200-1
- WAK5400-1
- WAK6000
- WAK6009BK
- WAK6016
- WAK61
- WAK6100
- WAK6114
- WAK6145
- WAK62
- WAK6312
- WAK6541
- WAK6640
- WAK6662
- WAK6690
- WAK6691
- WAK6755B
- WAK7114
- WAK7302
- WAK7304
- WAK7470
- WAK7570PLUS
- WAK7670
- WAK7770
- WAK90YEARS
- WAP6460-1
- WAP6460-2
- WAP6660-1
- WAP6660-2
- WAPLUS612DI
- WAPLUS614DIBK
- WAPLUS614SD
- WAPLUS616DIBK
- WAPLUS622BW
4. Setup and Installation
Disclaimer: Replacing a washing machine control unit involves working with electrical components and can be complex. If you are not confident in your ability to perform this repair safely and correctly, it is strongly recommended to seek assistance from a qualified appliance repair technician.
Required Tools:
- Screwdrivers (Phillips and flathead)
- Pliers
- Multimeter (optional, for testing connections)
- Camera (for documenting wiring)
Installation Steps:
- Disconnect Power: Unplug the washing machine from the wall outlet. If the outlet is inaccessible, switch off the corresponding circuit breaker at your home's electrical panel.
- Access the Control Unit: Depending on your Bauknecht model, the control unit is typically located behind the control panel or at the top of the machine. You may need to remove the top panel or the entire control panel assembly. Refer to your washing machine's specific service manual for exact access instructions.
- Document Wiring: Before disconnecting any wires, take clear photos of all connections to the old control unit. This will serve as a reference for reconnecting the new unit. Note the color and position of each wire.
- Disconnect Wires: Carefully disconnect all wiring harnesses and individual wires from the old control unit. Some connectors may have locking tabs that need to be pressed or lifted.
- Remove Old Control Unit: Unfasten any screws, clips, or latches holding the old control unit in place. Gently remove it from its housing.
- Install New Control Unit: Position the new sparefixd control unit into the housing, ensuring it fits securely. Fasten it with the screws, clips, or latches removed earlier.
- Reconnect Wiring: Using your photos as a guide, carefully reconnect all wiring harnesses and individual wires to the corresponding terminals on the new control unit. Ensure all connections are firm and secure.

Figure 2: Top view of the control unit showing connection points.

Figure 3: Detailed view of connectors on the control unit.
- Reassemble: Reattach any panels or covers that were removed to access the control unit.
- Test Operation: Plug the washing machine back into the power outlet or switch on the circuit breaker. Run a short test cycle (e.g., rinse and spin) to ensure all functions are working correctly. Listen for unusual noises and check for any error codes.
5. Operating the Washing Machine
Once the control unit is successfully installed, your Bauknecht washing machine should operate according to its original specifications. Refer to your washing machine's user manual for detailed instructions on selecting wash programs, adjusting settings, and general operation. The control unit facilitates these operations but does not change the user interface or program options of the appliance.
6. Maintenance
The control unit itself requires no specific user maintenance. However, regular maintenance of your washing machine can help prolong the life of all its components, including the control unit.
- Keep the Control Panel Clean: Wipe the exterior of the control panel with a soft, damp cloth. Avoid abrasive cleaners or excessive moisture.
- Check for Leaks: Periodically inspect hoses and connections for any signs of leaks, which could potentially damage electronic components.
- Avoid Overloading: Do not overload the washing machine, as this can strain the motor and other components, potentially affecting the control unit's performance over time.
- Regular Cleaning Cycles: Run a washing machine cleaning cycle (if available) or a hot wash with a washing machine cleaner to prevent buildup that could affect sensors or other parts connected to the control unit.
7. Troubleshooting
If your washing machine exhibits issues after replacing the control unit, consider the following troubleshooting steps:
| Problem | Possible Cause | Solution |
|---|---|---|
| Washing machine does not power on. | Loose power connection, faulty outlet, or incorrect wiring to the control unit. | Check power cord, test outlet, re-verify all wiring connections to the control unit. |
| Machine starts but displays an error code. | Incorrect wiring, sensor issue, or component not properly connected. | Consult your washing machine's user manual for the specific error code. Recheck all connections to the control unit. |
| Specific functions (e.g., spin, fill) are not working. | Wiring to the specific component is loose or incorrect. | Inspect the wiring related to the non-functioning component, ensuring it is securely connected to the control unit. |
| Machine behaves erratically. | Loose connections, static discharge during installation, or a damaged unit. | Power cycle the machine. Recheck all connections. If issues persist, contact support. |
If troubleshooting steps do not resolve the issue, it is advisable to contact a qualified technician.
8. Specifications
- Product Name: Control Unit to Fit Bauknecht Washing Machine
- Brand: sparefixd
- Equivalent Part Number: 481010438414
- ASIN: B0C6MMN2NT
- Manufacturer: sparefixd
- Date First Available: May 30, 2023

Figure 4: Underside of the control unit.

Figure 5: Bottom view of the control unit.
9. Warranty and Support
For warranty information regarding this sparefixd control unit, please refer to the terms and conditions provided at the time of purchase or contact the seller directly. Keep your proof of purchase for any warranty claims.
If you require technical assistance or have questions not covered in this manual, please contact sparefixd customer support through the retailer where the product was purchased. When contacting support, please have your product's ASIN (B0C6MMN2NT) and your washing machine's model number readily available.
