1. Product Overview
The Canon PIXMA G3430 is a versatile 3-in-1 MegaTank printer designed for high-volume printing with refillable ink tanks. It offers printing, scanning, and copying functionalities, along with wireless connectivity for convenient use. This manual provides essential information for setting up, operating, and maintaining your printer.

Image 1.1: Canon PIXMA G3430 printer with included accessories, including ink bottles and power cable.
Key Features:
- Fast Printing: Achieves fast print speeds for increased productivity.
- High Quality Printing: Delivers sharp, clear print resolution for high-quality photos and documents.
- 3-in-1 Functionality: Combines print, scan, and copy capabilities in a single device.
- Refillable MegaTank System: Features large, refillable ink tanks for cost-effective and high-volume printing.
- Wireless Connectivity: Supports Wi-Fi for easy printing from various devices.
2. Setup Guide
2.1 Unboxing and Initial Preparation
- Carefully remove the printer and all packing materials from the box.
- Remove all protective tapes and films from the printer.
- Place the printer on a stable, flat surface.
2.2 Power Connection
- Connect the power cord to the printer's power input.
- Plug the other end of the power cord into a wall outlet.
- Press the power button to turn on the printer.
2.3 Ink Installation and Filling
The PIXMA G3430 uses a refillable ink tank system. Follow these steps to fill the ink tanks:
- Open the ink tank covers located on the front of the printer.
- Open the caps of the individual ink tanks (Black, Cyan, Magenta, Yellow).
- Uncap the corresponding ink bottles.
- Carefully invert each ink bottle and insert its nozzle into the correct ink tank. The ink will flow automatically.
- Once the tank is full, remove the bottle and securely close the ink tank cap and cover.

Image 2.1: Close-up view of the refillable ink bottles and the printer's ink tank system.
2.4 Paper Loading
- Open the paper support and pull out the paper output tray.
- Adjust the paper guides to the width of your paper.
- Load paper into the rear tray with the print side facing up.

Image 2.2: The printer with its paper support and output tray extended, ready for paper loading.
2.5 Software Installation and Connectivity
To utilize all printer functions, install the necessary drivers and software.
- Insert the Installation CD-ROM into your computer's drive, or download the latest drivers from the official Canon website.
- Follow the on-screen instructions to complete the installation.
- For wireless setup, select 'Wireless LAN Connection' during installation and follow the prompts to connect to your Wi-Fi network.
- Alternatively, connect the printer directly to your computer using a USB cable (not included).
3. Operating the Printer
3.1 Control Panel Overview

Image 3.1: Front view of the printer's control panel with various buttons and indicators.
The control panel features buttons for power, Wi-Fi, paper selection, and operation controls (OK, Black, Color, Stop).
3.2 Printing Documents and Photos
- Ensure paper is loaded in the rear tray.
- From your computer or mobile device, open the document or photo you wish to print.
- Select 'Print' from the application's menu.
- Choose the Canon PIXMA G3430 as your printer.
- Adjust print settings (e.g., paper size, print quality, color/black & white) as needed.
- Click 'Print'.

Image 3.2: The printer supports mobile printing from smartphones and tablets.
3.3 Scanning Documents
- Lift the document cover.
- Place the document face-down on the scanner glass, aligning it with the alignment mark.
- Close the document cover.
- On your computer, open the Canon scanning software (e.g., IJ Scan Utility).
- Select the desired scan type (e.g., Photo, Document) and settings.
- Click 'Scan'. The scanned image will be saved to your computer.
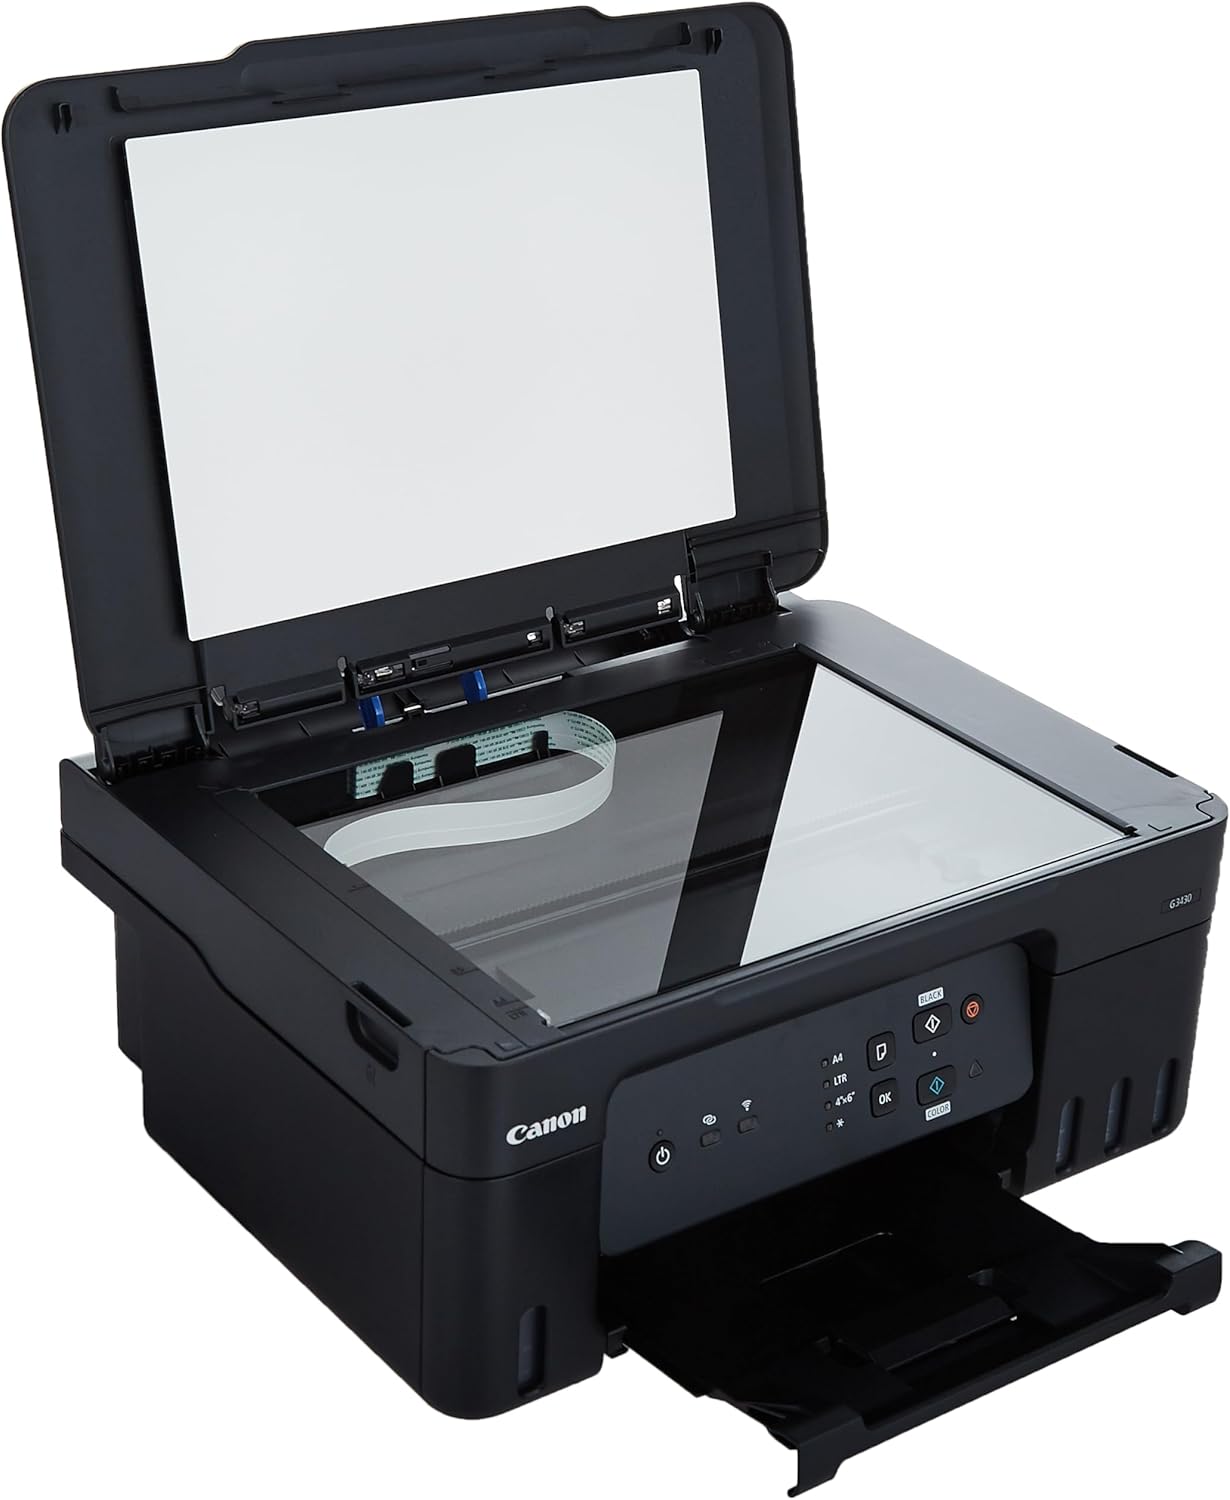
Image 3.3: The printer with its scanner lid open, revealing the scanner glass.
3.4 Copying Documents
- Place the document face-down on the scanner glass.
- Ensure paper is loaded in the rear tray.
- On the printer's control panel, press the 'Black' button for a black & white copy or the 'Color' button for a color copy.
- To make multiple copies, press the respective button repeatedly for the desired number of copies.
4. Maintenance
4.1 Checking Ink Levels
Visually inspect the ink tanks on the front of the printer to monitor ink levels. Refill tanks before they run completely empty to prevent air from entering the ink tubes.
4.2 Refilling Ink Tanks
When an ink tank is low, follow the steps in Section 2.3 to refill it using genuine Canon ink bottles.
4.3 Print Head Cleaning
If print quality declines (e.g., streaks, missing colors), perform a print head cleaning:
- From your computer, open the printer driver settings.
- Navigate to the 'Maintenance' or 'Utilities' tab.
- Select 'Print Head Cleaning' or 'Nozzle Check'.
- Follow the on-screen instructions. A deep cleaning option is available for more stubborn clogs.
4.4 Print Head Alignment
If printed text or lines appear misaligned, perform a print head alignment:
- From your computer, open the printer driver settings.
- Navigate to the 'Maintenance' or 'Utilities' tab.
- Select 'Print Head Alignment'.
- Follow the on-screen instructions, which typically involve printing a test pattern and selecting the best alignment.
5. Troubleshooting
| Problem | Possible Cause | Solution |
|---|---|---|
| Printer not turning on | Power cord disconnected; power outlet issue | Ensure power cord is securely connected to printer and a working outlet. |
| Printer not printing | No paper; low ink; incorrect drivers; connectivity issue | Load paper; refill ink; reinstall drivers; check Wi-Fi/USB connection. |
| Poor print quality (streaks, faded colors) | Clogged print head; low ink; incorrect paper type | Perform print head cleaning; refill ink; use recommended paper. |
| Wi-Fi connection issues | Incorrect network password; printer too far from router; router issue | Re-enter password; move printer closer to router; restart router. |
| Paper jams | Improperly loaded paper; damaged paper; foreign object | Remove jammed paper carefully; ensure paper is loaded correctly; check for obstructions. |
6. Specifications

Image 6.1: Approximate dimensions of the Canon PIXMA G3430 printer.
| Feature | Detail |
|---|---|
| Model Name | G3430 |
| Product Dimensions | 33.7D x 41.6W x 17.7H centimeters |
| Item Weight | 6 Kilograms |
| Connectivity Technology | Wi-Fi, USB 2.0 |
| Printing Technology | Inkjet |
| Maximum Color Print Resolution | 4800 x 1200 dpi |
| Maximum Black and White Print Resolution | 4800 x 1200 dpi |
| Max Print Speed (Color) | 11 ppm |
| Max Print Speed (Monochrome) | 11 ppm |
| Scanner Type | Flatbed |
| Max Input Sheet Capacity | 100 sheets |
| Dual-sided Printing | Yes |
| Included Components | Instruction Manual, Installation CD-ROM, Label Paper |
7. Warranty and Support
7.1 Warranty Information
Your Canon PIXMA G3430 printer comes with a standard manufacturer's warranty. Please refer to the warranty card included in your product packaging for specific terms, conditions, and duration. Keep your proof of purchase for warranty claims.
7.2 Customer Support
For technical assistance, troubleshooting beyond this manual, or warranty service, please contact Canon customer support. You can find contact information on the official Canon website or in the documentation provided with your printer.
Online Resources:
- Visit the official Canon support website for drivers, software, FAQs, and additional manuals.
- Explore the Canon Store on Amazon for product information and accessories.