
1. Introduction
This manual provides detailed instructions for the installation, setup, operation, and maintenance of your Weiser Powerbolt 3 Keyless Entry Door Lock. The Powerbolt 3 offers convenient keyless access and enhanced security features for residential use.
Key Features:
- Keypad Entry: Secure and simple access without physical keys.
- SmartKey Technology: Re-key the lock yourself in seconds for convenience and security.
- One-Touch Motorized Locking: Effortless locking with an optional Auto-Lock function.
- User Code Management: Program up to 25 unique user codes and 5 one-time codes.
- BHMA/ANSI Grade 3 Certified: Ensures durability and security.
2. What's in the Box
Verify that all components are present before beginning installation:
- Exterior Deadbolt Assembly
- Interior Deadbolt Assembly
- Adjustable Latch
- Strike Plate
- Mounting Plate
- Installation Hardware (Screws)
- 2 Weiser Keys
- SmartKey Tool
- Drive-in Collar
- Manual

Image: All components included in the Weiser Powerbolt 3 package.
3. Installation
Installation typically requires only a screwdriver. For detailed, interactive 3D video and voice guidance, refer to the BILT App.
3.1 Door Preparation
- Cross Bore Hole: Ensure your door has a 1-1/2" or 2-1/8" diameter cross bore hole.
- Door Thickness: The lock is designed for standard door thicknesses ranging from 1-3/8" to 1-3/4".
3.2 Component Dimensions
Familiarize yourself with the lock's dimensions to ensure proper fit and alignment.

Image: Dimensions of the Weiser Powerbolt 3 lock components.
3.3 Installation Steps (General Overview)
- Install the latch into the door edge.
- Install the exterior keypad assembly.
- Install the interior mounting plate.
- Connect the cable and install the interior assembly.
- Perform the door handing process (automatic or manual, refer to full manual).
4. Setup and Programming
4.1 User Code Management
The Powerbolt 3 allows for easy management of access codes.
- User Codes: Program up to 25 unique user codes for regular access.
- One-Time Codes: Create up to 5 temporary codes that expire after a single use.
- Refer to the full manual for specific programming steps to add, delete, or modify codes.

Image: Easy code management for multiple users.
4.2 Auto-Lock Feature
The Auto-Lock feature automatically locks your door after a set period, providing peace of mind.
- Customizable Timings: Set the auto-lock delay to 30 seconds, 1 minute, 3 minutes, 5 minutes, or 10 minutes.
- Consult the full manual for instructions on how to enable and adjust this feature.
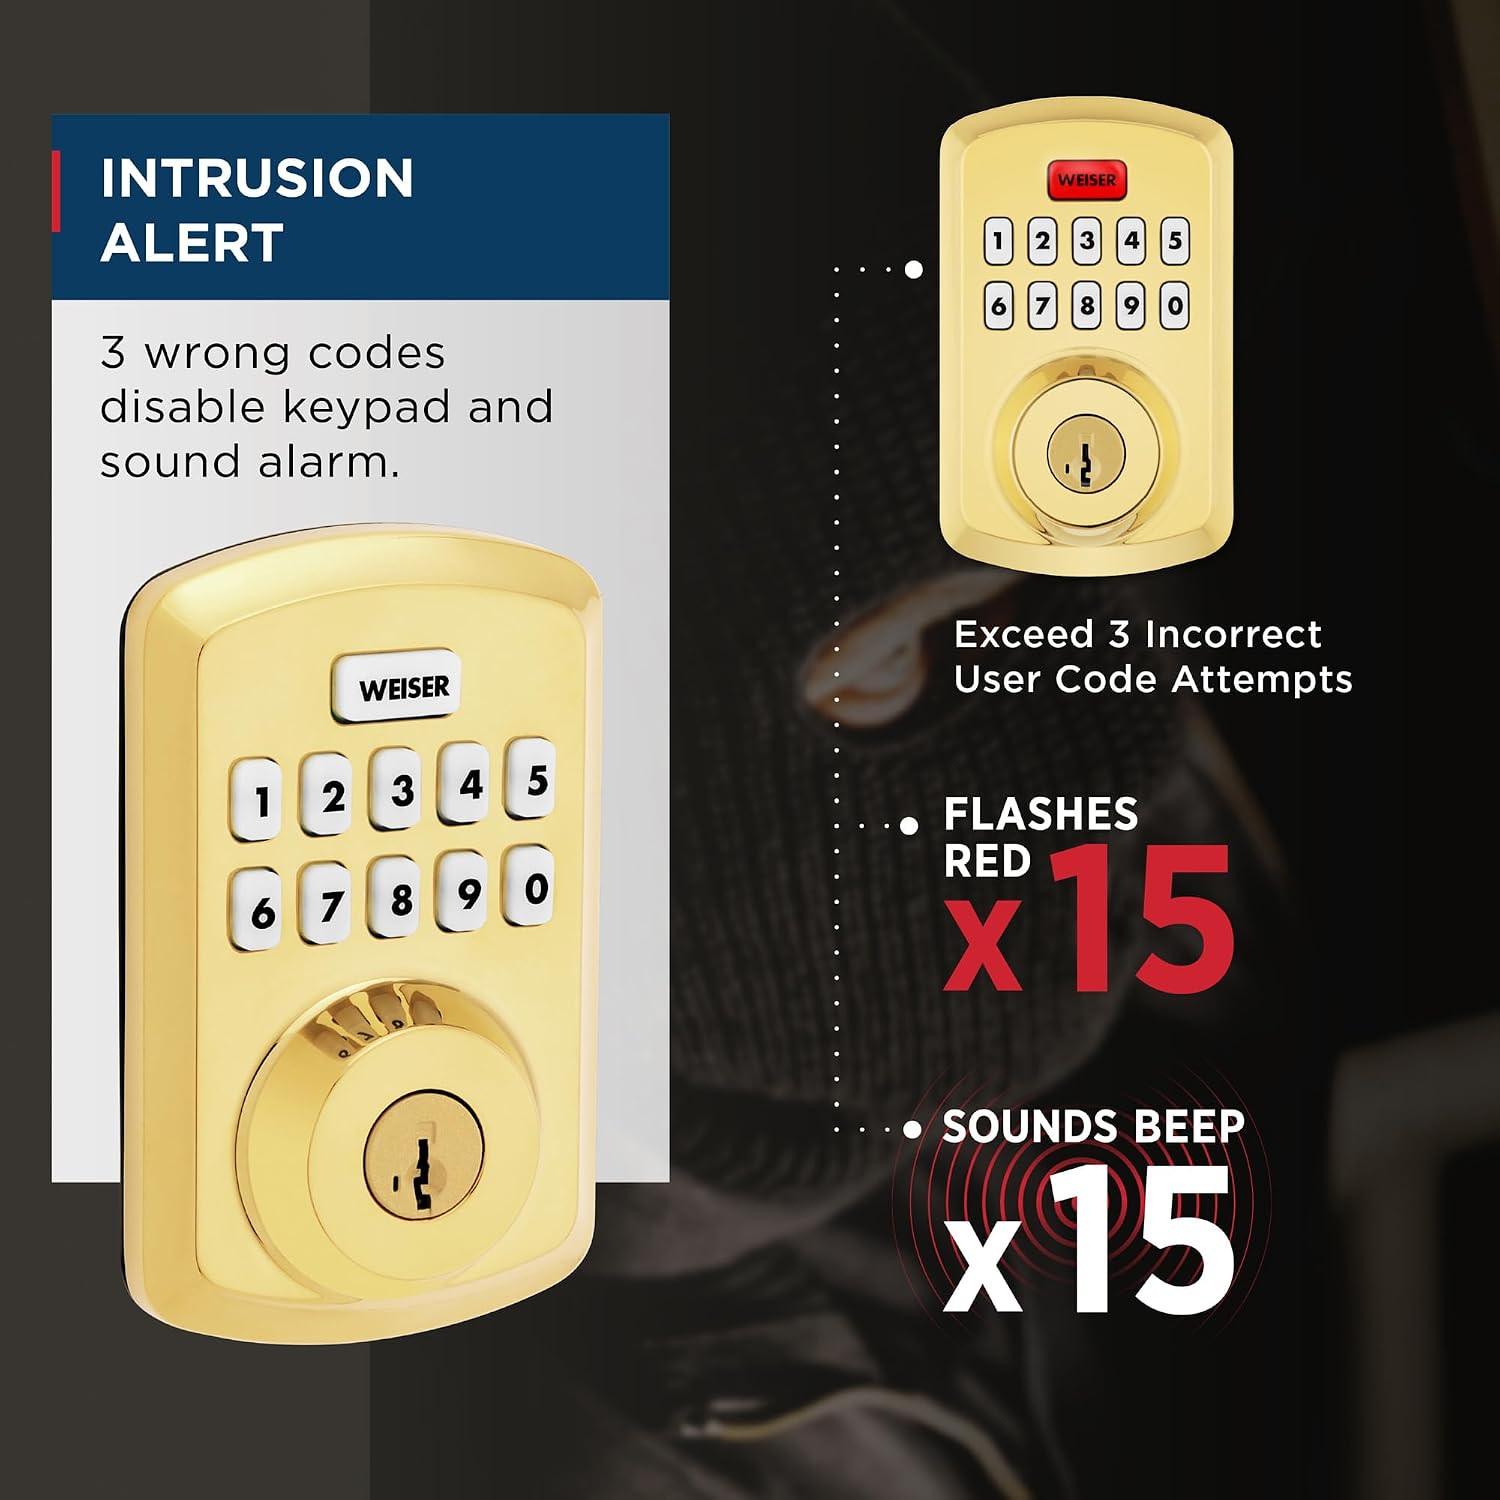
Image: Auto-Lock feature with customizable delay settings.
4.3 SmartKey Re-Keying
Weiser's SmartKey Security allows you to re-key your lock to a new key in seconds, enhancing security and convenience.
- Insert the Current Key and rotate it 90 degrees clockwise.
- Insert the SmartKey Tool into the SmartKey hole. Remove the SmartKey Tool and the current key.
- Insert the New Key and rotate it 180 degrees counter-clockwise, back to the starting position, and remove it.

Image: SmartKey Security re-keying instructions.
5. Operating Instructions
5.1 Keyless Entry
To unlock the door using a code:
- Enter your valid user code on the keypad.
- The deadbolt will retract, allowing you to open the door.
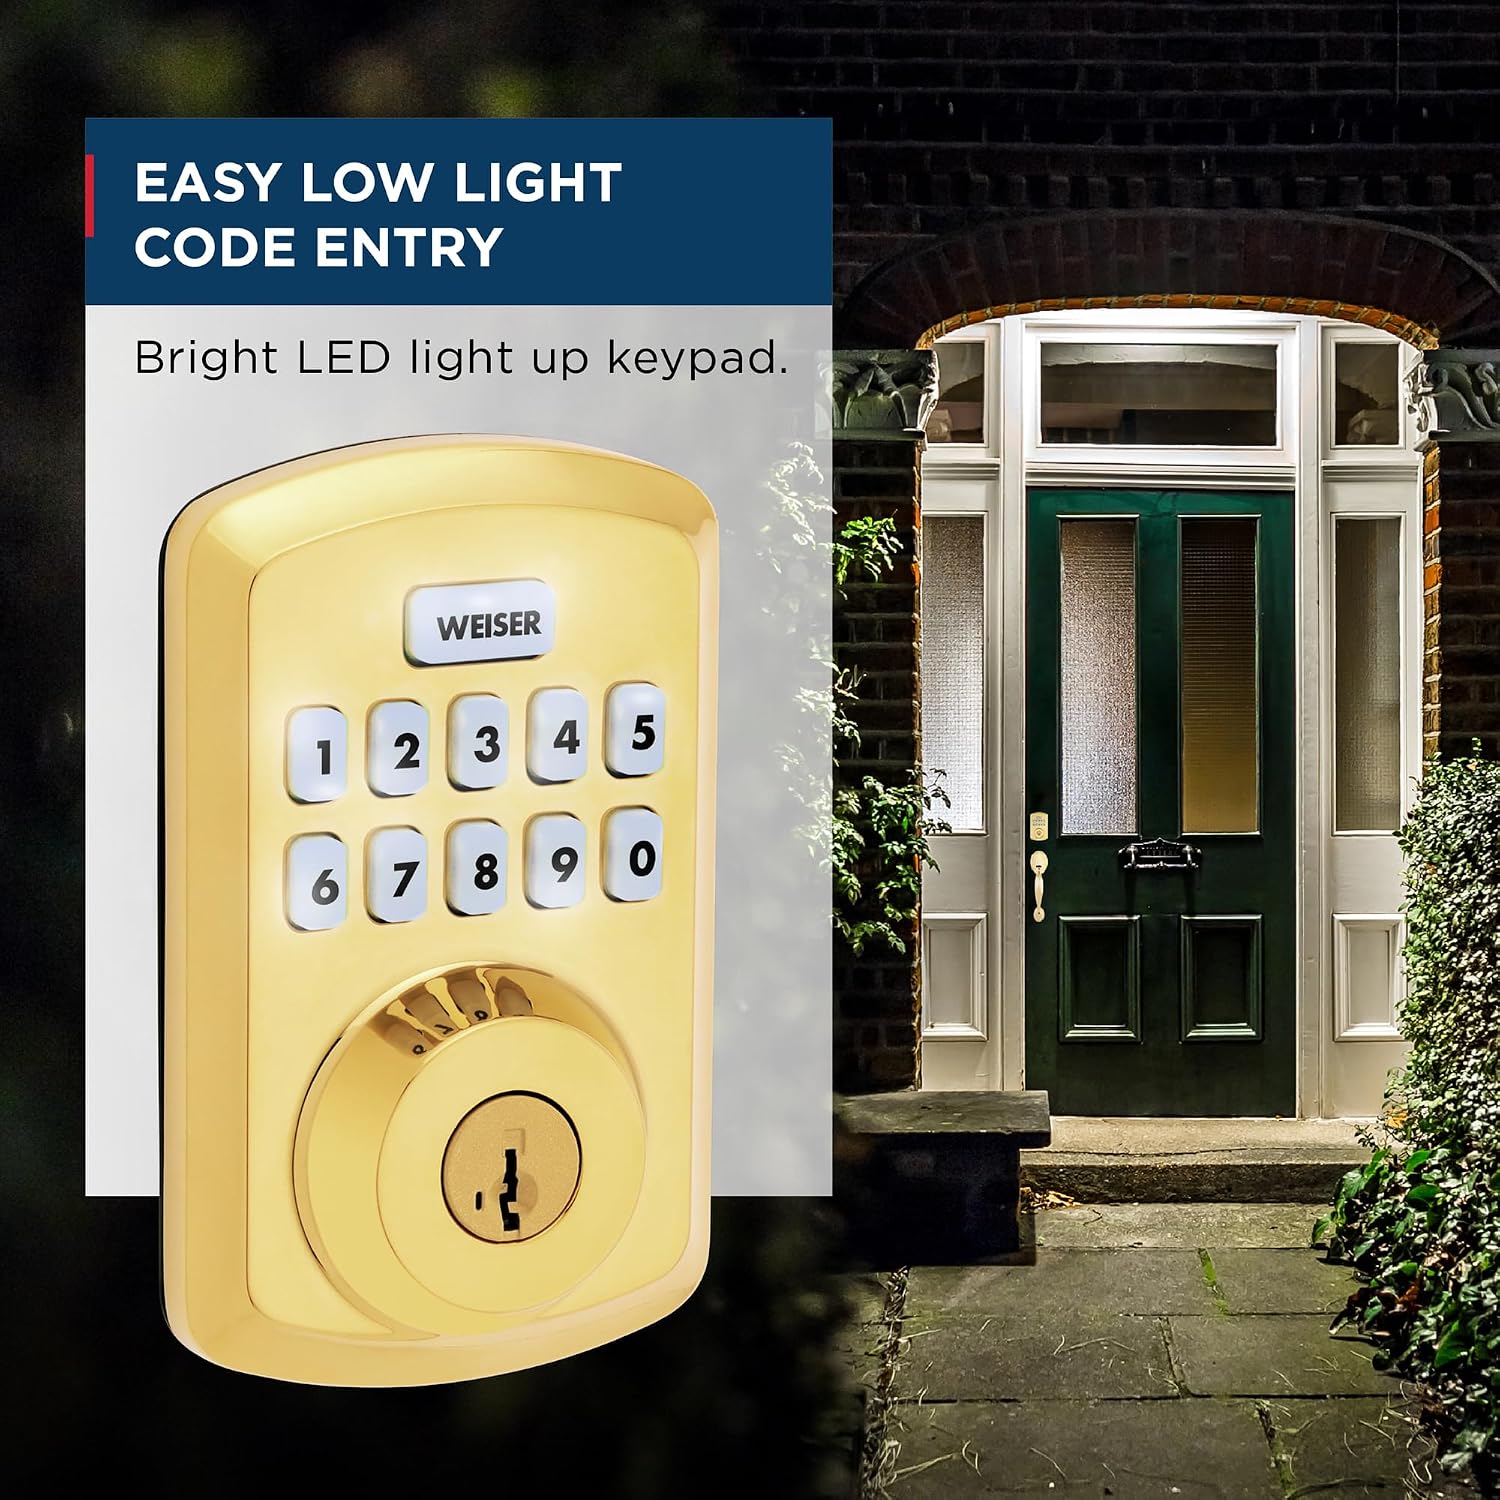
Image: Keyless entry in use.
5.2 Motorized Locking
To lock the door:
- Press the Lock button on the keypad. The deadbolt will extend.
- If Auto-Lock is enabled, the door will lock automatically after the set delay.
5.3 Low Light Code Entry
The keypad features bright LED lights for visibility in low-light conditions.
- Simply tap the keypad to illuminate the numbers before entering your code.

Image: Keypad illumination for low-light conditions.
5.4 Vacation Mode
Activate Vacation Mode to temporarily disable the keypad, preventing unauthorized access while you are away.
- Refer to the full manual for instructions on how to enable and disable Vacation Mode.
6. Maintenance
6.1 Battery Replacement
The Powerbolt 3 requires 4x AA alkaline batteries (not included). Battery life is approximately 12 months under normal use.
- Replace batteries when the low battery indicator appears or when the lock's operation becomes sluggish.
- To replace, remove the interior cover, replace the old batteries with new ones, and reattach the cover.
6.2 General Care
- Clean the keypad and lock body with a soft, damp cloth. Avoid abrasive cleaners or solvents.
- Do not lubricate the keypad or internal electronic components.
7. Troubleshooting
7.1 Intrusion Alert
If three consecutive incorrect user codes are entered, the lock will activate an intrusion alert.
- The keypad will flash red 15 times.
- An audible beep will sound 15 times.
- The keypad will be disabled for 1 minute to prevent further tampering.

Image: Intrusion alert visual and audio indicators.
7.2 Common Issues
- Lock not responding: Check battery levels and replace if necessary. Ensure the cable connection between the exterior and interior assemblies is secure.
- Code not working: Verify the code is correct and that the lock is not in Vacation Mode or disabled due to an intrusion alert.
- Motor issues: If the deadbolt motor is not engaging or disengaging properly, perform the door handing process again. A factory reset may be required if issues persist.
For further assistance, refer to the complete troubleshooting guide in the full product manual or contact Weiser customer support.
8. Specifications
| Feature | Detail |
|---|---|
| Manufacturer | Weiser |
| Part Number | 9GED92500-001 |
| Product Dimensions | 2.46 x 7.14 x 11.66 cm |
| Item Weight | 907 g |
| Colour | Brass |
| Style | Powerbolt 3 |
| Finish | Polished |
| Material | Metal, Plastic |
| Lock Type | Deadbolt, Keypad |
| Special Features | Auto-Lock, BHMA/ANSI Grade 3, Motorized Locking, SmartKey Technology, Vacation Mode |
| Batteries Required | Yes (4x AA) |
| Country of Origin | China |
9. Warranty Information
The Weiser Powerbolt 3 Keyless Entry Door Lock comes with the following warranty coverage:
- 1-Year Limited Electronics Warranty: Covers electronic components for one year from the date of purchase.
- Lifetime Limited Mechanical & Finish Warranty: Covers the mechanical components and the finish of the lock for the lifetime of the product.
For detailed terms and conditions, please refer to the warranty documentation included with your product or visit the official Weiser website.


