1. Important Safety Information
Please read all instructions carefully before assembly and operation of your Westinghouse Infrared Sauna. Failure to follow these instructions may result in injury or damage to the product. Retain this manual for future reference.
- Consult a physician before using the sauna if you have any medical conditions, are pregnant, or are taking medication.
- Do not use the sauna under the influence of alcohol or drugs.
- Ensure the sauna is placed on a level, stable surface.
- Keep children and pets away from the sauna during operation.
- Do not spray water directly onto the heaters or control panel.
- Always unplug the sauna from the power outlet before cleaning or maintenance.
2. Product Overview
The Westinghouse Infrared Sauna Model WES43-1600 is designed for personal use, providing a comfortable and relaxing infrared heat experience. Familiarize yourself with the main components:

Figure 2.1: Front view of the Westinghouse Infrared Sauna, showcasing the glass door and exterior wood finish.

Figure 2.2: Angled view of the sauna, highlighting the wooden exterior and interior design.

Figure 2.3: Interior control panel for adjusting temperature and time settings.

Figure 2.4: Close-up of the interior ceiling light, providing illumination during use.

Figure 2.5: Example of a chromotherapy light panel, offering various color options.

Figure 2.6: Ceiling-mounted speaker for audio playback within the sauna.
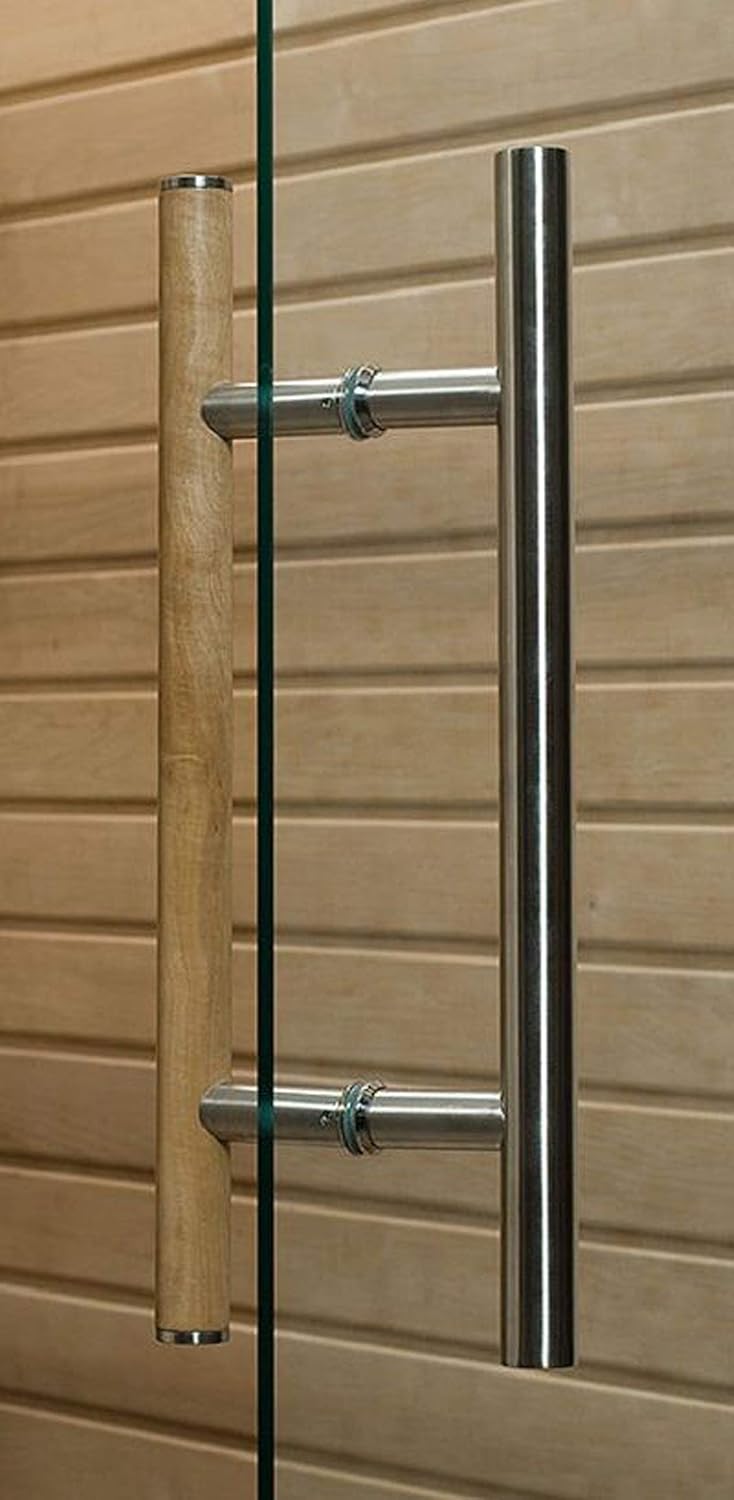
Figure 2.7: Detail of the sauna door handle, featuring both wooden and metal components.
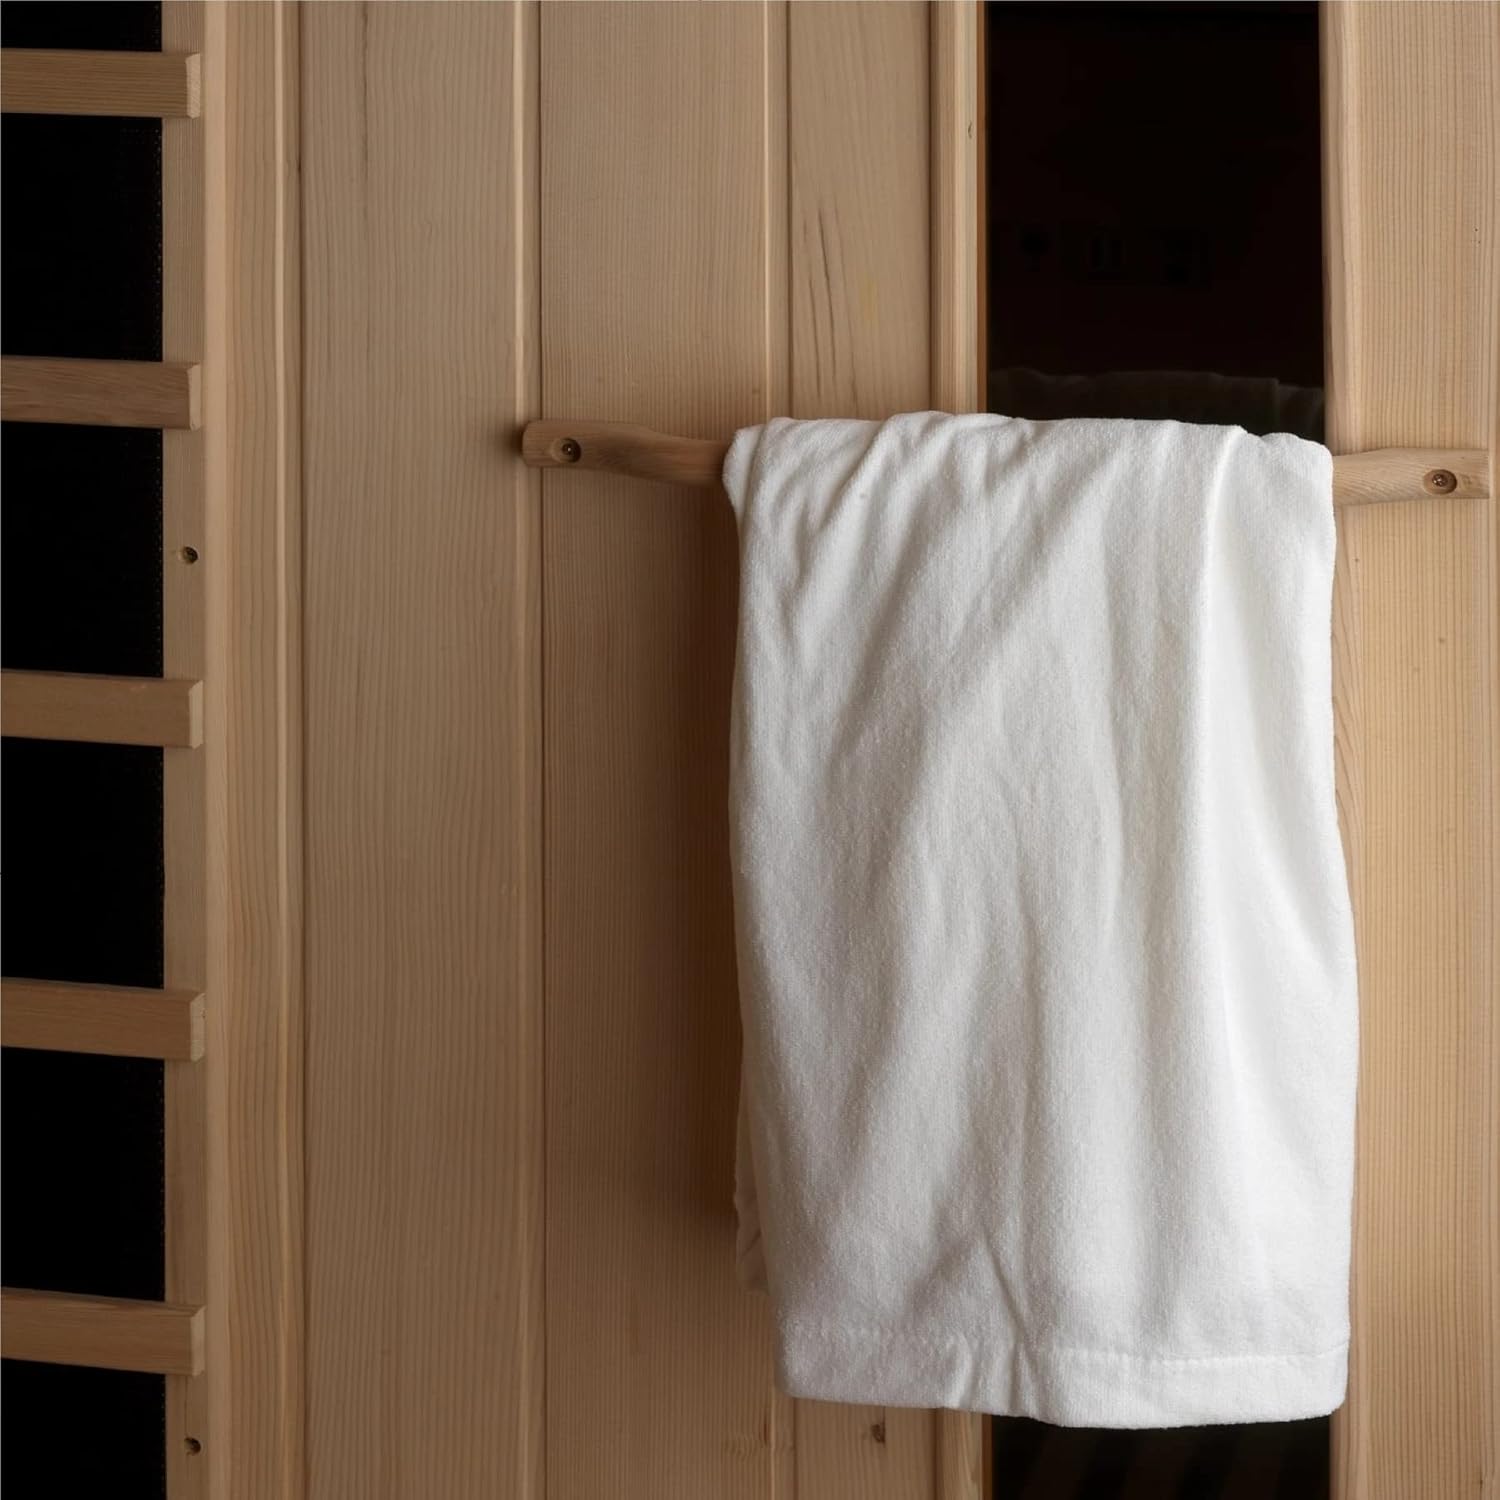
Figure 2.8: Interior wooden towel rack, shown with a white towel for convenience.

Figure 2.9: Interior wooden magazine rack for holding reading materials.
3. Setup Instructions
Proper assembly is crucial for the safe and efficient operation of your sauna. It is recommended to have at least two people for assembly.
- Unpacking: Carefully unpack all components and verify against the packing list. Report any missing or damaged parts immediately.
- Location: Choose a dry, level indoor location with adequate ventilation. Ensure there is sufficient space around the sauna for assembly and access.
- Base Assembly: Place the sauna base panel on the chosen location.
- Wall Panel Installation: Connect the back, side, and front wall panels according to the assembly diagrams provided in the separate assembly guide. Ensure all latches and connectors are securely fastened.
- Bench and Heater Installation: Install the interior bench and ensure all infrared heaters are correctly positioned and connected.
- Roof Panel Installation: Carefully place the roof panel on top of the assembled walls, ensuring all electrical connections for lighting and control panel are properly routed and connected.
- Door Installation: Install the glass door, ensuring it swings freely and latches securely.
- Electrical Connection: Plug the sauna into a dedicated, grounded electrical outlet that meets the power requirements specified in the specifications section. Do not use extension cords.
4. Operating Instructions
Follow these steps to operate your infrared sauna:
- Power On: Ensure the sauna is plugged in. Press the 'Power ON/OFF' button on the control panel (Figure 2.3) to turn on the sauna.
- Set Temperature: Use the 'Temperature' up/down arrows to set your desired temperature. The sauna will begin heating immediately.
- Set Time: Use the 'Time' up/down arrows to set your desired session duration.
- Preheat: Allow the sauna to preheat for 10-15 minutes, or until it reaches your desired temperature.
- Enter Sauna: Once preheated, enter the sauna and close the door securely.
- Adjust Features:
- Reading Lamp: Press the 'Reading Lamp' button to turn the interior light on or off.
- Chromotherapy: If equipped, use the dedicated controls (refer to Figure 2.5 for visual reference) to select desired light colors or modes.
- Audio System: If equipped with a speaker (Figure 2.6), connect your device via Bluetooth or auxiliary input and control playback from your device.
- End Session: The sauna will automatically turn off after the set time expires. You can also press the 'START/STOP Work' button to end the session manually.
- Cool Down: After your session, open the door slightly to allow the sauna to cool down before exiting.
5. Maintenance
Regular maintenance ensures the longevity and hygiene of your sauna.
- Cleaning the Interior: After each use, wipe down the interior surfaces with a clean, damp cloth. For deeper cleaning, use a mild, non-abrasive cleaner specifically designed for wood. Do not use harsh chemicals.
- Cleaning the Exterior: Wipe the exterior wood with a soft, dry cloth. Avoid excessive moisture.
- Glass Door: Clean the glass door with a standard glass cleaner.
- Heaters: Do not attempt to clean the infrared heaters directly. Keep them free from obstructions.
- Ventilation: Ensure the sauna's ventilation openings are not blocked.
- Storage: If storing for an extended period, ensure the sauna is clean, dry, and unplugged.
6. Troubleshooting
If you encounter issues with your sauna, refer to the following common problems and solutions:
| Problem | Possible Cause | Solution |
|---|---|---|
| Sauna does not power on. | Not plugged in; power outlet issue; circuit breaker tripped. | Check power cord connection; test outlet with another device; reset circuit breaker. |
| Sauna not heating. | Temperature not set; heaters not connected properly. | Ensure desired temperature is set on the control panel; verify all heater connections. |
| Control panel unresponsive. | Temporary electronic glitch. | Unplug the sauna for 5 minutes, then plug back in and try again. |
| Unusual odors. | New product odor; dust on heaters. | Ventilate the room during initial uses. Ensure interior is clean and free of debris. |
If the problem persists after attempting these solutions, please contact customer support.
7. Specifications
- Model: WES43-1600
- Brand: Westinghouse
- Capacity: 1 Person
- Item Weight: 253 pounds
- Package Dimensions: 72.4 x 37.8 x 14.7 inches
- ASIN: B0C5RYFQHH
- Power Requirements: (Refer to product label for specific voltage and amperage)
8. Warranty and Support
Your Westinghouse Infrared Sauna is covered by a manufacturer's warranty. Please refer to the warranty card included with your purchase for specific terms and conditions, including coverage duration and limitations.
For technical assistance, replacement parts, or warranty claims, please contact Westinghouse customer support. Have your model number (WES43-1600) and purchase date available when contacting support.
Online Support: Visit the official Westinghouse website for FAQs and support resources.
Contact Information: Refer to your product packaging or the Westinghouse website for the most current customer service contact details.


