
BODIOO UPGRADE 1004
Contents
BODIOO Treadmill User Manual
Model: UPGRADE 1004
1. Important Safety Information
Please read all instructions carefully before using this treadmill. Keep this manual for future reference.
- Ensure the treadmill is placed on a flat, stable surface.
- Keep children and pets away from the treadmill during operation.
- Always attach the safety key clip to your clothing before starting a workout.
- Do not operate the treadmill if it is damaged or malfunctioning.
- Consult a physician before starting any new exercise program.
- Maximum user weight: 220 lbs (100 kg).
2. Product Overview
The BODIOO UPGRADE 1004 Treadmill is designed for home and office use, offering a versatile workout experience with automatic incline and pre-set training programs.
Key Features:
- 0-12% Automatic Incline for varied workout intensity.
- Large Blue Backlit LCD Display to track key metrics.
- Powerful 2.5 HP Motor with adjustable speed from 0.5 MPH to 8.5 MPH.
- 17-inch Wide Running Belt with multi-layer shock absorption.
- Foldable design with transportation wheels for easy storage.
- Heart Rate Sensors on handlebars.
Components:
| Component | Description |
|---|---|
| Console | Displays time, speed, distance, calories, incline, heart rate, program, and mode. |
| Running Belt | 17-inch wide surface for walking and jogging. |
| Handrails | Equipped with heart rate sensors and speed/incline controls. |
| Safety Key | Magnetic key for emergency stop. |
| Transportation Wheels | For easy movement and storage of the folded treadmill. |
3. Setup and Assembly
The BODIOO Treadmill arrives 95% pre-assembled. Follow these steps to complete the setup.
Step-by-Step Assembly:
- Unpacking: Carefully remove the treadmill from its packaging. Place all components on a clear, flat surface.

Image: The BODIOO Treadmill in its initial folded state with assembly tools and parts laid out.
- Installation of the Computer Frame:
Lift the computer frame into its upright position. Secure it using the provided bolts and Allen wrench. Ensure all connections are tight.
Video: Demonstrates the process of lifting and securing the computer frame to the treadmill base. This video is provided by the seller and shows the correct assembly steps.
- Installation of Upright Bracket:
Attach the upright brackets to the main frame using the specified bolts and washers. This provides stability for the console and handrails.
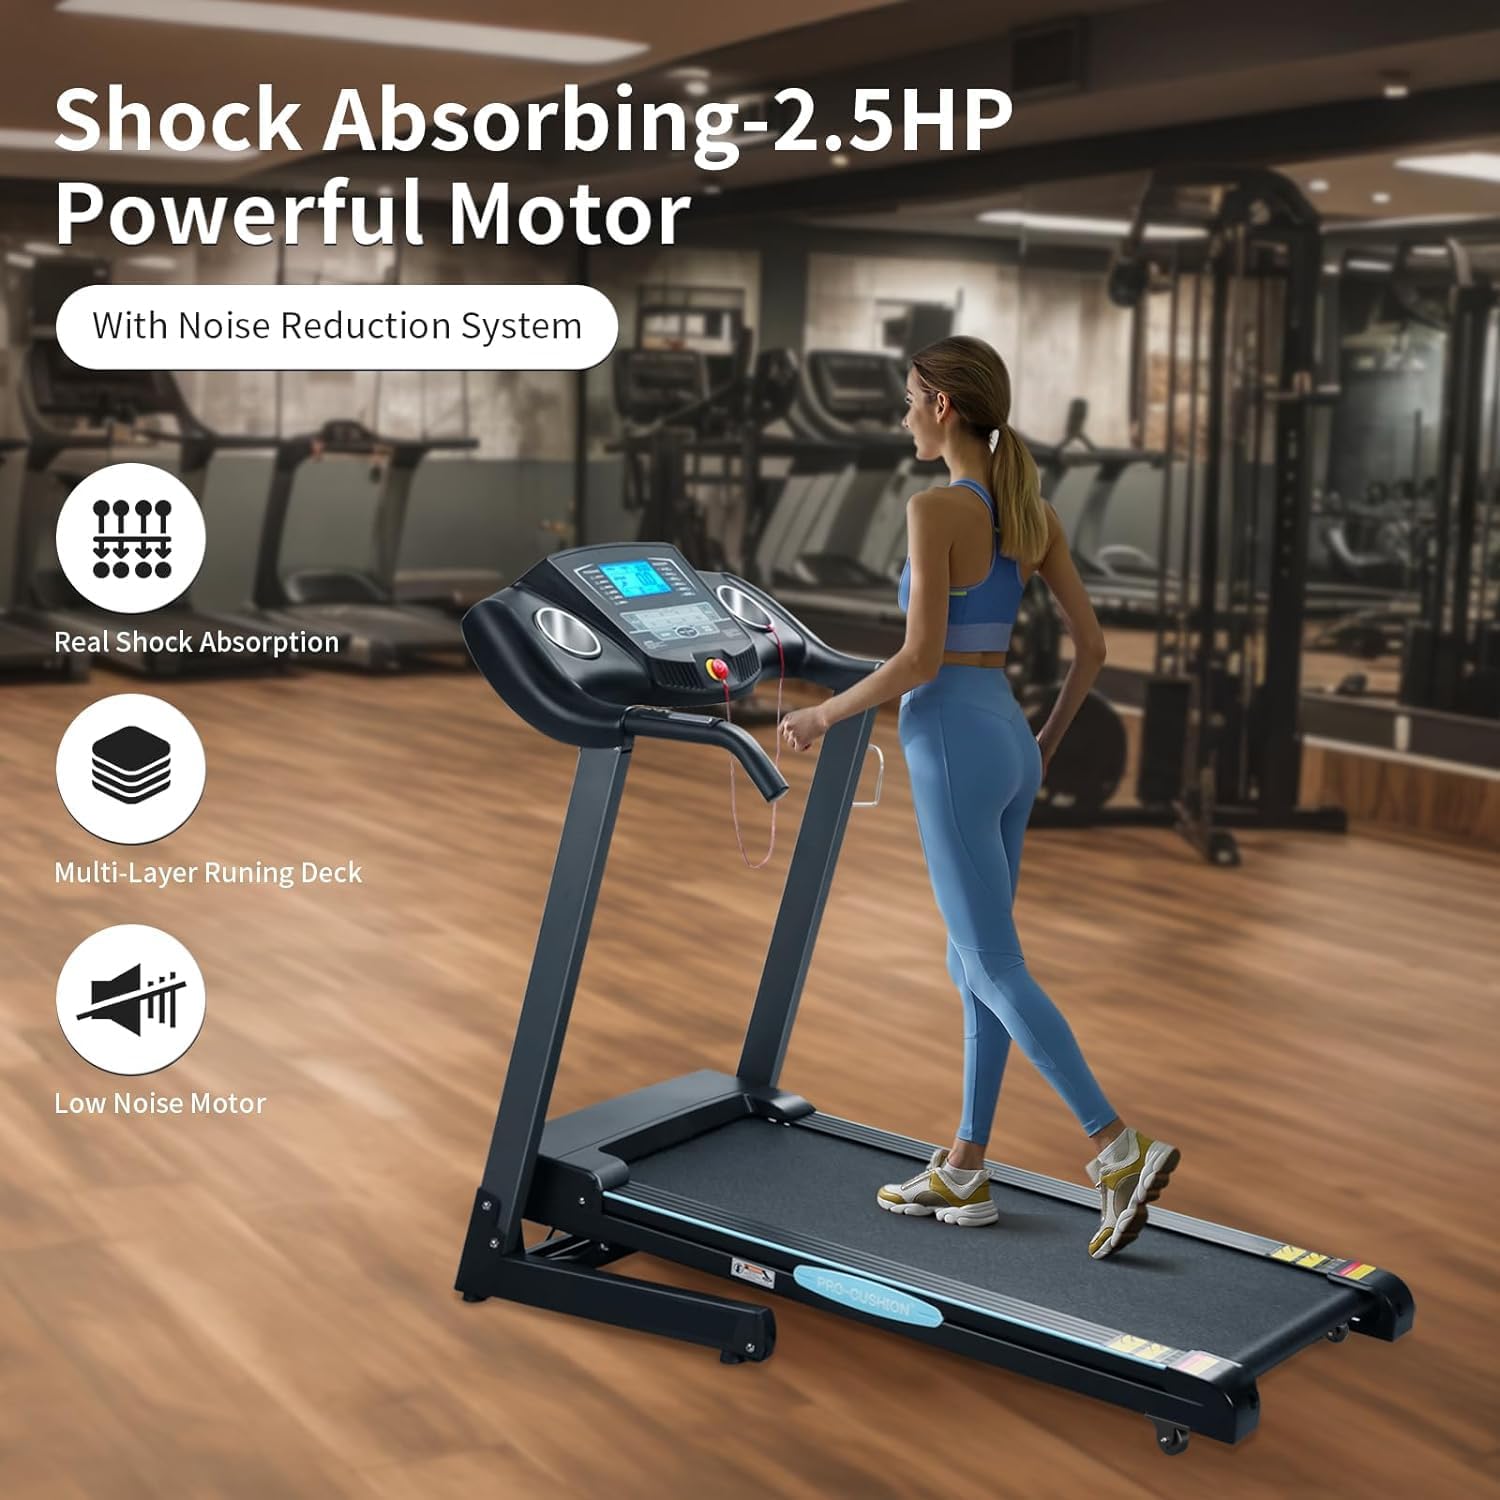
Image: A detailed view of the treadmill's console, showing the LCD display, speed and incline controls, and pre-set program buttons.
- Installation of Wheels:
Fold up the main frame and install the transportation wheels at the base. These wheels facilitate easy movement and storage of the treadmill.

Image: The treadmill in its folded position, highlighting the transportation wheels at the bottom for convenient relocation.
- Installation of L&R Back End Cap:
Secure the left and right back end caps to the rear of the treadmill. These caps protect the internal components and provide a finished look.
- Installation of Bottle Cage:
Attach the bottle cage to the designated area on the treadmill's upright frame. This provides a convenient holder for your water bottle during workouts.

Image: A close-up of the treadmill's armrest, showing the integrated heart rate sensors and buttons for adjusting speed and incline.
4. Operating Instructions
Familiarize yourself with the control panel and basic operations before starting your workout.
Control Panel Functions:
- Start: Press to begin the treadmill operation.
- Pause/Stop: Press to pause or stop the treadmill.
- Speed +/-: Adjusts the running belt speed.
- Incline +/-: Adjusts the automatic incline level (0-12%).
- Mode: Cycles through different display modes (Time, Distance, Calories, etc.).
- Programs: Selects from 15 pre-set training programs.
Starting a Workout:
- Plug the treadmill into a grounded outlet.
- Turn on the power switch located at the front of the treadmill.
- Attach the safety key to the console and clip the other end to your clothing.
- Step onto the running belt.
- Press the "Start" button to begin. Adjust speed and incline as desired.
Using Pre-Set Programs:
The treadmill features 15 pre-set programs designed for various fitness goals. Refer to the console display for program details.

Image: The multi-functional LCD display showing metrics such as calories burned, incline level, time elapsed, distance covered, current speed, and heart rate.
5. Maintenance
Regular maintenance ensures the longevity and optimal performance of your treadmill.
Cleaning:
- Wipe down the console and exterior surfaces with a damp cloth after each use.
- Do not use abrasive cleaners or solvents.
Lubrication:
The running belt requires periodic lubrication to reduce friction and extend its lifespan. Use only silicone-based treadmill lubricant.
- Turn off and unplug the treadmill.
- Loosen the running belt tension bolts.
- Lift the edge of the running belt and apply a thin line of lubricant to the center of the deck.
- Tighten the belt tension bolts.
- Run the treadmill at a low speed for 2-3 minutes to distribute the lubricant.

Image: The widened running belt, measuring 17 inches in width, designed for comfortable and free movement during workouts.
6. Troubleshooting
If you encounter any issues, refer to the following common problems and solutions.
| Problem | Possible Cause | Solution |
|---|---|---|
| Treadmill does not start | Power cord unplugged, safety key not in place, power switch off. | Check power connection, ensure safety key is properly inserted, turn on power switch. |
| Running belt slips | Belt tension too loose, belt needs lubrication. | Adjust belt tension, lubricate the running belt as per maintenance instructions. |
| Unusual noise during operation | Loose components, motor issue, belt misalignment. | Check all bolts and screws for tightness. If noise persists, contact customer support. |
| Incline not working | Incline motor issue, loose connection. | Ensure all cables are securely connected. If issue persists, contact customer support. |
7. Specifications
| Feature | Detail |
|---|---|
| Brand | BODIOO |
| Model Name | UPGRADE 1004 |
| Product Dimensions | 45.3"D x 26.6"W x 52"H |
| Folded Size | 45.3"D x 26.6"W x 36.6"H |
| Item Weight | 102 Pounds |
| Material | Alloy Steel |
| Maximum Speed | 8.5 Miles per Hour |
| Minimum Speed | 0.5 Miles per Hour |
| Maximum Incline Percentage | 12% |
| Motor Horsepower | 2.5 HP |
| Running Deck Length | 43 Inches |
| Running Deck Width | 17 Inches |
| Display Type | LCD (Blue Backlit) |
| Number of Programs | 15 Pre-Set |
| Maximum Weight Recommendation | 220 Pounds |
| Power Source | Corded Electric |
8. Warranty and Support
Warranty Information:
The BODIOO Treadmill (Model UPGRADE 1004) comes with a 2-year warranty from the date of purchase. This warranty covers manufacturing defects and major component failures under normal use. Please retain your proof of purchase for warranty claims.
Customer Support:
For technical assistance, troubleshooting not covered in this manual, or warranty claims, please contact BODIOO customer support through the retailer's platform or visit the official BODIOO store on Amazon.
Visit the BODIOO Store for more information and product support.
Ask a question about this manual
Ask about setup, troubleshooting, compatibility, parts, safety, or missing instructions. Manuals+ will review the question and use this page’s manual context to help answer it.