1. Introduction
This instruction manual provides comprehensive guidance for the safe and effective use of the Focket 0.5M-470MHz Signal Generator. This device is designed for generating radio frequency signals across a broad spectrum, supporting various modulation types. Please read this manual thoroughly before operating the device and retain it for future reference.
2. Safety Information
- Always use the specified 12VDC power supply. Using an incorrect power source may damage the device and pose a safety risk.
- Do not expose the device to moisture, rain, or extreme temperatures.
- Avoid opening the device casing. Servicing should only be performed by qualified personnel.
- Ensure proper ventilation around the device during operation.
- Disconnect power before cleaning or when the device is not in use.
3. Product Overview
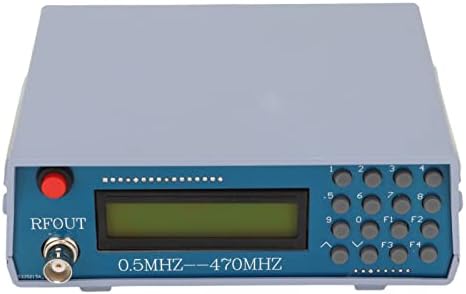
The Focket 0.5M-470MHz Signal Generator is a versatile instrument capable of producing signals with adjustable frequency and power, along with various modulation options. Its robust ABS construction ensures durability for long-term use.
3.1 Key Features
- Frequency Range: 0.5 MHz to 470 MHz
- Signal Power: -70 dBm to 132 dBm
- Modulation Types: Amplitude Modulation (AM), Frequency Modulation (FM), Phase Modulation (PM), Pulse Modulation
- Built-in Tone Modulation: 800 Hz
- Power Supply: 12VDC
- Material: Durable ABS casing
3.2 Components


4. Specifications
| Parameter | Value |
|---|---|
| Item Type | Signal Generator |
| Brand | Focket |
| Model Number | Focketfm1yxt7hb2 |
| Frequency Range | 0.5 MHz to 470 MHz |
| Signal Power | -70 dBm to 132 dBm |
| Built-in Tone Modulation | 800 Hz |
| Power Supply | 12VDC |
| Material | ABS |
| Package Dimensions | 20 x 15 x 10 cm |
5. Setup
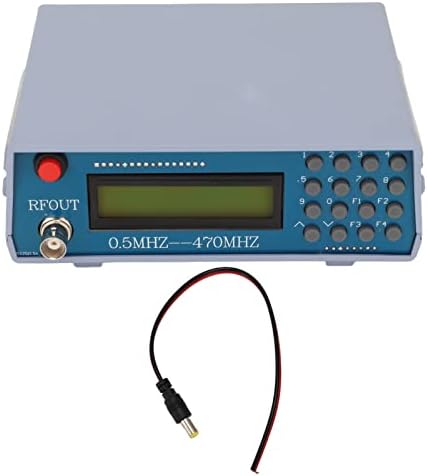
- Unpacking: Carefully remove the signal generator and its accessories from the packaging. Verify that all components listed in the package list are present: 1x Signal Generator, 1x Power Cord.
- Power Connection: Connect the provided 12VDC power cord to the DC input port on the signal generator. Plug the other end of the power cord into a suitable 12VDC power outlet.
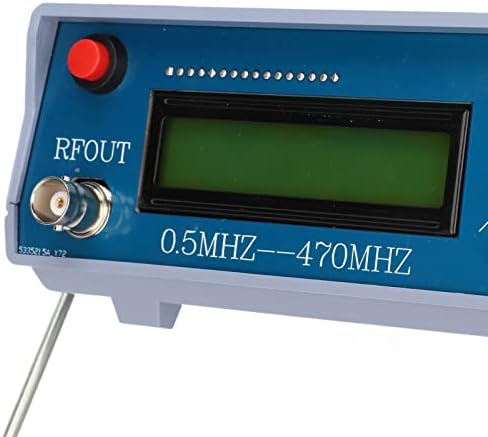
- RF Output Connection: Connect your test equipment (e.g., spectrum analyzer, oscilloscope, antenna) to the RFOUT BNC connector on the front panel using an appropriate coaxial cable.
- Positioning: Place the signal generator on a stable, flat surface. The integrated stand can be used to angle the device for better visibility.
6. Operating Instructions
The signal generator is controlled via its front panel display and keypad.
6.1 Power On/Off
- To power on, ensure the 12VDC power supply is connected. The device should automatically power on and display the default frequency.
- To power off, disconnect the 12VDC power supply.
6.2 Setting Frequency
- Use the numerical keypad (0-9) to enter the desired frequency.
- The decimal point button can be used for precise frequency entry.
- The device supports 7-digit frequency input. For example, to set 439.0125 MHz, you would enter '4390125' (representing 439012.5 KHz). The display will show the entered value.
- Press an appropriate function key (e.g., F1, F2, F3, F4) or an 'Enter' equivalent (if available, not explicitly detailed in provided data) to confirm the frequency.
6.3 Adjusting Signal Power
The signal power can be adjusted within the range of -70 dBm to 132 dBm. Specific controls for power adjustment are typically accessed via function keys or dedicated buttons. Refer to the on-screen menu or specific button labels for power level control.
6.4 Selecting Modulation Type
The device supports AM, FM, PM, and Pulse modulation. Use the function keys (F1-F4) or menu options to cycle through or select the desired modulation type. The 800 Hz tone modulation is built-in and can be activated as needed.
7. Maintenance
- Cleaning: Use a soft, dry cloth to clean the exterior of the device. Do not use liquid cleaners or solvents.
- Storage: When not in use, store the signal generator in a cool, dry place, away from direct sunlight and extreme temperatures.
- Inspection: Periodically inspect the power cord and connectors for any signs of damage.
8. Troubleshooting
| Problem | Possible Cause | Solution |
|---|---|---|
| Device does not power on | No power supply, incorrect power supply, faulty power cord | Ensure 12VDC power supply is correctly connected and functional. Check power cord for damage. |
| No RF output signal | Incorrect frequency/power settings, faulty output cable, device malfunction | Verify frequency and power settings. Check the coaxial cable connection. If problem persists, contact support. |
| Display is blank or unreadable | Power issue, display malfunction | Check power connection. If power is present and display remains blank, contact support. |
9. Warranty and Support
For warranty information or technical support, please refer to the documentation provided at the time of purchase or contact your retailer. Keep your purchase receipt as proof of purchase.