
Callaway IZC27061
Callaway Golf Micro Pro Laser Rangefinder User Manual
Model: IZC27061
Brand: Callaway
Introduction
The Callaway Golf Micro Pro Laser Rangefinder is designed to provide accurate distance measurements for golfers. This manual provides essential information on setting up, operating, maintaining, and troubleshooting your device to ensure optimal performance on the golf course.

Figure 1: The Callaway Golf Micro Pro Laser Rangefinder, showcasing its compact and ergonomic design.
Setup
1. Unboxing and Initial Inspection
Carefully remove all components from the packaging. Verify that the following items are included:
- [1] Callaway Golf Micro Pro Laser Rangefinder
- [1] Hard Cover Carry Case
Inspect the rangefinder for any visible damage. If any components are missing or damaged, contact customer support.

Figure 2: The rangefinder securely stored within its included hard cover carry case, designed for protection during transport.
2. Powering On and Battery
The rangefinder comes with batteries included. To power on the device, press the power button located on the top of the unit. The display will illuminate, indicating it is ready for use.
The device is powered by internal batteries. While the product specifications state "Are Batteries Included: Yes", specific charging instructions are not provided. It is recommended to refer to the manufacturer's official website or included quick start guide for detailed battery management information.
Operating Instructions
1. Basic Measurement
- Look through the eyepiece.
- Aim the reticle (crosshairs) at your desired target.
- Press the power/measurement button once to activate the laser and display the distance.
- The device features 6x magnification for clear viewing of distant targets.

Figure 3: Proper usage of the rangefinder, demonstrating how to look through the eyepiece for target acquisition.
2. Pin Acquisition Technology (P.A.T.)
The P.A.T. feature allows you to lock onto the pin up to 300 yards away, even if trees or other hazards are in the way. To use P.A.T.:
- Aim the reticle at the general area of the flagstick.
- Slowly scan across the flagstick while holding down the measurement button.
- The rangefinder will identify the closest object (the flagstick) and display its distance.
- An audible "chirp" (Birdie feature) will confirm that the laser has locked onto the pin, providing confidence in your measurement.
3. Slope Function
The Micro Pro Rangefinder measures the angle of incline or decline and calculates the slope-adjusted distance. This feature provides a more accurate "plays like" distance for uphill or downhill shots.
An external switch allows you to easily turn the slope function on or off. Turning the slope function off makes the rangefinder legal for tournament play, adhering to golf rules that prohibit devices providing slope-adjusted distances during competitive rounds.

Figure 4: Front view of the rangefinder, showing indicator lights that may signify slope mode status or other operational states (e.g., green for slope ON).

Figure 5: Front view of the rangefinder, showing indicator lights that may signify slope mode status or other operational states (e.g., red for slope OFF, making it tournament legal).
4. Unit of Measurement
You can switch between yards and meters for distance readings. Refer to the device's on-screen menu or dedicated button (if available) for this setting. Typically, a short press of a mode button cycles through options, while a long press confirms a selection.
5. Water and Fog Resistance
The rangefinder is designed to be water and fog resistant, making it suitable for use in various weather conditions. While resistant, it is not fully submersible. Avoid prolonged exposure to heavy rain or submersion in water.
Maintenance
1. Cleaning
To maintain optical clarity and device performance:
- Use a soft, clean cloth to wipe the exterior of the rangefinder.
- For lenses, use a lens cleaning cloth and lens cleaning solution specifically designed for optics. Avoid abrasive materials or harsh chemicals.
- Gently wipe away any dust, dirt, or smudges.
2. Storage
When not in use, store the rangefinder in its hard cover carry case to protect it from impacts, dust, and moisture. Store in a cool, dry place away from direct sunlight and extreme temperatures.
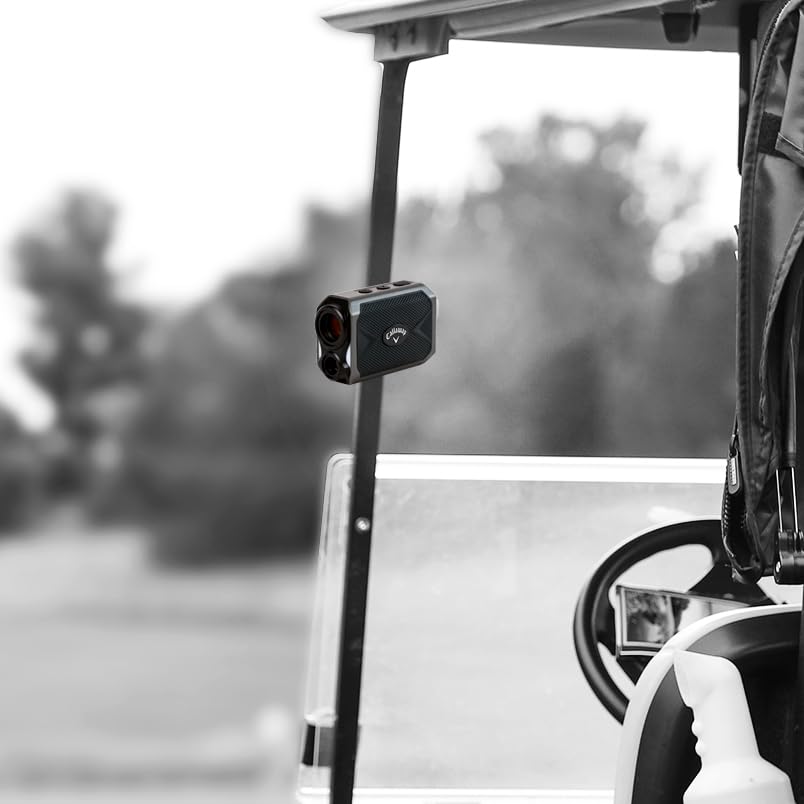
Figure 6: The rangefinder can be conveniently attached to a golf cart, but should be stored in its case when not in active use to prevent damage.
Troubleshooting
Common Issues and Solutions
| Problem | Possible Cause | Solution |
|---|---|---|
| Device does not power on. | Low or depleted battery. | Ensure the battery is charged. If using replaceable batteries, replace them. |
| Inaccurate distance readings. | Obstructed view, dirty lens, or target too close/far. | Ensure a clear line of sight. Clean the lenses. Verify target is within the 5-1000 yard range. |
| Cannot lock onto target (P.A.T.). | Unsteady hand, multiple objects in view, or target beyond P.A.T. range. | Hold the device steady. Scan slowly across the target. Ensure target is within 300 yards for P.A.T. |
| Display is dim or flickering. | Low battery or extreme temperature. | Charge or replace batteries. Move to a moderate temperature environment. |
If you encounter issues not listed here or if solutions do not resolve the problem, please contact Callaway customer support.
Specifications
| Feature | Detail |
|---|---|
| Brand | Callaway |
| Model Number | IZC27061 |
| Magnification | 6x |
| Measuring Range | 5-1000 yards |
| Accuracy | +/- 1 yard |
| Slope Function | Yes, with external On/Off switch |
| Pin Acquisition Technology (P.A.T.) | Yes, up to 300 yards |
| Birdie Feature | Audible chirp confirmation |
| Water Resistance Level | Waterproof (IP54) |
| Color | Gray |
| Material | Plastic |
| Item Weight | 142 g (5 Ounces) |
| Product Dimensions | 8.3L x 3.8W x 5.7H Centimeters |
| Included Components | Laser Rangefinder, Hard Cover Carry Case |
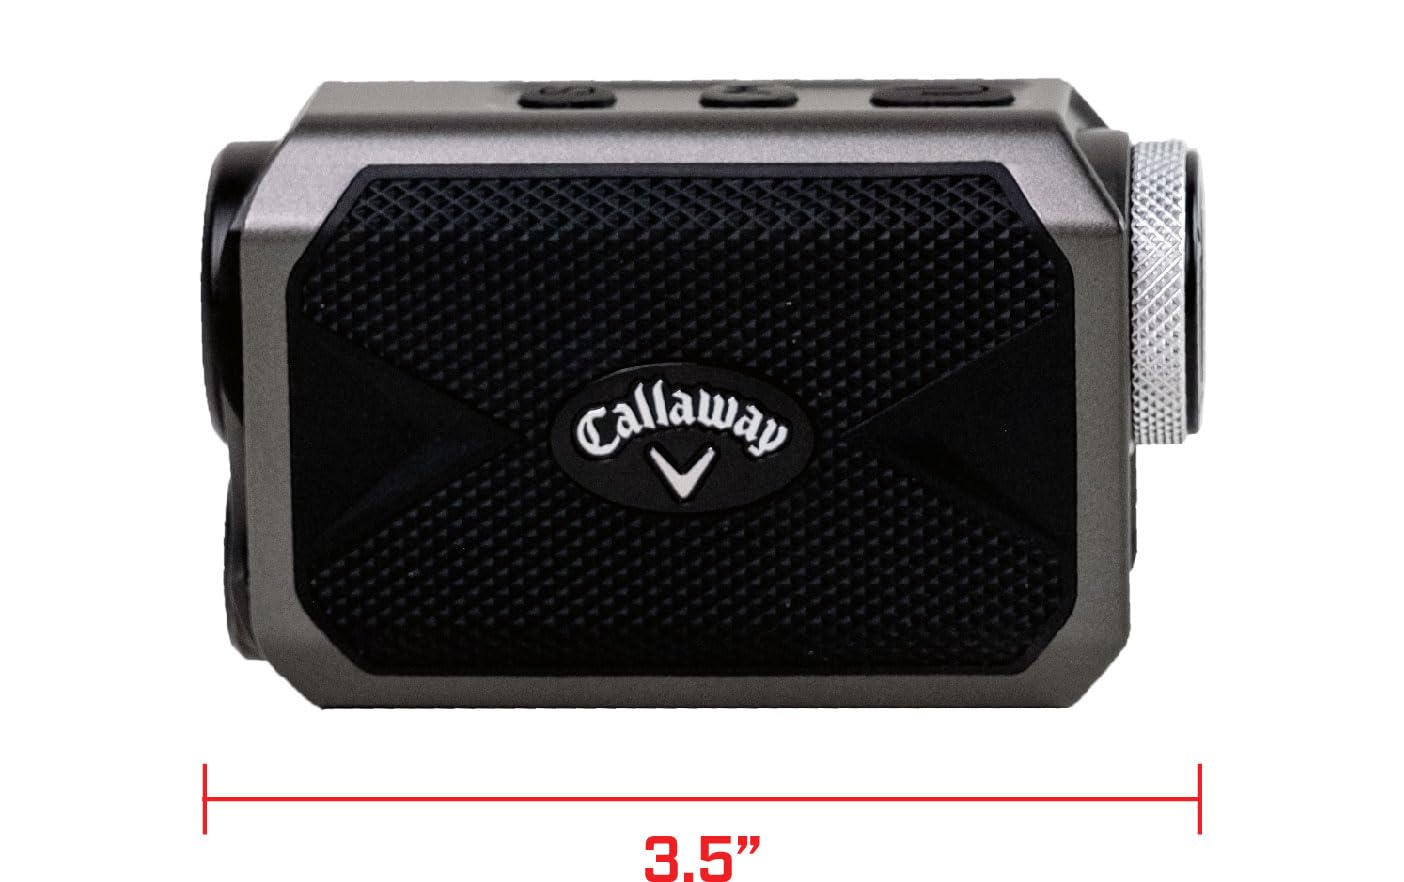
Figure 7: The compact dimensions of the rangefinder, highlighting its portability.
Warranty and Support
For warranty information and customer support, please refer to the official Callaway Golf website or the documentation included with your product. Keep your purchase receipt as proof of purchase for any warranty claims.
For further assistance, you may contact Callaway Golf customer service directly.
Related documentsIZC27061

Ask a question about this manual
Ask about setup, troubleshooting, compatibility, parts, safety, or missing instructions. Manuals+ will review the question and use this page’s manual context to help answer it.