
1. Introduction
This manual provides essential information for the safe and efficient operation, installation, and maintenance of your CIATRE 1.6HP Shallow Well Pump with Pressure Tank. Please read this manual thoroughly before operating the pump and retain it for future reference.
The CIATRE Shallow Well Pump is designed for various water pumping needs, including irrigation for gardens, lawns, and farms, as well as water transfer and boosting household water supply. It features a powerful 1.6 HP motor, a 19L pressure tank, and automatic pressure control for reliable performance.
2. Safety Information
WARNING: Failure to follow these safety instructions could result in electric shock, fire, serious injury, or death.
- Always ensure the pump is disconnected from the power supply before performing any installation, maintenance, or repair work.
- The pump must be installed in a dry, well-ventilated area, protected from rain, frost, and direct sunlight.
- Ensure the electrical supply matches the specifications of the pump (110V/60Hz).
- Use only clean water with this pump. Do not use it for salt water or other corrosive liquids.
- The pump must be primed with water before its first use to prevent dry running and damage.
- Keep children and unauthorized personnel away from the pump during operation.
- Do not operate the pump if the power cord or plug is damaged.
3. Product Components and Diagram
Familiarize yourself with the main components of your shallow well pump:
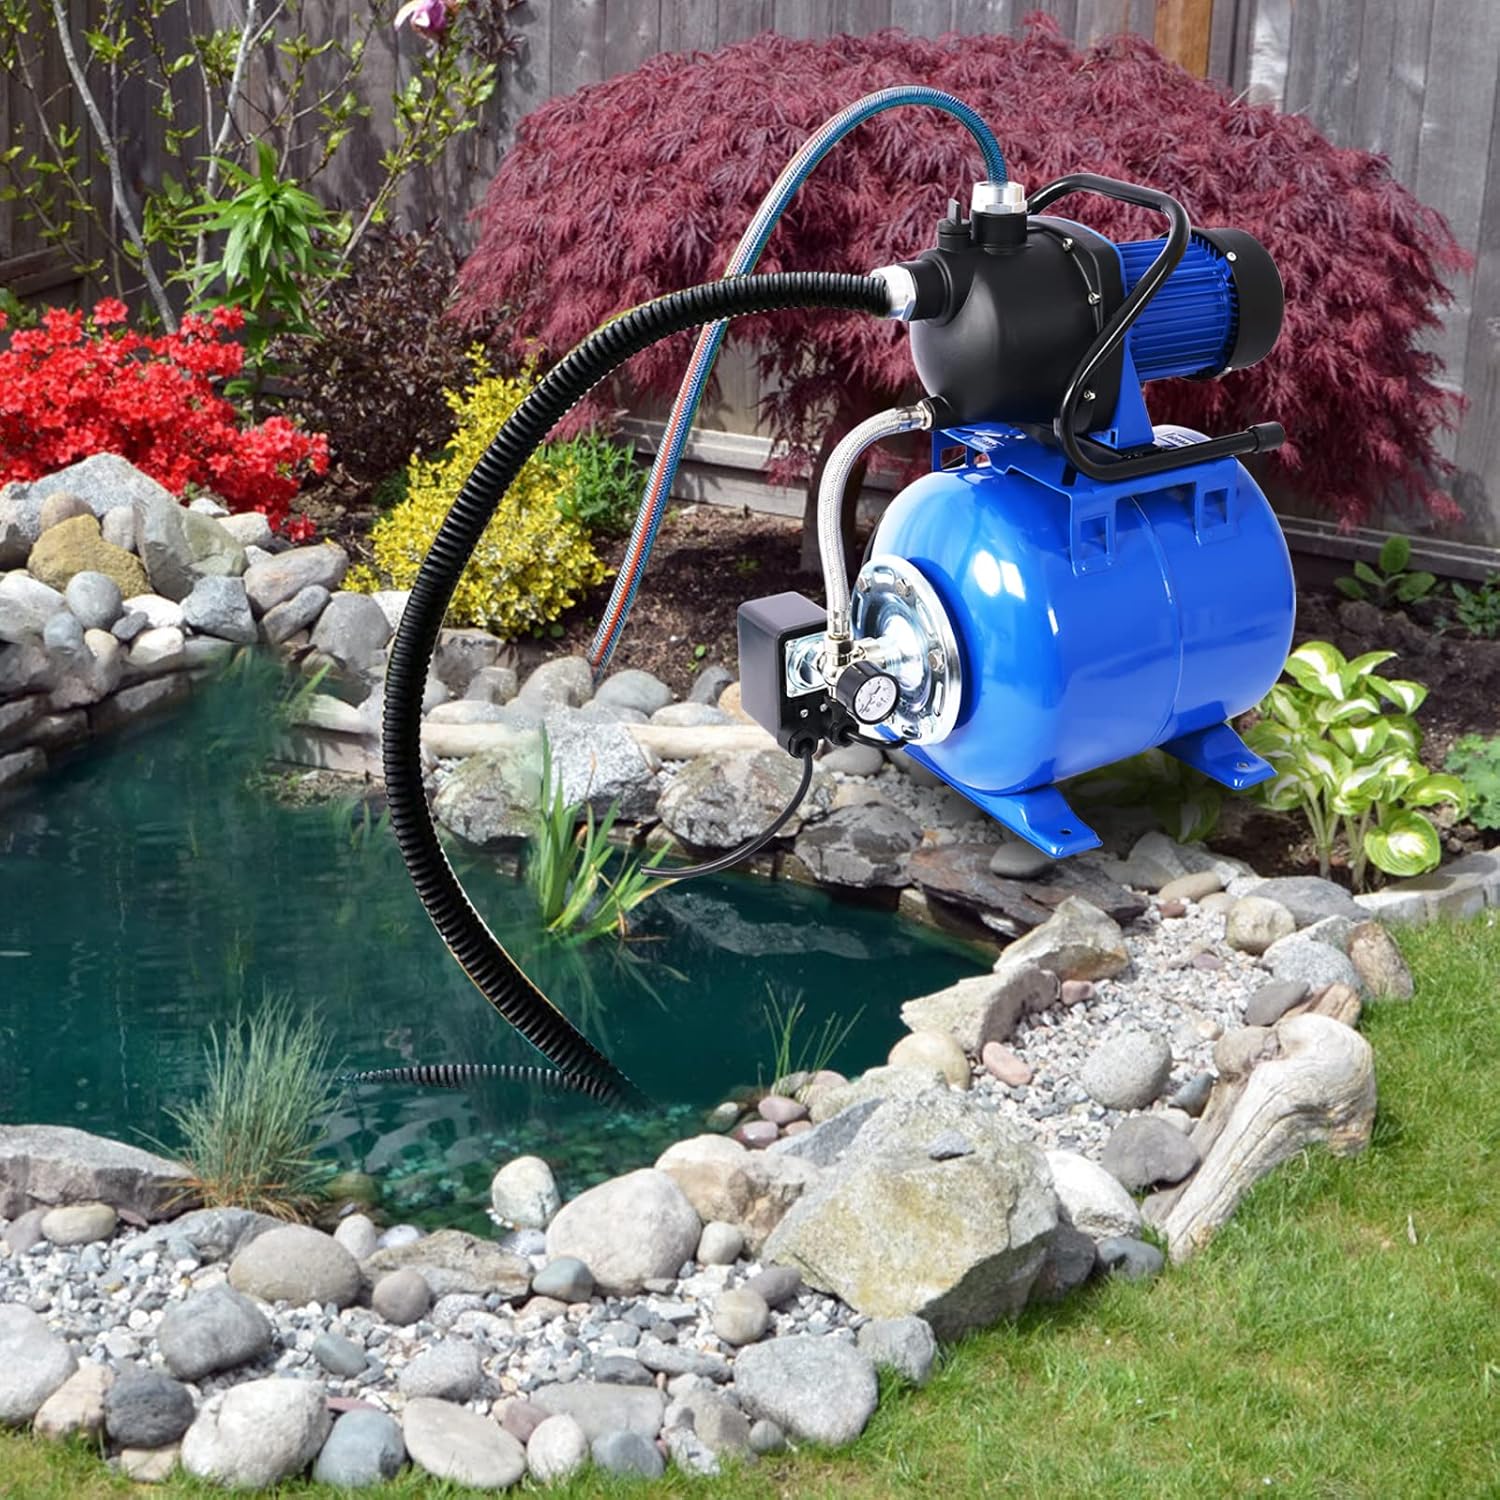
Figure 3.1: Labeled components of the CIATRE Shallow Well Pump. Key parts include the Portable Ergonomic Handle, Switch Waterproof Cover, High Pressure Soft Tube, Mechanical Pressure Switch, Pressure Gauge, 19L Carbon Steel Pressure Tank, and Stable Base.

Figure 3.2: Close-up view of the pump's control switch and specification label, indicating voltage, motor type, tank size, max height, max pump rate, max suction height, and IPX4 rating.
4. Specifications
| Motor Power | 1.6 HP |
| Max Lift Height | 157 feet |
| Max Flow Rate | 1268 Gallons Per Hour (GPH) |
| Max Suction Height | 23 feet |
| Pressure Tank Capacity | 19 Liters (approx. 5 Gallons) |
| Pre-set Pressure Switch | 1.5 - 5 bar |
| Input Power | 1200W |
| Voltage/Frequency | 110V/60Hz |
| Material | Aluminum body, Steel components |
| Protection Rating | IPX4 |
| Cable Length | 4.26 feet |
| Item Weight | 25 Pounds |

Figure 4.1: Visual representation of pump dimensions and key performance metrics.
5. Setup
5.1 Placement
Place the pump on a stable, level surface. Ensure the location is protected from environmental elements such as rain, direct sunlight, and freezing temperatures. Adequate ventilation is necessary to prevent overheating.
5.2 Connecting to Water Source and Outlet
- Connect the inlet pipe (NPT 1") from your water source to the pump's inlet port. Ensure all connections are tight and leak-free.
- Connect the outlet pipe (NPT 1") to the pump's outlet port, leading to your irrigation system or household water supply.
- Use appropriate thread sealant tape on all threaded connections to prevent leaks.

Figure 5.1: Illustration of adding clean water to the pump head for initial priming. Ensure the pump head is completely filled with clean water before first use.
5.3 Priming the Pump
Before the first use, or if the pump has run dry, it is crucial to prime the pump:
- Locate the priming port (usually a cap on top of the pump head).
- Unscrew the priming cap.
- Slowly pour clean water into the priming port until the pump head is completely filled.
- Replace and securely tighten the priming cap.
- Ensure the suction line is submerged in water and free of air pockets.
5.4 Electrical Connection
Plug the pump into a grounded 110V/60Hz electrical outlet. Ensure the circuit is protected by a Ground Fault Circuit Interrupter (GFCI) for added safety.
6. Operating Instructions
6.1 Starting the Pump
- Ensure the pump has been properly primed as described in Section 5.3.
- Turn on the power switch located on the pump. The pump will start to draw water and build pressure.
- Monitor the pressure gauge to ensure it reaches the desired operating pressure (pre-set between 1.5-5 bar).
6.2 Automatic Pressure Control
The built-in 19L pressure tank and mechanical pressure switch automatically regulate water pressure. The pump will turn on when the pressure drops below the lower set point and turn off when it reaches the upper set point, maintaining consistent water pressure without continuous operation.
6.3 Stopping the Pump
To stop the pump, simply turn off the power switch. If the pump will not be used for an extended period, disconnect it from the power supply and drain all water to prevent freezing or stagnation.

Figure 6.1: The pump is suitable for various applications including lawn sprinkling, garden watering, farm irrigation, and water transfer.
7. Maintenance
Regular maintenance ensures the longevity and optimal performance of your pump.
- Regular Inspection: Periodically check all connections for leaks and ensure the power cord is undamaged.
- Cleanliness: Keep the pump exterior clean and free from debris. Ensure ventilation openings are not obstructed.
- Winterization: In areas prone to freezing temperatures, drain all water from the pump and pipes before winter storage to prevent damage. Store the pump in a dry, frost-free location.
- Overheat Protection: The pump is equipped with overheat protection. If the pump shuts off unexpectedly, allow it to cool down before attempting to restart. Investigate the cause of overheating (e.g., low water level, blocked intake).
- Pressure Tank Check: Periodically check the air pressure in the pressure tank. Refer to the tank's label for the correct pre-charge pressure.
8. Troubleshooting
This section addresses common issues you might encounter with your shallow well pump.
- Pump Does Not Start:
- Check if the pump is plugged in and the power switch is ON.
- Verify the electrical supply and check for tripped circuit breakers or blown fuses.
- Ensure the pressure switch is functioning correctly and not stuck.
- Pump Runs But No Water or Low Flow:
- Check if the pump is properly primed. Re-prime if necessary.
- Inspect the suction line for air leaks or blockages.
- Ensure the water source has sufficient water level.
- Check for blockages in the discharge line or filter.
- Pump Cycles On and Off Frequently:
- This often indicates a leak in the system or a low air charge in the pressure tank. Check all plumbing for leaks.
- Check the air pressure in the pressure tank and recharge if needed.
- The pressure switch may be faulty.
- Pump is Noisy:
- Air in the system can cause noise. Re-prime the pump.
- Check for loose mounting bolts or vibrations.
- Foreign objects in the pump impeller.
If troubleshooting steps do not resolve the issue, contact customer support.
9. Warranty and Support
For warranty information, please refer to the documentation provided at the time of purchase or contact your retailer. Keep your purchase receipt as proof of purchase.
For technical support or service inquiries, please contact CIATRE customer service through the contact information provided with your product or on the official CIATRE website.