Product Overview
The TOMLOV TRM101 is a versatile 7-inch IPS digital microscope designed for detailed observation and precision work, particularly soldering. It features a high-resolution screen, powerful LED illumination, and a dedicated soldering station for enhanced functionality.

Figure 1: Overall Structure of the TOMLOV TRM101 Digital Microscope, highlighting the 7-inch IPS HD Screen, Height Adjusting Knob, Focusing Knob, 28 LED Ring Lights, Pro Soldering Station, Parts Box, Heat Resistant Soldering Mat, Wireless 2.4G Remote Control, and Touch Control interface.
Package Contents
- TOMLOV TRM101 Digital Microscope Unit
- Professional Soldering Station Base
- Heat-Resistant Soldering Pad
- Wireless 2.4G Remote Control
- 32GB MicroSD Card
- USB-C Cable (for power and data transfer)
- User Manual (this document)

Figure 2: The TOMLOV TRM101 Digital Microscope, including the main unit, wireless remote, and 32GB SD card.
Setup
- Unpack Components: Carefully remove all items from the packaging.
- Assemble Microscope: Attach the microscope unit to the professional soldering station base. Ensure it is securely mounted.
- Insert MicroSD Card: Locate the MicroSD card slot on the microscope unit and insert the included 32GB card. This card is essential for saving captured images and videos.
- Connect Power: Connect the USB-C cable to the microscope and a 5V power source (e.g., a USB wall adapter or computer USB port). The device is USB rechargeable.
- Position Soldering Pad: Place the heat-resistant soldering pad onto the designated area of the soldering station base. This pad can withstand temperatures up to 1112°F (600°C).
Operating Instructions
Powering On/Off
Press and hold the power button located on the microscope unit to turn the device on or off. The 7-inch IPS screen will illuminate upon startup.
Adjusting Magnification and Focus
- Magnification (50X-1600X): Adjust the height of the microscope unit using the height adjusting knob on the stand to change the overall magnification.
- Focusing: Use the focusing knob on the side of the microscope unit to achieve a clear image. Rotate clockwise or counter-clockwise until the image on the screen is sharp.
Utilizing the 28-LED Ring Light
The microscope is equipped with a 28-LED ring light for optimal illumination. The brightness can be adjusted via the touch controls on the screen or the wireless remote. This ensures clear visibility of details under various lighting conditions.
Using the Professional Soldering Station
The integrated soldering station provides an organized workspace for precision tasks. It includes:
- Parts Area: Designated sections for organizing small components.
- Parts Box: Small compartments for storing parts securely.
- Magnetic Area: For holding magnetic tools or components.
- Tool Material Area: Space for various tools.
- Soldering Pad: The central heat-resistant mat with a focusing reference crosshair, scale ruler, and screw positioning areas.

Figure 3: Detailed view of the upgraded professional soldering station, showing the parts area, parts box, magnetic area, tool material area, soldering mat, scale, and screw positioning area.

Figure 4: The TOMLOV TRM101 microscope in use for soldering, demonstrating the ample workspace provided by the soldering station.
Capturing Images and Videos
The microscope allows for one-button capture of photos and videos. These are saved directly to the inserted 32GB MicroSD card. Use the dedicated buttons on the microscope unit or the wireless remote for this function.
Using the Wireless Remote Control
The 2.4G wireless remote control provides convenient operation without disturbing the microscope. Functions include adjusting magnification, capturing photos, and recording videos. Ensure the remote has fresh batteries for optimal performance.

Figure 5: The wireless 2.4G remote control, used for functions such as taking pictures/videos, digital zoom, image flip, and color mode switch.
Connecting to a Computer (PC)
The TOMLOV TRM101 features a USB-C interface for connection to Windows (XP/Vista/7/8/10/11) or Mac OS X 11.0 or higher computers. This allows for real-time transmission of the microscope's view to a larger screen, facilitating sharing and further analysis.

Figure 6: The TOMLOV TRM101 Digital Microscope connected to a personal computer for real-time transmission of the magnified view.
Common Applications
The microscope's 50X-1600X zoom range makes it suitable for various applications, including:
- Soldering PCB Boards
- Coin Collection Examination
- Watch Repair and Fine Mechanics
- Plant Inspection
- Jewelry and Diamond Inspection
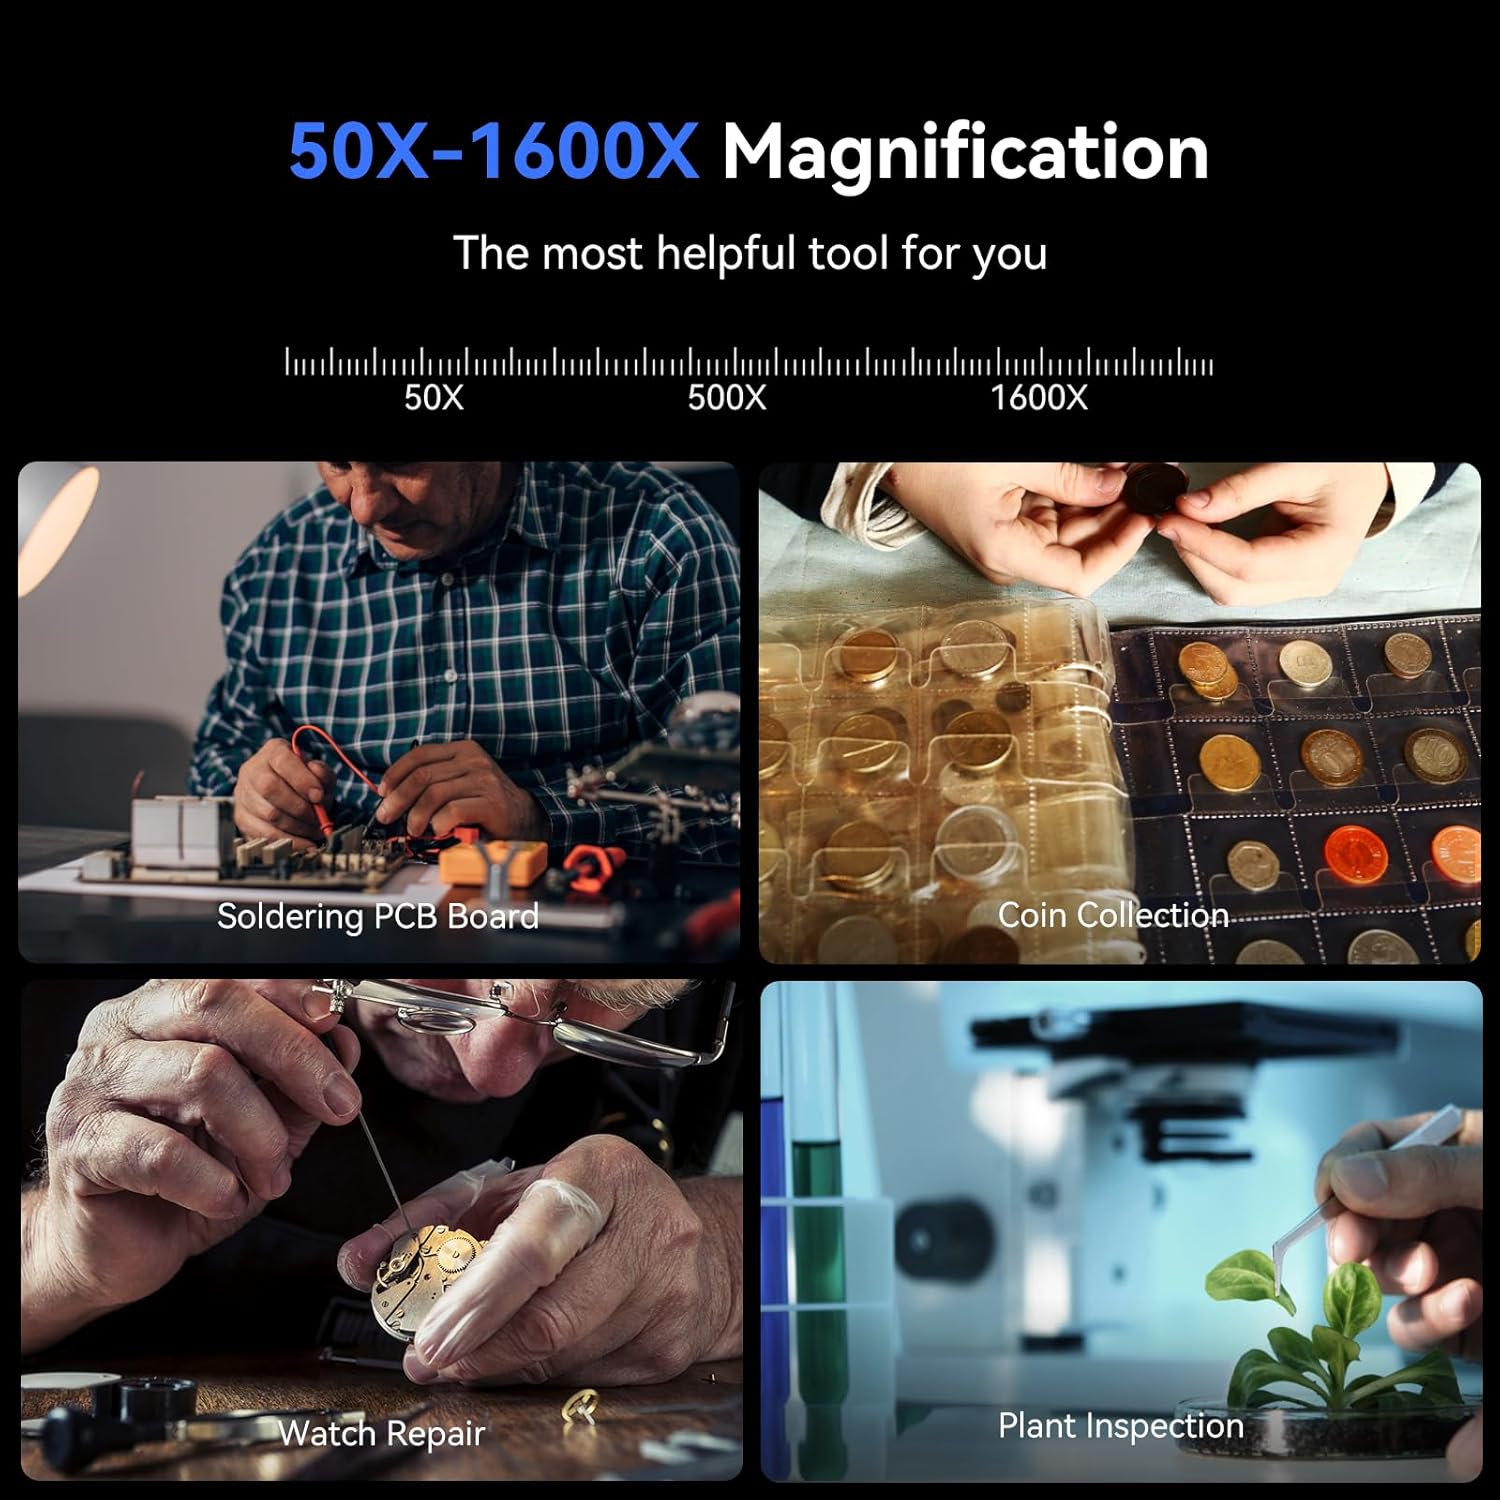
Figure 7: Examples of the TOMLOV TRM101 microscope's applications, including soldering PCB boards, coin collection, watch repair, and plant inspection.
Maintenance
- Cleaning the Lens and Screen: Use a soft, lint-free cloth specifically designed for optical surfaces to clean the microscope lens and IPS screen. Avoid abrasive materials or harsh chemicals.
- Cleaning the Soldering Pad: The PTFE material of the soldering pad is easy to clean. Use a damp cloth to wipe away debris. Ensure it is dry before next use.
- Battery Care: The device uses a Lithium Ion battery. For optimal battery life, avoid fully discharging the battery frequently. Recharge when the battery indicator is low.
- Storage: Store the microscope in a clean, dry environment away from direct sunlight and extreme temperatures.
Troubleshooting
| Problem | Possible Cause | Solution |
|---|---|---|
| No power/Device won't turn on | Low battery; Power cable not connected properly; Device malfunction. | Charge the device fully. Ensure USB-C cable is securely connected to a working 5V power source. If problem persists, contact support. |
| Image is blurry/out of focus | Incorrect focus adjustment; Incorrect working distance; Dirty lens. | Adjust the focusing knob. Adjust the height of the microscope unit to change working distance. Clean the lens with a suitable optical cleaning cloth. |
| Cannot save images/videos | MicroSD card not inserted; MicroSD card full or corrupted; Incorrect file format settings. | Ensure the 32GB MicroSD card is properly inserted. Check available space on the card. Format the card if necessary (this will erase all data). |
| Remote control not working | Remote batteries low or dead; Remote not paired (if applicable); Obstruction between remote and microscope. | Replace remote batteries. Ensure clear line of sight. Refer to the manual for pairing instructions if the remote requires it (typically not for 2.4G). |
| Cannot connect to PC | Incorrect USB-C cable; Driver issues; Incompatible operating system. | Ensure you are using the correct USB-C data cable. Try a different USB port on your computer. Check if necessary drivers are installed (usually plug-and-play). Verify OS compatibility (Windows XP/Vista/7/8/10/11, Mac OS X 11.0 or higher). |
Specifications
- Model: TRM101
- Screen: 7-inch IPS HD Screen, 178 Degrees Real Angle of View
- Magnification: 50X - 1600X (Maximum)
- Light Source: 28 LED Ring Light
- Power Input: 5 Volts (USB Rechargeable)
- Battery: 1 Lithium Ion battery (required)
- Storage: Supports MicroSD card (32GB included)
- Connectivity: USB-C (for PC connection)
- Compatible Devices: Personal Computer (Windows XP/Vista/7/8/10/11, Mac OS X 11.0 or higher)
- Soldering Pad Material: PTFE (Heat-resistant up to 1112°F / 600°C)
- Color: Black
- Dimensions (Package): 31.8 x 28.6 x 16.41 cm
- Weight (Package): 2.51 kg
- Manufacturer: TOMLOV
Warranty and Support
Warranty information for the TOMLOV TRM101 Digital Microscope is typically provided with the product packaging or can be found on the official TOMLOV website. Please retain your proof of purchase for warranty claims.
For technical support, troubleshooting assistance beyond this manual, or warranty inquiries, please contact TOMLOV customer service through their official channels. Refer to the product packaging or the TOMLOV website for contact details.


