
4DRC G2
4DRC G2 Remote Control Airplane User Manual
Model: G2 | Brand: 4DRC
Introduction
This user manual provides essential information for the safe operation, setup, and maintenance of your 4DRC G2 Remote Control Airplane. Please read this manual thoroughly before operating the aircraft to ensure proper function and to maximize your flying experience.
The 4DRC G2 is a remote control plane designed for beginners and adults, featuring one-key aerobatics and LED lights for enhanced visibility and fun. It offers diverse flight modes and a powerful 2.4GHz remote control system.
 Figure 1: 4DRC G2 Remote Control Airplane with Remote and Batteries. This image displays the complete product package, including the airplane, its remote controller, and the two included batteries.
What's in the Box
Upon opening the package, please verify that all components are present and in good condition:
- 4DRC G2 Remote Control Airplane
- Remote Controller
- 2 x 3.7V 350 mAh Lithium Ion Batteries
- USB Charging Cable (implied for rechargeable batteries)
- User Manual (this document)
Specifications
| Feature | Detail |
|---|---|
| Product Dimensions | 8 x 8 x 6 inches |
| Item Weight | 14.9 ounces |
| Item Model Number | G2 |
| Manufacturer Recommended Age | 8 years and up |
| Batteries | 2 Lithium Ion batteries required (included) |
| Flight Time | Approximately 15 minutes per battery (30 minutes total with 2 batteries) |
| Remote Control Frequency | 2.4GHz |
| Remote Control Range | Up to 656 feet (200 meters) |
| Gyroscope | Built-in 3-axis gyroscope for stable flight |
| Material | Durable Lightweight EPP Foam |
| Special Features | LED Lights, One-Key Aerobatics, Multiple Speed Modes |
Setup
1. Battery Installation and Charging
The 4DRC G2 airplane comes with two rechargeable 3.7V 350 mAh Lithium Ion batteries. Ensure batteries are fully charged before first use.
- Connect the battery to the provided USB charging cable.
- Plug the USB cable into a standard USB power adapter (e.g., computer USB port, phone charger).
- The indicator light on the USB cable will show charging status (refer to charger's specific light indications).
- Once fully charged, disconnect the battery from the charger.
- Carefully insert the charged battery into the designated battery compartment on the airplane. Ensure it is securely connected.
 Figure 2: Intelligent Gyroscope and Battery Compartment. The image highlights the intelligent gyroscope feature and shows a close-up of the battery compartment, indicating where the battery is inserted.
 Figure 3: Long Flight Time. This image illustrates the extended flight time provided by the dual batteries, showing children playing with the airplane outdoors.
2. Remote Controller Setup
Insert 3 AA batteries (not included) into the remote controller. Ensure correct polarity.
 Figure 4: 2.4GHz Remote Control System. This image displays the remote controller with labels for the throttle lever, steering yoke, speed up button, light control button, and ON/OFF switch.
3. Aircraft Assembly
The 4DRC G2 is made from durable EPP foam, designed for easy assembly and resilience.
 Figure 5: Durable EPP Material and Assembly. This composite image shows how the tail and wings of the airplane can be flexed and attached, highlighting the durability and flexibility of the EPP foam.
- Gently attach the wings to the main body of the aircraft, ensuring they click into place.
- Attach the tail fin to the rear of the aircraft.
- Ensure all connections are secure before flight.
Operating Instructions
1. Power On and Pairing
- Turn on the airplane by connecting the battery. The LED lights will start flashing.
- Turn on the remote controller.
- Move the throttle lever (left stick) all the way up, then all the way down. The airplane's lights will stop flashing, indicating successful pairing.
2. Takeoff
The 4DRC G2 supports both manual and glide takeoff.
- One-Key Takeoff: After pairing, press the one-key takeoff button on the remote. The airplane will automatically ascend to a stable height.
- Manual Takeoff: Hold the airplane firmly and gently throw it forward while simultaneously pushing the throttle lever up.
3. Flight Controls
Familiarize yourself with the remote controller functions:
- Throttle Lever (Left Stick): Controls altitude (up/down).
- Steering Yoke (Right Stick): Controls direction (left/right turns).
- Speed Up Button: Increases flight speed.
- Light Control Button: Toggles the LED lights on/off.
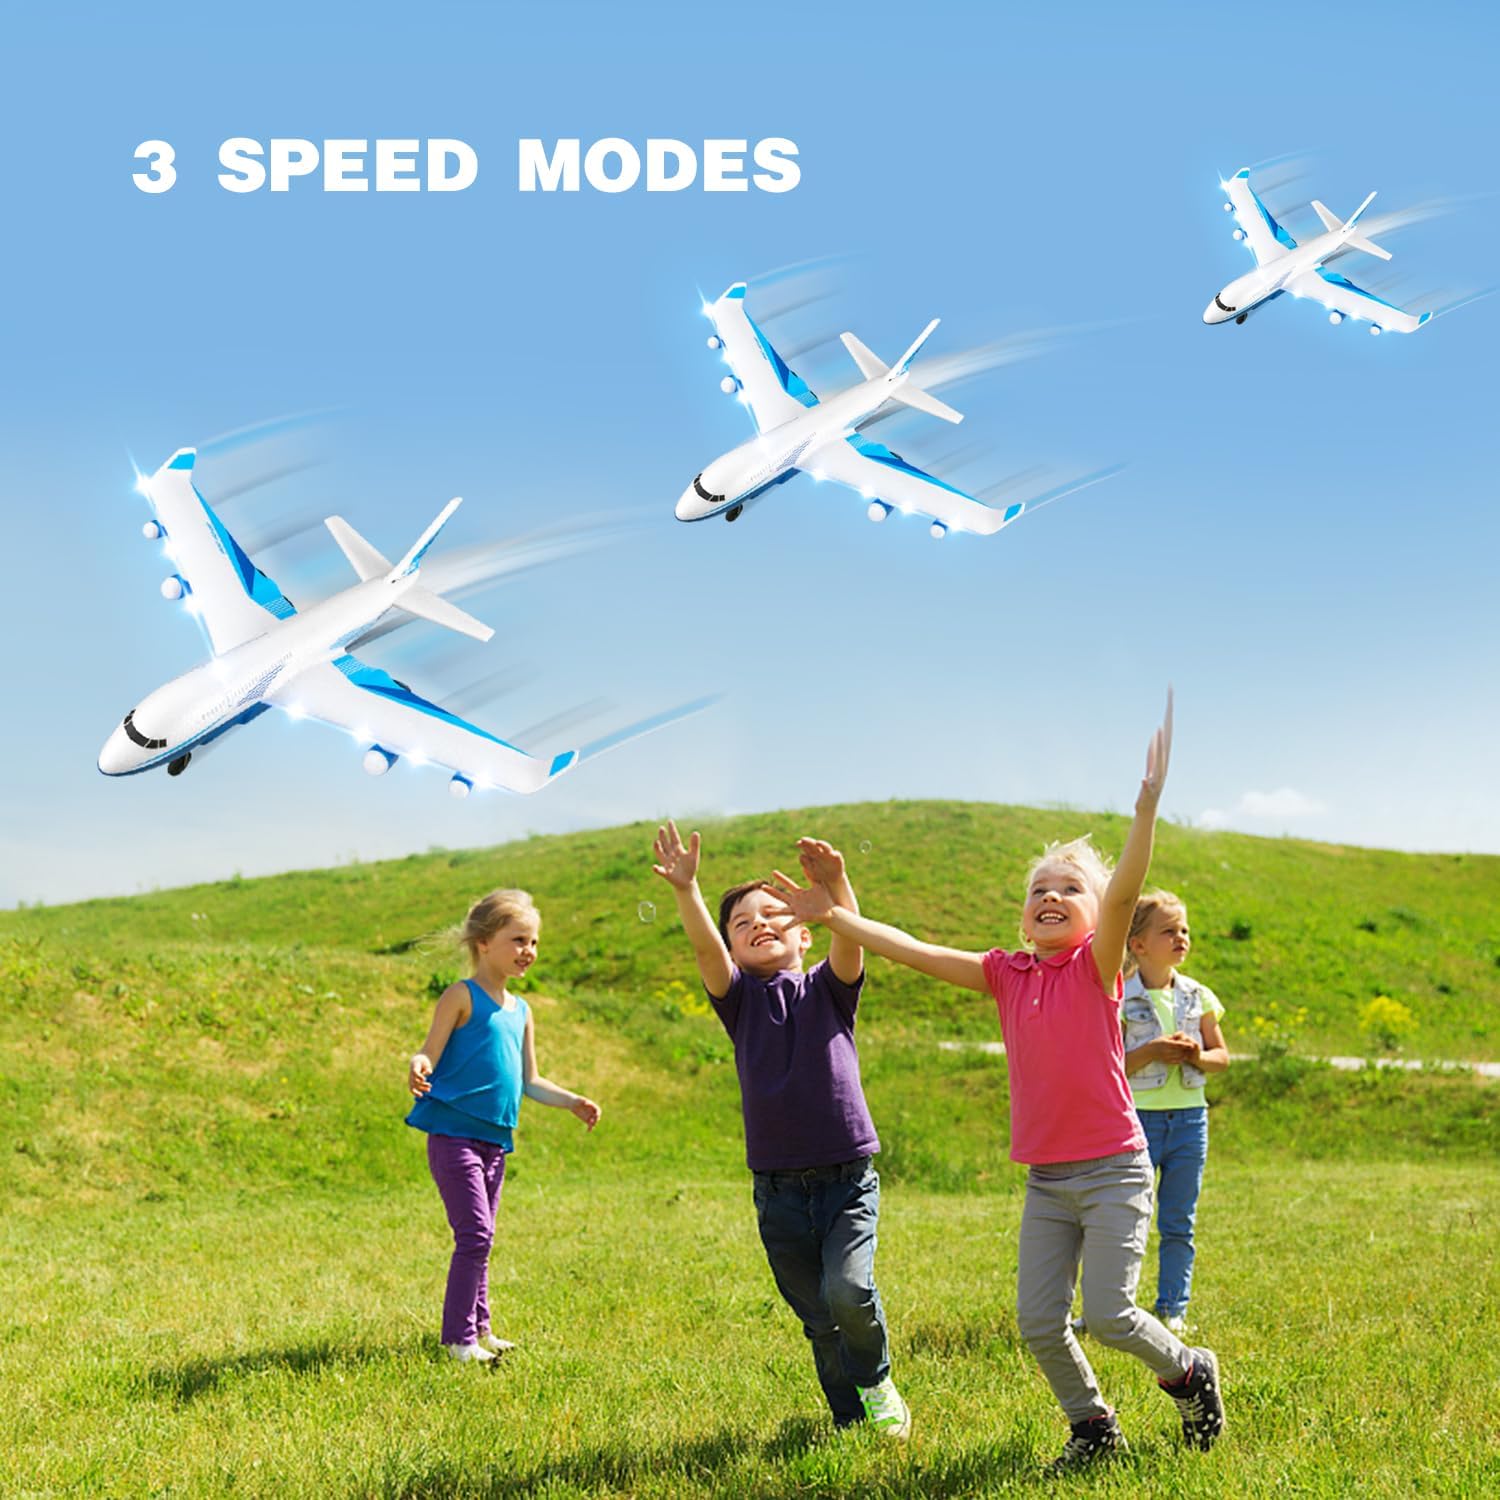 Figure 6: Three Speed Modes. This image depicts the airplane flying at different speeds, indicating the availability of multiple speed settings for varied flying experiences.
4. Aerobatics (3D Flips)
The 4DRC G2 features a one-key aerobatic function for exciting maneuvers.
- To perform a 3D flip, ensure the aircraft is at a sufficient altitude.
- Press the dedicated one-key aerobatic button (refer to remote diagram if available, or experiment with buttons not used for basic flight).
- The airplane will execute a pre-programmed flip.
 Figure 7: 3D Flips Loop. This diagram visually explains how the airplane performs a 3D flip, illustrating the maneuver's trajectory.
5. LED Lights
The integrated LED lights enhance visibility and add a dynamic element to night flights.
- Use the light control button on the remote to turn the LED lights on or off.
 Figure 8: LED Lights. This image demonstrates the bright LED lights of the airplane, showing how they illuminate the aircraft for evening flights.
Maintenance
- Cleaning: Wipe the aircraft gently with a dry, soft cloth after each use. Avoid using water or harsh chemicals.
- Storage: Store the airplane and remote controller in a cool, dry place away from direct sunlight and extreme temperatures. Remove batteries from the remote controller if storing for extended periods.
- EPP Foam Care: While durable, EPP foam can be damaged by sharp objects or excessive force. Inspect the aircraft for any cracks or damage before each flight. Small tears can often be repaired with foam-safe glue.
- Battery Care: Do not overcharge or over-discharge the batteries. Always use the provided charging cable. Discontinue use if batteries show signs of swelling or damage.
Troubleshooting
| Problem | Possible Cause | Solution |
|---|---|---|
| Airplane does not respond to remote. | Not paired; low battery in airplane or remote; out of range. | Re-pair the aircraft and remote. Charge airplane battery. Replace remote batteries. Fly within range. |
| Airplane flies erratically or crashes frequently. | Damaged propeller/wing; strong wind; gyroscope calibration issue. | Inspect for damage and replace parts if necessary. Avoid flying in strong winds. Re-calibrate gyroscope (refer to specific remote instructions if available). |
| LED lights not working. | Lights turned off; loose connection; damaged LEDs. | Press the light control button. Check battery connection. Contact support if damaged. |
| Short flight time. | Battery not fully charged; old battery; continuous high-speed flight. | Ensure battery is fully charged. Consider replacing old batteries. Vary flight speeds. |
Safety Guidelines
- Always fly in open areas, away from people, animals, buildings, and trees.
- Do not fly near airports or restricted airspace.
- Supervise children during operation.
- Do not touch the propellers when they are spinning.
- Avoid flying in strong winds or adverse weather conditions.
- Ensure the battery is properly installed and secured before flight.
- Do not modify the aircraft or its components.
Warranty and Support
For warranty information, technical support, or replacement parts, please refer to the product packaging or visit the official 4DRC website. Keep your purchase receipt as proof of purchase.
For additional resources, you may visit the 4DRC Store: 4DRC Official Store
Ask a question about this manual
Ask about setup, troubleshooting, compatibility, parts, safety, or missing instructions. Manuals+ will review the question and use this page’s manual context to help answer it.