
ESAB 0700102043
ESAB SWARM A20 Auto-Darkening Welding Helmet User Manual
Model: 0700102043
Introduction
The ESAB SWARM A20 Auto-Darkening Welding Helmet is designed to provide superior protection and performance for various welding applications. Its advanced auto-darkening filter (ADF) and adjustable settings ensure optimal visibility and safety for welders.
Safety Information
Always read and understand all safety warnings and instructions before using this product. Failure to follow warnings and instructions may result in electric shock, fire, and/or serious injury.
- This welding helmet is designed to protect eyes and face from sparks, spatter, and harmful radiation under normal welding conditions.
- Do not use this helmet for laser welding or overhead welding applications.
- Ensure the helmet is properly fitted and adjusted before each use.
- Replace damaged parts immediately.
- Do not modify the helmet or its components.
Package Contents
Verify that all items are present in the package:
- ESAB SWARM A20 Auto-Darkening Welding Helmet
- CR2032 Batteries (1 included)
- User Manual (this document)
Product Overview
Familiarize yourself with the key components of your ESAB SWARM A20 welding helmet.

Image: Front view of the ESAB SWARM A20 Auto-Darkening Welding Helmet, showing the auto-darkening filter and the ESAB logo.
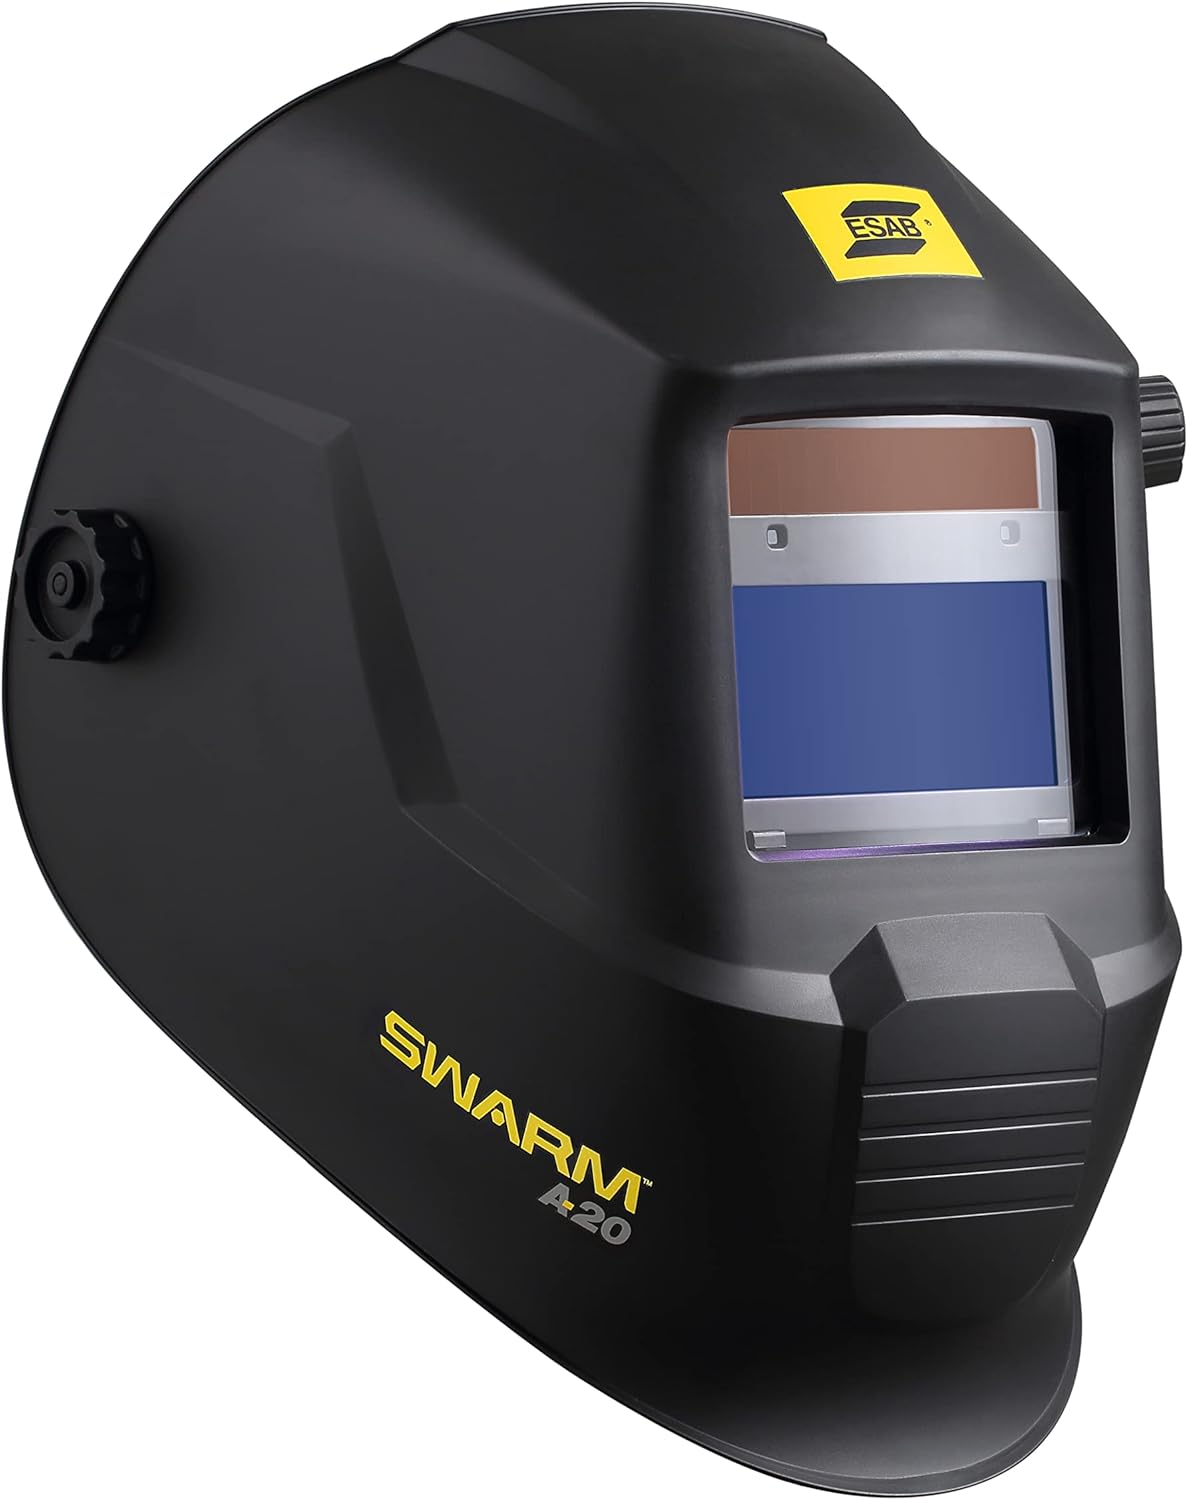
Image: Side view of the ESAB SWARM A20 Auto-Darkening Welding Helmet, highlighting its ergonomic design and the SWARM A20 branding.

Image: Side view of the ESAB SWARM A20 Auto-Darkening Welding Helmet, displaying the external shade adjustment knob (DIN 9-13) and grind mode setting.

Image: Angled front view of the ESAB SWARM A20 Auto-Darkening Welding Helmet, providing a comprehensive look at the helmet's shape and features.
Setup
Battery Installation
The ESAB SWARM A20 helmet uses one CR2032 battery, which is included.
- Locate the battery compartment on the inside of the helmet's auto-darkening filter (ADF).
- Open the compartment cover.
- Insert the CR2032 battery with the positive (+) side facing up.
- Close the battery compartment cover securely.
- Press the ADF test button to ensure the filter darkens correctly.
Headgear Adjustment
Adjust the headgear for a comfortable and secure fit.
- Adjust the top strap to position the helmet correctly on your head.
- Use the ratchet knob at the back of the headgear to tighten or loosen the fit around your head.
- Adjust the distance between your face and the filter by moving the pins on the side of the headgear.
- Ensure the helmet is stable and does not wobble during use.
Operating Instructions
Auto-Darkening Filter (ADF) Controls
The SWARM A20 features external and internal controls for optimal welding performance.
External Shade Adjustment
The shade level can be adjusted externally using the knob on the side of the helmet.
- Rotate the knob to select a shade level between DIN 9 and DIN 13, suitable for most welding processes.
- For grinding operations, select the "Grind" mode on the external knob. In grind mode, the ADF remains light, providing clear vision without darkening.
Internal Sensitivity and Delay Settings
Inside the helmet, there are dials for adjusting sensitivity and delay.
- Sensitivity: Adjusts how sensitive the ADF is to the welding arc. Increase sensitivity for low-amp TIG welding or when the arc is partially obstructed.
- Delay: Controls the time it takes for the filter to return to its light state after the arc stops. A longer delay is useful for high-amperage welding or when there are pulsating arcs to prevent eye fatigue.
Welding Operation
- Select the appropriate shade level for your welding process using the external knob.
- Adjust sensitivity and delay settings as needed for your specific application.
- Position the helmet comfortably on your head.
- Begin welding. The ADF will automatically darken when the arc is struck and return to its light state after the arc stops, based on your delay setting.
Maintenance
Cleaning
Regularly clean your welding helmet to ensure optimal performance and longevity.
- Clean the outer and inner protective lenses with a soft, clean cloth and a mild soap solution. Do not use abrasive cleaners or solvents.
- Wipe the helmet shell with a damp cloth.
- Do not immerse the helmet in water.
Battery Replacement
The helmet features a low battery indicator LED. When the LED illuminates, replace the CR2032 battery as described in the "Battery Installation" section.
Storage
Store the helmet in a dry, clean place away from direct sunlight and extreme temperatures.
Troubleshooting
| Problem | Possible Cause | Solution |
|---|---|---|
| ADF does not darken when arc is struck. | Low battery; Sensors obstructed; Sensitivity too low; Helmet in Grind mode. | Replace battery; Clean sensors; Increase sensitivity; Switch out of Grind mode. |
| ADF flickers or flashes. | Sensitivity too high; Ambient light interference; Arc too far from sensors. | Decrease sensitivity; Ensure proper lighting; Position closer to arc. |
| Poor visibility through ADF. | Protective lenses dirty or scratched; Incorrect shade setting. | Clean or replace lenses; Adjust shade to appropriate level. |
Specifications
- ADF Viewing Area: 93 x 43 mm (3.6 x 1.7 in.)
- Shade Range: DIN 9–13 (adjustable)
- CE Optical Class: 1/1/1/2
- Arc Sensors: 2
- Switching Time: 0.1 millisecond
- Delay/Sensitivity: Fully adjustable
- Battery Type: CR2032 (1)
- Low Battery Indicator: Yes
- Weight: Approximately 1.98 pounds (0.9 kg)
- Model Number: 0700102043
Warranty and Support
For warranty information and technical support, please refer to the official ESAB website or contact ESAB customer service. Keep your purchase receipt for warranty claims.
ESAB Official Website: www.esab.com
Related documents0700102043


Ask a question about this manual
Ask about setup, troubleshooting, compatibility, parts, safety, or missing instructions. Manuals+ will review the question and use this page’s manual context to help answer it.