
Introduction
The PHILCO Personal CD Player is a versatile and portable audio device designed for enjoying your favorite music on the go. It supports various CD formats, including Audio CD, MP3 CD, and CD-R/RW, and features a built-in FM radio. With its 60-second Anti-Shock protection, it ensures uninterrupted playback during movement. This manual provides detailed instructions for setup, operation, and maintenance of your new CD player.
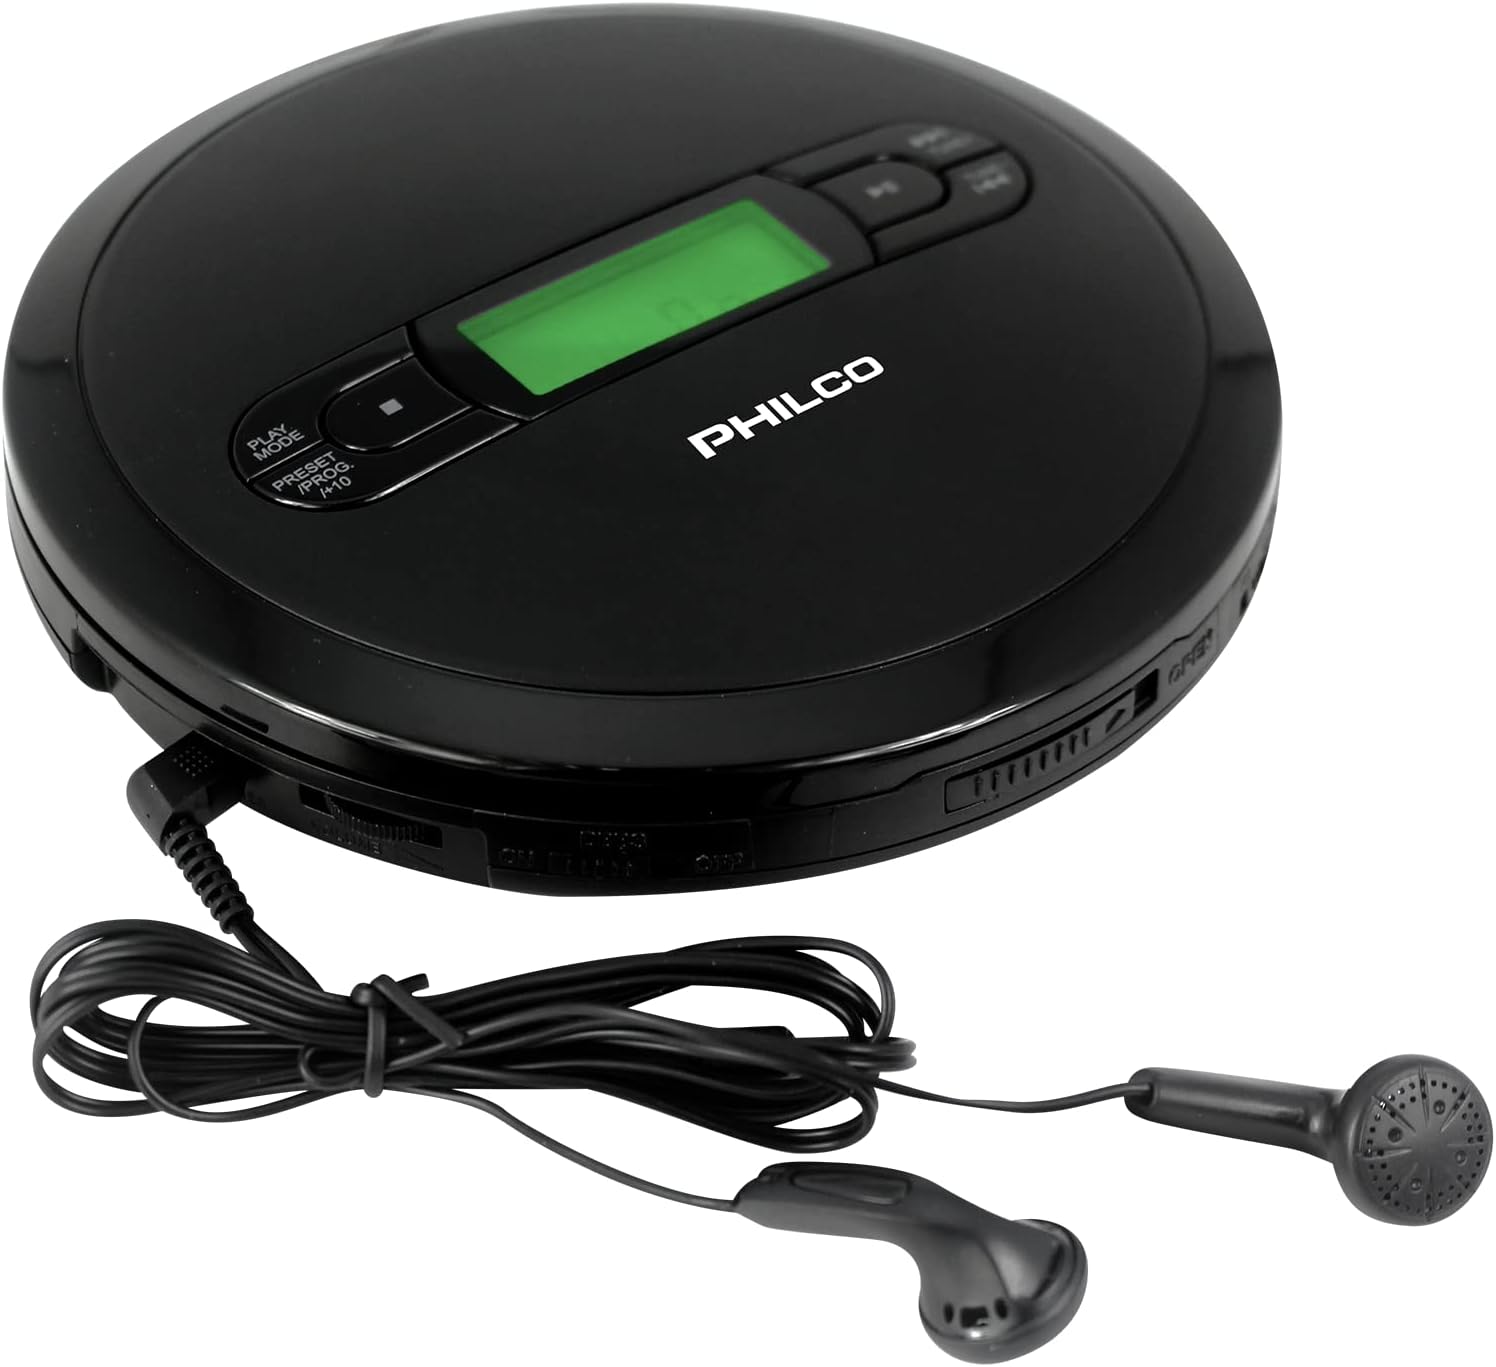
Image: The PHILCO Personal CD Player shown with its included stereo earbuds, highlighting its compact design and ready-to-use accessories.
Package Contents
- PHILCO Personal CD Player
- Stereo Earbuds
- User Manual (this document)
Note: An AC adapter is NOT included with this product. The device operates on batteries.
Product Features
- Supports Audio CD, MP3 CD, and CD-R/RW formats.
- Built-in Digital FM Radio.
- 60-second Anti-Shock Protection for Audio CDs.
- 100-second Anti-Shock Protection for MP3 CDs.
- Programmable track playback.
- Stereo Headphone Jack.
- Battery-powered for portability.

Image: Visual representation of the Anti-Shock feature, indicating 60 seconds for CD and 100 seconds for MP3, along with MP3-CD and Digital FM radio capabilities.

Image: The top-loading mechanism of the CD player is shown, emphasizing its compatibility with MP3 CD, Audio CD, and CD-R/RW formats, as well as its FM Radio function.
Setup
1. Powering the Device
The PHILCO Personal CD Player is designed for battery operation, providing portability. Locate the battery compartment on the underside of the player. Insert the required batteries (not included) according to the polarity indicators (+/-). Close the battery compartment securely.
While an AC adapter is not included, the player may have a DC input for optional external power. Refer to the device's labeling for specific power requirements if using an external adapter.
2. Connecting Headphones
Connect the included stereo earbuds or your preferred headphones into the 3.5mm stereo headphone jack located on the side of the CD player. Ensure the plug is fully inserted for proper audio output.

Image: A close-up view of the PHILCO Personal CD Player showing the stereo headphone jack and the included earbuds connected, illustrating the audio output method.
Operation
1. Loading a CD
- Gently press the "OPEN" button or slide the latch to open the CD compartment lid.
- Place a CD (Audio CD, MP3 CD, or CD-R/RW) onto the center spindle with the label side facing up.
- Gently press down on the center of the CD until it clicks into place.
- Close the CD compartment lid firmly until it latches.
2. Playing Audio CDs
- Press the PLAY/PAUSE button (▶||) to start playback.
- Press PLAY/PAUSE again to pause playback. Press it once more to resume.
- Use the SKIP FORWARD (▶▶|) or SKIP BACKWARD (|◀◀) buttons to skip to the next or previous track.
- Press and hold SKIP FORWARD or SKIP BACKWARD to fast forward or rewind within a track.
- Press the STOP (■) button to stop playback.
3. Playing MP3 CDs
When an MP3 CD is loaded, the player will scan the disc for MP3 files. The display may show folder and file information. Navigation through folders and files typically uses the SKIP FORWARD and SKIP BACKWARD buttons, possibly in conjunction with a "Folder" or "Mode" button if available.
4. Anti-Shock Protection
The player features an electronic skip protection system to prevent audio interruptions during movement. It provides 60 seconds of protection for Audio CDs and 100 seconds for MP3 CDs by buffering audio data. This feature activates automatically.
5. FM Radio Operation
- To switch to FM radio mode, locate the FM/CD switch or button.
- Once in FM mode, use the TUNE UP or TUNE DOWN buttons (often shared with skip buttons) to manually tune to a station.
- To auto-scan and store stations, press and hold the PLAY/PAUSE or a dedicated SCAN button. Refer to the device's specific button layout for exact functionality.
- Use the PRESET/PROG button to cycle through stored FM presets.
6. Programmable Playback
The player allows you to program a sequence of tracks for playback. While the exact steps may vary, generally:
- In STOP mode, press the PROG or PRESET/PROG button.
- Use the SKIP buttons to select the desired track number.
- Press PROG again to confirm and add the track to the program list.
- Repeat for all desired tracks.
- Press PLAY/PAUSE to start programmed playback.
7. Volume Control
Adjust the volume using the VOLUME dial or buttons located on the side or front of the player. Start with a low volume and gradually increase to a comfortable listening level.
Maintenance
- Cleaning: Use a soft, dry cloth to clean the exterior of the player. For the lens inside the CD compartment, use a specialized CD lens cleaner disc or a soft, lint-free cloth designed for optics. Do not use abrasive cleaners or solvents.
- Battery Care: If the player will not be used for an extended period, remove the batteries to prevent leakage and damage.
- Storage: Store the player in a cool, dry place away from direct sunlight, extreme temperatures, and excessive dust.
- Disc Handling: Always handle CDs by their edges. Avoid touching the playing surface. Keep discs clean and free from scratches.
Troubleshooting
| Problem | Possible Cause | Solution |
|---|---|---|
| Player does not turn on. | Batteries are dead or inserted incorrectly. | Replace batteries or check polarity. |
| No sound from headphones. | Headphones not fully plugged in; volume too low; faulty headphones. | Ensure headphones are fully inserted. Increase volume. Test with different headphones. |
| CD skips or stops playing. | CD is dirty or scratched; player is subjected to excessive shock; disc format not supported. | Clean the CD. Avoid strong vibrations. Ensure the CD is an Audio CD, MP3 CD, or CD-R/RW. |
| FM radio reception is poor. | Weak signal; interference. | Adjust player position. Extend headphone cable (acts as antenna). Move away from electronic devices. |
| Cannot program tracks. | Not in STOP mode; incorrect programming steps. | Ensure player is in STOP mode before programming. Follow programming steps carefully. |
Specifications
| Feature | Detail |
|---|---|
| Model Number | 850041387314 |
| Product Dimensions | 5.5 x 5.5 x 1 inches |
| Item Weight | 9.1 ounces |
| Supported Disc Formats | Audio CD, MP3 CD, CD-R/RW |
| Anti-Shock Protection | 60 seconds (Audio CD), 100 seconds (MP3 CD) |
| Radio Tuner | Digital FM Radio |
| Connectivity | 3.5mm Auxiliary Headphone Jack |
| Power Source | Battery Operated (AC adapter not included) |
| Manufacturer | PHC Americas, LLC |
| Country of Origin | USA |

Image: The dimensions of the compact CD player are illustrated, showing its 5.5-inch diameter and 1-inch thickness, emphasizing its portability.
Warranty and Support
For warranty information or technical support, please refer to the contact details provided on the product packaging or visit the official Philco website. Keep your purchase receipt as proof of purchase for any warranty claims.
Manufacturer: PHC Americas, LLC
Portability and Usage Scenarios
The PHILCO Personal CD Player is designed to be highly portable, making it an ideal companion for various activities. Its compact size allows for easy transport in bags or luggage, perfect for travel or daily commutes.

Image: The PHILCO Personal CD Player is shown packed neatly in a suitcase alongside other travel essentials, demonstrating its travel-friendly design.

Image: A collage depicting different individuals using the PHILCO Personal CD Player in various settings: enjoying music, listening with a partner, as a travel companion, and for learning purposes, highlighting its versatility.