
1. Introduction
The BIGTREETECH Pi Control Board V1.2 is a compact, high-performance single-board computer designed for advanced 3D printing applications, particularly those utilizing Klipper firmware. Featuring a 64-bit quad-core processor and 1GB DDR3L SDRAM, it offers robust processing power and extensive connectivity options for various projects.
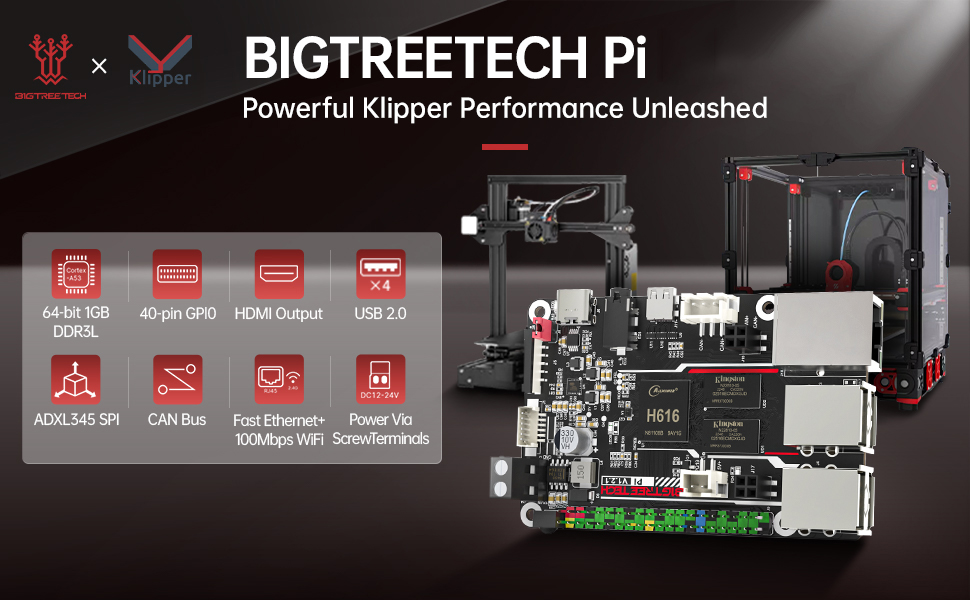
Image 1.1: Overview of the BIGTREETECH Pi Control Board V1.2.
2. Key Features
- Main Control Chip: ALLWINNER H616, 64-bit Quad-core, Cortex-A53 1.5GHz Processor.
- RAM: 1GB DDR3L SDRAM.
- Compact Size: 85*56mm, compatible with Raspberry Pi 3B/4B mounting dimensions.
- Display Support: MaliG32 MP2 GPU, supports OpenGL3.2, HDMI2.0A UHD 4K Video & Audio output, and SPI screens (e.g., BTT HDMI5/7, TFT35 SPI).
- Connectivity: Standard 40-pin GPIO header, 3.5mm audio jack, TF card slot, ADXL345 SPI interface, USB to CAN module support (requires CAN adapter V1.0 module), built-in IR receiver, RJ45 100Mbps wired network, built-in 2.4G WiFi module (100Mbps wireless network).
- Power Options: USB-C 5V power supply and DC12V-24V from a 3D Printer.
- Compatibility: Designed to run Klipper firmware and compatible with various BIGTREETECH control boards including SKR Mini E3 V3.0, Octopus V1.1, Octopus Pro, Max EZ, SKR V1.4 Turbo, SKR Pico, SKR 3, and EZ/Kraken series.
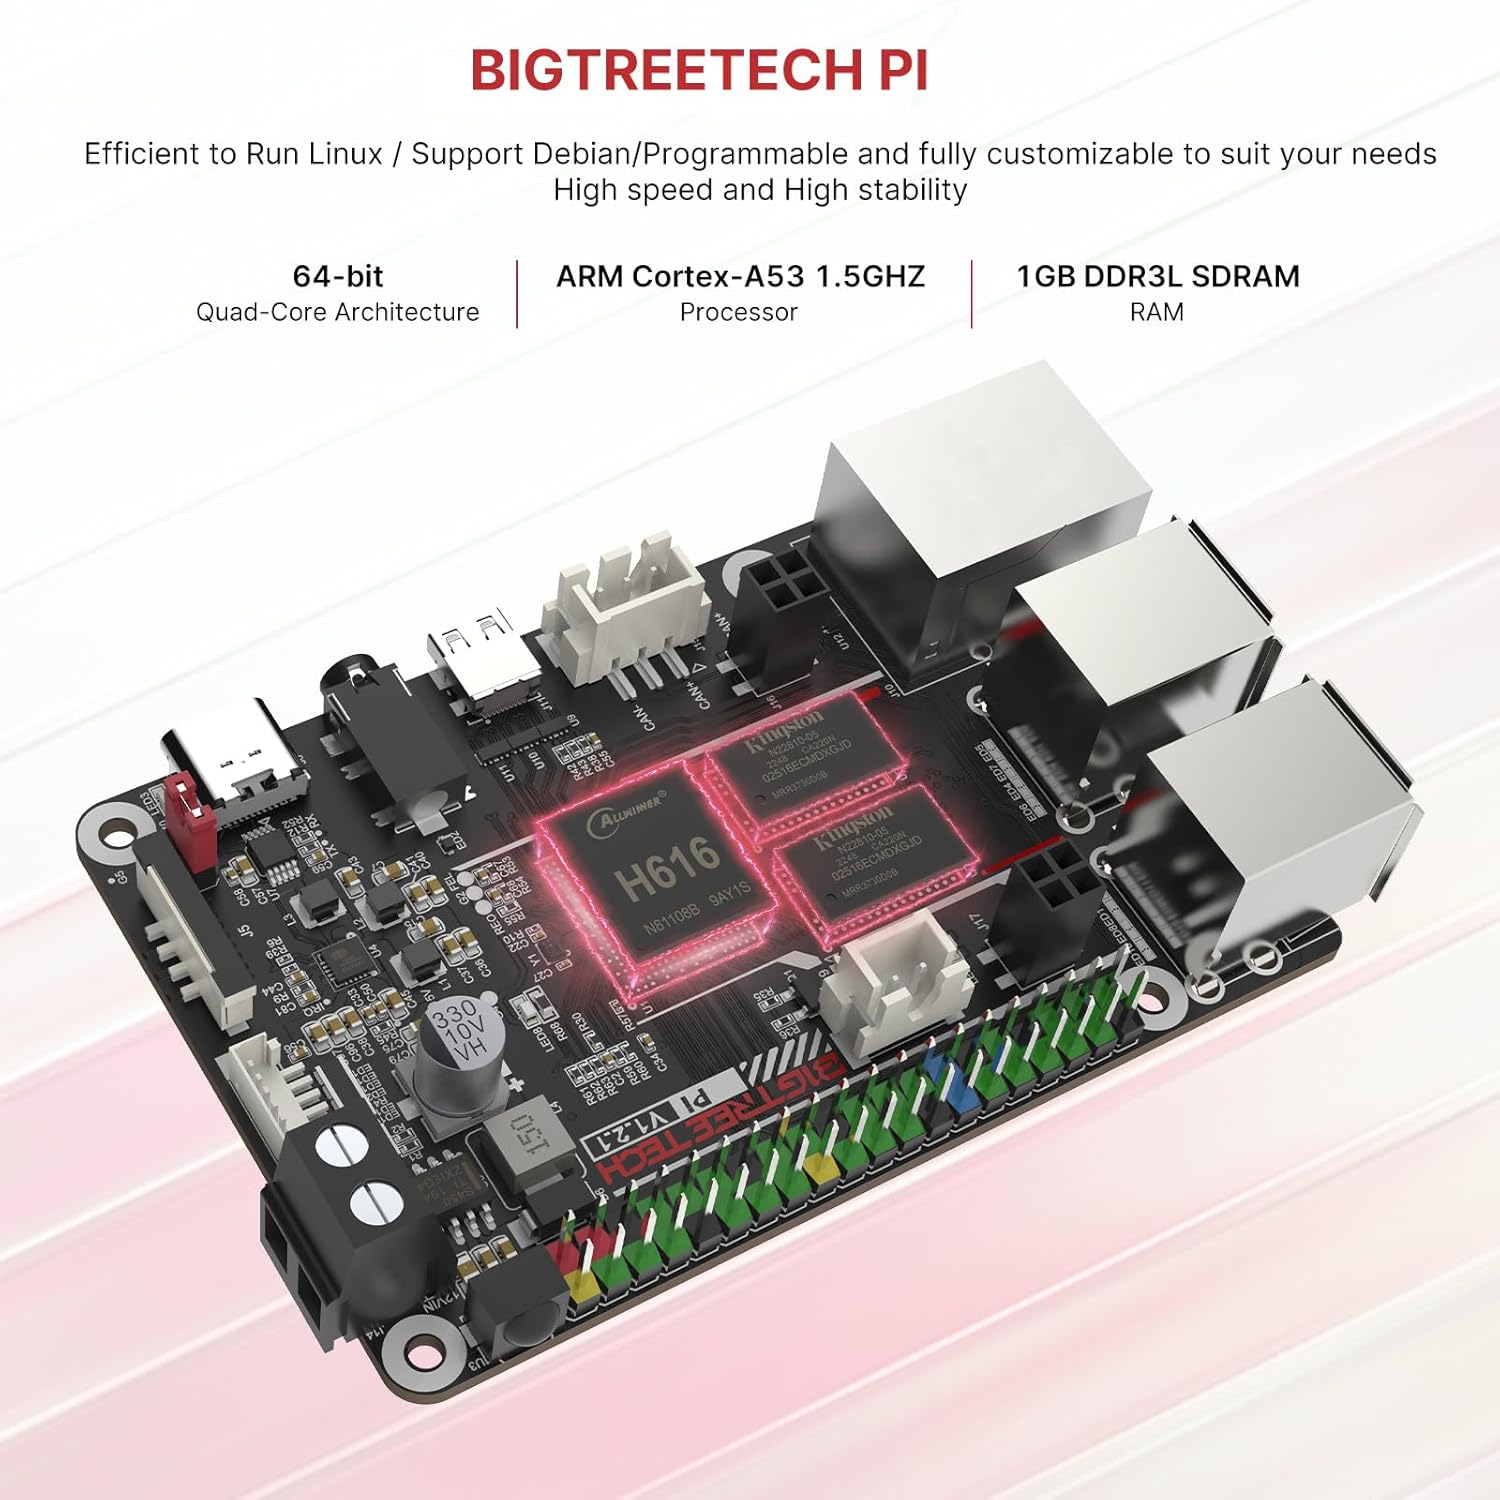
Image 2.1: The BIGTREETECH Pi Control Board V1.2, showcasing its core components and features.
3. Setup Guide
3.1 Initial Power-Up
- Insert MicroSD Card: Prepare a MicroSD card with the appropriate operating system image (e.g., Debian Linux for Klipper). Insert it into the TF card slot on the board.
- Connect Power: The board supports two power input methods:
- USB-C 5V: Connect a 5V/2A USB-C power adapter to the USB-C port.
- DC 12V-24V: Connect a 12V-24V DC power supply (e.g., from a 3D printer) to the screw terminals.
- Connect Peripherals: If using a display, connect it via HDMI or SPI. Connect a keyboard and mouse to the USB 2.0 ports for initial setup if needed.
- Network Connection: Connect an Ethernet cable to the RJ45 port or attach the included WiFi antenna for wireless connectivity.
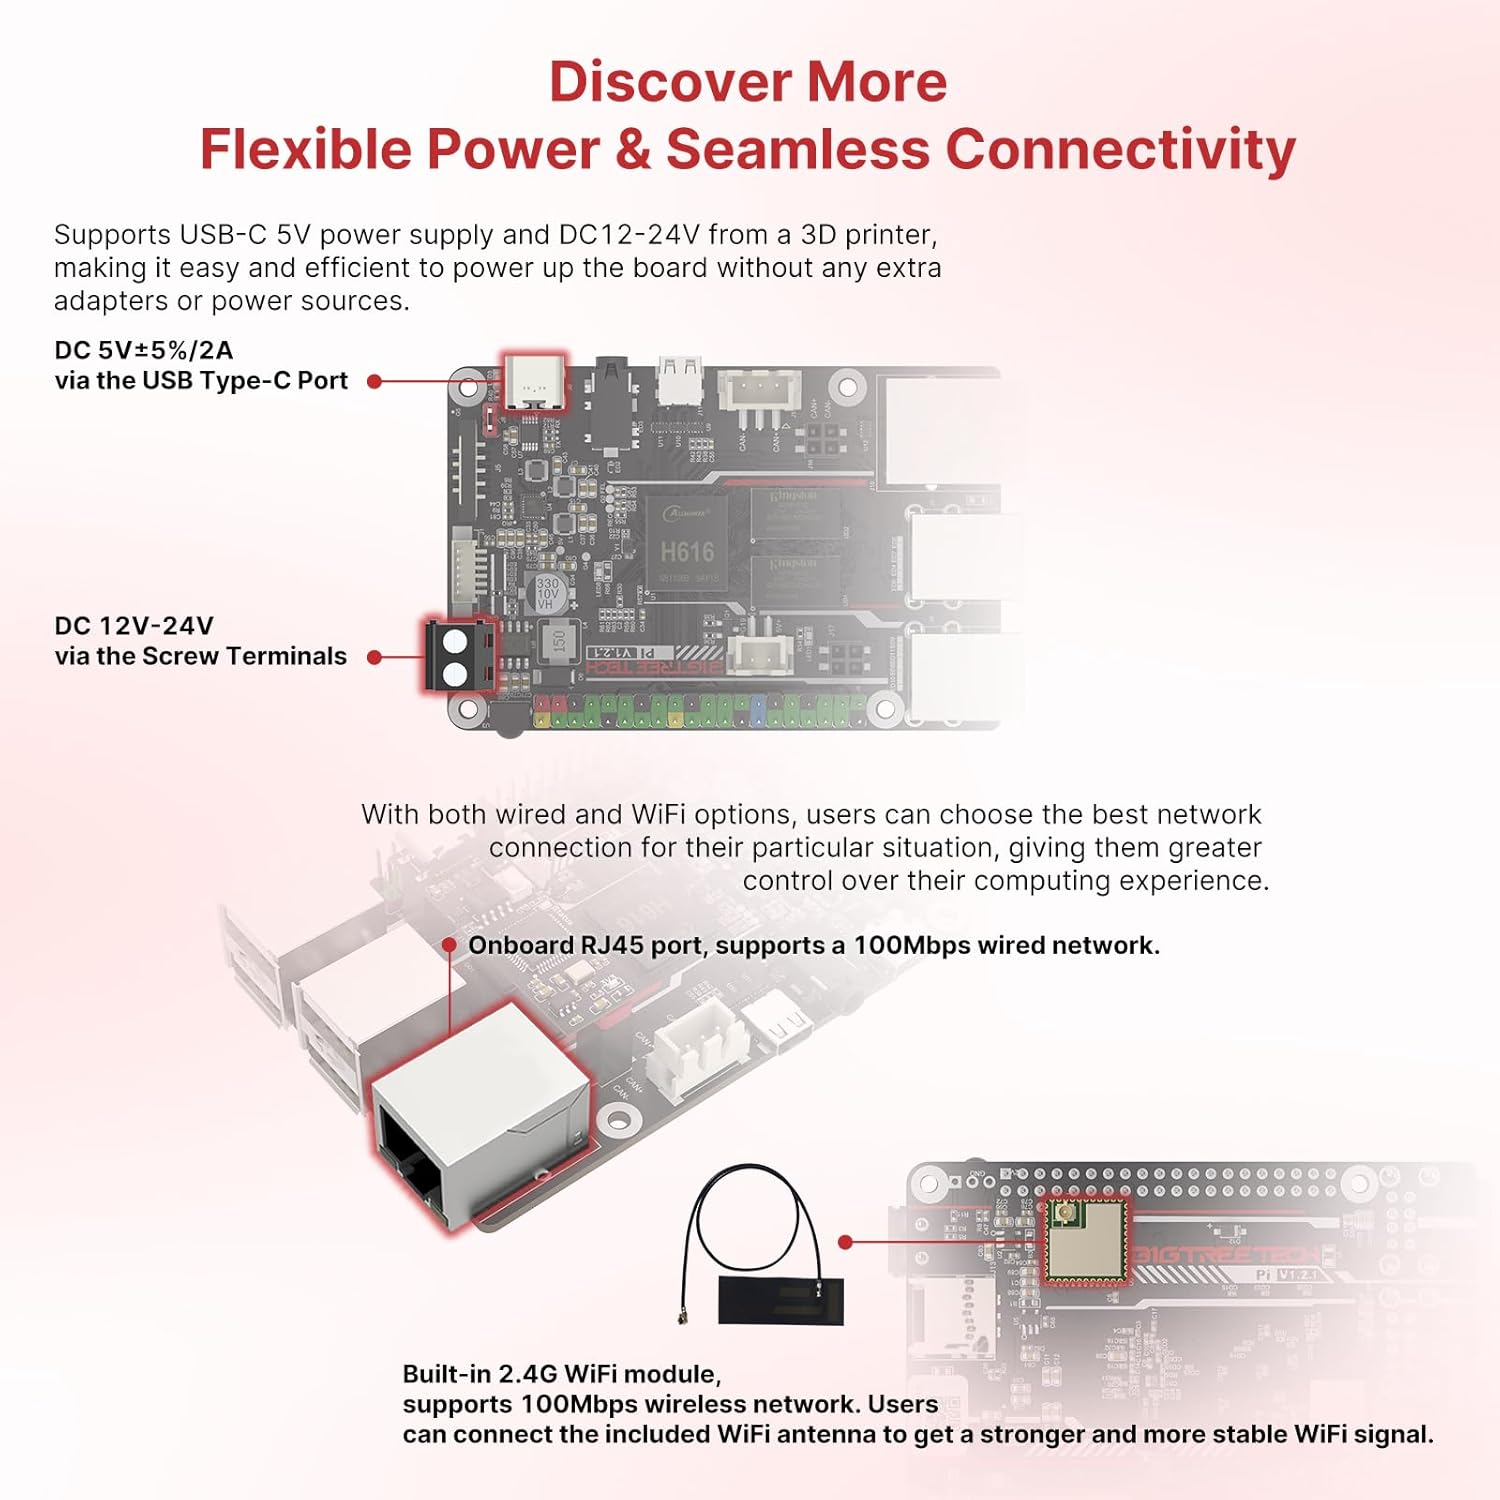
Image 3.1: Power input options (USB-C 5V and DC 12-24V) and network connectivity (RJ45 and WiFi antenna).
3.2 Operating System and Klipper Installation
For detailed instructions on installing the operating system and Klipper firmware, refer to the official BIGTREETECH GitHub documentation. This process typically involves flashing an image to the MicroSD card and configuring Klipper for your specific 3D printer setup.
4. Operating the Board
Once the operating system and Klipper are installed and configured, the BIGTREETECH Pi V1.2 acts as the control hub for your 3D printer. You can interact with it via a connected display, SSH over the network, or through a web interface like Fluidd or Mainsail, which are commonly used with Klipper.
4.1 Display Options
The board supports various display configurations:
- HDMI: Connect to an HDMI monitor for 4K UHD video and audio output.
- SPI Screen: Compatible with BTT HDMI5/7 and TFT35 SPI touch screens.
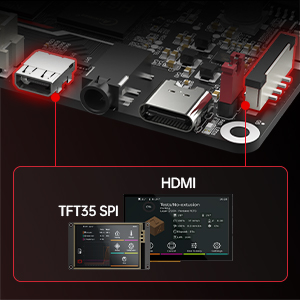
Image 4.1: The BTT Pi V1.2 board connected to a BTT HDMI5 V1.2 TFT35 SPI touch screen display.
5. Connectivity and Ports
The BIGTREETECH Pi V1.2 offers a comprehensive set of ports for diverse applications:
- 40-pin GPIO Header: Standard header for connecting various sensors and modules.
- USB 2.0 Ports (x4): For connecting peripherals like keyboards, mice, USB drives, and cameras.
- HDMI Port: Micro HDMI for video and audio output.
- Ethernet (RJ45): 100Mbps wired network connection.
- WiFi Module: Built-in 2.4G WiFi for 100Mbps wireless network, with an external antenna for improved signal.
- 3.5mm Audio Jack: For audio output.
- TF Card Slot: For MicroSD card storage.
- ADXL345 SPI Interface: Dedicated port for connecting an ADXL345 accelerometer for Klipper input shaper calibration.
- CAN Bus Port: Dedicated port for a USB to CAN module (requires CAN adapter V1.0 module, sold separately).
- Infrared Receiver Tube: For IR remote control functionality.
- PWM Fan Port: For connecting an external fan for improved heat dissipation.

Image 5.1: Detailed diagram of the BIGTREETECH Pi V1.2 board, labeling all available ports and interfaces.
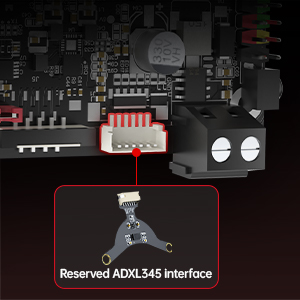
Image 5.2: Close-up of the reserved ADXL345 interface on the BTT Pi V1.2 motherboard.
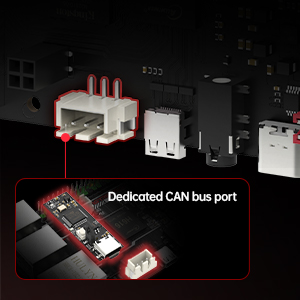
Image 5.3: The BTT Pi V1.2 board with support for CAN Bus connectivity.
6. Compatibility
The BIGTREETECH Pi V1.2 is designed for broad compatibility within the 3D printing ecosystem, especially with Klipper firmware. It is compatible with the following BIGTREETECH control boards:
- SKR Mini E3 V3.0
- Octopus V1.1
- Octopus Pro
- Max EZ
- SKR V1.4 Turbo
- SKR Pico
- SKR 3
- EZ/Kraken series

Image 6.1: The BIGTREETECH Pi V1.2 demonstrating compatibility with Klipper and various BIGTREETECH control boards.
7. Specifications
| Feature | Detail |
|---|---|
| Brand | BIGTREETECH Direct |
| Model Name | BIGTREETECH Pi |
| Model Number | PI V1.2 |
| Processor | ALLWINNER H616, 64-bit Quad-core, Cortex-A53 |
| CPU Speed | 1.5 GHz |
| RAM | 1GB DDR3L SDRAM |
| GPU | MaliG32 MP2 (Supports OpenGL3.2) |
| HDMI | Micro HDMI *1 (Supports HDMI2.0A UHD 4K Video & Audio) |
| Storage | MicroSD Card Slot |
| Ethernet | 100M Ethernet PHY (RJ45) |
| Wireless | Built-in 2.4G WiFi Module (100Mbps) |
| USB Ports | 4x USB 2.0 |
| Audio | 3.5mm Audio Port |
| GPIO | Standard 40-pin GPIO Header |
| Other Interfaces | SPI Screen, ADXL345 SPI, USB to CAN module (requires adapter), IR Receiver |
| Power Input | USB-C 5V, DC 12V-24V (via screw terminals) |
| Operating System | Linux |
| Dimensions (L x W x H) | 85mm x 56mm (3.3"L x 2.52"W x 0.03"H) |

Image 7.1: Physical dimensions of the BIGTREETECH Pi V1.2, showing its similarity in size to the Raspberry Pi 3 Model B.
8. Troubleshooting
This section provides general guidance for common issues. For specific technical support, refer to the official BIGTREETECH resources.
8.1 Power Issues
- No Power/LEDs Off: Ensure the power supply is correctly connected and provides the correct voltage (5V via USB-C or 12-24V via DC terminals). Check the power cable for damage.
- Intermittent Power: Verify the power supply is stable and provides sufficient current (at least 2A for 5V).
8.2 Network Connectivity Problems
- No Wired Connection: Check the Ethernet cable and router connection. Ensure the RJ45 port LEDs are active.
- No Wireless Connection: Ensure the WiFi antenna is securely attached. Verify WiFi credentials and network settings in the operating system.
8.3 Display Not Working
- HDMI Output: Check HDMI cable connections. Ensure the display is set to the correct input source.
- SPI Screen: Verify the SPI screen is correctly connected and configured in the operating system.
8.4 Klipper Firmware Issues
- Klipper Not Starting: Check the MicroSD card for proper OS and Klipper installation. Review Klipper logs for error messages.
- Printer Not Responding: Verify communication between the BIGTREETECH Pi and your 3D printer's mainboard. Check wiring and serial port configuration.
9. Official Product Video
Video 9.1: Official BIGTREETECH BTT Pi product overview. This video provides a visual introduction to the board's features and capabilities.
10. Warranty and Support
BIGTREETECH Direct products typically come with a manufacturer's warranty. For detailed warranty information, return policies, and technical support, please refer to the official BIGTREETECH website or contact their customer service directly. Keep your purchase receipt for warranty claims.