
Lardera Performance USA
Wilfa Performance Coffee Maker User Manual
Model: Performance USA | Brand: Lardera
1. Introduction
Thank you for choosing the Lardera Wilfa Performance Coffee Maker. This manual provides essential information for the safe and efficient operation, maintenance, and troubleshooting of your new coffee maker. Designed for optimal coffee extraction, this machine features a removable water tank, precise water temperature control, and an adjustable flow meter to ensure a consistent and flavorful brew every time.
Please read this manual thoroughly before first use and keep it for future reference.
2. Important Safety Instructions
WARNING: To reduce the risk of fire, electric shock, or injury, always follow basic safety precautions.
- Read all instructions before using the appliance.
- Do not touch hot surfaces. Use handles or knobs.
- To protect against electric shock, do not immerse cord, plugs, or the coffee maker in water or other liquid.
- Close supervision is necessary when any appliance is used by or near children.
- Unplug from outlet when not in use and before cleaning. Allow to cool before putting on or taking off parts, and before cleaning the appliance.
- Do not operate any appliance with a damaged cord or plug or after the appliance malfunctions, or has been damaged in any manner.
- The use of accessory attachments not recommended by the appliance manufacturer may result in fire, electric shock, or injury to persons.
- Do not use outdoors.
- Do not let cord hang over edge of table or counter, or touch hot surfaces.
- Do not place on or near a hot gas or electric burner, or in a heated oven.
- Always attach plug to appliance first, then plug cord into the wall outlet. To disconnect, turn any control to "off", then remove plug from wall outlet.
- Do not use appliance for other than intended use.
- Scalding may occur if the lid is removed during the brewing cycle.
3. Product Overview
The Wilfa Performance Coffee Maker is designed for ease of use and superior coffee quality. Familiarize yourself with its main components:
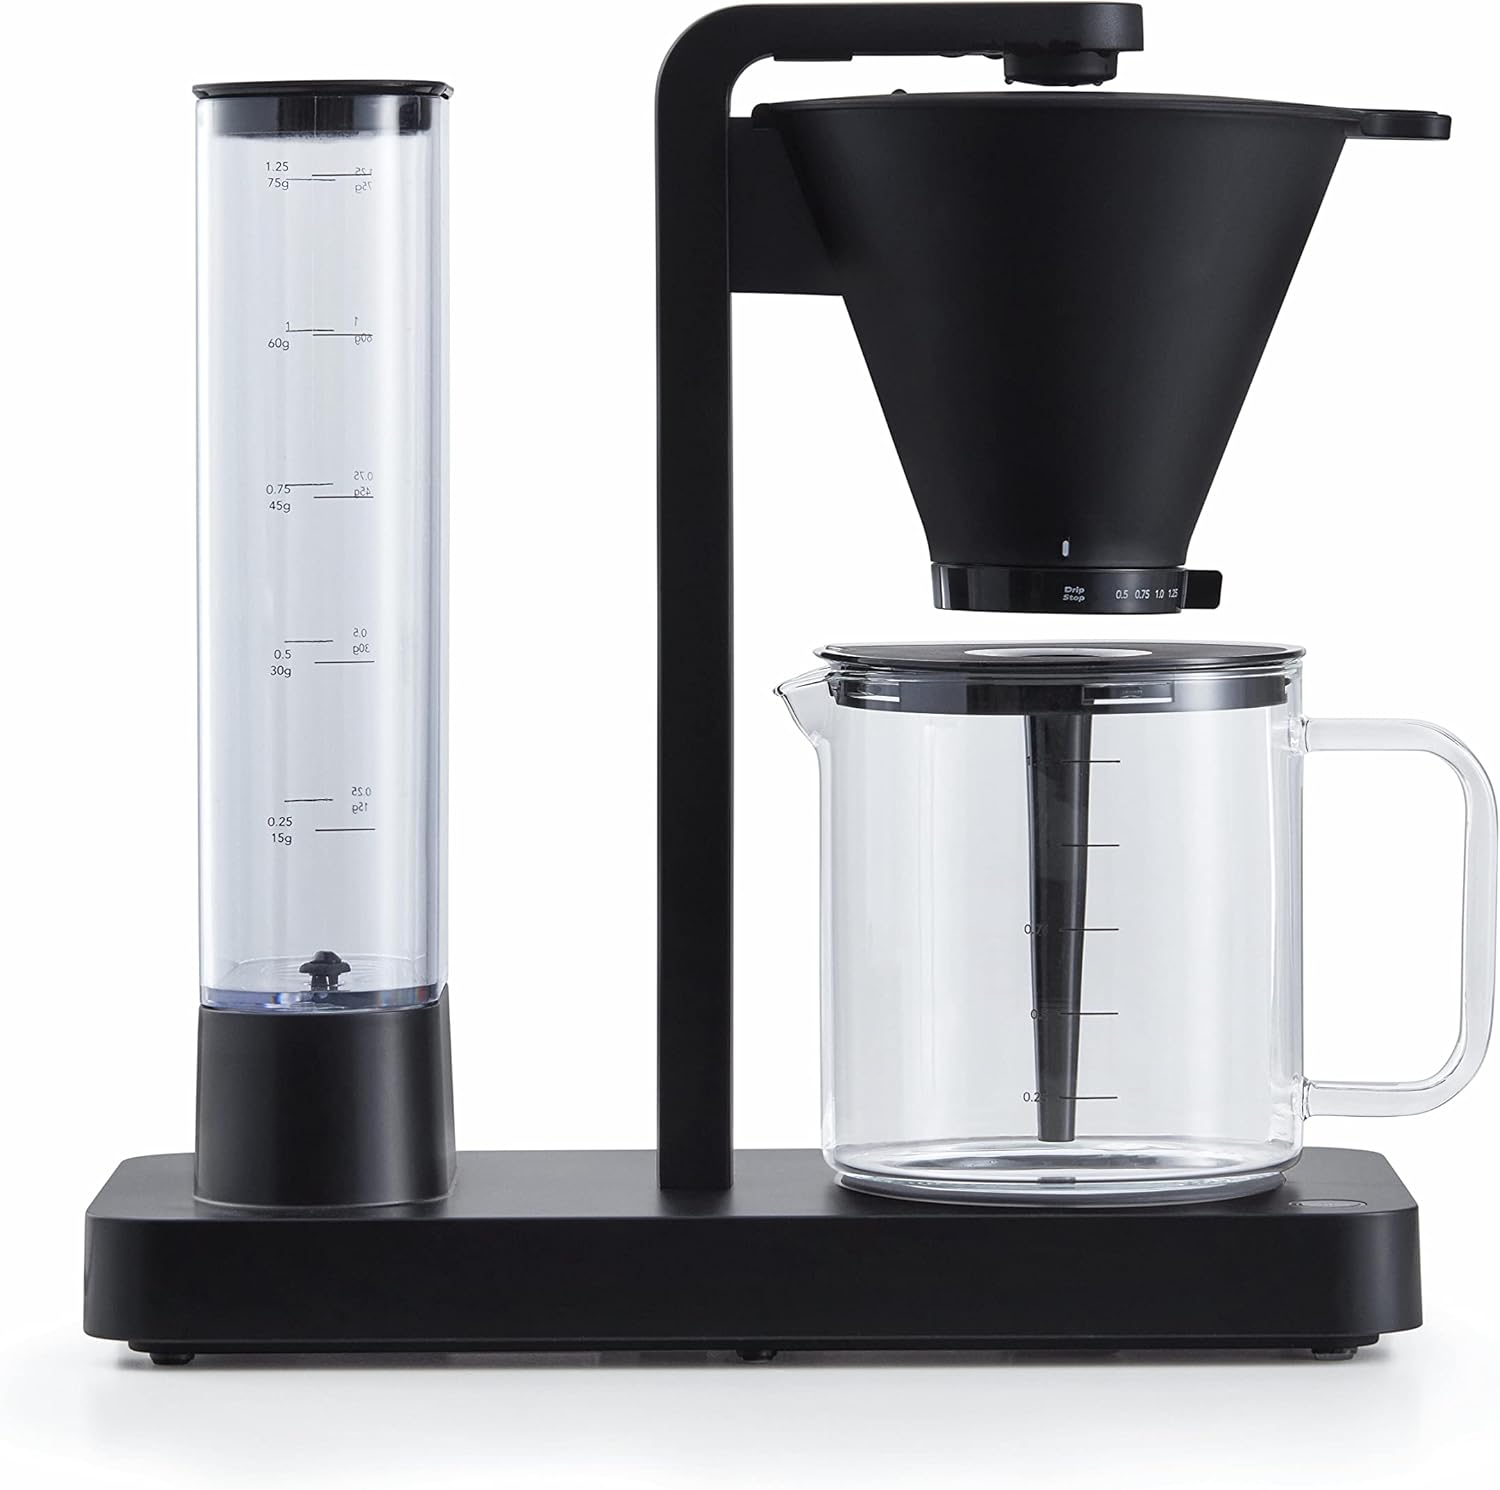 Main Unit: The primary structure housing the heating element and control panel. This image shows the complete coffee maker from the front, highlighting its sleek design and separate water tank and brewing cone.
 Glass Carafe: The heat-resistant glass carafe collects the brewed coffee. This image displays the coffee maker with a full carafe of freshly brewed coffee, ready to be served.
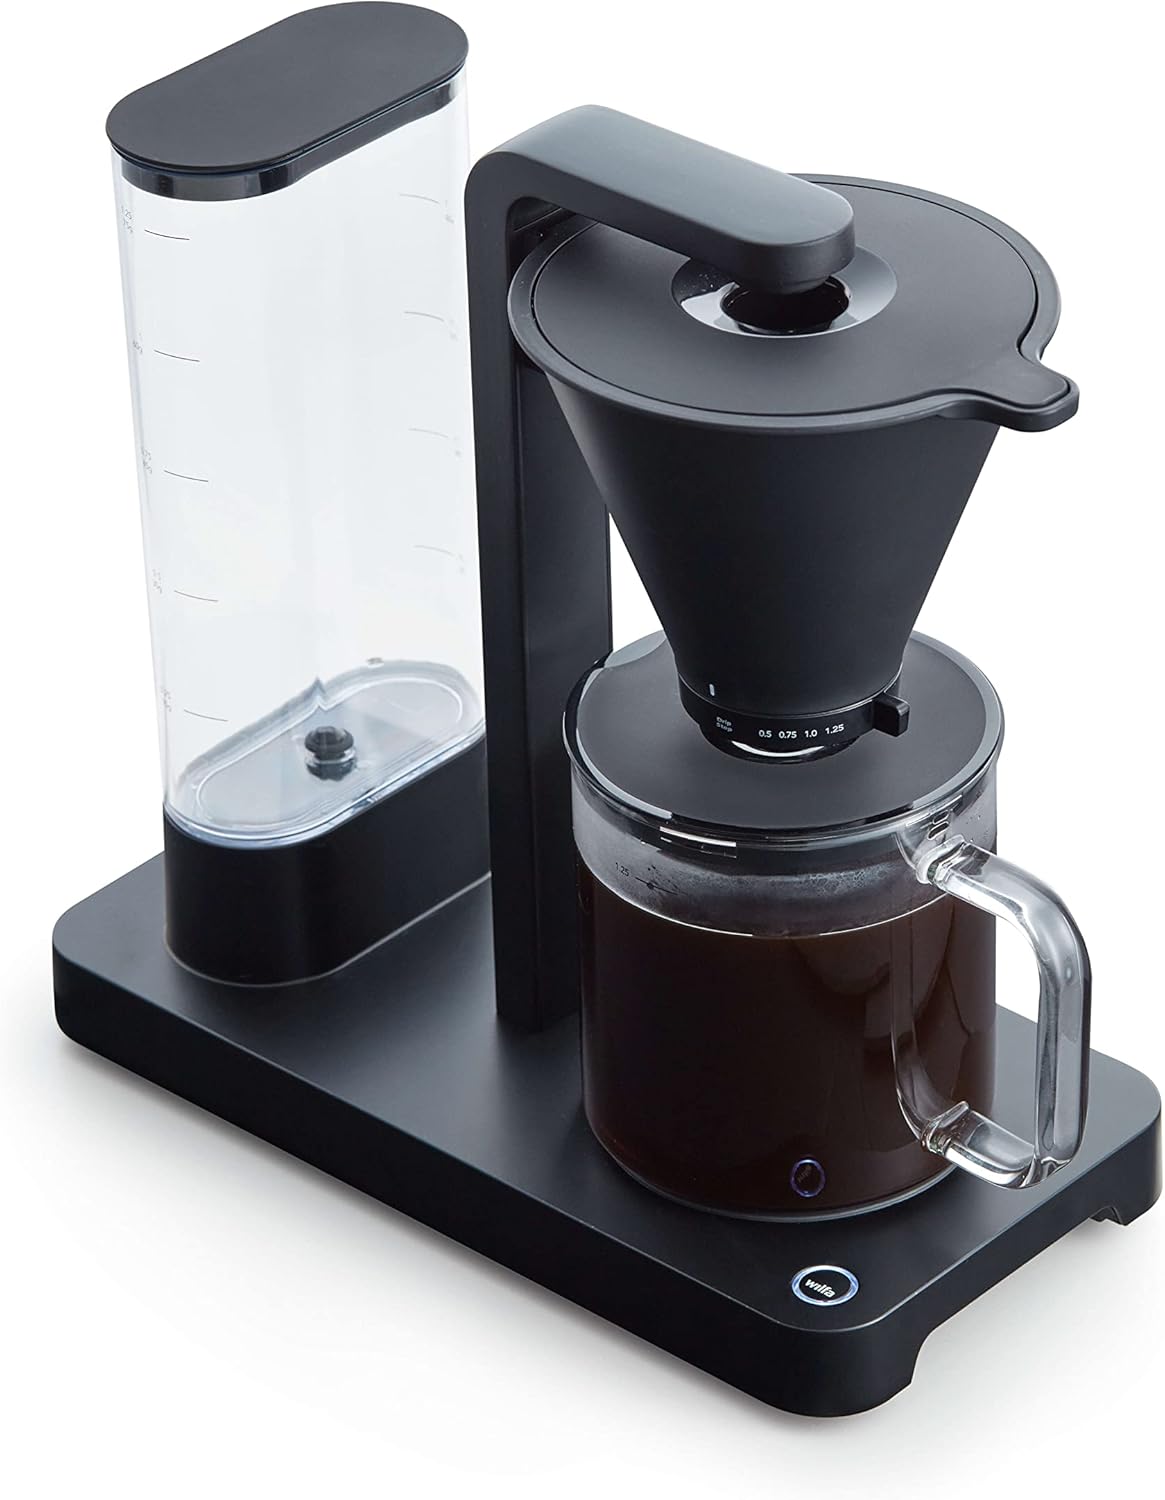 Detachable Filter Holder: Holds the coffee filter and grounds during brewing. It is easily removable for cleaning. This angled view provides a better perspective of the filter holder's position above the carafe.
 Removable Water Tank: A 42oz capacity tank with measurement markings for easy filling and precise water dosage. This image illustrates the compact dimensions of the coffee maker, showing its depth, width, and height.
 Brewing Cone: The cone where the coffee filter and grounds are placed. This image shows a paper filter inserted into the brewing cone, with coffee grounds ready for brewing.
 Adjustable Flow Meter: Allows control over the water flow rate through the coffee bed for optimized extraction. This close-up image highlights the adjustable dial on the brewing cone, indicating different flow rate settings.
 Power Button: Located on the base, used to turn the appliance on and off. This image shows the illuminated power button on the coffee maker's base.
4. Setup and First Use
4.1 Unpacking
Carefully remove all packaging materials and inspect the coffee maker for any damage. Ensure all components listed in the "Product Overview" section are present.
4.2 Initial Cleaning
Before first use, clean all removable parts (water tank, filter holder, carafe) with warm, soapy water. Rinse thoroughly and dry. Wipe the main unit with a damp cloth.
4.3 Placement
Place the coffee maker on a flat, stable, heat-resistant surface, away from the edge of the counter and out of reach of children. Ensure adequate ventilation around the unit.
4.4 First Brew Cycle (Cleaning Cycle)
To clean the internal components and remove any manufacturing residues:
- Fill the water tank with fresh, cold water up to the MAX line.
- Place an empty paper filter in the filter holder.
- Ensure the carafe is correctly positioned on the warming plate.
- Press the power button to start a brewing cycle.
- Once the cycle is complete, discard the water from the carafe and the used filter.
- Repeat this process once more with fresh water. Your coffee maker is now ready for use.
5. Operation
5.1 Brewing Coffee
- Prepare the Water Tank: Remove the water tank from its base. Fill it with fresh, cold water according to the desired number of cups.

Image: Filling the removable water tank with fresh water.
- Add Coffee Grounds: Place a paper filter (e.g., #4 cone filter) into the detachable filter holder. Add your desired amount of coffee grounds. The water tank markings also suggest a perfect amount of coffee for each level of water.
Image: Coffee grounds being added to a paper filter in the brewing cone.
- Adjust Flow Rate: Position the filter holder onto the carafe. Adjust the flow meter on the bottom of the filter holder to your desired setting (e.g., 0.5, 0.75, 1.0, 1.25, or Drip Stop). This allows you to control the extraction time.
Image: Close-up of the adjustable flow meter on the brewing cone.
- Start Brewing: Ensure the carafe is properly placed on the warming plate. Press the power button on the base of the unit. The indicator light will illuminate, and the brewing process will begin. The machine heats water with a coil to generate a consistent temperature for optimal brewing.
Image: The illuminated power button on the coffee maker's base.
- Enjoy Your Coffee: Once the brewing cycle is complete (approximately five minutes for a full pot), the coffee maker will automatically switch to keep-warm mode. You can now remove the carafe and pour your coffee.
5.2 Official Product Video
Video: See the Wilfa Performance coffee maker in action. This video demonstrates the key features and brewing process, including the detachable filter holder, removable water tank, and flow rate control.
6. Cleaning and Maintenance
6.1 Daily Cleaning
- Always unplug the coffee maker before cleaning.
- Wash the carafe, filter holder, and water tank with warm, soapy water after each use. These parts are generally dishwasher safe (top rack recommended), but hand washing extends their lifespan.
- Wipe the exterior of the coffee maker with a soft, damp cloth. Do not use abrasive cleaners or scouring pads.
- Ensure all parts are completely dry before reassembling or storing the appliance.
6.2 Descaling
Mineral deposits (limescale) can build up in your coffee maker over time, affecting performance and coffee taste. Descale your machine regularly, depending on water hardness and frequency of use (e.g., every 1-3 months).
- Prepare a descaling solution: Mix white vinegar and water in a 1:1 ratio, or use a commercial descaling agent according to its instructions.
- Pour the solution into the water tank.
- Place an empty paper filter in the filter holder and the carafe on the warming plate.
- Run a full brewing cycle with the descaling solution.
- After the cycle, discard the solution and rinse the carafe thoroughly.
- Run at least two full cycles with fresh, clean water to rinse out any remaining descaling solution.
7. Troubleshooting
| Problem | Possible Cause | Solution |
|---|---|---|
| Coffee does not brew. |
|
|
| Coffee tastes weak or watery. |
|
|
| Coffee overflows from filter holder. |
|
|
| Water not heating properly. |
|
|
8. Specifications
| Feature | Detail |
|---|---|
| Brand | Lardera |
| Model Name | Performance USA |
| Color | Black |
| Product Dimensions | 6.5"D x 13.57"W x 13.5"H |
| Item Weight | 8.1 pounds |
| Coffee Maker Type | Drip Coffee Machine |
| Filter Type | Reusable (compatible with paper filters) |
| Operation Mode | Fully Automatic |
| Special Features | Auto Shut-Off, Removable Tank, Cup Warmer, Adjustable Flow Meter |
| Included Components | Carafe |
| UPC | 817909016168 |
| ASIN | B0C3ZBCNBQ |
| Country of Origin | China |
9. Warranty and Support
9.1 Limited Warranty
Lardera warrants this product against defects in materials and workmanship for a period of one (1) year from the original date of purchase. This warranty does not cover damage caused by accident, misuse, abuse, commercial use, or unauthorized modification. Proof of purchase is required for warranty claims.
9.2 Customer Support
For technical assistance, troubleshooting, or warranty inquiries, please contact Lardera Customer Support:
- Website: Lardera Coffee Roasters Store
- Email: support@lardera.com (example email, as none provided)
- Phone: 1-800-XXX-XXXX (example phone, as none provided)
Please have your model number (Performance USA) and purchase date available when contacting support.
Related documentsPerformance USA


Ask a question about this manual
Ask about setup, troubleshooting, compatibility, parts, safety, or missing instructions. Manuals+ will review the question and use this page’s manual context to help answer it.