
1. Safety Instructions
Read all instructions carefully before assembly and use. Keep this manual for future reference.
- Ensure all components are present and undamaged before assembly.
- Assemble the screen on a flat, stable surface to prevent tipping.
- Do not expose the screen material to direct sunlight for extended periods when not in use, as this may cause damage.
- Keep the screen away from heat sources and open flames.
- Avoid using abrasive cleaners or sharp objects on the screen surface.
- When disassembling, handle components carefully to prevent pinching or damage.
2. Package Contents
Verify that all the following components are included in your package:
- Projector Screen Fabric (80 inches, 16:9 aspect ratio)
- Tripod Stand Assembly
- Support Rods (4 pieces for screen tension)
- Carrying Bag
- User Manual (this document)
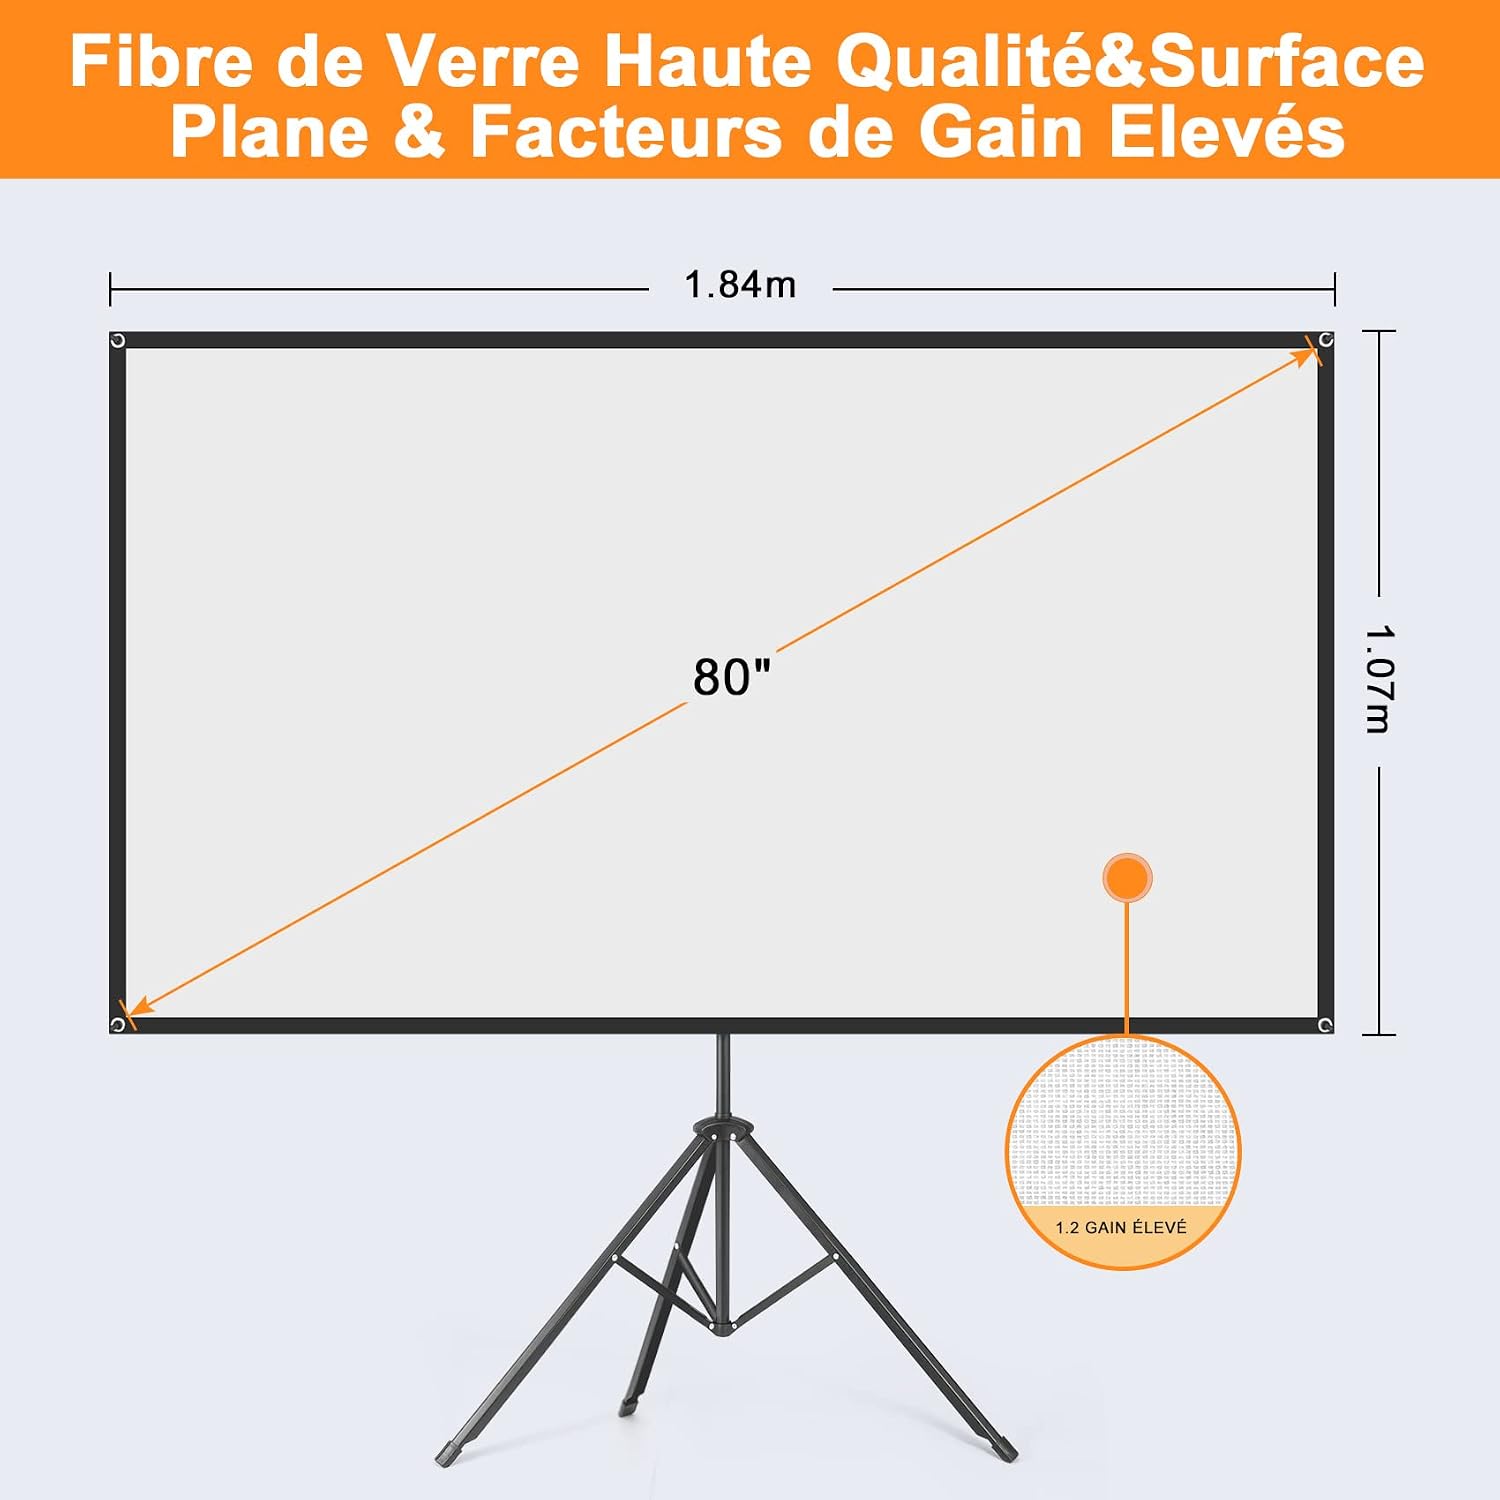
Image: All components neatly packed in the carrying bag, including the screen, tripod, and support rods.
3. Setup Guide
Follow these steps to assemble your VISULAPEX 80-inch projector screen:
- Unpack Components: Remove all parts from the carrying bag and lay them out on a clean, flat surface.

Image: Illustration showing all components laid out for assembly.
- Assemble the Tripod Stand: Extend the legs of the tripod stand and secure them firmly. Adjust the height to your desired viewing level. The tripod features a stable structure and easy height adjustment.

Image: Close-up of the tripod stand showing stable structure, height adjustment mechanism, and solid support.
- Attach Support Rods: Install the four support rods into the designated slots at each corner of the screen frame. These rods provide tension to ensure a flat screen surface.

Image: Diagram illustrating the attachment of support rods to the screen corners.
- Mount the Screen Fabric: Carefully attach the projector screen fabric to the assembled frame and tripod. Ensure the screen is taut and wrinkle-free for optimal viewing. The tension mechanism on the four tubes helps achieve a flat surface.

Image: The fully assembled 80-inch projector screen with tripod, showing its dimensions and 1.2 gain surface.
The entire setup process is designed for quick assembly, typically within 2 minutes.

Image: Visual guide showing the four main steps for quick installation.
4. Operation
Once assembled, the projector screen is ready for use. Position your projector to cast an image onto the screen. Adjust the projector's focus and keystone correction for a clear, rectangular image.
- Viewing Angle: The screen offers a wide 160-degree viewing angle, ensuring a clear picture from various positions.
- Image Quality: The high-gain screen material effectively reflects light, producing bright and vivid images suitable for 4K HD content.
- Portability: For transport, disassemble the screen and store all components in the provided carrying bag. The lightweight design (approximately 4.69 kg) makes it easy to carry.

Image: A couple watching a movie on the screen, demonstrating the wide viewing angle.

Image: Collage showing the projector screen in use for watching movies, birthday parties, discussion meetings, and outdoor gatherings.
Video: A demonstration of the projector screen displaying a vibrant nature scene, showcasing its visual quality in a home environment.
5. Maintenance
Proper care will extend the life and performance of your projector screen.
- Cleaning the Screen: Use a soft, damp cloth with mild soap and water to gently wipe the screen surface. Do not use harsh chemicals, abrasive cleaners, or stiff brushes, as these can damage the screen material.
- Storage: When not in use, disassemble the screen and store it in its carrying bag in a cool, dry place away from direct sunlight and extreme temperatures.
- Handling: Avoid touching the screen surface directly with your hands to prevent fingerprints and smudges.
6. Troubleshooting
If you encounter issues with your projector screen, refer to the following common problems and solutions:
| Problem | Possible Cause | Solution |
|---|---|---|
| Screen is wrinkled or not flat. | Insufficient tension on support rods or improper assembly. | Ensure all four support rods are correctly installed and providing adequate tension. Reassemble if necessary, ensuring the screen fabric is stretched evenly. |
| Image appears dim or washed out. | Projector settings, ambient light, or incorrect screen placement. | Adjust projector brightness and contrast. Minimize ambient light in the viewing area. Ensure the projector is aligned correctly with the screen. |
| Screen is unstable or wobbles. | Tripod legs not fully extended or secured, or uneven surface. | Ensure tripod legs are fully extended and locked into place. Place the stand on a flat, stable surface. |
7. Product Specifications
| Feature | Detail |
|---|---|
| Brand | VISULAPEX |
| Model Number | 80 Inches |
| Screen Size | 80 inches (diagonal) |
| Aspect Ratio | 16:9 |
| Screen Dimensions (W x H) | 53.3 x 30 inches (approx. 135.4 x 76.2 cm) |
| Material | Fiberglass (screen surface) |
| Gain Factor | 1.2 |
| Viewing Angle | 160 Degrees |
| Mounting Type | Tripod Stand |
| Operation Mode | Manual |
| Item Weight | 4.69 Kilograms |
| UPC | 794697442631 |
8. Warranty and Support
VISULAPEX products are designed for reliability and performance. For any questions or support needs, please contact us.
- Return Policy: This product is eligible for a 30-day return for refund or replacement.
- Customer Service: For technical support or inquiries, please contact us via email. We aim to respond within 24 hours.
- Contact Email: customerservice-visulapex@outlook.com

Image: Contact details for customer service, including email, 24-hour response, 30-day return, and technical support.


