1. Introduction
This manual provides essential information for the safe and effective operation, setup, and maintenance of your SCULPFUN S30 Ultra 22W Laser Engraver. Please read this manual thoroughly before using the device to ensure proper functionality and safety.
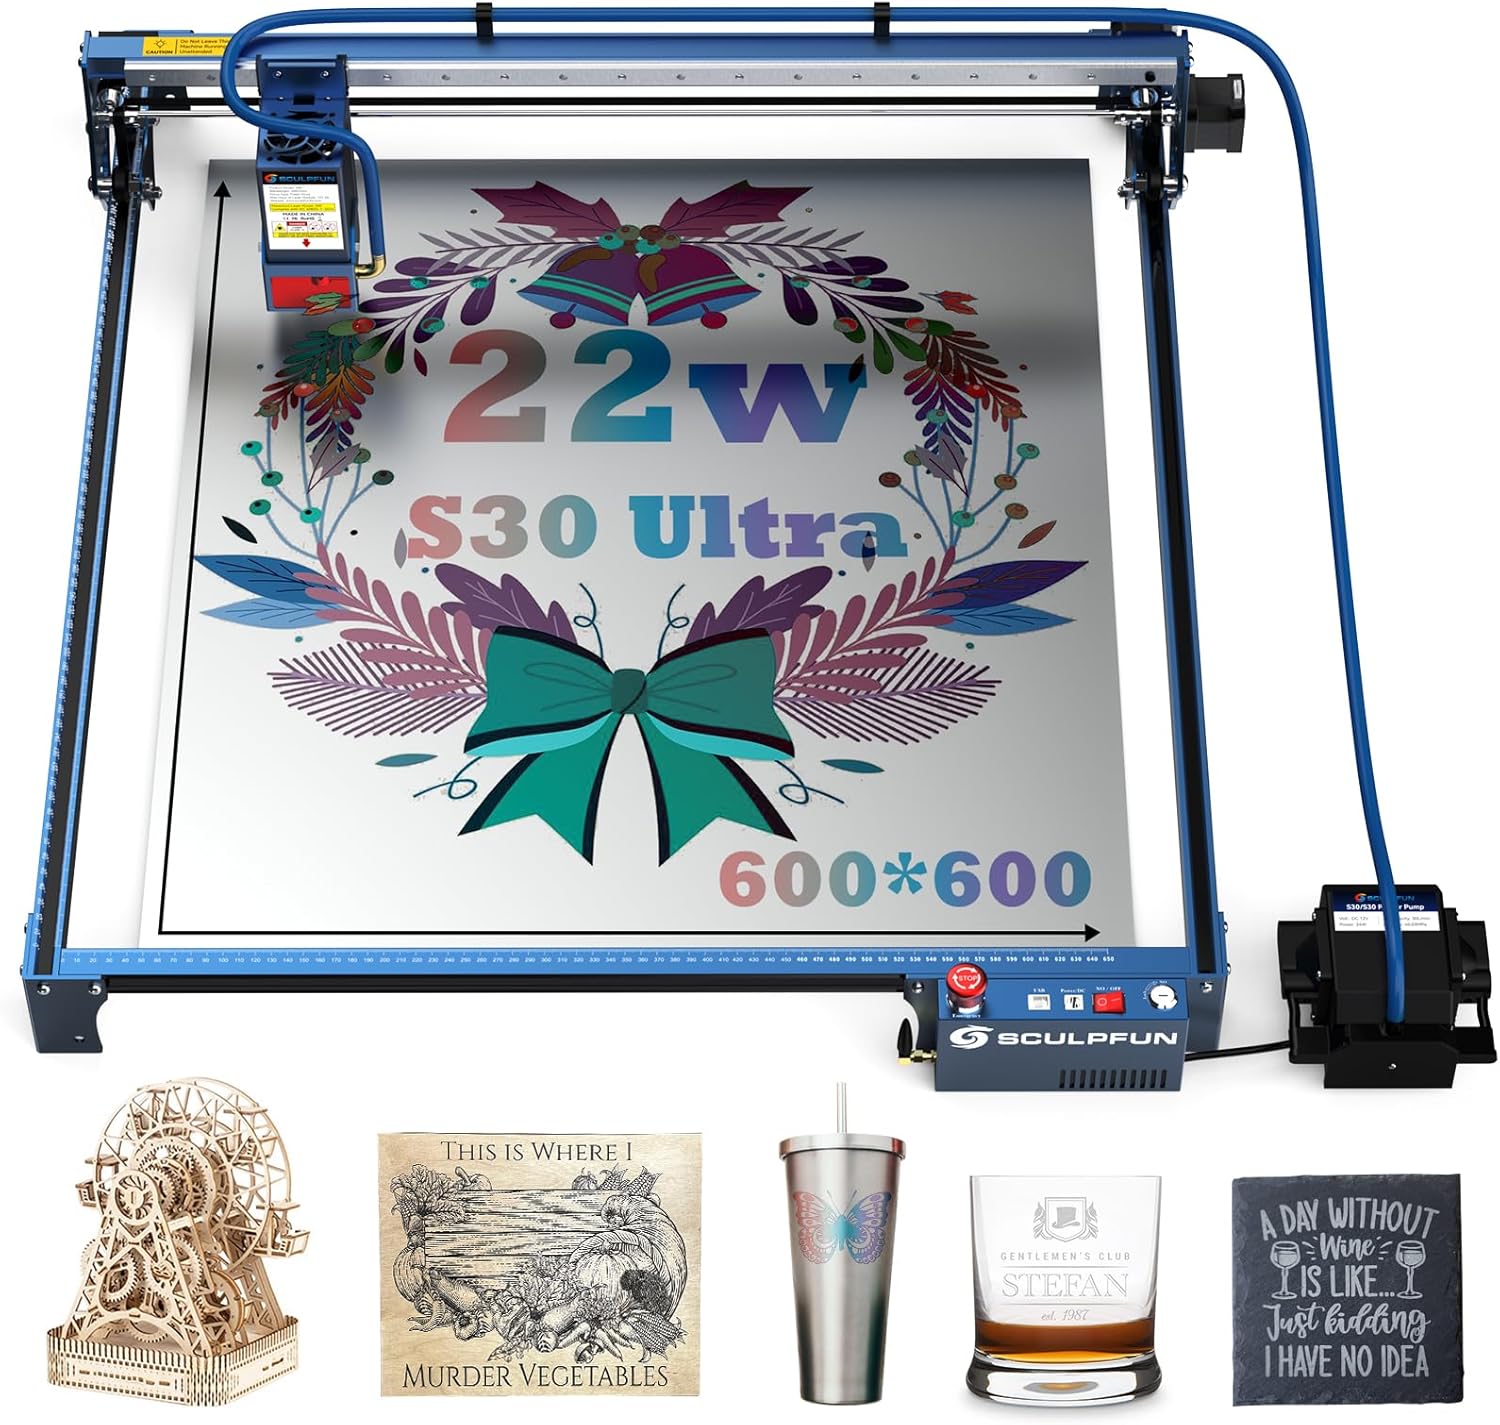
The SCULPFUN S30 Ultra 22W Laser Engraver, featuring a large working area and integrated air assist, shown with various finished engraving and cutting projects.
2. Safety Information
WARNING: Laser radiation can cause eye damage and skin burns. Always wear appropriate laser safety glasses during operation. Never look directly into the laser beam.
- Laser Cover: The laser module is equipped with a protective cover designed to prevent direct eye exposure to the laser beam and minimize lens pollution from smoke and debris.
- Emergency Stop Switch: A prominent emergency stop button is provided to immediately halt all machine operations in case of an emergency.
- Key Lock: The machine features a key lock mechanism to prevent unauthorized use, especially by children. Ensure the key is removed when the machine is not in use.
- Limit Switches: X/Y axis limit switches are installed to define the working boundaries and prevent the laser head from exceeding the frame, reducing the risk of collision or damage.
- Ventilation: Operate the laser engraver in a well-ventilated area to dissipate fumes and smoke generated during the engraving and cutting process.
- Fire Safety: Keep a fire extinguisher nearby. Do not leave the machine unattended during operation, especially when cutting flammable materials.
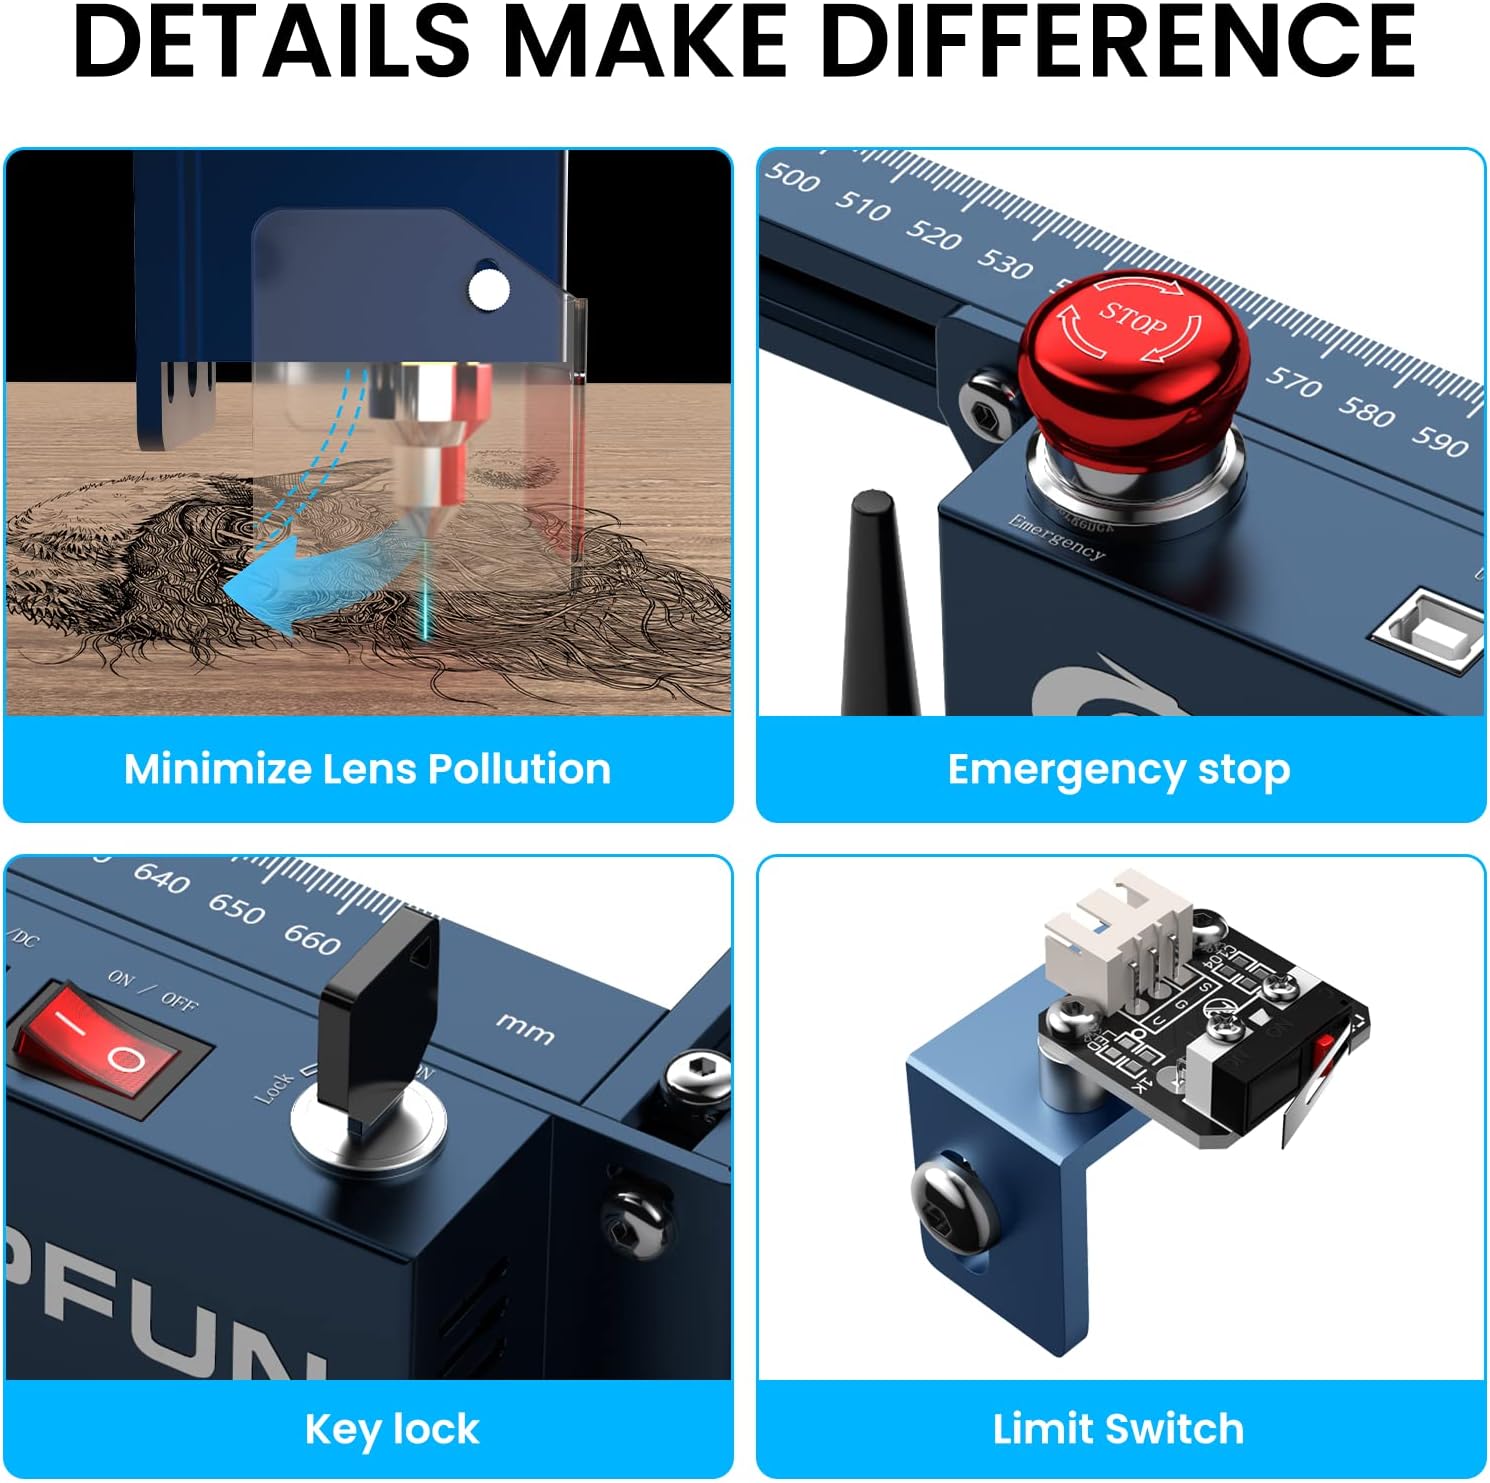
Key safety features include a laser cover to minimize lens pollution, an emergency stop button for immediate shutdown, a key lock to prevent unauthorized use, and X/Y axis limit switches for precise positioning and collision prevention.
3. Product Features
3.1. High Power Laser Output
The SCULPFUN S30 Ultra is equipped with a powerful 22000mW (22W) laser output, providing strong cutting capabilities. It can cut through 15mm wood or 10mm acrylic in a single pass. The ultra-fine 0.05x0.05mm compressed laser spot allows for highly detailed engraving, producing lines as thin as a hair.

This image demonstrates the powerful 22W laser output, capable of cutting 15mm wood, 10mm black acrylic, and 0.08mm steel in a single pass.
3.2. Large Working Area
With a generous 600x600mm (23.6x23.6 inches) working area, the S30 Ultra offers ample space for large-scale projects. This eliminates the need for purchasing separate extendable axes, saving both time and cost.

The SCULPFUN S30 Ultra features an expansive 600x600mm working area, providing ample space for larger engraving and cutting projects without requiring additional extensions.
3.3. Intelligent Air Assist
The integrated intelligent air assist system, controlled by a 32-bit mainboard, automatically activates and deactivates during cutting and engraving. This feature ensures clean cutting edges and smooth surfaces, optimizing the quality of your work and conserving energy.

The intelligent air assist system, controlled by a 32-bit mainboard, automatically provides airflow to ensure clean cuts and smooth engraving surfaces, as demonstrated by the improved snowflake design.
3.4. High Accuracy Engraving
The 0.05x0.05mm ultra-fine compressed laser spot enables the SCULPFUN S30 Ultra to achieve industry-standard engraving precision, rendering intricate details vividly and perfectly on various materials.

Achieve exceptional detail with the 0.05x0.05mm ultra-fine compressed laser spot, allowing for precise and intricate engravings.
3.5. Metallic Color Engraving
The powerful 22W laser beam can oxidize metallic surfaces, creating vibrant and colorful engravings. This feature allows for adding unique aesthetic elements to metal projects.

Examples of metallic surfaces engraved with colorful designs and a color palette. The 22W laser can oxidize metallic surfaces to create vibrant, colorful engravings, offering over 350 color options for creative projects.
3.6. Extended Laser Lifespan
The S30 Ultra series incorporates an innovative replaceable lens design, significantly extending the laser's service life by more than 10 times compared to conventional lasers. A laser repair kit is included for lens replacement, ensuring consistent cutting power over time.

The S30 Ultra series features an innovative replaceable lens design, extending the laser's service life by more than 10 times compared to other general lasers. A laser repair kit is included.
4. Setup
The SCULPFUN S30 Ultra is designed for straightforward assembly. Components are typically organized in marked bags with an accompanying manual for step-by-step guidance.
4.1. Assembly
- Unpack all components and verify against the packing list.
- Follow the included assembly instructions carefully to construct the frame and mount the laser module.
- Connect all cables, including power, USB, and air assist lines, ensuring secure connections.
- Ensure the X and Y axes are properly aligned and belts are tensioned correctly.
4.2. Software Installation
The S30 Ultra is compatible with popular laser control software such as LightBurn and LaserGRBL. Install your preferred software on your computer.
- Download the latest version of LightBurn or LaserGRBL from their official websites.
- Follow the software installation prompts.
- Connect the engraver to your computer via USB, Bluetooth, or SD card.
- Configure the software settings according to the provided software guide or manufacturer recommendations for the S30 Ultra model.

The S30 Ultra series supports popular software like LaserGRBL and LightBurn, offering versatile connection options including Bluetooth, SD card, and USB cable for convenient data transfer.
5. Operating Instructions
5.1. Preparing for Engraving/Cutting
- Place the material securely on the working bed.
- Ensure proper ventilation is established.
- Wear laser safety glasses.
- Turn on the machine using the key lock and power switch.
- Open your chosen software (LightBurn/LaserGRBL) and connect to the engraver.
5.2. Software Operation
- Import or create your design within the software.
- Adjust laser power, speed, and passes according to the material type and desired effect. Refer to material test guides for optimal settings.
- Set the origin point and frame the work area to ensure correct positioning.
- Initiate the engraving or cutting process from the software.
5.3. During Operation
- Monitor the process closely. Do not leave the machine unattended.
- The intelligent air assist will activate automatically to maintain clean cuts.
- In case of any malfunction or emergency, press the emergency stop button immediately.
6. Maintenance
6.1. Lens Cleaning
Regularly inspect and clean the laser lens to maintain optimal performance. Use a soft, lint-free cloth and appropriate lens cleaning solution. The laser module's opening window design helps reduce dust accumulation on the lens.

The laser module incorporates an opening window design to protect the lens from smoke and reduce dust accumulation, along with HD protective glass for safe observation.
6.2. Lens Replacement
If the laser lens becomes damaged or its performance degrades significantly after extended use, it can be replaced. Refer to the included laser repair kit and follow the specific instructions for lens replacement to restore full cutting power.
6.3. General Cleaning
Keep the machine free from dust and debris. Regularly clean the rails and moving parts to ensure smooth operation and prevent wear.
7. Troubleshooting
- Machine Not Powering On:
- Ensure the power cable is securely connected to both the machine and a working power outlet.
- Verify the key is inserted and turned to the 'ON' position.
- Check the power supply unit for any indicator lights.
- Connection Issues (USB/Bluetooth):
- Ensure the correct drivers are installed for your operating system.
- Try a different USB cable or port.
- Restart both the computer and the engraver.
- For Bluetooth, ensure the device is discoverable and paired correctly.
- Inaccurate Engraving/Cutting:
- Check that the material is securely fastened and not moving during operation.
- Verify that the X and Y axis belts are properly tensioned and not loose.
- Ensure the laser focus is correctly set for the material thickness.
- Clean the laser lens if it appears dirty.
- Poor Cutting Performance:
- Increase laser power or reduce speed in your software settings.
- Ensure air assist is functioning correctly for cleaner cuts.
- Consider replacing the laser lens if it has been used extensively.
8. Specifications
| Feature | Specification |
|---|---|
| Brand | SCULPFUN |
| Model Number | S30 Ultra 22W |
| Laser Output Power | 22000mW (22W) |
| Working Area | 600 x 600 mm |
| Laser Spot Size | 0.05 x 0.05 mm |
| Material Compatibility | Acrylic, Metal, Wood, etc. |
| Operation Mode | Automatic |
| Product Dimensions | 34.21 x 9.8 x 9.41 inches |
| Item Weight | 9.71 Kilograms (21.4 pounds) |
| Batteries Required | No |
9. Warranty and Support
9.1. Warranty Information
The SCULPFUN S30 Ultra 22W Laser Engraver comes with a 1-year warranty from the date of purchase. This warranty covers manufacturing defects and malfunctions under normal use conditions.
9.2. Customer Support
For any issues, questions, or technical assistance, please contact SCULPFUN customer support. Details for contacting support can typically be found on the official SCULPFUN website or through your purchase platform.


