Introduction
This instruction manual provides detailed guidance for the assembly of the TAMIYA 60792 1:72 F-35A Lightning II plastic model kit. This kit allows you to construct a faithful replica of the F-35A aircraft, featuring intricate details such as the Radar Absorbing Material (RAM) surface structure.
The model can be built in three distinct configurations: Stealth Mode, Air-to-Air Mode, and Beast Mode, offering versatility in display. Please read all instructions carefully before beginning assembly.
Safety Warning: Not suitable for children under 14 years.
Package Contents
Your TAMIYA 60792 F-35A Lightning II kit includes:
- Plastic parts for one 1:72 scale F-35A Lightning II aircraft model.
- Illustrated assembly instructions.
- Decal sheet for markings and details.
- Masking stickers for canopy (if applicable).
Note: Tools, glue, and paints are not included with this plastic kit and must be purchased separately.
Setup and Preparation
Required Tools and Materials (Not Included)
- Plastic model cement (glue)
- Hobby knife or sprue cutters
- Sandpaper or sanding sticks (various grits)
- Tweezers
- Paints (acrylic or enamel, as recommended by TAMIYA for F-35A colors)
- Paintbrushes or airbrush equipment
- Masking tape
- Decal setting solution (optional)
Workspace Preparation
Ensure you have a clean, well-lit, and well-ventilated workspace. Protect your work surface with a cutting mat or newspaper. Keep all small parts organized to prevent loss.
Assembly Instructions
Follow the included step-by-step illustrated assembly instructions provided in the kit. Each step details the parts required and their correct placement. Test-fit parts before applying glue to ensure proper alignment.
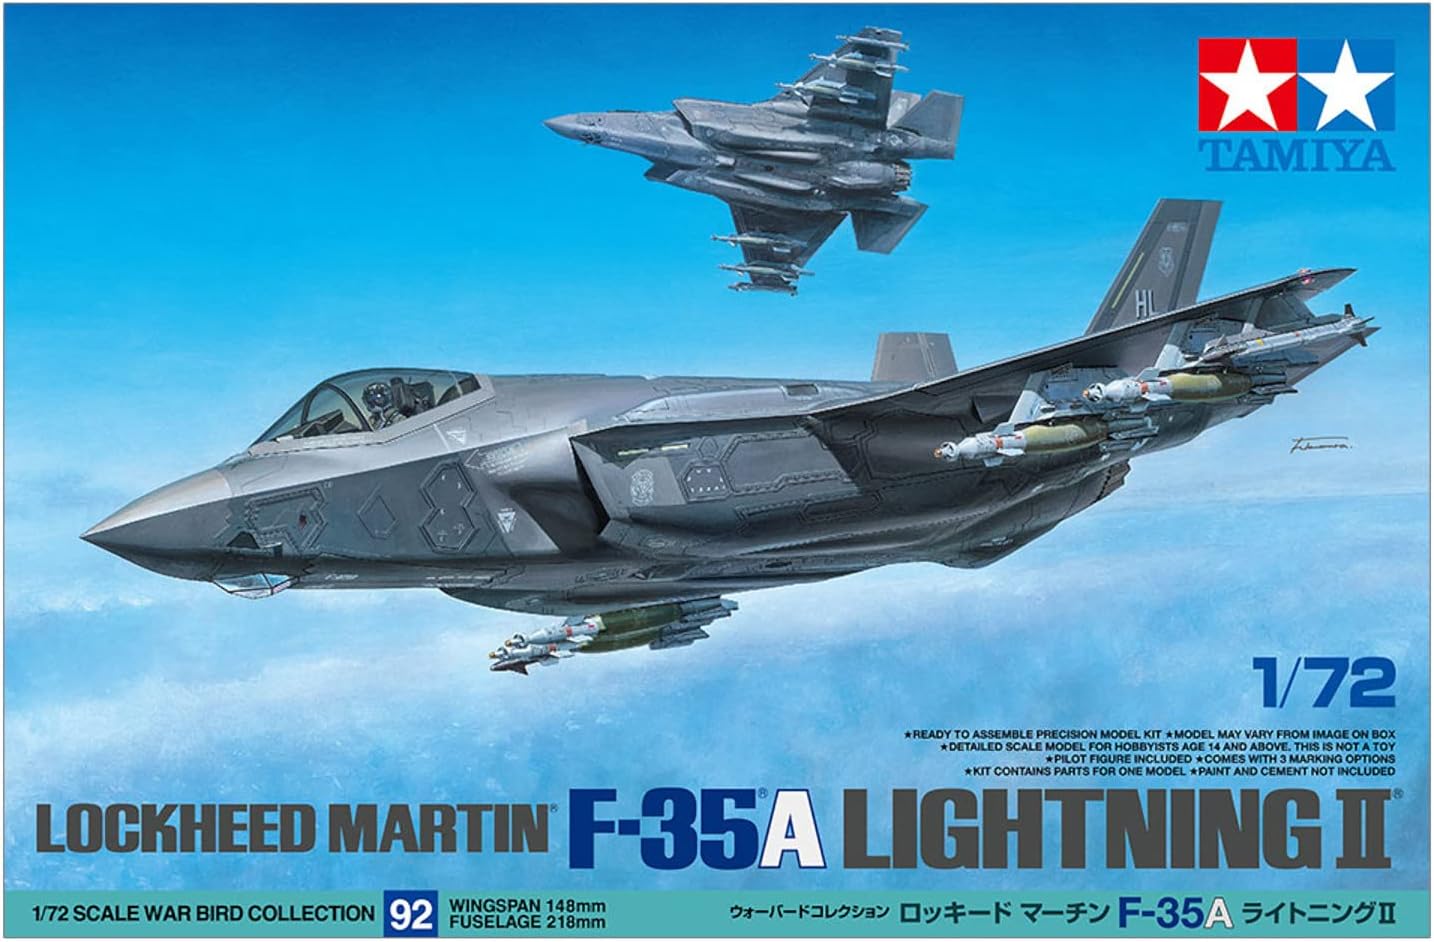
Figure 1: TAMIYA 60792 F-35A Lightning II Model Kit Box Art. This image displays the packaging and the finished model concept.
General Assembly Steps
- Part Preparation: Carefully remove parts from the sprues using cutters or a hobby knife. Clean any excess plastic (flash) with a hobby knife or sandpaper.
- Sub-Assemblies: Begin by assembling smaller components such as the cockpit, landing gear, and weapon bays.
- Fuselage Assembly: Join the main fuselage halves, ensuring proper alignment. Use masking tape to hold parts together while the glue dries.
- Wing and Tail Assembly: Attach the wings and tail sections according to the instructions.
- Landing Gear: Install the landing gear components.
- Weaponry and External Stores: Assemble and attach external weapons or fuel tanks as desired for your chosen build mode.
- Final Details: Attach smaller details such as antennas, pitot tubes, and the canopy.
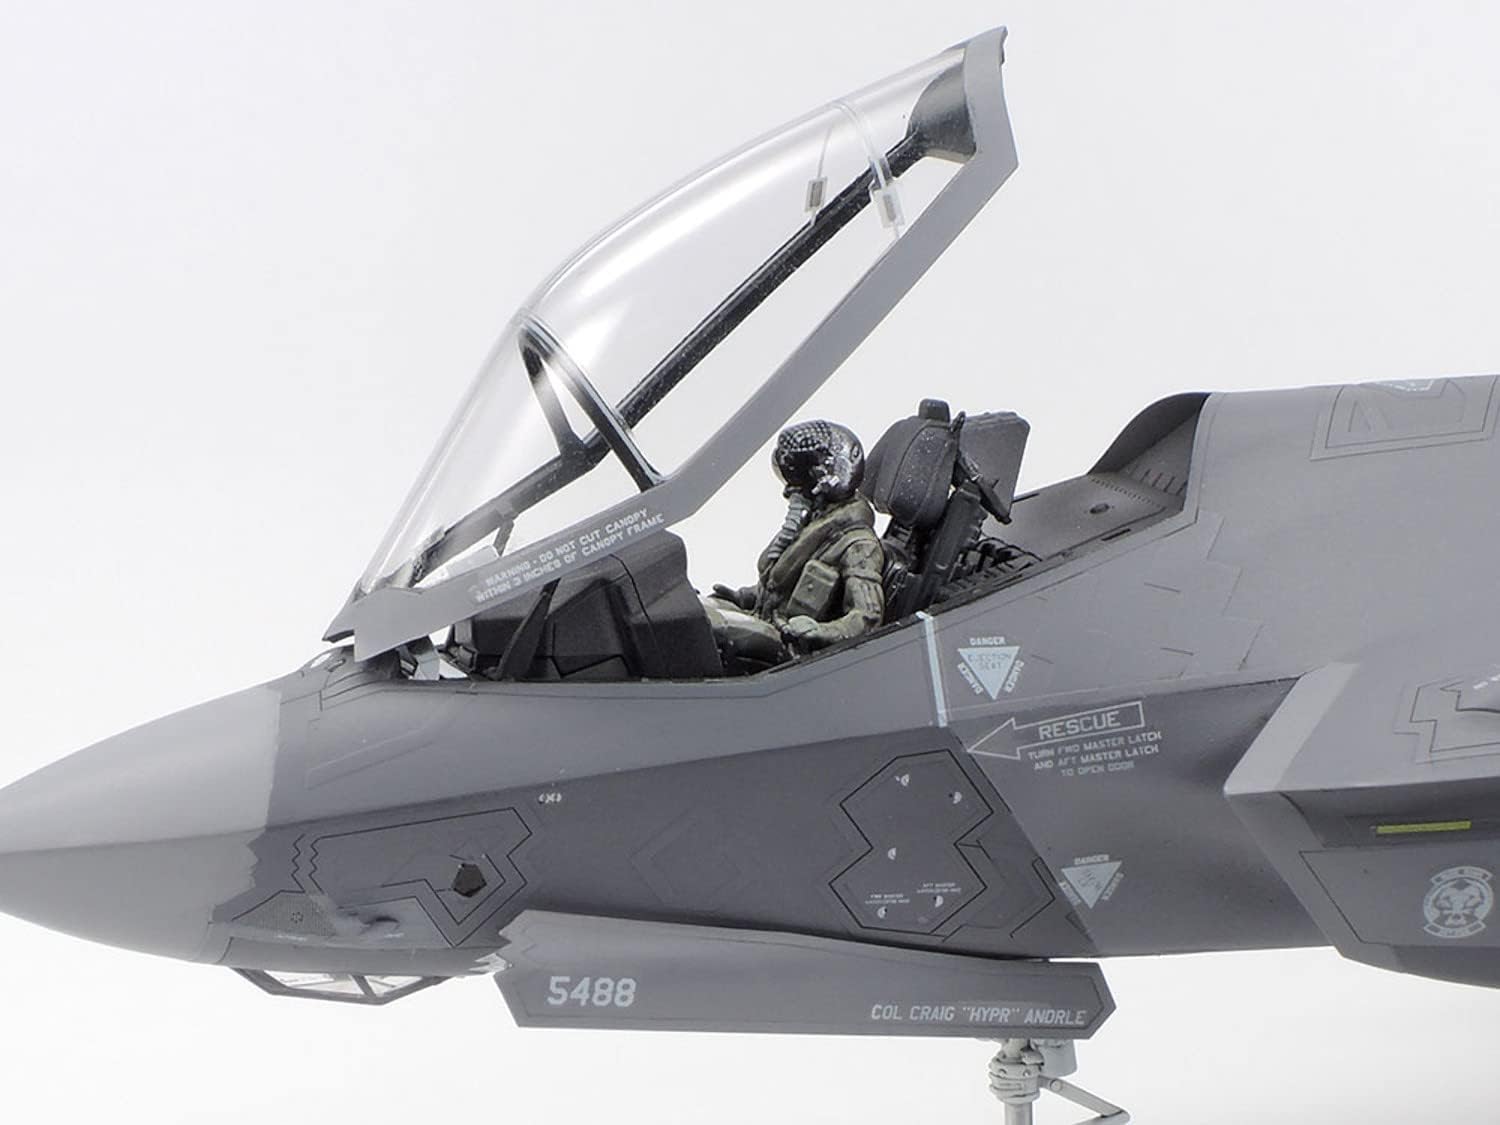
Figure 2: Detailed view of the F-35A cockpit with pilot figure. This shows the intricate interior details that can be painted.

Figure 3: Detailed view of the F-35A cockpit without pilot. This highlights the instrument panel and seat details.
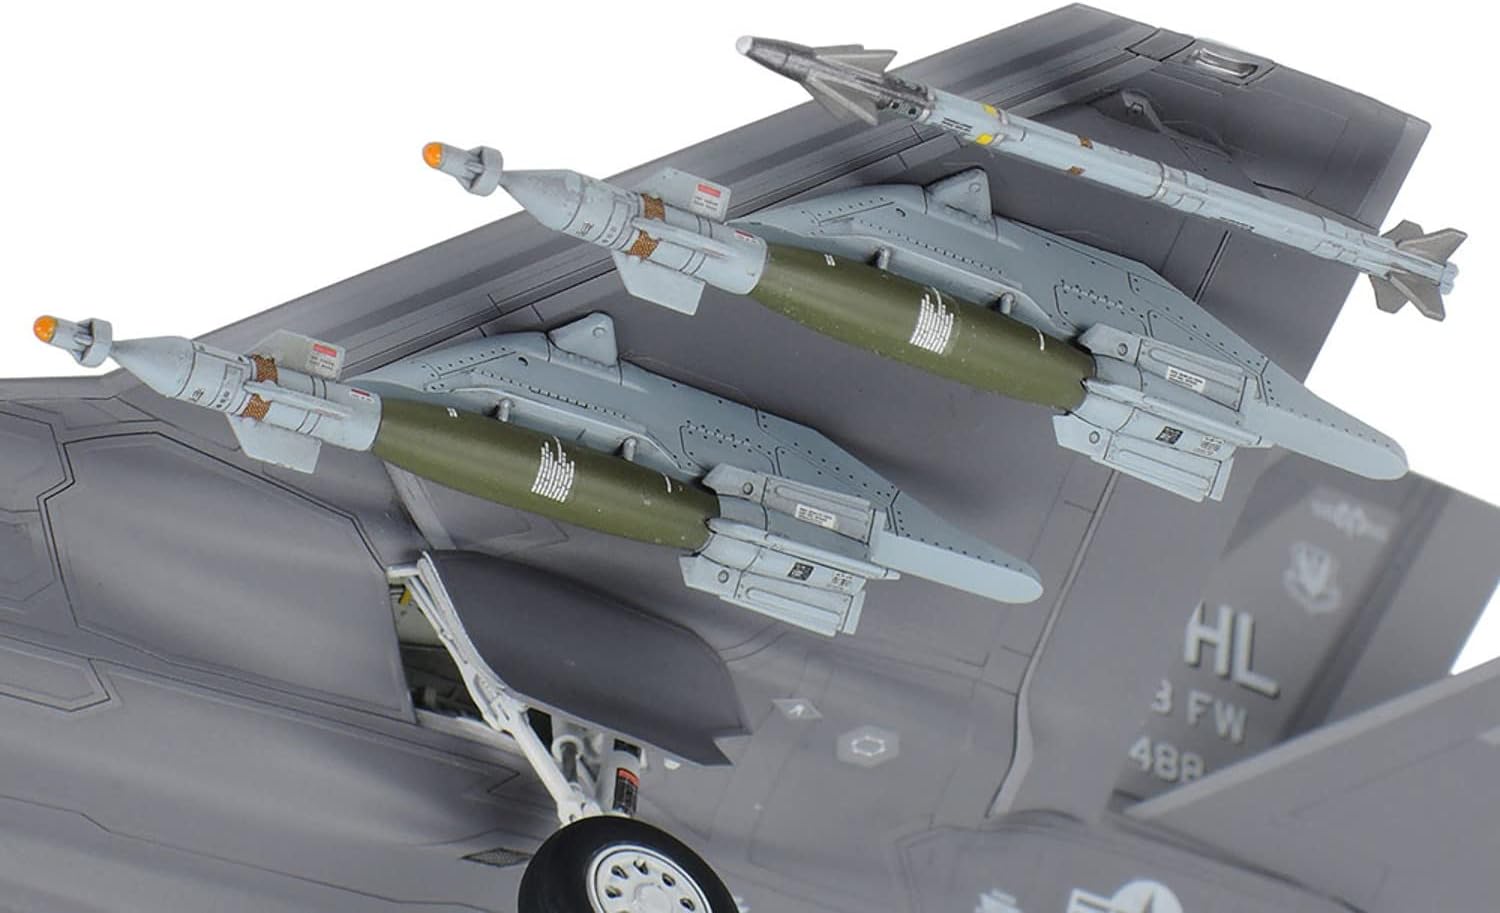
Figure 4: Underside view of the F-35A model with external weapons. This illustrates the 'Beast Mode' configuration with ordnance.

Figure 5: Rear-quarter view of the assembled F-35A model. This showcases the completed aircraft from a different angle.
Painting and Decals
The model is unpainted, allowing for customization. Refer to the painting guide in the instructions for recommended colors and schemes. Apply decals after painting and a clear gloss coat for best results. Use the provided decal sheet and masking stickers as indicated.

Figure 6: Decal sheet and masking stickers. These are used to add markings and details to the finished model.
Maintenance
Once assembled and painted, your F-35A model requires minimal maintenance. Keep it displayed in a dust-free environment to preserve its finish. Periodically, gently dust the model with a soft brush or compressed air. Avoid direct sunlight to prevent paint fading or plastic warping.
Troubleshooting
- Parts Not Fitting: Ensure all sprue gates are cleanly removed and check for any flash. Lightly sand mating surfaces if necessary.
- Glue Issues: Use a small amount of plastic cement. Too much can damage the plastic. Allow adequate drying time.
- Paint Adhesion: Ensure parts are clean and free of oils before painting. A primer coat can improve paint adhesion.
- Decal Silvering: Apply decals to a glossy surface. Use decal setting solution to help decals conform to irregular surfaces and eliminate air bubbles.
- Missing Parts: Double-check the sprues and packaging. If a part is genuinely missing, contact TAMIYA customer support.
Specifications
| Feature | Detail |
|---|---|
| Brand | TAMIYA |
| Model Name | F-35A Lightning II |
| Model Number | 60792 |
| Scale | 1:72 |
| Wingspan (approx.) | 148mm |
| Length (approx.) | 218mm |
| Material | Plastic |
| Assembly Required | Yes |
| Estimated Assembly Time | 22 Hours |
| Recommended Age | Adult |
Warranty and Support
Warranty Information
This product comes with no guarantee. Please inspect all parts upon receipt. For any manufacturing defects or missing components, contact the retailer or TAMIYA customer service directly.
Customer Support
For further assistance, questions regarding assembly, or to report issues, please refer to the contact information provided on the TAMIYA official website or contact your local TAMIYA distributor.


