
ORIA WA126-ZAEU
Contents
ORIA Digital Alarm Clock WA126-ZAEU User Manual
Model: WA126-ZAEU
Introduction
Welcome to your new ORIA Digital Alarm Clock. This manual provides comprehensive instructions for the setup, operation, and maintenance of your device. Please read this guide carefully to ensure proper use and to fully utilize all features.
Package Contents
Please check the package for the following items:
- 1 x ORIA Digital Alarm Clock
- 1 x 1.5m USB Cable
- 1 x User Manual
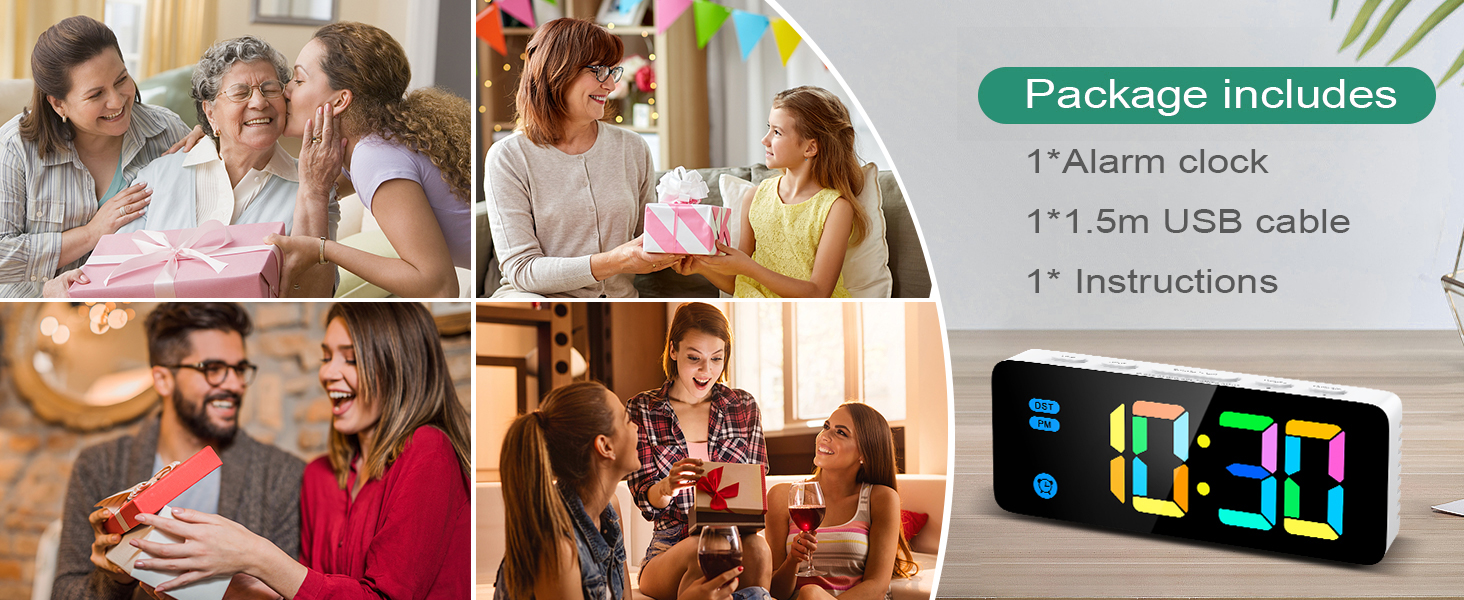
If any items are missing or damaged, please contact customer support.
Product Overview
Front View

Rear and Top View with Controls

Key Components and Controls:
- Time Button: Used to set the current time and switch 12/24-hour format.
- Alarm Button: Used to set the alarm time and activate/deactivate the alarm.
- Snooze/Light Button: Activates snooze during an alarm; adjusts display brightness when not alarming.
- Volume Button: Adjusts alarm volume.
- Multicolor Button: Changes the display font color.
- DST Indicator: Indicates Daylight Saving Time mode.
- AM/PM Indicator: Shows AM or PM in 12-hour format.
- Alarm Symbol: Indicates if the alarm is active.
- Loudspeaker: Emits alarm sound.
- Power Port: For USB power connection.
- Battery Compartment: Holds 3 AAA batteries for backup (not included).
Setup
Powering the Device
The alarm clock offers two power options:
- USB Power: Connect the provided 1.5m USB cable to the power port on the back of the clock. Plug the other end into a USB power adapter (not included) or a compatible USB port. When powered via USB, the display will remain continuously on.
- Battery Power (Backup): For backup power, insert 3 AAA batteries (not included) into the battery compartment. When operating solely on battery power, the screen will automatically enter power-saving mode after 10 seconds to conserve energy. Press any button to manually illuminate the display. Batteries primarily serve to retain your settings during power outages.
Operating Instructions
Setting the Time
- Press and hold the "Time" button to enter time setting mode. The hour digits will flash.
- Use the "Volume" (for +) and "Multicolor" (for -) buttons to adjust the hour.
- Press the "Time" button again to switch to minute adjustment. The minute digits will flash.
- Use the "Volume" (for +) and "Multicolor" (for -) buttons to adjust the minutes.
- Press the "Time" button once more to confirm and exit time setting mode.
- To switch between 12-hour and 24-hour format, press the "Time" button briefly when the time is displayed (not in setting mode).
Setting the Alarm
- Press and hold the "Alarm" button to enter alarm setting mode. The alarm hour digits will flash.
- Use the "Volume" (for +) and "Multicolor" (for -) buttons to adjust the alarm hour.
- Press the "Alarm" button again to switch to alarm minute adjustment. The alarm minute digits will flash.
- Use the "Volume" (for +) and "Multicolor" (for -) buttons to adjust the alarm minutes.
- Press the "Alarm" button once more to confirm and exit alarm setting mode. The alarm symbol will appear on the display, indicating the alarm is active.
- To activate or deactivate the alarm, briefly press the "Alarm" button when the time is displayed.
Snooze Function
When the alarm sounds, press the "Snooze/Light" button located on the top of the alarm clock. The alarm will pause for 5 minutes, allowing for extra sleep, and then sound again.

Adjusting Display Brightness
The clock features 4 adjustable brightness levels: Bright, Medium, Dim, and Off. To adjust the brightness, briefly press the "Snooze/Light" button (when the alarm is not sounding) to cycle through the levels.
Note: Brightness adjustment is only available when the clock is powered via USB. It cannot be adjusted when operating solely on AAA batteries.

Adjusting Alarm Volume
The alarm has 3 selectable volume levels: L01 (50 dB), L02 (70 dB), and L03 (90 dB). To adjust the alarm volume, briefly press the "Volume" button to cycle through the levels.

Changing Display Colors
The clock features 7 distinct font color modes, including various rainbow effects, white, blue, green, and red. To change the display color, briefly press the "Multicolor" button to cycle through the available options.

Daylight Saving Time (DST) Mode
The clock includes a Daylight Saving Time (DST) mode. Please refer to the full manual for specific instructions on how to activate or deactivate this feature, as it may vary by region.
Maintenance
- To clean the clock, gently wipe it with a soft, dry cloth.
- Avoid using abrasive cleaners, solvents, or chemical sprays, as these can damage the surface and internal components.
- Ensure the clock is disconnected from its power source before cleaning.
- If using battery power, replace the AAA batteries when the display becomes dim or unresponsive to ensure continuous operation and setting retention.
Troubleshooting
If you encounter any issues with your ORIA Digital Alarm Clock, please refer to the following common problems and solutions:
- Display is off or dim:
- Check the USB power connection. Ensure the USB cable is securely plugged in and the power adapter (if used) is functioning correctly.
- If operating on battery power, the display enters power-saving mode after 10 seconds. Press any button to activate it.
- If the display remains dim on battery power, replace the AAA batteries.
- Adjust the brightness settings using the "Snooze/Light" button.
- Alarm not sounding:
- Ensure the alarm is activated. The alarm symbol should be visible on the display. If not, briefly press the "Alarm" button to activate it.
- Check the alarm volume settings using the "Volume" button. Ensure it is not set to L00 or a very low level.
- Time is incorrect:
- Re-set the time following the "Setting the Time" instructions in this manual.
- Verify the 12/24-hour format setting.
- Check the DST (Daylight Saving Time) setting if applicable to your region.
If these steps do not resolve your issue, please contact ORIA customer support for further assistance.
Specifications
| Feature | Detail |
|---|---|
| Model Number | WA126-ZAEU |
| Dimensions (L x W x H) | 14 x 5.5 x 2.3 cm (5.5 x 2.2 x 0.9 inches) |
| Weight | 95 grams |
| Power Source | USB cable (1.5m included, adapter not included) or 3 x AAA batteries (not included) |
| Display Type | Digital LED |
| Display Colors | 7 selectable font colors (Rainbow, White, Blue, Green, Red) |
| Brightness Levels | 4 (Bright, Medium, Dim, Off) |
| Alarm Volume Levels | 3 (50-70-90 dB) |
| Snooze Duration | 5 minutes |
| Special Features | DST Mode, 12/24H Format, Memory Function |
| Material | Plastic |
Warranty and Support
Warranty: This ORIA product comes with a 1-year warranty. A replacement is available within 365 days from the date of purchase for any manufacturing defects or malfunctions.
Returns: You may return the product within 30 days of purchase for a full refund or replacement, without needing to provide a specific reason.
Customer Support: For any questions, concerns, or issues regarding your ORIA Digital Alarm Clock, please do not hesitate to contact our customer support team. We are committed to providing excellent service and aim to respond to all inquiries within 24 hours to resolve your problems promptly. We offer lifetime after-sales service for every customer.

Ask a question about this manual
Ask about setup, troubleshooting, compatibility, parts, safety, or missing instructions. Manuals+ will review the question and use this page’s manual context to help answer it.