1. Introduction
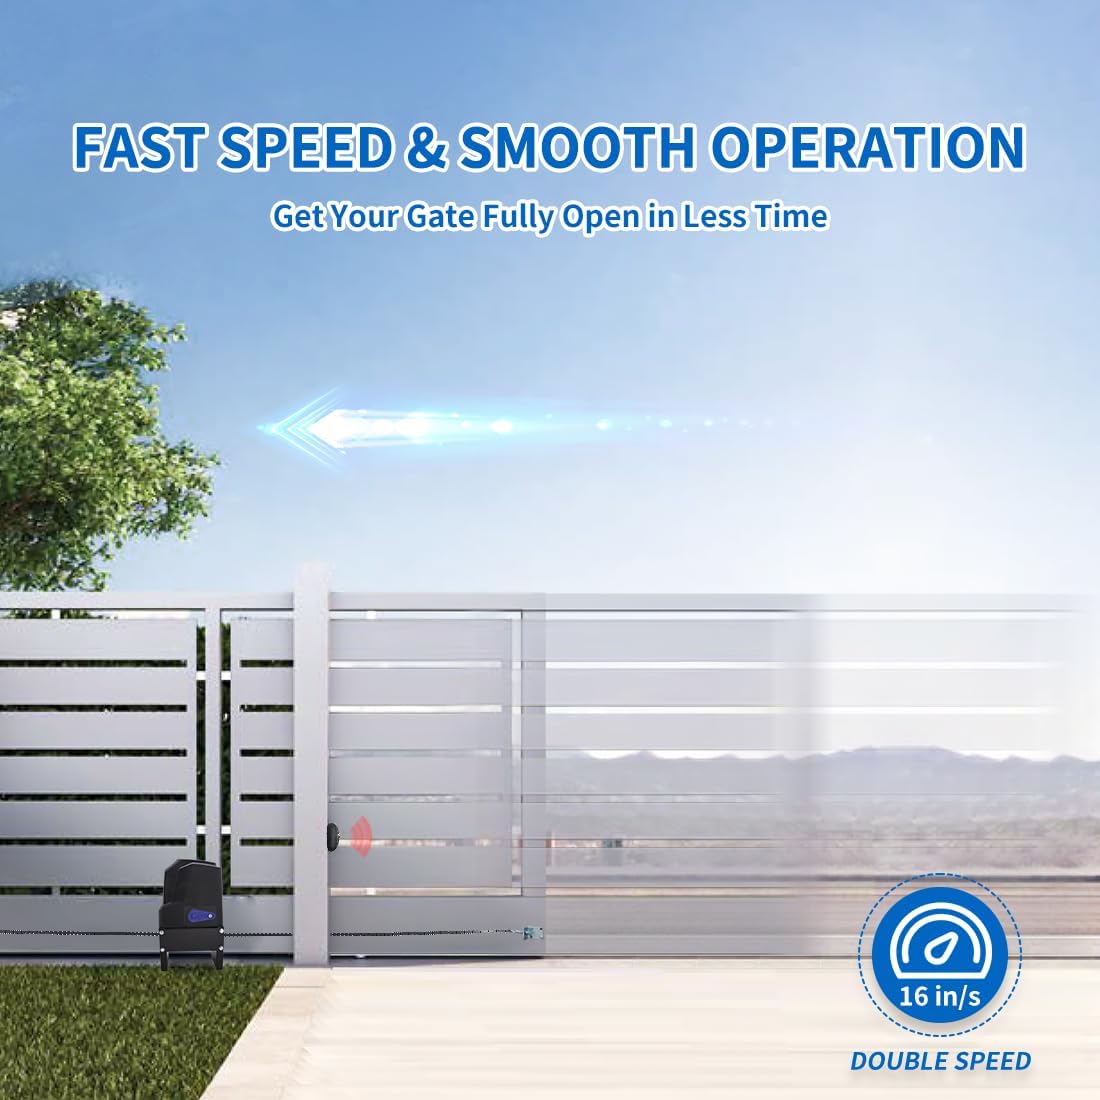
The TOPENS CF800 is a high-performance automatic sliding gate opener designed for heavy-duty gates up to 1800 lbs in weight and 40 ft in length. This AC-powered unit features a strong 3/5 HP 450W motor, providing a gate moving speed of 16 inches per second. It is suitable for various gate types including steel, wood, vinyl, and chain-link, making it ideal for residential, commercial, courtyard, farm, and ranch applications.
This manual provides detailed instructions for the safe and efficient installation, operation, and maintenance of your TOPENS CF800 gate opener. Please read all warnings, precautions, and instructions carefully before installation and use. Regular checks of the opener are required to ensure safe operation.
2. Safety Information
Always prioritize safety during installation and operation. Failure to follow safety instructions may result in serious injury or property damage.
- Ensure the gate operates smoothly by hand before installing the opener.
- Disconnect power before performing any maintenance or adjustments.
- Keep children and pets away from the gate area, especially during operation.
- Do not allow children to operate the gate opener or play with remote controls.
- Install safety devices such as photocell sensors to prevent entrapment.
- In case of power outage, use the manual release key to operate the gate.
- Regularly inspect the gate and opener for any signs of wear, damage, or misalignment.
3. Package Contents
The TOPENS CF800 package includes the following components:
- Gate Opener Unit (Motor)
- Base Plate Assembly
- 20ft Roller Chain
- Two Remote Controls
- Photo Eye Beam Sensor (TC102)
- Magnetic Limit Switches (N and S poles)
- Manual Release Key
- Mounting Hardware (bolts, nuts, washers, brackets)
- Instruction Manual
4. Specifications
| Feature | Specification |
|---|---|
| Model Number | CF800 |
| Motor Power | 3/5 HP, 450W AC Motor |
| Max Gate Weight | 1800 lbs |
| Max Gate Length | 40 ft |
| Gate Moving Speed | 16 inches/second |
| Power Source | 110-120VAC (AC Powered ONLY) |
| Item Weight | 45.3 pounds |
| Product Dimensions | 11.2 x 5.9 x 19.9 inches |
| Batteries Required | 6 CR2 batteries (included) |
5. Installation Guide
The installation process may vary depending on your gate and ground conditions. The following steps provide a general reference. Ensure your gate can open and close smoothly by hand before beginning installation.
5.1 Mechanical Installation
- Assemble the Base Plate: Connect the base plate components using the provided bolts and nuts.
Video: Assembly of the base plate for the gate opener. This segment shows how to connect the base plate components using bolts and nuts. - Install the Motor on the Base Plate: Secure the gate opener motor onto the assembled base plate. Adjust the motor position to align the drive sprocket and the two idler wheels vertically within the range of the hole in the "L bracket". Reinforce all bolts.
Video: Installing the motor onto the base plate and adjusting its position for proper alignment with the chain wheels. - Determine Gate Opener Position: Place the assembled opener unit next to the gate. Mark the bolt-hole points on the ground. Drill holes and secure the opener using appropriate bolts (expansion bolts for concrete, hex bolts for other surfaces).
Video: Determining the correct position for the gate opener and marking the bolt holes. - Fit the Chain: Disassemble the master link from the chain. Install the chain bolts onto the L-brackets on both ends of the gate. Connect the chain to one of the chain bolts using the master link. Ensure the chain fully engages the drive sprocket and idler wheels. Cut the chain to the appropriate length and connect the other end to the second chain bolt.
Video: Detailed steps for fitting the chain, including installing chain bolts, connecting the chain, and adjusting tension. - Install the Magnets: Install the N and S pole magnets onto their respective brackets. The S magnet bracket should be installed on the left side of the gate (from inside the property), and the N magnet bracket on the right side. Ensure the magnet center aligns with the marked line on the limit switch. Maintain a distance of 25-30 mm (1-1.2 inches) between the magnet and the limit switch.
Video: Installation of the magnetic limit switches, including positioning and alignment.
5.2 Electrical Connection
The CF800 gate opener is powered by 110-120VAC electricity ONLY. The power supply cord should be at least 3 x 0.75mm² (3C x 18AWG). Connect the power wires to the control board as indicated in the wiring diagram within the manual. Ensure all connections are secure and properly insulated.
6. Operation
6.1 Remote Control Programming
To program the remote control:
- Press the learn button (LNSW button) on the control board. The LEARN LED will light up.
- Press the desired button on your remote control twice within 2 seconds. Hold the button for a moment between presses.
- The LEARN LED will flash, indicating successful programming.
6.2 Setting Left/Right Open
Adjust DIP Switch #4 on the control board according to the actual opening direction of your gate. Refer to the instruction manual for the correct setting (ON for Left Open, OFF for Right Open).
6.3 Adjusting Open/Close Limit Position
If the gate does not stop at the desired open or close position, you will need to re-adjust the limit positions. This typically involves fine-tuning the magnetic limit switches or adjusting internal potentiometers on the control board. Refer to the detailed instructions in the full manual for precise adjustment steps.
6.4 Setting of the Control Board
The control board features DIP switches and potentiometers for various settings such as stall force, auto-close time, and other advanced functions. Refer to the instruction manual for detailed explanations and adjustment procedures for each setting.
7. Connection of Accessories
The TOPENS CF800 supports various accessories to enhance functionality and safety. Ensure power is OFF before connecting any accessories.
7.1 TC147 Wall Push Button
Connect the TC147 Wall Push Button to the control board for convenient gate operation from a fixed location. The cable for connection is not included.
7.2 TC148 Waterproof Wall Push Button
For outdoor use, the TC148 Waterproof Wall Push Button provides a durable option for gate control. The cable for connection is not included.
7.3 JD110VY / 230VY AC Warning Light
Install a warning light for increased visibility during gate operation. Ensure power is OFF before connecting the warning light. The cable for connection is not included.
7.4 ERM12 External Receiver
The ERM12 External Receiver can extend the remote control range. Connect it to the control board as per the wiring diagram. Ensure power is OFF before connection.
7.5 TC188 Universal Keypad (Wireless Mode)
The TC188 Universal Keypad offers wireless access control. Before programming, a "New Permanent Entry Code" must be added. Follow the instructions in the video to add the code and program the keypad.
7.6 TC175P Wired Keypad
The TC175P Wired Keypad provides secure wired access. Connect the keypad to the control board using appropriate wiring. The cable is not included. Follow the programming steps to set up access codes.
7.7 TKP3 Wireless Keypad
The TKP3 Wireless Keypad offers convenient wireless entry. Program the keypad by pressing the learn button on the control board and then the OK button on the keypad. You can use the default password or change it as shown in the video.
7.8 TC173 Wireless Push Button
The TC173 Wireless Push Button provides a simple wireless control option. Program it by pressing the learn button on the control board and then the button on the TC173 twice.
7.9 TC102 Photo Eye Beam Sensor
The TC102 Photo Eye Beam Sensor is a crucial safety device. Disconnect the wire jumper on the control board to activate the photocell function. Connect the sensor wires to the control board as shown. The cables are not included.
7.10 TRF3 Reflection Photocell Sensor
The TRF3 Reflection Photocell Sensor provides an alternative safety mechanism. Disconnect the wire jumper on the control board to activate the photocell function. Connect the sensor wires to the control board as shown. The cables are not included.
7.11 TEW3 Vehicle Sensor Exit Wand
The TEW3 Vehicle Sensor Exit Wand allows for automatic gate opening when a vehicle approaches. Install the wand away from power lines (7.5-30m or 25-100ft from the gate). Bury the wand 2 inches deep from the ground and 8 inches from the driveway edge. Adjust the sensitivity on the "range adjustment board" according to your needs. Ensure power is OFF before connection.
7.12 TC196 Tuya WiFi Remote Control
The TC196 Tuya WiFi Remote Control allows you to operate your gate via a smartphone app. Ensure your home's WiFi is on 2.4GHz mode (5GHz is not supported). Connect your smartphone to your home's WiFi and turn on Bluetooth. Register an account on the Tuya Smart APP, then add the device. The app interface will mirror the remote control buttons. If WiFi is disconnected, you can still operate the gate via Bluetooth.
8. Maintenance
Regular maintenance ensures the longevity and safe operation of your gate opener. Perform the following checks periodically:
- Inspect the gate for any obstructions, loose hardware, or signs of wear on hinges and rollers.
- Check the chain tension and lubricate it as needed.
- Verify that safety sensors (photocells, exit wands) are clean and functioning correctly.
- Test the manual release mechanism to ensure it operates smoothly.
- Keep the area around the gate opener clear of debris.
9. Troubleshooting
If your gate opener is not functioning as expected, refer to the following common troubleshooting tips. For more complex issues, consult the full instruction manual or contact customer support.
- Gate not responding to remote: Check remote battery, ensure remote is programmed correctly, verify power supply to the opener.
- Gate stops unexpectedly: Inspect for physical obstructions, check safety sensor alignment, verify limit switch positions.
- Gate opens/closes partially: Re-adjust open/close limit positions.
- Motor runs but gate does not move: Check if the clutch is engaged, inspect the chain for breaks or disconnections.
- Unusual noises during operation: Inspect the chain and gears for wear or debris, ensure proper lubrication.
10. Warranty and Support
TOPENS provides a 12-month warranty for the CF800 gate opener, along with a 30-day exchange & return policy. For technical assistance, installation videos, and user manuals, please visit the official TOPENS website. Our specialists are available to provide professional and timely solutions for any questions you may have.
For further assistance, please contact TOPENS customer support.


