1. Product Overview
The SUPERNIGHT 32.8 FT (10M) RGB LED Light Strip is a flexible, multi-color lighting solution designed for indoor decorative purposes. It features 600 high-quality SMD 5050 LEDs, offering a wide range of colors. This light strip operates on a DC 24V power supply and is non-waterproof, making it suitable for dry indoor environments only. Its flexible design and adhesive backing allow for easy installation in various settings.

Image 1: Overview of the SUPERNIGHT 32.8ft RGB LED Light Strip, highlighting its flexible white color board, non-waterproof design with double-sided adhesive tape, 4-pin connector, cutting marks, and SMD5050 RGB LEDs.
2. What's in the Box
Your SUPERNIGHT 32.8 FT RGB LED Light Strip package includes:
- 1 x 32.8 FT (10M) RGB LED Light Strip (Model EBT346-FT)
Please Note: This product includes only the LED light strip. A compatible DC 24V power supply and an RGB remote controller are NOT included and must be purchased separately for operation.

Image 2: Illustration showing that a power adapter and remote control are not included with this specific LED strip product.
3. Safety Information
- Indoor Use Only: This LED strip is non-waterproof. Do not expose it to water, moisture, or high humidity. Use strictly indoors in dry environments.
- Power Supply: Always use a compatible DC 24V power supply (not included). Using an incorrect voltage can damage the strip and pose a fire hazard.
- Installation: Ensure the installation surface is clean, dry, and smooth. Avoid installing on rough or uneven surfaces that may compromise the adhesive.
- Cutting: Only cut the LED strip at designated cutting marks (indicated by a scissor icon). Cutting elsewhere will damage the circuit and render that section unusable.
- Connections: Ensure all connections are secure and properly insulated, especially if extending the strip or making custom installations.
- Heat: While designed for good heat dispersion, avoid covering the LED strip with materials that could trap heat, as this may reduce its lifespan.
- Children and Pets: Keep the LED strip and all accessories out of reach of children and pets.
4. Setup Instructions
4.1 Preparation
- Unroll the LED strip carefully to avoid kinks or damage.
- Ensure you have a compatible DC 24V power supply and an RGB controller (both sold separately).
- Clean the desired installation surface thoroughly. The surface must be dry, smooth, and free of dust or grease for optimal adhesive performance.
4.2 Installation
- Measure and Cut (Optional): If a shorter length is required, locate the designated cutting marks on the LED strip (marked with a scissor icon). Use sharp scissors to cut precisely along these lines.
- Apply Adhesive: Peel off the protective backing from the double-sided adhesive tape on the back of the LED strip.
- Attach Strip: Carefully press the LED strip onto the prepared surface, ensuring firm and even contact along its entire length.
- Connecting Multiple Strips (Optional): If connecting multiple strips, use appropriate 4-pin connectors (sold separately) to join them. Ensure the polarity is correct (arrows on connectors usually align).

Image 3: Close-up of the LED strip showing the designated cutting line with a scissor icon.

Image 4: Demonstrating how to peel the protective layer from the double-sided adhesive tape on the back of the LED strip.
4.3 Electrical Connection
- Connect the 4-pin connector of the LED strip to your compatible RGB controller (sold separately). Ensure the pins align correctly.
- Connect the RGB controller to a compatible DC 24V power supply (sold separately).
- Plug the DC 24V power supply into a standard electrical outlet.
5. Operating Instructions
Once properly installed and connected to a compatible RGB controller and 24V power supply, operate your SUPERNIGHT LED Light Strip using the remote control provided with your RGB controller (not included with this strip).
- Power On/Off: Use the power button on your RGB controller's remote to turn the lights on or off.
- Color Selection: Select desired colors using the color buttons on the remote. The RGB LEDs can display a wide spectrum of colors.
- Brightness Adjustment: Adjust the brightness levels using the designated buttons on the remote.
- Mode Selection: Many RGB controllers offer various lighting modes such as flash, fade, strobe, or smooth transitions. Refer to your controller's manual for specific mode functions.

Image 5: The LED light strip illuminated in various colors, demonstrating its multi-color capability.

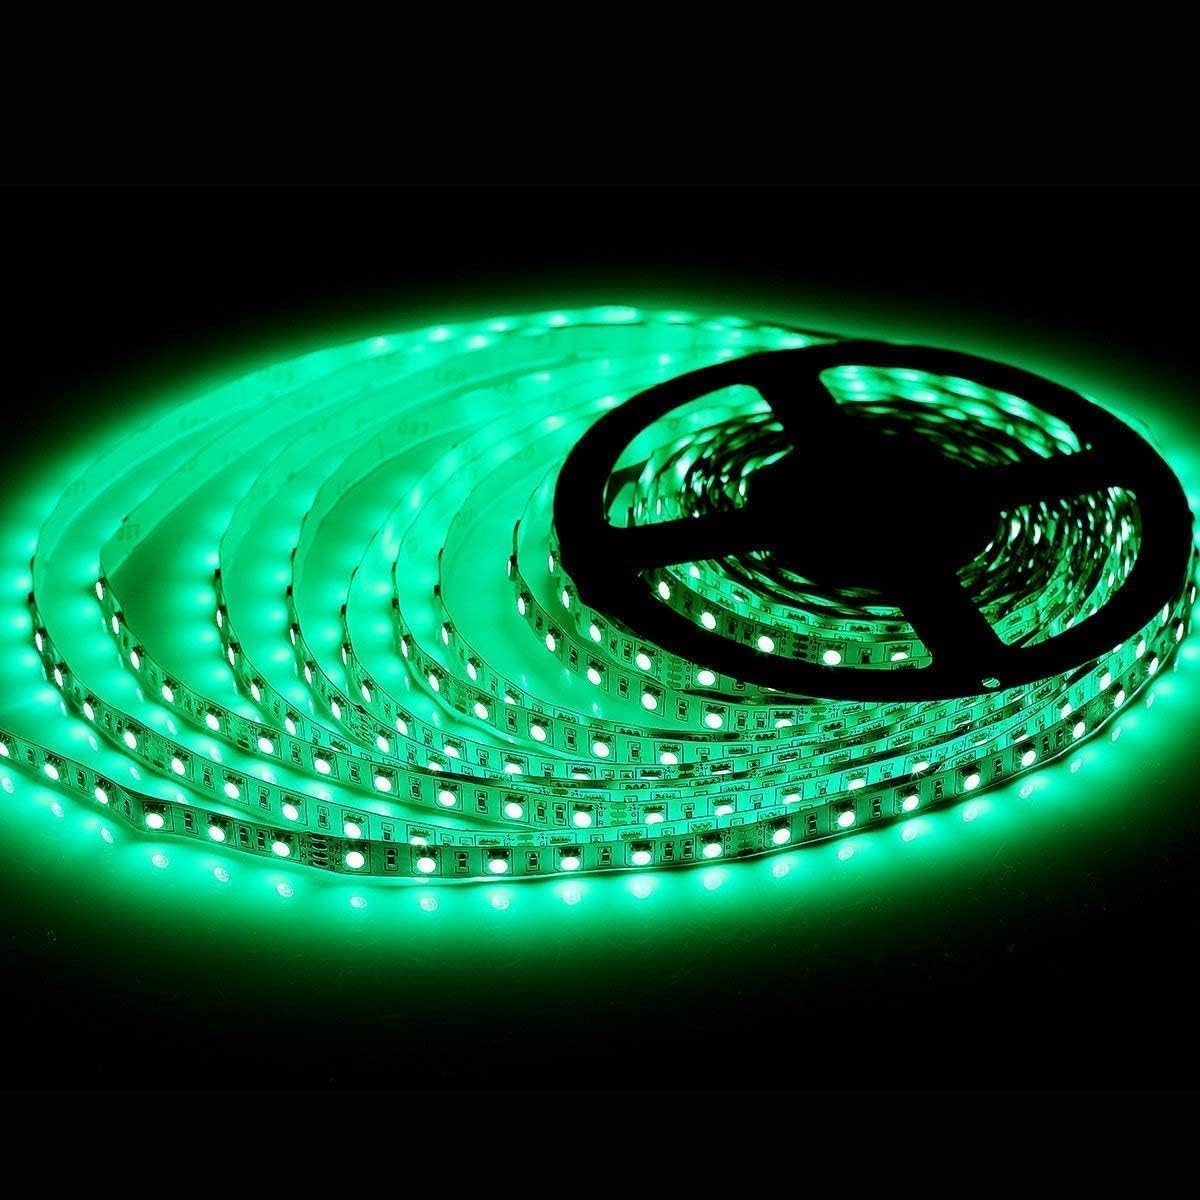
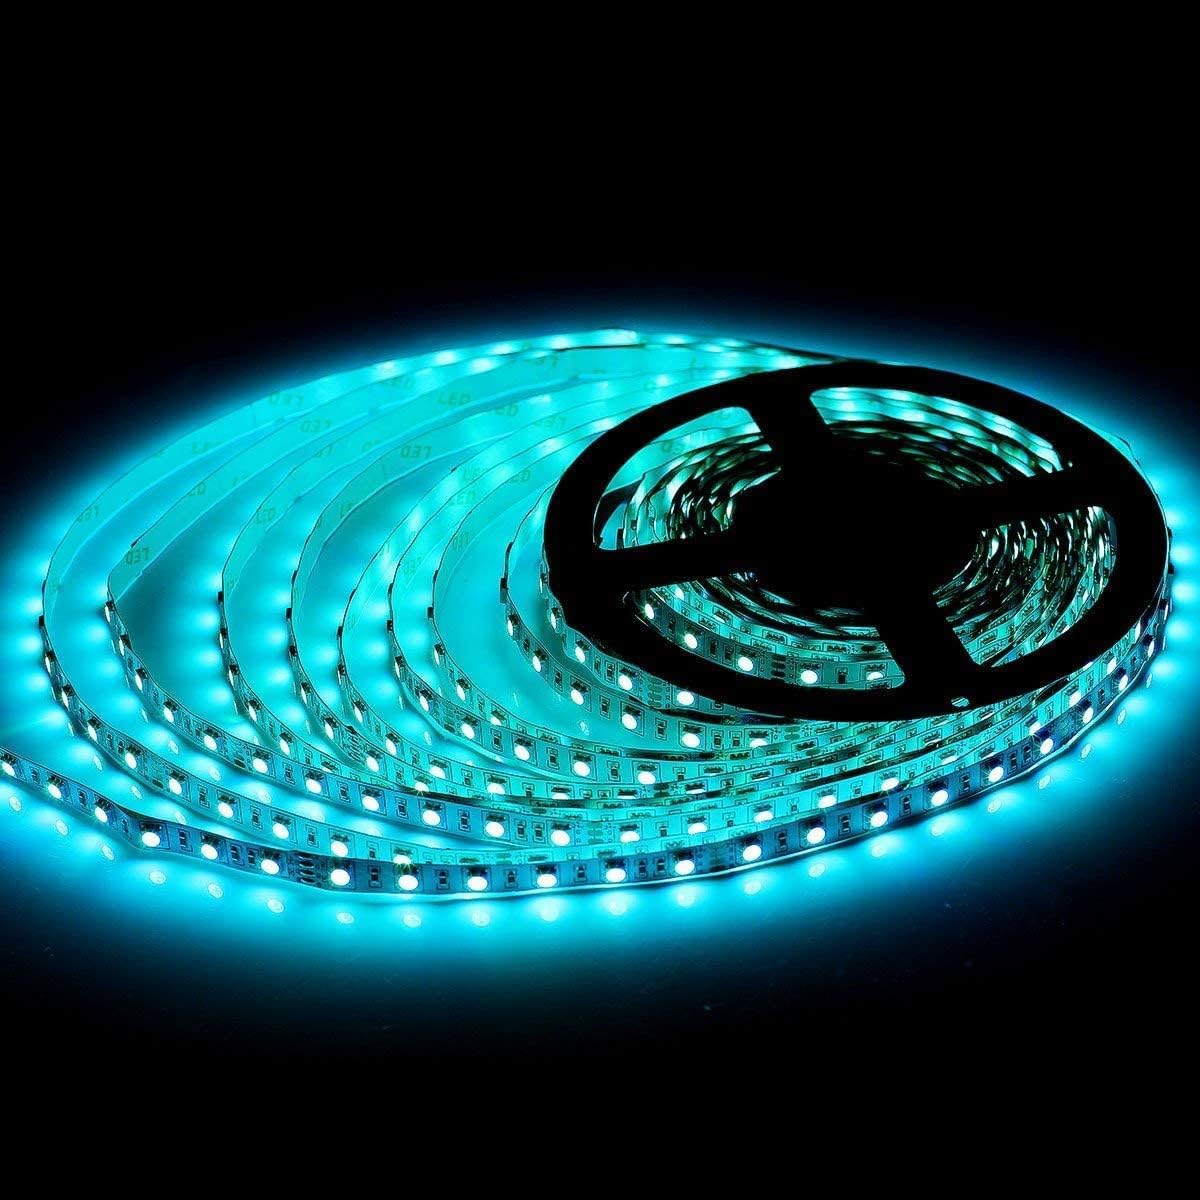
Image 6: Examples of the LED strip displaying solid red, green, and blue colors.
6. Maintenance
- Cleaning: Ensure the LED strip is powered off and unplugged before cleaning. Gently wipe the surface with a soft, dry cloth. Do not use liquid cleaners or abrasive materials.
- Inspection: Periodically inspect the strip for any signs of damage, such as cuts, frayed wires, or loose connections. Address any issues promptly to prevent further damage or safety hazards.
- Storage: If removing the strip for storage, carefully roll it back onto its original reel or a similar circular object to prevent kinking or damage to the LEDs and circuitry. Store in a dry, cool place.
7. Troubleshooting
| Problem | Possible Cause | Solution |
|---|---|---|
| Lights not turning on. | No power to the strip; loose connections; faulty power supply or controller. | Check if the power supply is plugged in and receiving power. Ensure all connections (strip to controller, controller to power supply) are secure. Test the power supply and controller with another device if possible. |
| Incorrect colors or flickering. | Loose 4-pin connection; faulty controller; power supply not providing enough current. | Ensure the 4-pin connector is fully inserted and correctly aligned (arrow to arrow). Try a different mode on the controller. Verify your 24V power supply meets the wattage requirements for the strip (144W for 32.8ft). |
| Adhesive not sticking. | Surface not clean or smooth; old adhesive. | Clean the surface thoroughly with rubbing alcohol and let it dry completely before application. For existing installations, consider using additional clips or stronger double-sided tape. |
| Section of strip not lighting up. | Damage to the strip; incorrect cutting; loose connection at a splice point. | Inspect the non-working section for visible damage. If multiple strips are connected, check the splice connector. Ensure cuts were made only at designated marks. |
8. Specifications
| Feature | Detail |
|---|---|
| Brand | SUPERNIGHT |
| Model Number | EBT346-FT |
| Light Source Type | SMD 5050 LED |
| Number of LEDs | 600 (for 32.8ft / 10M) |
| Light Color | RGB (Multi-Color) |
| Item Length | 32.8 Feet (10 Meters) |
| Voltage | DC 24 Volts |
| Wattage | 144 Watts |
| Indoor/Outdoor Usage | Indoor Only (Non-Waterproof) |
| Material | Vinyl |
| Control Method | Remote (Controller sold separately) |
9. Warranty and Support
For warranty information or technical support regarding your SUPERNIGHT RGB LED Light Strip, please refer to the documentation provided with your purchase or contact SUPERNIGHT customer service directly. Keep your purchase receipt as proof of purchase for any warranty claims.


