
Introduction
This manual provides comprehensive instructions for the safe installation, operation, and maintenance of your Hudson Valley Lighting Edmonton 8121-AGB 5-Light Lantern. Please read all instructions carefully before beginning installation and retain this manual for future reference.
The Edmonton 5-Light Lantern features an Aged Brass finish and a clear, handblown glass shade, designed for indoor use. It requires incandescent lamp types.
Important Safety Information
WARNING: RISK OF ELECTRIC SHOCK. Ensure power is turned off at the main circuit breaker or fuse box before installation or servicing.
Always consult a qualified electrician for installation if you are unsure about the process. Follow all local electrical codes and ordinances.
- Do not install this fixture in wet or damp locations.
- Use only the specified bulb type and wattage.
- Do not exceed the maximum wattage indicated on the fixture.
- Handle glass components with care to prevent breakage.
- Keep flammable materials away from the light fixture.
Package Contents
Verify that all components are present before beginning installation. If any parts are missing or damaged, contact customer service.
- Fixture Assembly (Canopy, Rods, Frame, Socket Cluster)
- Glass Shade
- Mounting Hardware (Crossbar, Screws, Wire Nuts)
- Instruction Manual
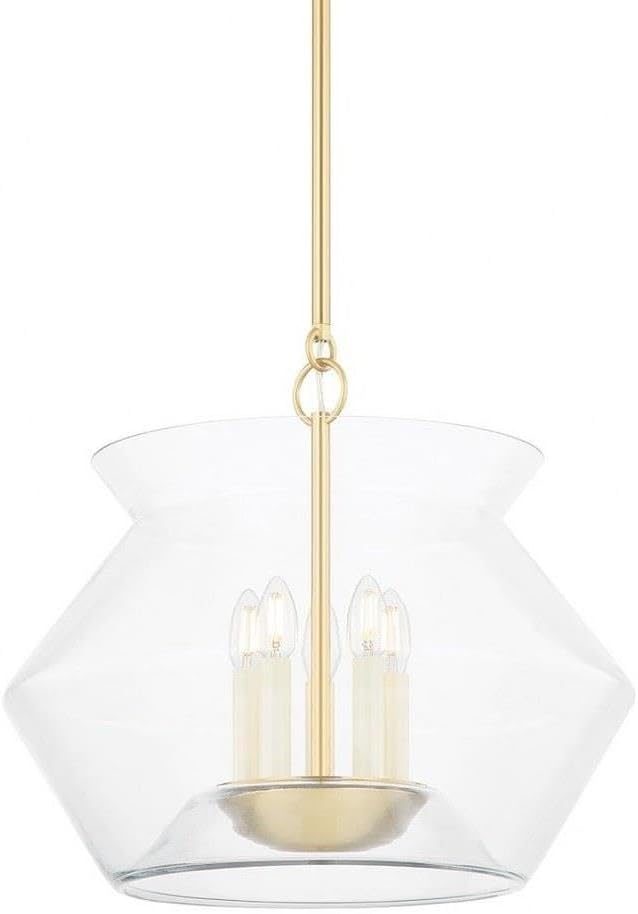
Figure 1: Complete Edmonton 5-Light Lantern assembly.
Setup and Installation
Professional installation is recommended. Ensure power is disconnected at the circuit breaker before proceeding.
- Prepare for Installation: Turn off power at the main electrical panel. Clear the work area.
- Mount the Crossbar: Attach the mounting crossbar to the junction box using the provided screws. Ensure it is securely fastened.
- Adjust Rod Length (if applicable): Determine the desired hanging height and assemble the appropriate length of extension rods.
- Wire the Fixture: Connect the fixture's wires to the house wires according to standard electrical practices (black to black, white to white, ground to ground). Secure connections with wire nuts.
- Secure the Canopy: Carefully push the wired fixture up to the ceiling, tucking wires into the junction box. Secure the canopy to the mounting crossbar with the provided screws.
- Install Light Bulbs: Screw in the recommended incandescent bulbs (not included) into the sockets. Do not exceed the maximum wattage.
- Attach Glass Shade: Carefully place the handblown glass shade over the fixture and secure it according to the design (specific mechanism not detailed in product description, assume a common securing method like screws or a collar).
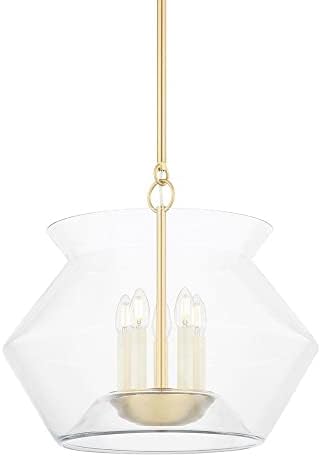
Figure 2: Detail of the fixture's internal components and Aged Brass finish.
Operation
Once installed and power is restored, the Edmonton 5-Light Lantern operates like any standard ceiling fixture. Use a wall switch (not included) to turn the light on and off.
- Ensure all bulbs are securely screwed into their sockets.
- If using a dimmer switch, ensure it is compatible with incandescent bulbs and the total wattage of the fixture.
Maintenance
Regular cleaning will help maintain the appearance and performance of your fixture.
- Cleaning the Fixture: Turn off power before cleaning. Wipe the metal parts with a soft, dry cloth. Do not use abrasive cleaners, polishes, or solvents as they may damage the finish.
- Cleaning the Glass Shade: The clear handblown glass shade can be gently wiped with a soft, damp cloth. For stubborn marks, use a mild glass cleaner applied to the cloth, not directly to the glass. Ensure the glass is completely dry before restoring power.
- Bulb Replacement: Turn off power before replacing bulbs. Allow bulbs to cool completely. Replace with the same type and wattage of incandescent bulbs.
Troubleshooting
| Problem | Possible Cause | Solution |
|---|---|---|
| Light does not turn on. |
|
|
| Flickering light. |
|
|
| Fixture hums. |
|
|
Specifications
| Attribute | Detail |
|---|---|
| Model Number | 8121-AGB |
| Brand | Hudson Valley Lighting |
| Product Dimensions | 20.75"L x 20.75"W x 18.5"H |
| Finish Type | Aged Brass |
| Material | Alloy Steel |
| Color | Brass |
| Item Weight | 19.25 pounds |
| Mounting Type | Up Lighting |
| Indoor/Outdoor Usage | Indoor |
| Power Source | Corded Electric |
| Voltage | 120 Volts |
| Wattage | Max 8 watts per bulb (incandescent) |
| Lamp Type | Incandescent |
| Included Components | Mounting Hardware |
| UPC | 806134144029 |
Warranty and Support
This Hudson Valley Lighting product is covered by a 1-year limited manufacturer's warranty from the date of purchase. This warranty covers defects in materials and workmanship under normal use.
For warranty claims, technical support, or replacement parts, please contact Hudson Valley Lighting customer service. Refer to the official Hudson Valley Lighting website for current contact information.
Website: www.hudsonvalleylighting.com


