1. Introduction
This manual provides detailed instructions for the installation, operation, and maintenance of your Titunjian Automatic Electric Swing Gate Opener Kit. This kit is designed for single swing gates, offering convenience and security for residential, commercial, or agricultural properties. Please read this manual thoroughly before beginning installation or operation to ensure safe and efficient use of the product.
The system features a 24V DC motor with low power consumption, durable aluminum swing arms, and various safety features including soft start/stop and auto-stop functionality. It is built to withstand harsh weather conditions.

Image 1.1: Overview of the Titunjian Automatic Electric Swing Gate Opener Kit, showing the linear actuator, control box, remote controls, mounting hardware, and manual release key.
2. Safety Information
WARNING: Failure to follow these safety instructions may result in serious injury or property damage.
- Electrical Safety: Ensure all electrical connections are made by a qualified electrician and comply with local electrical codes. Disconnect power before performing any maintenance or service.
- Moving Parts: Keep hands, feet, and clothing clear of the gate and opener mechanism during operation.
- Children and Pets: Do not allow children or pets to play near the gate or operate the remote controls. Store remote controls out of reach of children.
- Obstruction Detection: The system includes an auto-stop feature if obstacles are detected. Regularly test this feature to ensure it is functioning correctly.
- Manual Release: Familiarize yourself with the manual release procedure using the provided key in case of power failure or emergency.
- Gate Condition: Ensure your gate is in good working order, moves freely, and is properly balanced before installing the opener.
3. Package Contents
Carefully unpack the box and verify that all the following items are included:
- 1x Gate Opener Actuator (Linear Actuator)
- 1x Control Box
- 2x Remote Controls
- Various Mounting Brackets and Hardware (e.g., L-brackets, pivot brackets)
- Anchor Bolts and Screws
- 1x Manual Release Key
- 1x Rubber Stopper

Image 3.1: All components of the gate opener kit, including the actuator, control box, remotes, and various mounting hardware.
4. Specifications
The following table details the technical specifications of the Titunjian Automatic Electric Swing Gate Opener Kit:
| Parameter | Value |
|---|---|
| Power Supply | 110V |
| Motor Power | 24VDC 40W |
| Current | 5A |
| Motor Speed | 250 RPM |
| Actuator Running Speed | 1.6 CM/S |
| Actuator Stroke | 300 MM |
| Max Single Leaf Width | 2 Meters |
| Max Single Leaf Weight | 150 KG |
| Working Temperature | -20°C to 50°C |
| Protection Class | IP55 |
| Product Dimensions | 33.07 x 16.92 x 5.51 inches (packaged) |
| Material | Metal (Stainless Steel Exterior Finish) |

Image 4.1: Detailed dimensions of the linear actuator component.
5. Installation Guide
5.1. Pre-installation Checks
- Ensure the gate operates smoothly manually without binding or excessive friction.
- Confirm the gate structure is strong enough to support the opener and withstand operational forces.
- Verify a suitable 110V power source is available near the control box installation location.
5.2. Mounting the Actuator
- Determine the optimal mounting positions for the front and rear brackets on the gate and gate post. These positions are crucial for correct gate travel and opener efficiency.
- Securely attach the rear mounting bracket to the gate post using appropriate anchor bolts.
- Attach the front mounting bracket to the gate frame.
- Connect the gate opener actuator to both the front and rear brackets using the provided pins and fasteners. Ensure the actuator is level and moves freely.
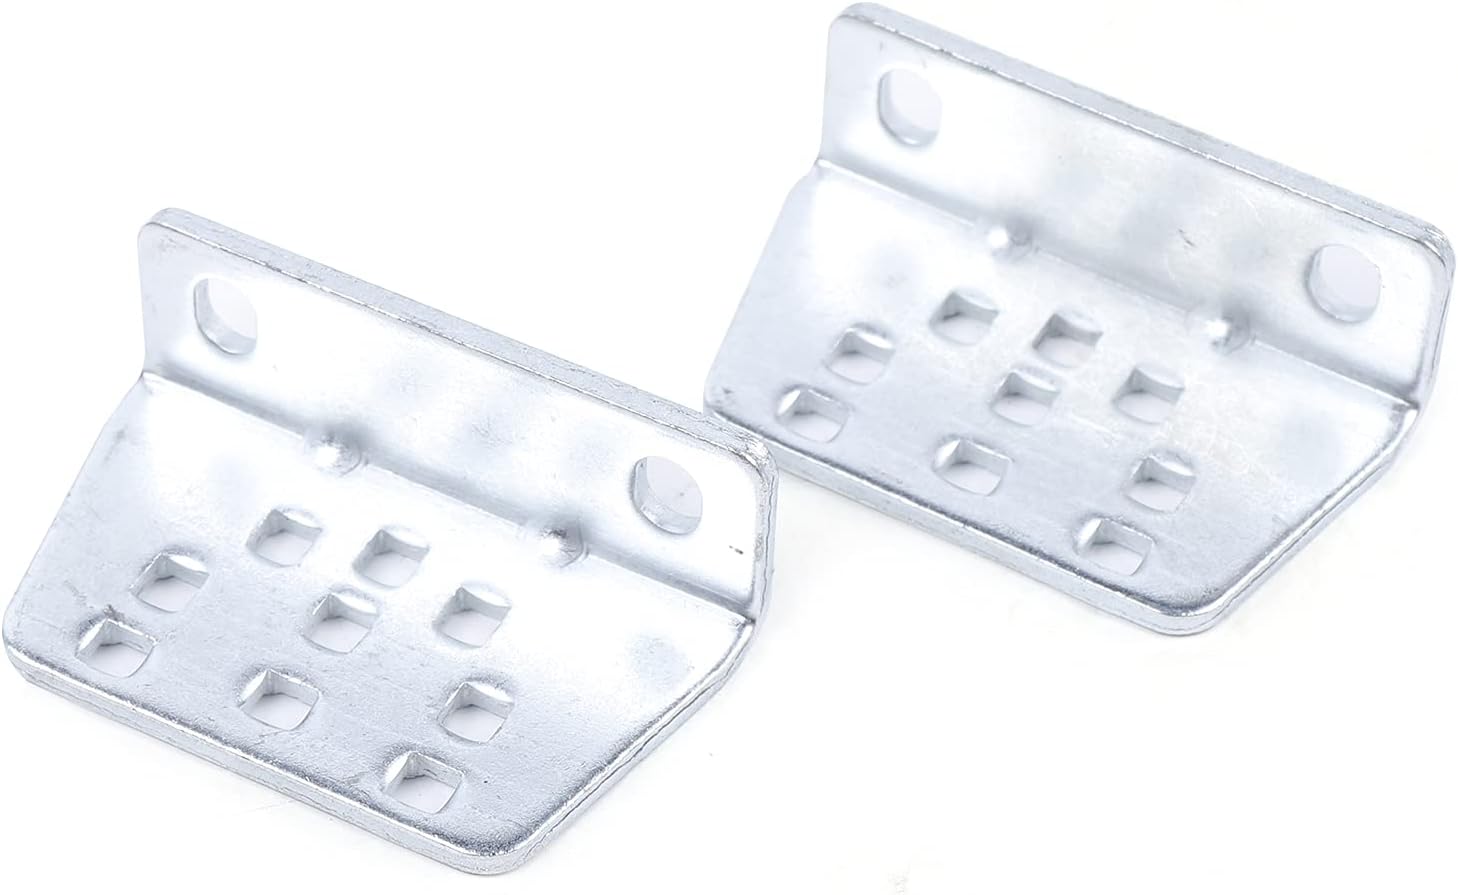
Image 5.1: Example of metal mounting brackets used to secure the actuator to the gate and post.

Image 5.2: Close-up view of the actuator's end, showing the connection point for the mounting bracket.
5.3. Wiring the Control Box
- Mount the control box in a secure, weather-protected location near the gate opener, ensuring easy access for maintenance.
- Connect the 24VDC motor wires from the actuator to the designated terminals on the control board inside the control box. Refer to the wiring diagram provided with your kit for specific connections.
- Connect the 110V power supply to the control box, ensuring proper grounding.
- If applicable, connect any optional accessories such as safety sensors, keypads, or exit buttons.

Image 5.3: The grey control box, housing the electronic components for the gate opener system.
5.4. Remote Control Pairing
- Open the control box and locate the 'Learn' or 'Code' button on the control board.
- Press and hold the 'Learn' button until an indicator light illuminates or flashes.
- While the indicator light is active, press any button on the remote control you wish to pair. The indicator light should change or flash to confirm successful pairing.
- Repeat for any additional remote controls.

Image 5.4: Two remote controls, along with anchor bolts, screws, and a manual release key.
6. Operating Instructions
6.1. Basic Operation
Once installed and powered, the gate opener can be operated using the paired remote controls:
- Press the designated button on your remote control to open the gate.
- Press the same button again to close the gate.
- The system features soft start and slow stop functionality for smooth operation and reduced wear.
6.2. Adjusting Settings
The control box allows for various adjustments to optimize gate operation:
- Opening/Closing Interval: Adjust the time delay between opening and closing cycles, if applicable for dual gate setups (though this is a single gate opener, some control boards have this feature).
- Auto-Stop Sensitivity: The system will automatically stop if an obstacle is detected. The sensitivity of this feature may be adjustable via potentiometers or dip switches on the control board.
- Motor Running Time: The maximum motor running time can be adjusted to prevent continuous operation in case of an obstruction or malfunction.
Refer to the specific control board manual (usually included with the kit) for detailed instructions on adjusting these parameters.
6.3. Manual Release
In the event of a power outage or system malfunction, the gate can be operated manually:
- Locate the manual release mechanism on the actuator. This is typically a key-operated lock.
- Insert the manual release key into the lock and turn it to disengage the motor.
- The gate can now be pushed open or closed by hand.
- To re-engage the motor, turn the key back to its original position and operate the gate with the remote to synchronize the system.
7. Maintenance
Regular maintenance ensures the longevity and reliable operation of your gate opener system.
- Monthly: Inspect the gate and opener for any signs of wear, damage, or loose connections. Check that the gate moves freely and smoothly.
- Quarterly: Clean the actuator arm and ensure it is free of debris. Check all mounting hardware for tightness. Test the auto-stop safety feature.
- Annually: Have a qualified technician inspect the entire system, including electrical connections and motor performance.
8. Troubleshooting
This section addresses common issues you might encounter with your gate opener.
| Problem | Possible Cause | Solution |
|---|---|---|
| Gate does not respond to remote. | No power; remote battery dead; remote not paired; manual release engaged. | Check power supply; replace remote battery; re-pair remote (Section 5.4); ensure manual release is disengaged. |
| Gate opens partially or stops unexpectedly. | Obstruction; motor running time limit reached; gate binding. | Remove obstruction; adjust motor running time (Section 6.2); check gate for free movement. |
| Unusual noises during operation. | Lack of lubrication; loose hardware; worn components. | Lubricate moving parts; tighten all bolts and screws; inspect for worn parts and replace if necessary. |
| Gate operates slowly. | Low voltage; gate binding; motor issue. | Check power supply voltage; ensure gate moves freely; contact support if motor issue is suspected. |
9. Warranty and Support
For warranty information, technical assistance, or to purchase replacement parts, please refer to the product packaging or contact Titunjian customer service through the retailer where the product was purchased. Keep your purchase receipt as proof of purchase for warranty claims.