1. Setup
This section guides you through the initial setup of your Blackview A52 smartphone.
1.1 Package Contents
Ensure all items are present in the package:
- Blackview A52 Smartphone
- USB Cable
- Power Adapter
- SIM Eject Tool
- Quick Start Guide (if included)
1.2 Inserting SIM and SD Cards
The Blackview A52 supports dual SIM cards and one microSD card for expanded storage.
- Locate the SIM card tray on the side of the device.
- Insert the SIM eject tool into the small hole next to the tray and press gently until the tray pops out.
- Place your Nano-SIM card(s) and/or microSD card into the designated slots on the tray. Ensure the gold contacts face downwards.
- Carefully push the tray back into the phone until it clicks into place.
1.3 Charging the Device
Before first use, fully charge your Blackview A52.
- Connect the USB cable to the power adapter.
- Plug the power adapter into a wall outlet.
- Connect the USB cable to the charging port on your phone.
- The charging indicator will appear on the screen. Disconnect the charger once the battery is full.
1.4 Powering On and Initial Configuration
- Press and hold the Power button (located on the side) until the Blackview logo appears.
- Follow the on-screen prompts to select your language, connect to a Wi-Fi network, set up your Google account, and configure security options like Face Unlock.
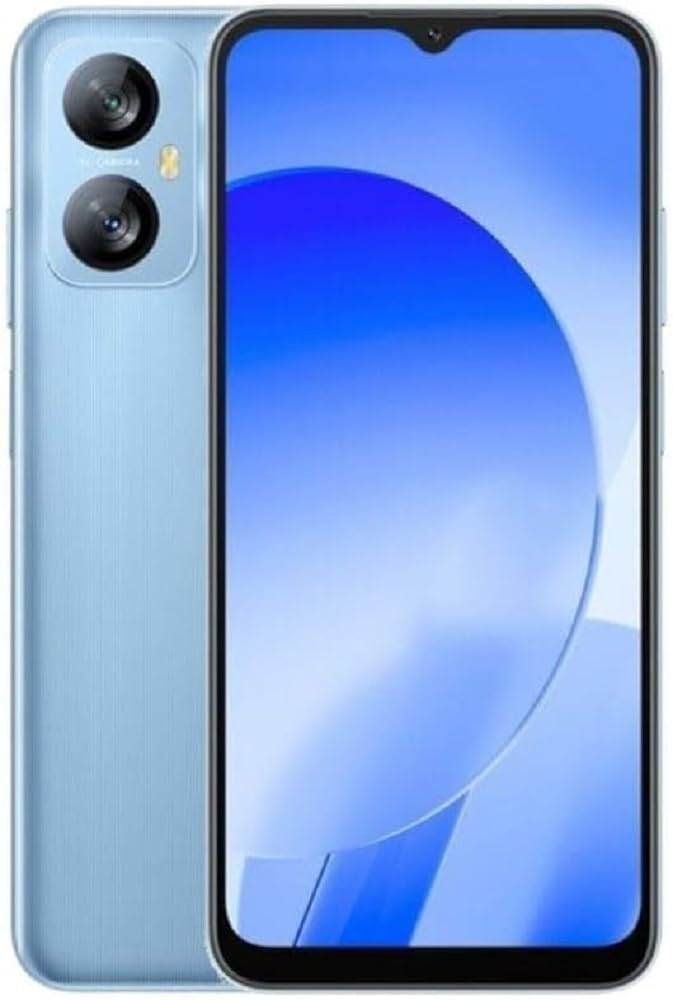
Image: The Blackview A52 smartphone, showcasing its display and design. This image provides a general overview of the device's appearance.
2. Operating Your Blackview A52
This section details the basic functions and features of your Blackview A52 smartphone.
2.1 Basic Navigation
- Touchscreen Gestures: Tap to select, swipe to scroll, pinch to zoom.
- Home Screen: Access your apps, widgets, and notifications. Swipe down from the top for the notification panel and quick settings.
- App Drawer: Swipe up from the bottom of the home screen to view all installed applications.
2.2 Calls and Contacts
- Making a Call: Open the 'Phone' app, enter the number, and tap the call icon.
- Adding a Contact: Open the 'Contacts' app, tap the '+' icon, and enter the contact details.
2.3 Messaging
To send and receive text messages (SMS):
- Open the 'Messages' app.
- Tap the 'Start chat' or '+' icon to compose a new message.
- Enter the recipient's number or select from contacts, then type your message.
- Tap the send icon.
2.4 Internet and Connectivity
- Wi-Fi: Go to Settings > Network & internet > Wi-Fi. Turn Wi-Fi on and select your desired network.
- Mobile Data: Go to Settings > Network & internet > Mobile network. Ensure Mobile data is enabled.
- Bluetooth: Go to Settings > Connected devices > Bluetooth. Turn Bluetooth on to pair with other devices.
2.5 Camera Functions
Your Blackview A52 features a 13MP rear camera and a 5MP front camera.
- Open the 'Camera' app.
- Tap the shutter button to take a photo.
- Switch between front and rear cameras using the camera switch icon.
- Explore modes like 'Beauty Mode' for enhanced selfies.
2.6 Security Features
The Blackview A52 includes Face Unlock for convenient and secure access.
- Go to Settings > Security > Face Unlock.
- Follow the on-screen instructions to register your face.
2.7 Doke OS G0 V3.0 Features
The device runs on Android 12 with Doke OS G0 V3.0, offering features such as:
- Dual-Window Entertainment: Split your screen to use two apps simultaneously.
- System Manager: Optimize performance, manage battery, and clean storage.
3. Maintenance
Proper maintenance ensures the longevity and optimal performance of your Blackview A52.
3.1 Cleaning the Device
- Use a soft, lint-free cloth to clean the screen and body.
- Avoid using harsh chemicals, abrasive cleaners, or aerosol sprays.
- Keep ports free of dust and debris.
3.2 Battery Care
The Blackview A52 is equipped with a 5180mAh battery.
- Avoid extreme temperatures, as they can degrade battery life.
- Do not leave the phone charging for extended periods after it's fully charged.
- Use only the original or certified compatible charger and cable.
3.3 Software Updates
Regularly check for and install software updates to ensure your device has the latest features and security patches.
- Go to Settings > System > System update.
- Follow the on-screen instructions to check for and install updates.
3.4 Storage Management
Your device has 32GB of internal storage, expandable via a microSD card.
- Regularly delete unnecessary files, apps, and media to free up space.
- Utilize cloud storage services for backups.
- Move large files to an inserted microSD card.
4. Troubleshooting
This section addresses common issues you might encounter with your Blackview A52.
4.1 Common Issues and Solutions
- Device Not Powering On:
- Ensure the battery is charged. Connect the charger and wait a few minutes before attempting to power on.
- Press and hold the Power button for at least 10-15 seconds to force a restart.
- Screen Unresponsive:
- Restart the device by holding the Power button.
- If the issue persists, perform a factory reset (see section 4.2).
- Network Issues (No Signal/Wi-Fi Disconnection):
- Toggle Airplane Mode on and off.
- Restart the device.
- Check SIM card insertion.
- For Wi-Fi, forget the network and reconnect.
- Battery Draining Quickly:
- Reduce screen brightness.
- Close unused apps running in the background.
- Disable unnecessary features like Bluetooth, GPS, or Wi-Fi when not in use.
- Check battery usage in Settings to identify power-hungry apps.
4.2 Factory Reset
Warning: A factory reset will erase all data on your phone, including apps, photos, and settings. Back up important data before proceeding.
- Go to Settings > System > Reset options.
- Select 'Erase all data (factory reset)'.
- Confirm your decision and enter your PIN/pattern if prompted.
- The phone will restart and restore to its factory settings.
5. Specifications
Key technical specifications for the Blackview A52 smartphone.
| Feature | Specification |
|---|---|
| Model | Blackview A52 |
| Display | 6.5-inch HD+ Waterdrop Display |
| Processor | Octa-core SC9863A1 (up to 1.6GHz) |
| RAM | 2GB |
| Internal Storage | 32GB |
| Expandable Storage | Yes, via microSD card |
| Rear Camera | 13MP |
| Front Camera | 5MP |
| Battery Capacity | 5180mAh |
| Operating System | Android 12 with Doke OS G0 V3.0 |
| Connectivity | 4G LTE, Wi-Fi, Bluetooth |
| Navigation | 3-in-1 Navigation System |
| Dimensions (L x W x H) | 19.69 x 19.69 x 11.02 inches |
| Color | Blue |
6. Warranty & Support
This section provides general information regarding product warranty and customer support.
6.1 Product Warranty
Your Blackview A52 smartphone is covered by a limited manufacturer's warranty. The specific terms and duration of the warranty may vary by region and point of purchase. Please refer to the warranty card included in your product packaging or visit the official Blackview website for detailed information regarding warranty coverage, terms, and conditions.
6.2 Customer Support
For technical assistance, troubleshooting beyond this manual, or warranty claims, please contact Blackview customer support.
- Online Support: Visit the official Blackview website for FAQs, support resources, and contact forms.
- Email Support: Refer to your product documentation for the appropriate support email address.
When contacting support, please have your device model (A52) and purchase information readily available.