
Introduction
This manual provides detailed instructions for the installation, operation, and maintenance of your Nebakne 144 Keys Fireproof Cabinet Safe. Please read these instructions carefully before using the product to ensure proper function and safety.
The Nebakne 144 Keys Fireproof Cabinet Safe is designed for secure key storage, featuring solid cold-rolled steel construction for anti-pry, anti-rust, and high-temperature resistance. It includes a combination lock, adjustable hook plates, and key tags for organized key management.
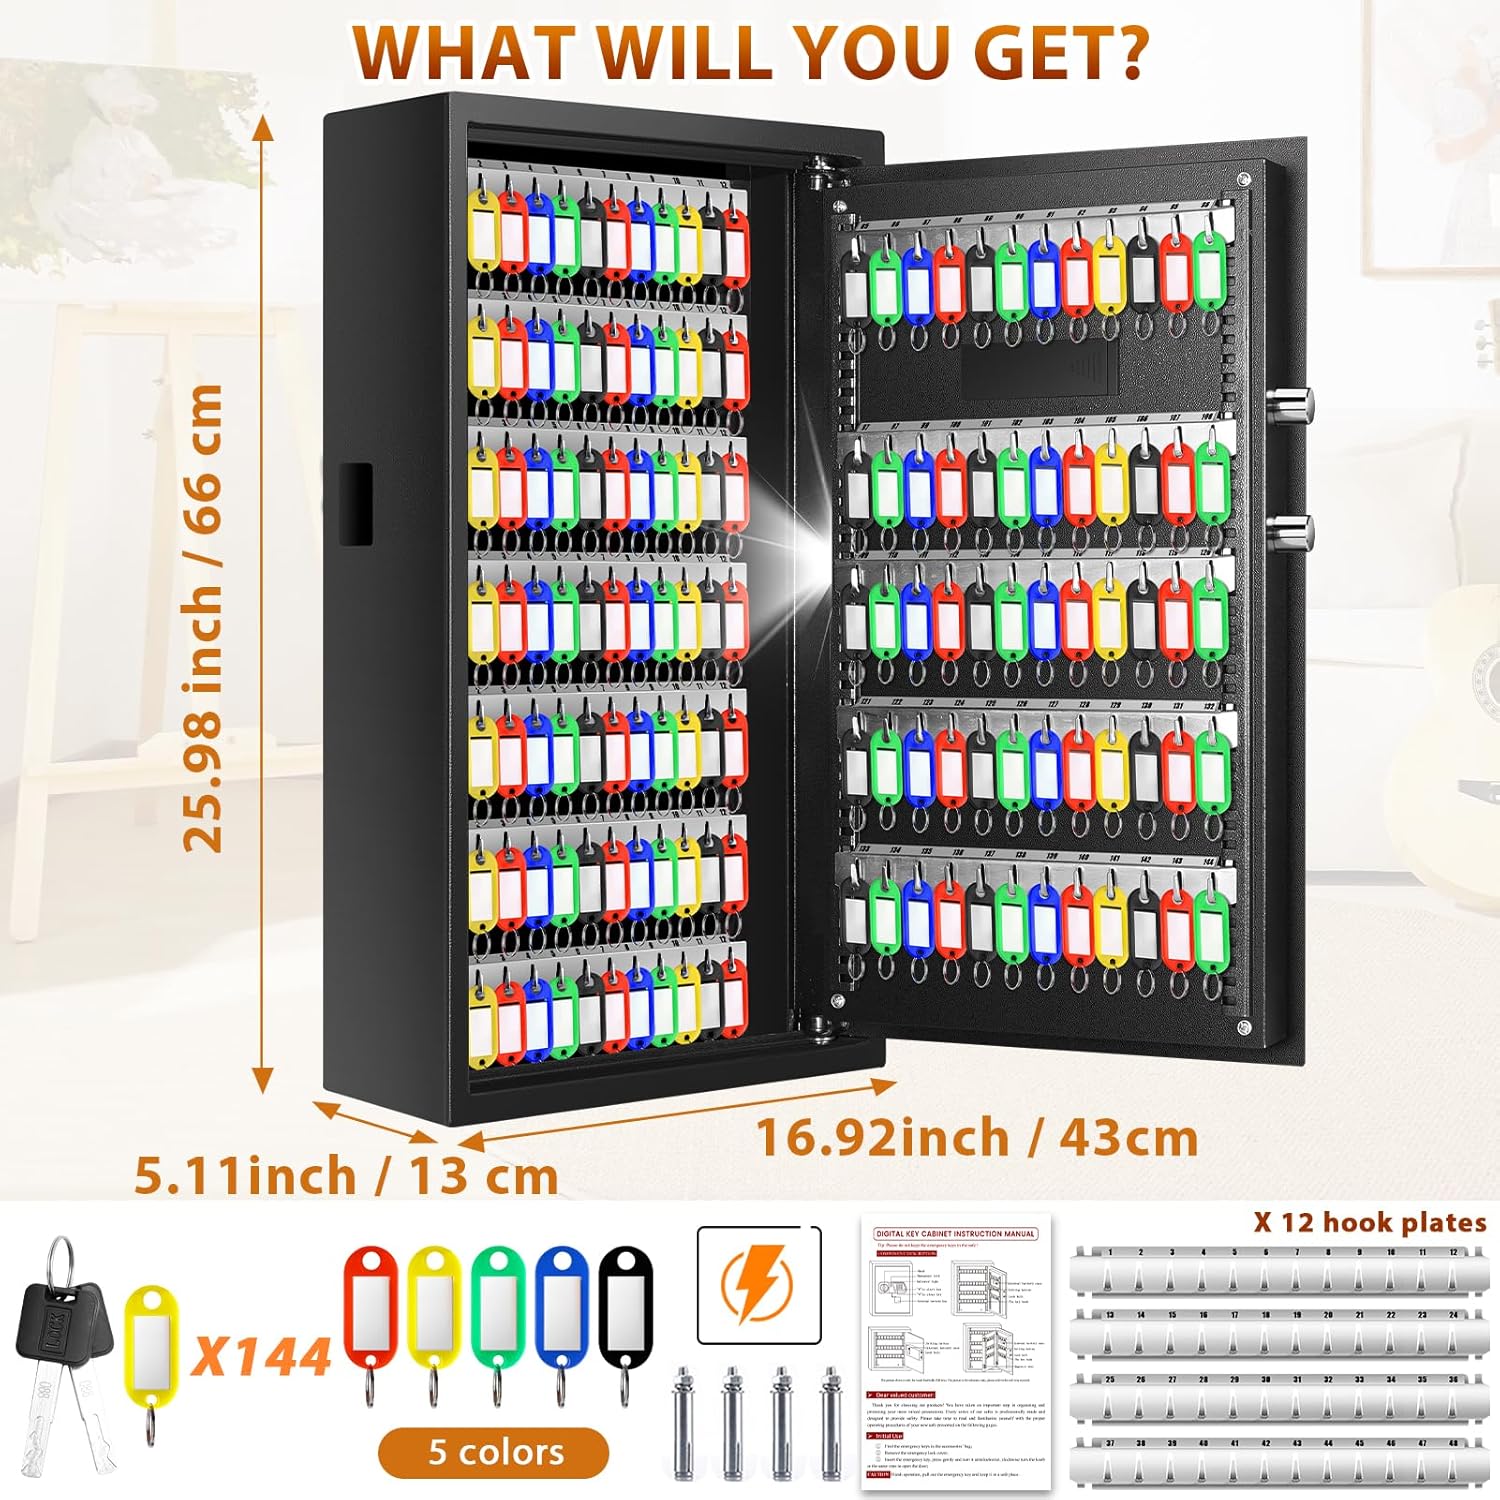
Image: Overview of the Nebakne 144 Keys Fireproof Cabinet Safe, showing its dimensions and included accessories such as 144 key tags, emergency keys, hook plates, mounting bolts, and the user manual.
Package Contents
Verify that all components are present in your package:
- 1 × Nebakne 144 Keys Fireproof Cabinet Safe
- 2 × Emergency Keys
- 12 × Adjustable Hook Plates
- 1 × External Battery Box
- 1 × Set of Mounting Hardware (bolts)
- 1 × User Manual (this document)
- 144 × Color-coded Key Tags (in 5 colors)
Setup and Installation
1. Battery Installation
The safe requires 4 x 1.5V AA batteries (not included) for the electronic keypad to function. The battery compartment is located inside the safe door. Ensure correct polarity when inserting batteries.
Video: Demonstrates how to install batteries and set the user and master codes for the safe. This video also shows the location of the internal battery compartment.
Note: If the batteries are depleted, you can use the external battery box to power the keypad temporarily for access. Connect the external battery box to the external power jack on the keypad.
2. Wall Mounting
The key cabinet is designed for wall mounting to enhance security and prevent tipping. Use the provided mounting hardware to secure the safe to a sturdy wall surface.
- Choose a suitable location on a solid wall.
- Mark the drilling points using the safe's pre-drilled holes as a template.
- Drill pilot holes into the wall.
- Insert the expansion bolts (if applicable) into the drilled holes.
- Align the safe with the holes and secure it using the mounting bolts.

Image: The Nebakne key cabinet securely mounted on a wall, demonstrating its intended installation method.
Operating Instructions
1. Unlocking the Safe
The Nebakne key cabinet offers three methods for unlocking:
- Emergency Key + Knob: Insert the emergency key into the keyhole, turn it, and then turn the knob to open the door.
- User/Master Code + Knob: Enter your 3-8 digit user or master code, then turn the knob to open. The initial user code is 159.
- External Battery Box + Code + Knob: If internal batteries are dead and you don't have the emergency key, connect the external battery box, enter your code, and turn the knob.
Video: Illustrates the three different methods to unlock the Nebakne key safe, including using the emergency key, a user/master code, and the external battery box.
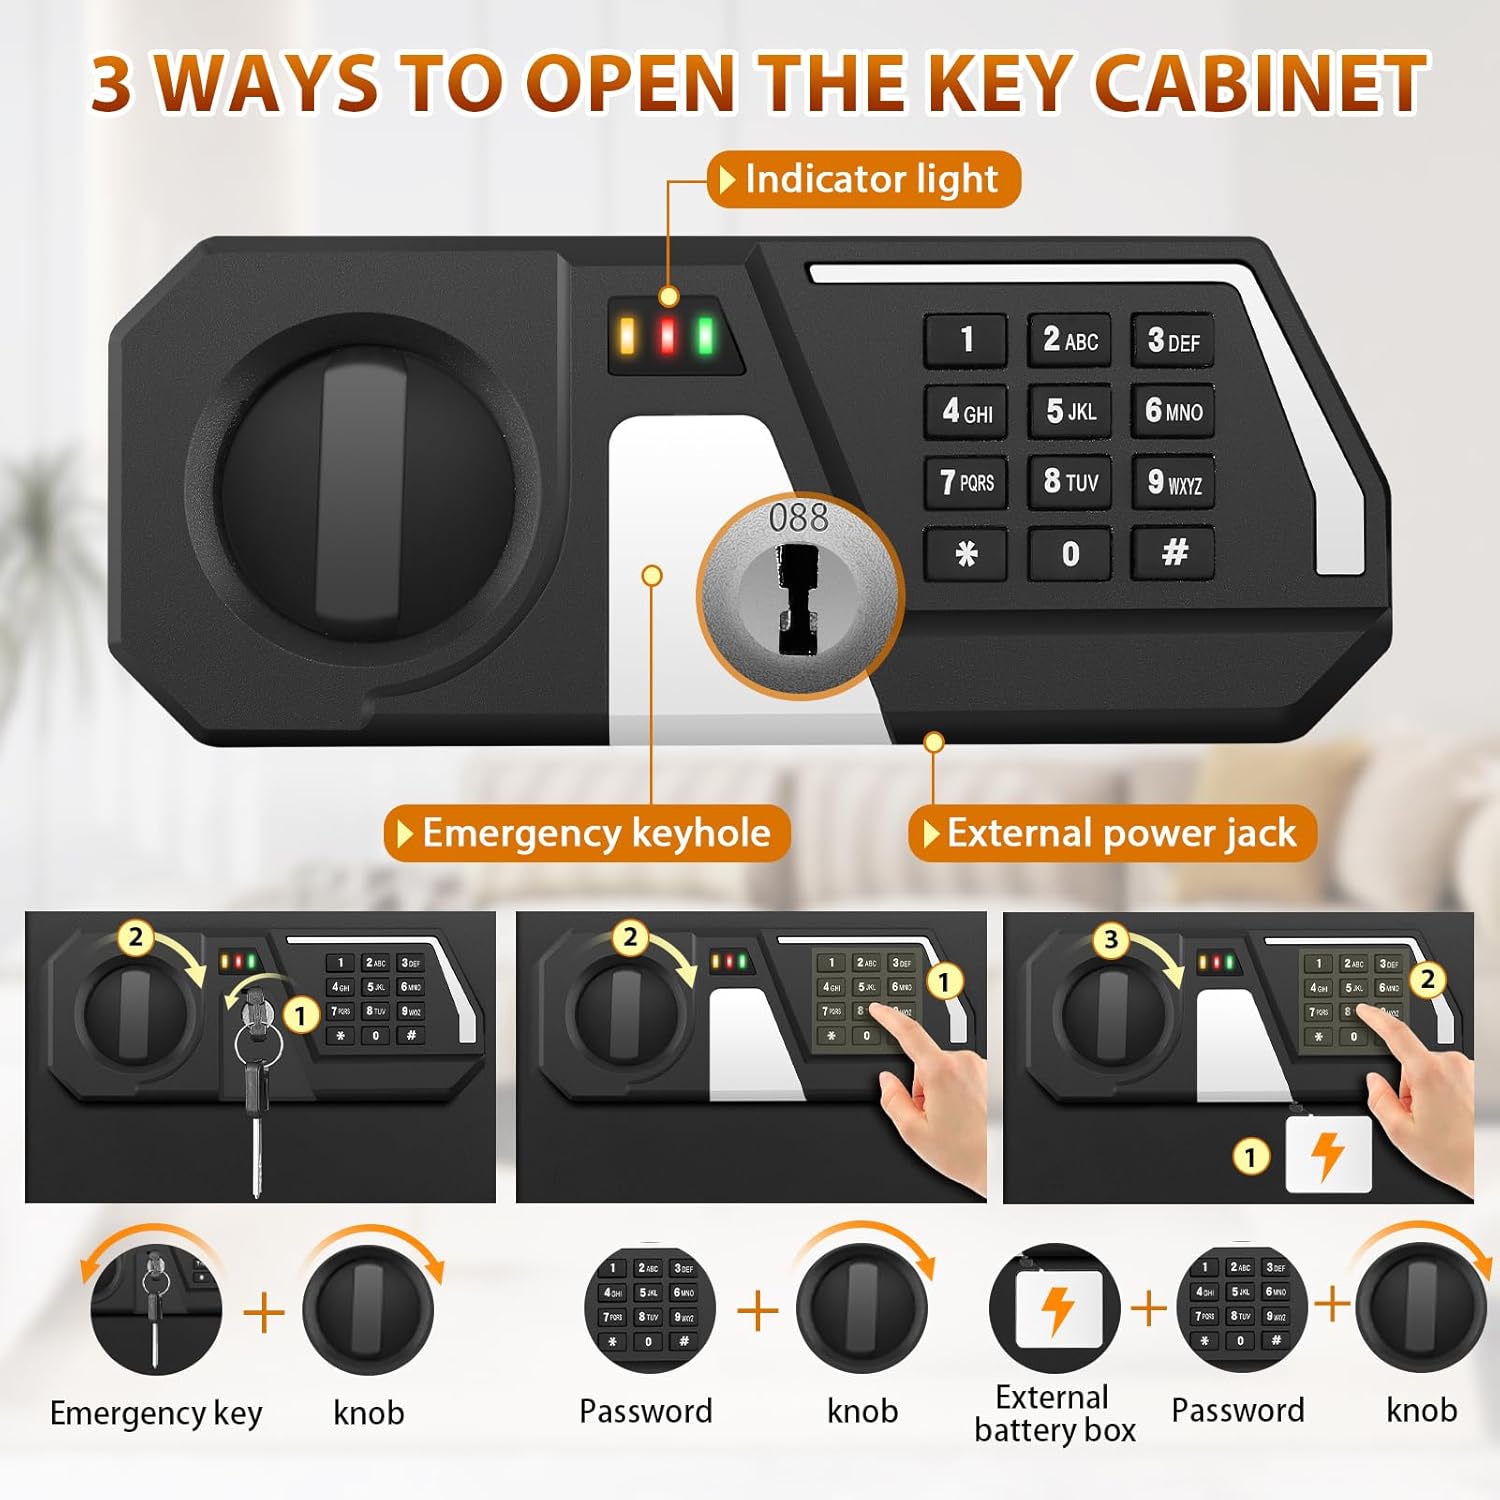
Image: A visual guide detailing the three methods for opening the key cabinet: emergency key, password, and external battery box with password.
2. Setting User and Master Codes
You can set a personal user code (3-8 digits) and a master code for enhanced security. Refer to the video for a visual guide on programming your codes.
Video: Provides instructions on how to set both the user code and the master code for the Nebakne key safe's electronic lock.
Important: Always test your new code with the door open before closing it to ensure it works correctly.
3. Alarm and Silent Mode
The key cabinet features an alarm system and a silent mode:
- Alarm Mode: If an incorrect code is entered 3 times consecutively, the keypad will lock for 20 seconds, and a buzzer will sound for 20 seconds. The keypad will be disabled during this period.
- Silent Mode: To turn off the sound, press "*633". To turn on the sound, press "*66".
Video: Explains how to activate and deactivate the alarm mode and silent mode features on the Nebakne key safe.
4. Using the Drop Box Feature
The key safe includes a small opening on the side, allowing keys to be dropped into the safe without opening the main door. This is useful for returning keys when the main access is not required.
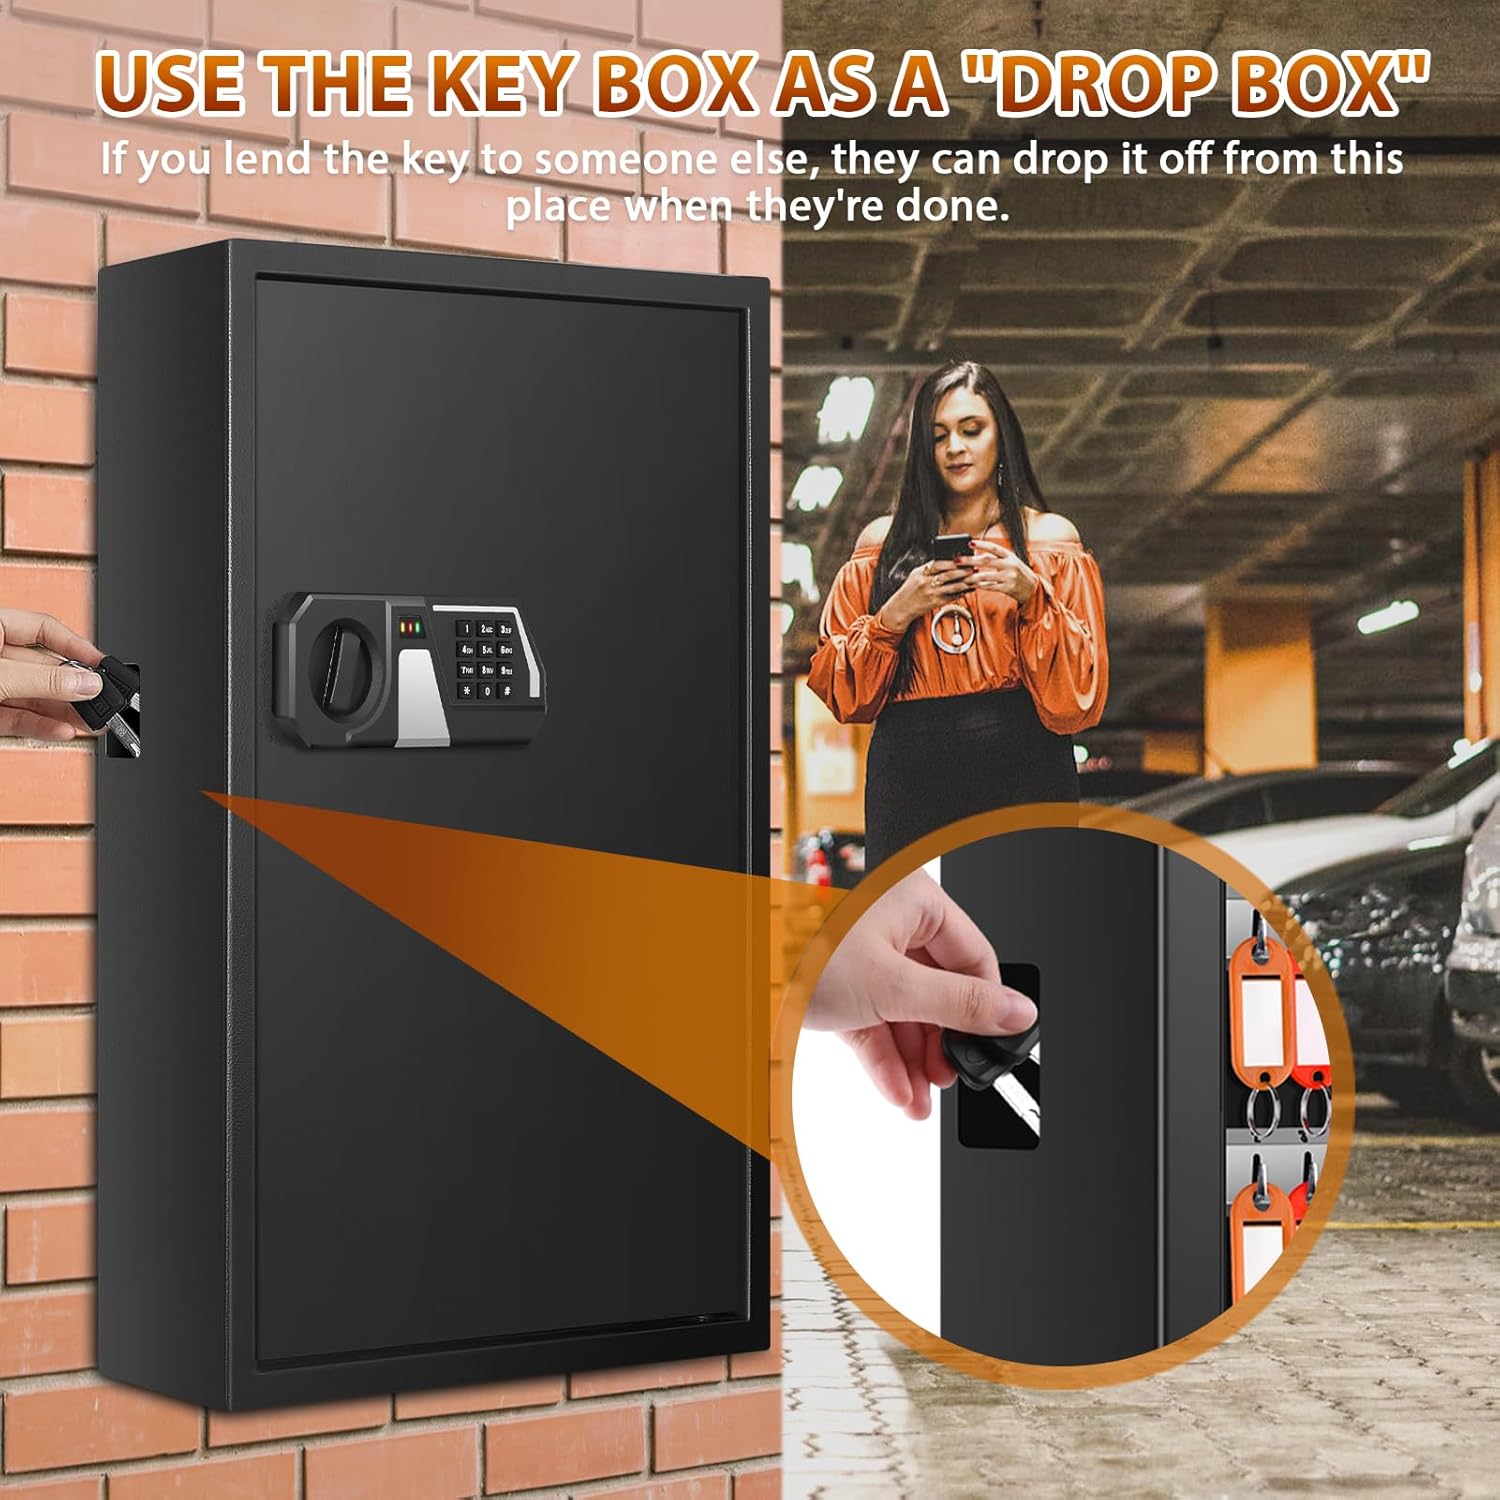
Image: Demonstrates the side drop box feature of the key cabinet, allowing keys to be deposited without full access.
5. Organizing Keys with Hook Plates and Tags
The key cabinet comes with 12 adjustable hook plates and 144 color-coded key tags. This system helps in classifying and tracking keys efficiently.
- Adjustable Hook Plates: The hook plates can be installed at different heights to accommodate various key sizes.
- Key Tags: Use the provided key tags to label each key. Remove the key ring, slide out the label, write information, and reinsert.
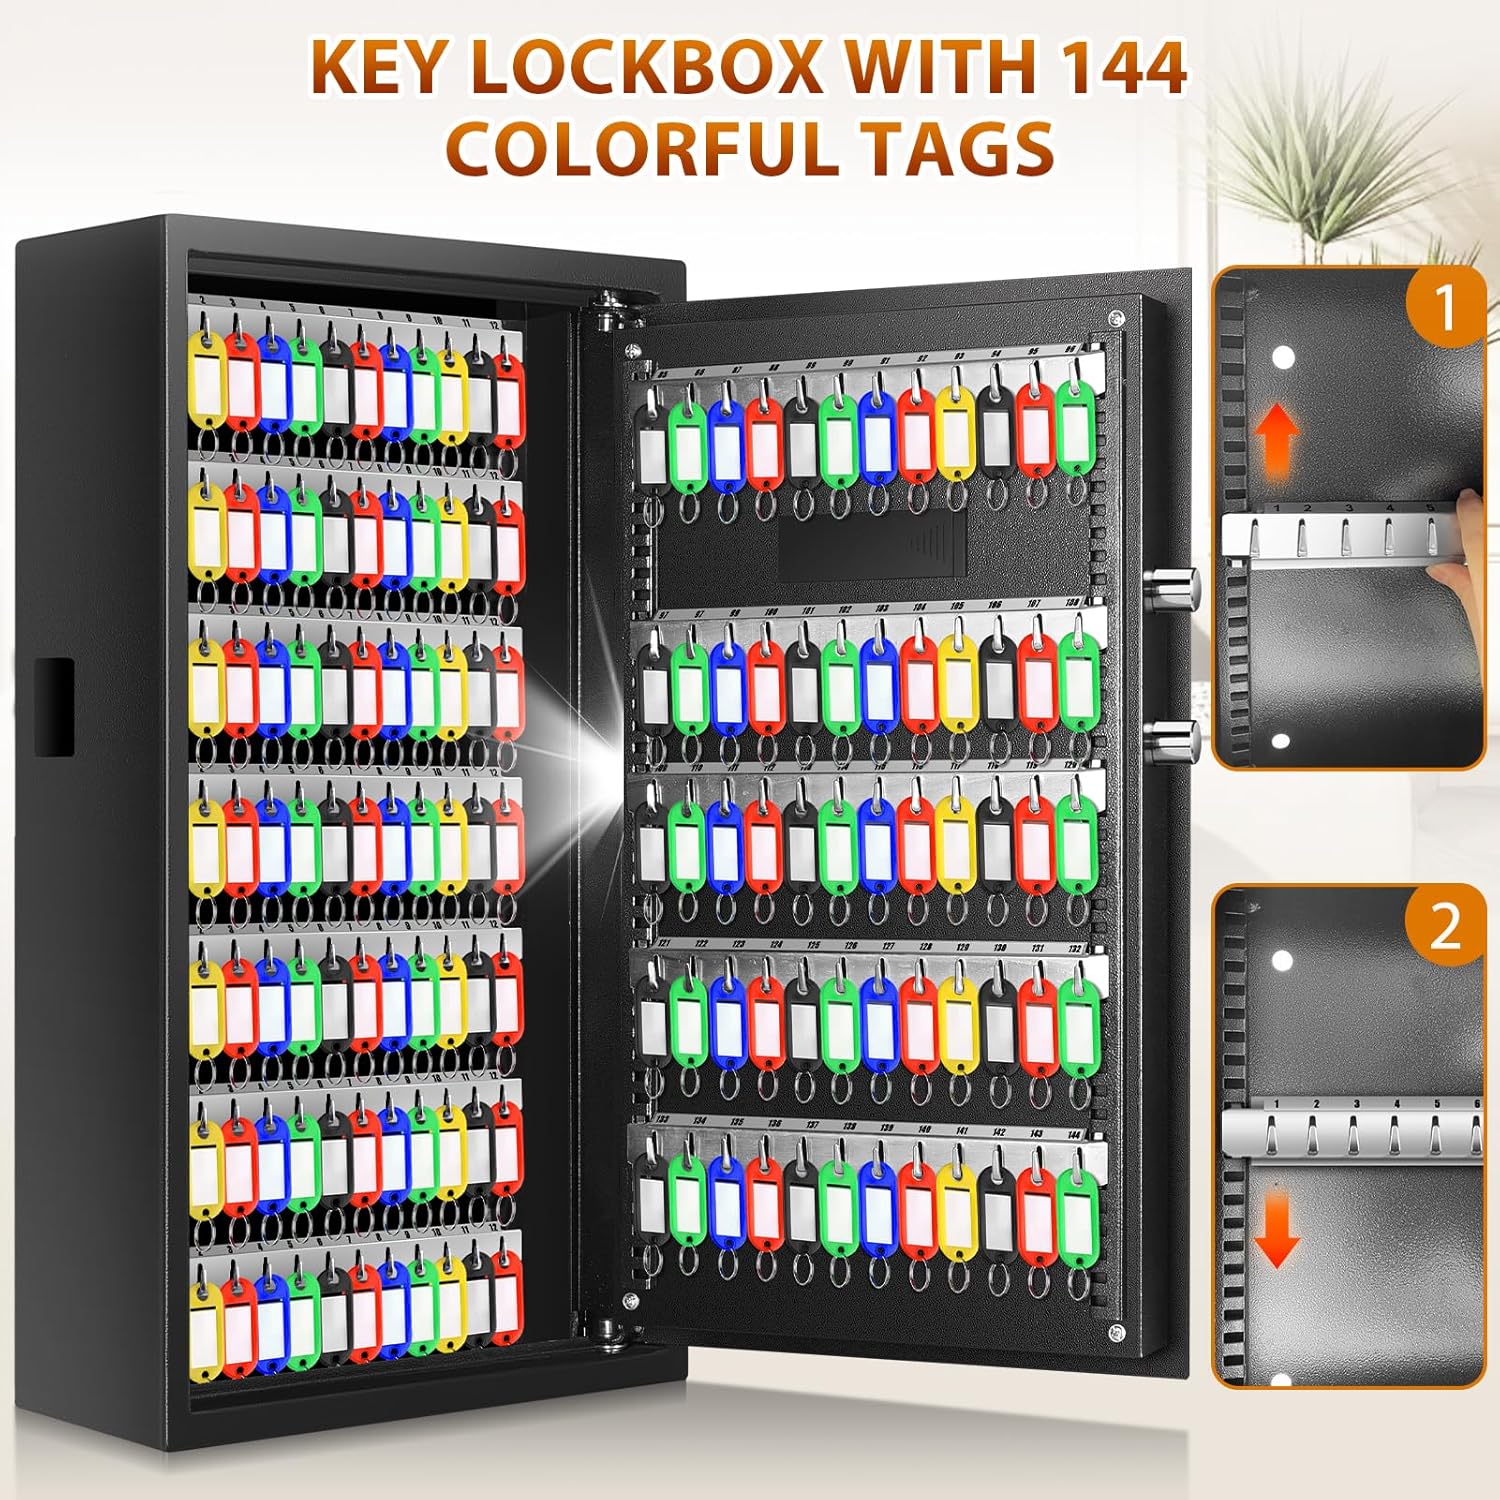
Image: An interior view of the key cabinet, highlighting the adjustable hook plates and the organized arrangement of color-coded key tags.
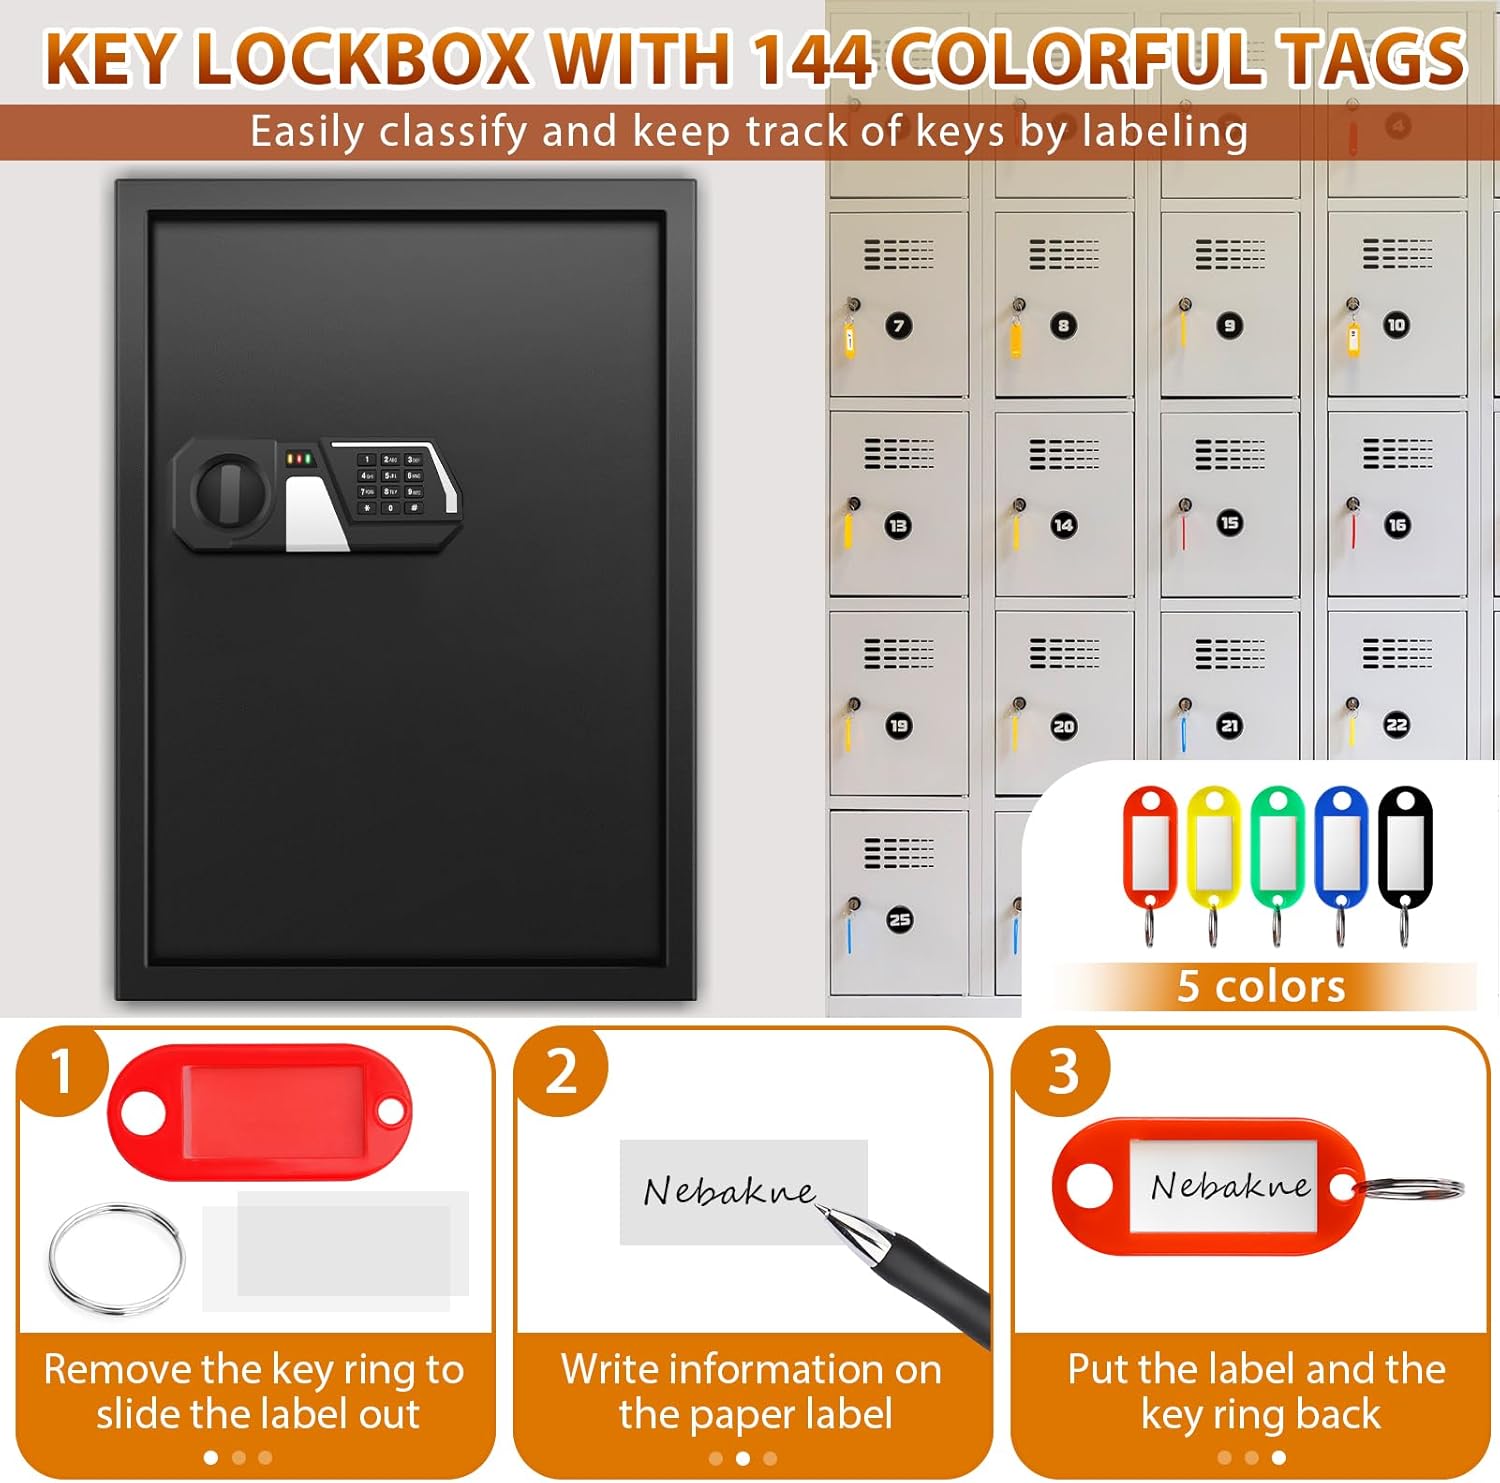
Image: Step-by-step guide on how to label the colorful key tags for easy key identification and organization.
Maintenance
Low Battery Reminder
When the password is entered correctly, both the red and green indicator lights will illuminate simultaneously if the battery level is low. Replace the 4 x AA batteries immediately to ensure continuous operation.
