1. Introduction
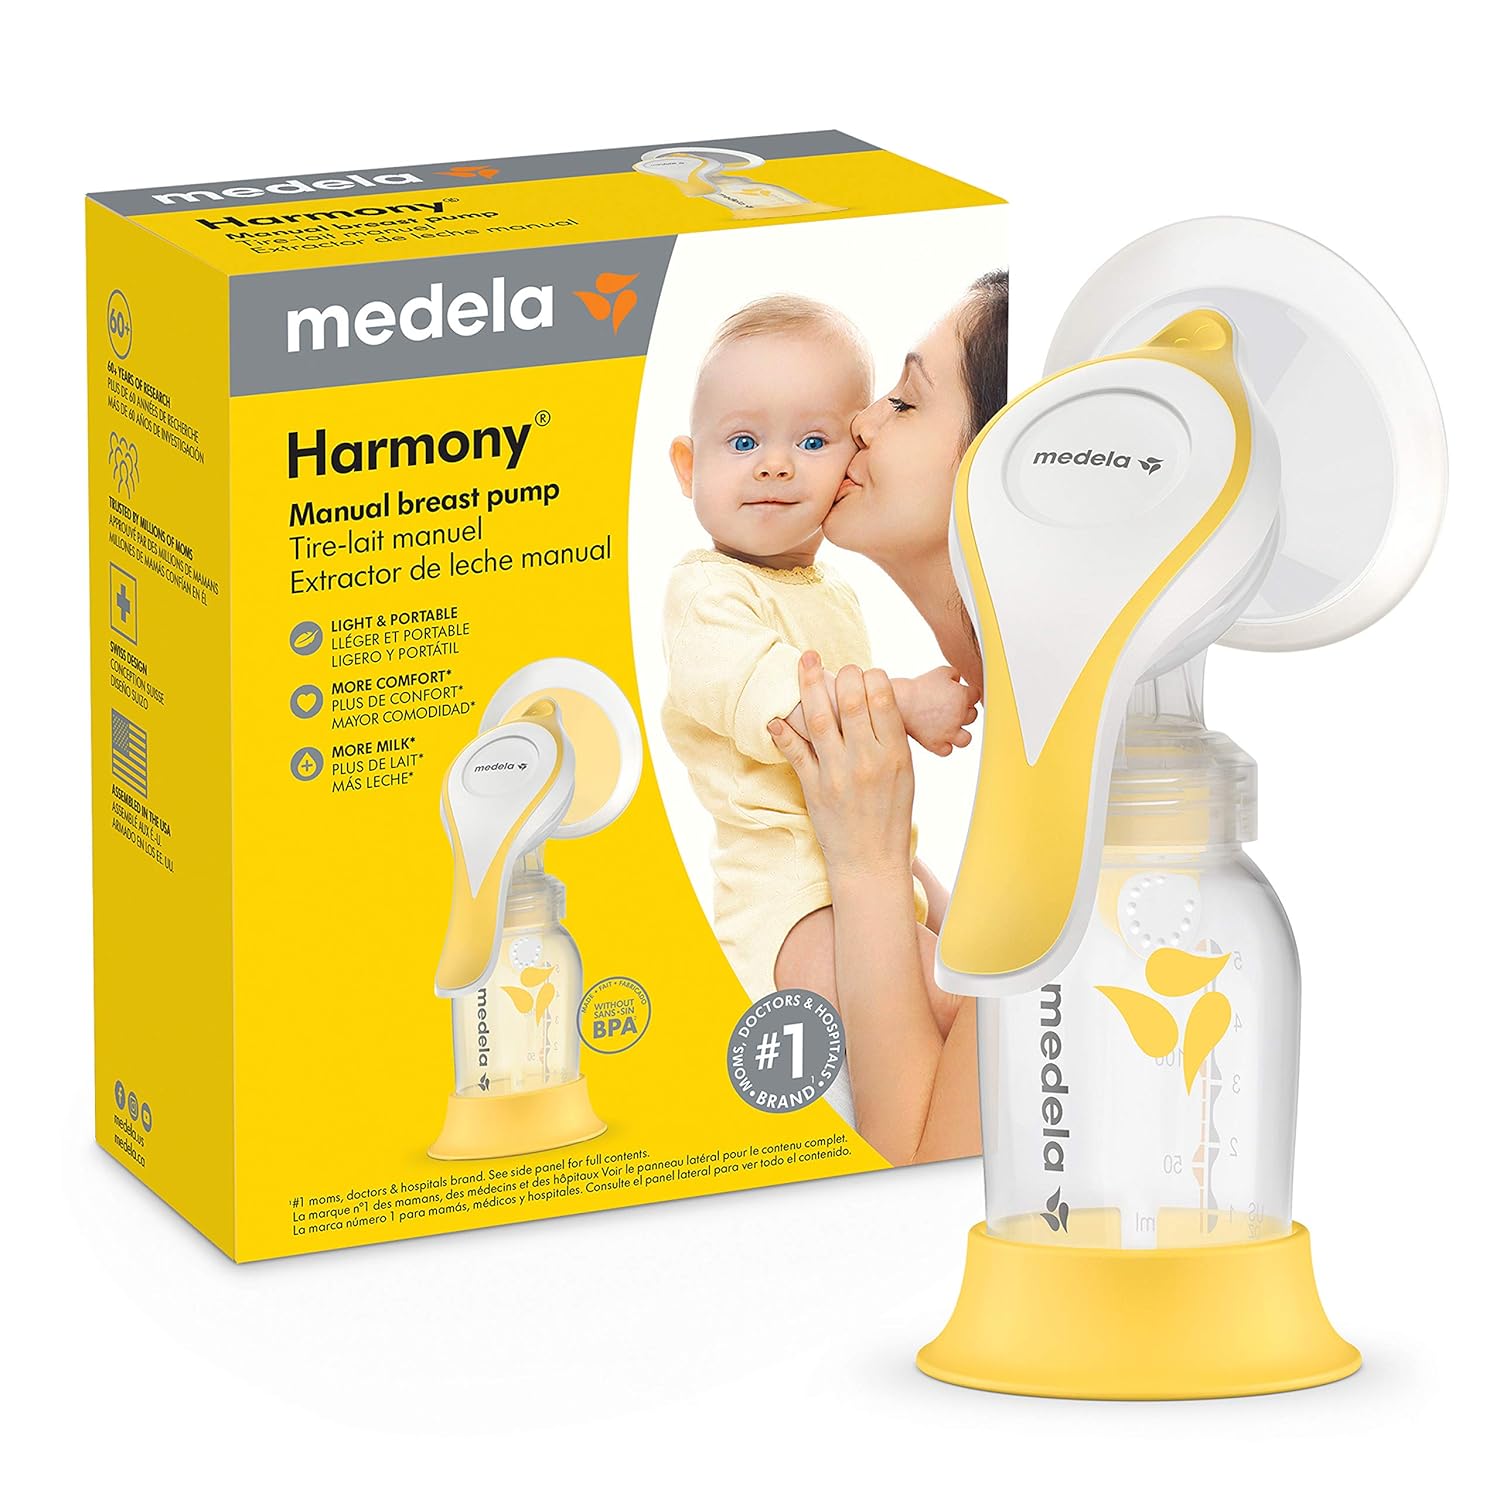
The Medela Harmony Manual Breast Pump is designed for occasional use, offering a convenient and discreet solution for milk expression. Its lightweight and portable design makes it ideal for travel or as a backup to an electric breast pump. This bundle includes PersonalFit Flex breast shields, engineered for enhanced comfort and optimized milk flow, aiming to provide more milk faster compared to traditional 90° breast shields.
This manual provides essential information for the safe and effective use, cleaning, and maintenance of your Medela Harmony Manual Breast Pump Bundle.
2. What's Included
Your Medela Harmony Manual Breast Pump Bundle includes the following components:
- (1) Harmony Breast Pump: Consisting of the handle, diaphragm, and stem with o-ring.
- (1) 24mm PersonalFit Flex Breast Shield: Designed for comfort and efficient milk expression.
- (1) 5oz/150mL Breast Milk Bottle, Lid and Stand: For collecting and storing expressed milk.
- (1) Harmony Connector: Connects the breast shield to the pump mechanism.
- (1) Valve: Essential for creating suction.
- (1) Membrane: Works with the valve to regulate suction.
- Instructions for Use: This manual.
- Breastfeeding Information Guide: Additional resources for breastfeeding mothers.
- (2) PersonalFit Flex Replacement Membranes: Compatible with Medela electric pumps (Pump in Style MaxFlow, Swing Maxi, Freestyle Flex, Solo Breast Pumps).
- (2) PersonalFit Flex Replacement Connectors: Compatible with Medela electric pumps (Pump in Style MaxFlow, Swing Maxi, Freestyle Flex breast pumps).

3. Safety Information
IMPORTANT:
- Always read and follow all instructions carefully before first use and for subsequent uses.
- Ensure all pump parts are clean and sterilized before each use.
- Use only Medela authentic accessories and replacement parts designed for your specific breast pump model. Using incompatible parts may cause irreversible damage to the product and compromise its performance.
- Inspect all pump parts regularly for damage or wear. Replace damaged or worn parts immediately. Medela recommends replacing membranes every 3-6 months, depending on pumping frequency.
- This product is made without BPA, ensuring it is safe for you and your baby.

4. Setup
Before assembling your Medela Harmony Manual Breast Pump, ensure all components have been thoroughly cleaned and sterilized according to the "Cleaning and Maintenance" section.
Assembly Steps:
- Insert the valve and membrane into the Harmony Connector. Ensure the membrane lies flat against the valve.
- Attach the PersonalFit Flex Breast Shield to the Harmony Connector.
- Screw the assembled breast shield and connector onto the 5oz/150mL breast milk bottle.
- Attach the pump handle to the Harmony Connector. The handle should click securely into place.
- Place the bottle onto its stand for stability.

5. Operating Instructions
The Medela Harmony Manual Breast Pump features two distinct pumping phases to mimic a baby's natural feeding rhythm: a stimulation phase and an expression phase.
Pumping Process:
- Positioning: Center your nipple in the PersonalFit Flex Breast Shield tunnel. Ensure a comfortable seal around your breast.
- Stimulation Phase: Begin by pressing the smaller, upper part of the handle (the stimulation lever) quickly and lightly. This rapid, shallow suction helps stimulate milk let-down. Continue for approximately 2 minutes or until milk begins to flow.
- Expression Phase: Once milk starts flowing, switch to the longer, lower part of the handle (the expression lever). Press this lever fully and hold for a few seconds, then release. This creates a slower, deeper suction to efficiently express milk. Adjust the rhythm and suction strength to your comfort and milk flow.
- Duration: Pump until your breast feels soft and milk flow slows significantly. This typically takes 10-15 minutes per breast.
- Storage: After pumping, carefully remove the breast pump from your breast. Unscrew the bottle from the connector and seal it with the provided lid for storage.

6. Cleaning and Maintenance
Proper cleaning and maintenance are crucial for hygiene and the longevity of your breast pump. All parts that come into contact with breast milk should be cleaned after each use and sterilized daily.
After Each Use:
- Disassemble all parts that come into contact with breast milk (breast shield, connector, valve, membrane, bottle).
- Rinse all separated parts with cold water to remove milk residue.
- Wash parts in warm, soapy water using a mild dish soap. Use a clean brush dedicated for pump parts.
- Rinse thoroughly with clean water.
- Air dry on a clean paper towel or drying rack. Avoid using a cloth towel as it may leave lint.
Daily Sterilization:
In addition to washing, sterilize all milk-contacting parts once a day:
- Boiling: Place disassembled parts in a pot of boiling water for 5 minutes. Ensure parts do not touch the bottom of the pot to prevent damage.
- Dishwasher: All components are dishwasher safe. Place parts on the top rack of your dishwasher.
- Steam Sterilization: Use a microwave steam sterilizer bag or unit according to its instructions.
Ensure all parts are completely dry before reassembling or storing to prevent bacterial growth.

7. Troubleshooting
If you encounter issues with your Medela Harmony Manual Breast Pump, refer to the following common solutions:
| Problem | Possible Cause | Solution |
|---|---|---|
| No or low suction | Improper assembly; damaged/worn membrane or valve; breast shield not sealed properly. | Ensure all parts are assembled correctly and securely. Check membrane and valve for tears or damage and replace if necessary. Reposition breast shield for a tight seal. |
| Milk not flowing | Not enough stimulation; incorrect pumping rhythm; engorgement. | Start with the stimulation phase (quick, light pumps). Adjust to a slower, deeper rhythm for expression. Apply warm compresses or massage breasts before pumping if engorged. |
| Pain or discomfort | Incorrect breast shield size; excessive suction; improper nipple alignment. | Ensure your nipple is centered and moves freely in the tunnel. Consult a lactation consultant for proper breast shield sizing. Reduce suction intensity. |
8. Specifications
- Brand: Medela
- Model: Harmony
- Operation Mode: Manual
- Breast Shield Size: 24mm PersonalFit Flex (included)
- Bottle Capacity: 5oz / 150mL
- Material: BPA-free
- Dishwasher Safe: Yes
- Additional Features: Lightweight, Portable
9. Warranty and Support
For warranty information, product support, or to purchase additional parts and accessories, please visit the official Medela website or contact Medela customer service directly. Keep your proof of purchase for warranty claims.
Medela Official Website: www.medela.com
Return Policy: This product has a 90-day refund/replacement return policy when purchased from Amazon.