
1. Introduction
This manual provides essential information and instructions for the proper installation and use of your SCREENARAMA 15.6" FHD 144Hz IPS Matte LCD LED Display replacement screen. Please read this document thoroughly before attempting any installation to ensure a successful and safe replacement process. This product is designed for DIY installation and includes necessary tools.
2. Product Overview
The SCREENARAMA replacement screen is a high-quality display designed to restore or upgrade your laptop's visual performance. Key features include:
- Screen Size: 15.6 inches (diagonal)
- Resolution: Full HD (FHD) 1920x1080 pixels
- Refresh Rate: 144Hz for smoother motion
- Panel Type: IPS (In-Plane Switching) for wide viewing angles and vibrant colors
- Surface Finish: Matte, to reduce glare and reflections
- Connector Type: 40-pin video connector
- Touchscreen: Non-touchscreen display

Figure 2.1: Front view of the SCREENARAMA 15.6" FHD 144Hz IPS Matte LCD LED Display.
3. Compatibility and Selection
To ensure proper functionality, it is critical that the replacement screen matches the specifications of your original laptop screen. Please verify the following:
- Video Connector: Confirm your original screen uses a 40-pin video connector. This screen is not compatible with 30-pin connectors.
- Resolution: The replacement screen is 1920x1080 (FHD). Ensure your laptop's original screen also supports this resolution. It is not compatible with 1366x768, 1600x900, or 3840x2160 resolutions.
- Touchscreen Functionality: This is a non-touchscreen display. If your original screen was a touchscreen, this replacement will not provide touch functionality.
- Refresh Rate: Verify your original screen's refresh rate is 144Hz.

Figure 3.1: Guide for selecting the correct screen based on original specifications.

Figure 3.2: Visual distinction between 40-pin and 30-pin video connectors.
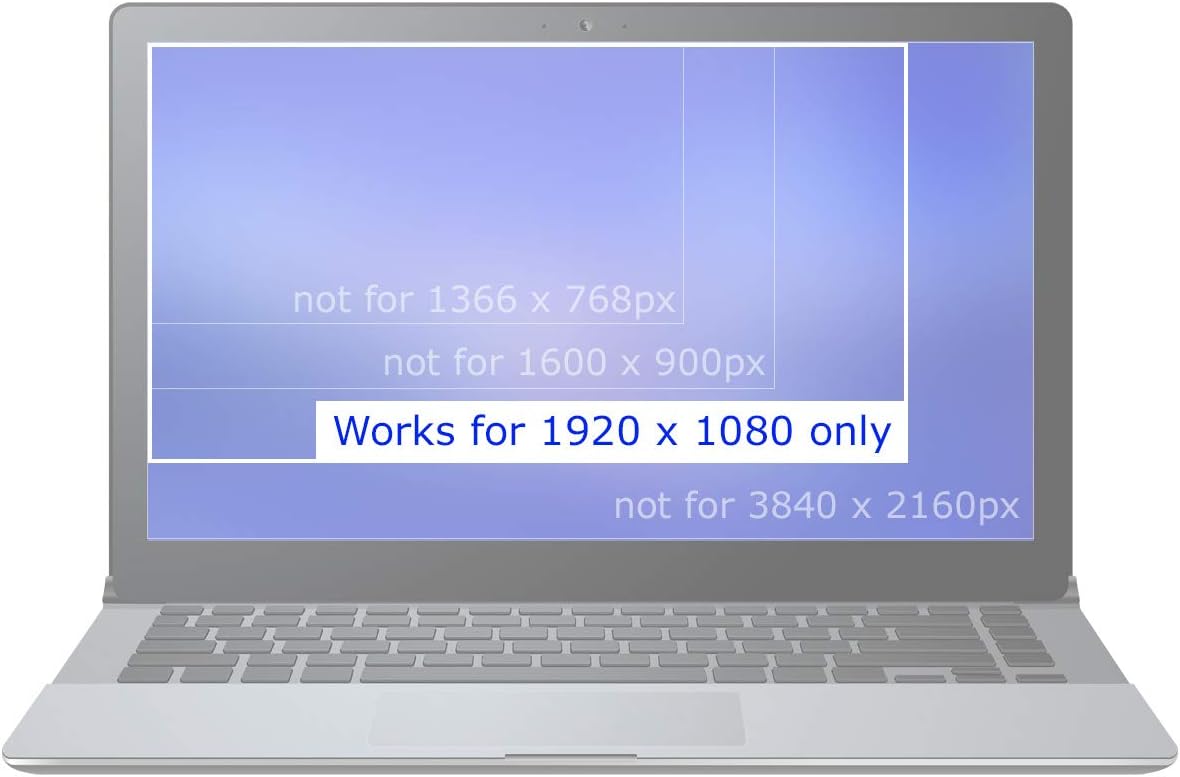
Figure 3.3: Resolution compatibility for the replacement screen.

Figure 3.4: Confirmation that this product is an LCD screen only, without touchscreen functionality.
Video: Product Specifications Overview
Video 3.1: This video provides a visual overview of the screen's key specifications, including its 15.6-inch size, Full HD 1920x1080 resolution, 144Hz refresh rate, 40-pin connector, and confirmation that it is not a touchscreen.
4. What's Included
Your SCREENARAMA replacement screen package includes:
- 1x SCREENARAMA 15.6" FHD 144Hz IPS Matte LCD LED Display
- 1x Set of DIY installation tools (e.g., screwdrivers, pry tools, tweezers, adhesive strips)

Figure 4.1: Included DIY installation tools.
5. Installation Instructions
This screen is designed for DIY installation. However, replacing a laptop screen requires careful handling and technical aptitude. If you are unsure about any step, it is recommended to seek professional assistance.
Safety Precautions:
- Always power off your laptop and disconnect the AC adapter.
- Remove the laptop battery before starting the installation.
- Work on a clean, static-free surface.
- Handle the new screen by its edges to avoid touching the display surface or internal components.
General Installation Steps:
- Disassembly: Carefully remove the laptop bezel and then the old screen. Refer to your specific laptop model's service manual or online guides for detailed disassembly instructions.
- Disconnect Old Screen: Gently disconnect the video cable (40-pin) and any other cables from the old screen.
- Connect New Screen: Connect the 40-pin video cable to the new SCREENARAMA display. Ensure the connection is firm and properly seated.
- Test (Optional but Recommended): Before fully reassembling, temporarily connect the battery and power on the laptop to ensure the new screen functions correctly. Power off and disconnect the battery again after testing.
- Mount New Screen: Secure the new screen into the laptop lid. Use the provided adhesive strips if necessary.
- Reassembly: Reattach the laptop bezel and any other components removed during disassembly.

Figure 5.1: Location of the 40-pin video connector on the back of the screen.
6. Operating Information
Once installed, your SCREENARAMA display will provide enhanced visual experience due to its advanced features:
- IPS Technology: Enjoy consistent and accurate colors from a wide range of viewing angles, making it ideal for sharing your screen or for tasks requiring color precision.
- 144Hz Refresh Rate: Experience smoother motion and reduced input lag, particularly beneficial for gaming and fast-paced video content.
- Matte Finish: The anti-glare surface minimizes reflections from ambient light, reducing eye strain and improving visibility in brightly lit environments.

Figure 6.1: Benefits of IPS panel technology compared to TN panels.
7. Troubleshooting
If you encounter issues after installing your new screen, consider the following troubleshooting steps:
- No Display / Blank Screen:
- Connect an external monitor to your laptop to confirm the laptop itself is operational.
- Ensure the 40-pin video cable is securely connected to both the new screen and the laptop's motherboard. Disconnect and reconnect it firmly.
- Verify that the number of pins on the original LCD connector and the new screen's connector are identical (both 40-pin).
- If the issue persists and is identical to the problem with the old LCD, the fault may lie with another component of the laptop (e.g., motherboard, GPU).
- Dim Image:
- Try connecting your old LCD (if it still displays an image, even if broken) to see if it also appears dim.
- If both screens are dim, check the backlight fuse on the laptop's motherboard, usually located near the video connector.

Figure 7.1: Visual guide to common troubleshooting steps.
8. Specifications
| Feature | Specification |
|---|---|
| Model Number | NE156FHM-NX2 |
| Screen Size | 15.6 inches |
| Resolution | 1920x1080 (FHD) |
| Refresh Rate | 144Hz |
| Panel Type | IPS |
| Surface Finish | Matte |
| Video Connector | 40-pin |
| Touchscreen | No |
| Item Weight | 1.43 pounds |
| Package Dimensions | 16.45 x 10.43 x 1.34 inches |
9. Warranty and Support
This SCREENARAMA product is covered by a 2-Year warranty from the date of purchase. This warranty covers manufacturing defects and ensures the product meets its specified performance standards.
For warranty claims, technical assistance, or any questions regarding your replacement screen, please contact SCREENARAMA customer support through the retailer's platform or the official SCREENARAMA website. Please have your purchase details and product model number (NE156FHM-NX2) ready when contacting support.