1. Introduction
This manual provides comprehensive instructions for the safe and efficient operation, installation, and maintenance of the Ving CWFL-3000BN Industrial Water Chiller. This unit is specifically designed for cooling 3000W fiber laser applications, offering a dual-circuit configuration for independent temperature control of the fiber laser and its optical head.

Figure 1: Front view of the CWFL-3000BN Industrial Water Chiller.
2. Safety Information
Important Safety Instructions: Read all instructions before operating this equipment. Failure to follow these instructions may result in electric shock, fire, or serious injury.
- Ensure the chiller is placed on a stable, level surface with adequate ventilation.
- Do not block air vents. Maintain proper clearance around the unit for airflow.
- Electrical Connection: The water chiller is delivered without a power plug. Connection to the electrical power source must be done by a licensed electrician. The electrician shall install a suitable amperage, phase, and voltage-rated plug for the country where the unit is being installed.
- Always disconnect power before performing any maintenance or service.
- Do not operate the chiller if any part is damaged or if there are signs of water leakage.
- Use only clean, deionized, or distilled water in the cooling system. Cooling water additives are forbidden by express companies and are not included.
- Keep hands and loose clothing away from moving parts, such as the cooling fan.
3. Product Features
The CWFL-3000BN Industrial Water Chiller is engineered with advanced features to ensure optimal performance and reliability for fiber laser applications:
- Dual Circuit Configuration: Provides two independent temperature control circuits from a single unit, allowing precise cooling for both the fiber laser and its optical head. This design offers significant space savings compared to using two separate chiller units.
- Precise Temperature Control: Features a user-friendly temperature controller with a range of 5-35 ℃ and a precise temperature control accuracy of ±0.5 ℃.
- Durable Water Inlets and Outlets: Constructed from stainless steel to prevent corrosion and ensure leak-free operation.
- Enhanced Mobility: Equipped with four robust caster wheels for easy movement and flexible positioning within your workspace.
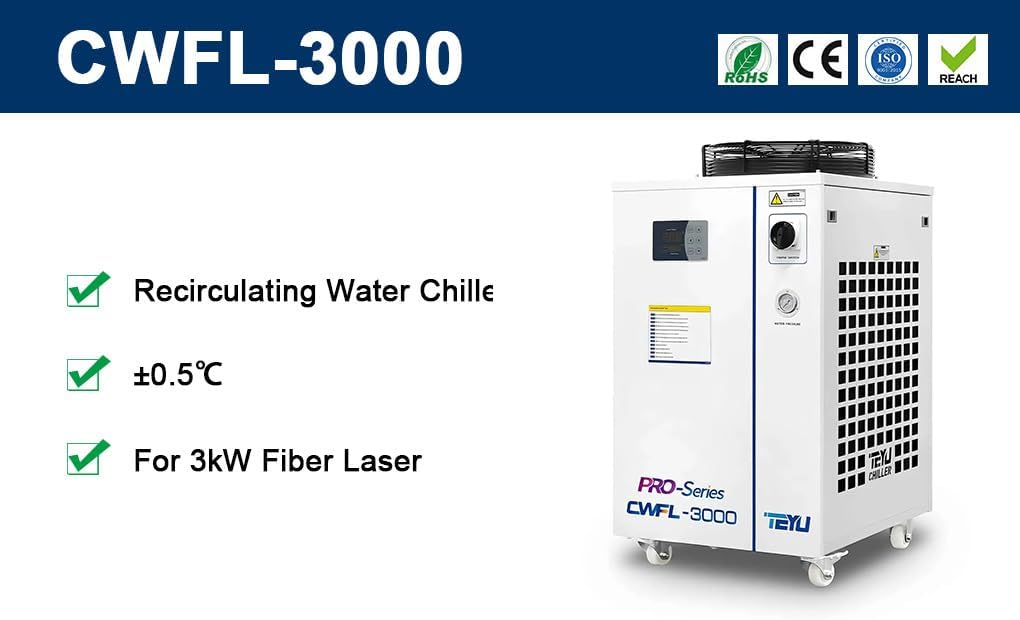
Figure 2: Key features of the CWFL-3000BN Chiller.
4. Components Overview
Familiarize yourself with the main components of the CWFL-3000BN Industrial Water Chiller:
- Control Panel: Digital display and buttons for setting and monitoring temperature.
- Power Switch: Main power control for the unit.
- Water Inlets/Outlets: Connections for circulating water to and from the laser system. There are separate inlets/outlets for the laser circuit (High Temperature) and optics circuit (Low Temperature).
- Water Pressure Gauge: Displays the pressure within the water circulation system.
- Cooling Fan: Located on top, responsible for dissipating heat from the condenser.
- Caster Wheels: Four wheels at the base for easy maneuverability.

Figure 3: Front panel with control interface.

Figure 4: Rear panel with water connections.

Figure 5: T-607 Temperature Controller.

Figure 6: Water Inlet and Outlet Ports.

Figure 7: Durable Caster Wheel.

Figure 8: Top-mounted Cooling Fan.

Figure 9: Schematic diagram of the chiller's internal water circuit.
5. Setup and Installation
- Unpacking and Inspection: Carefully remove the chiller from its packaging. Inspect the unit for any signs of shipping damage. Report any damage to your supplier immediately.
- Placement: Position the chiller on a firm, level surface. Ensure there is at least 30 cm (12 inches) of clear space around all sides, especially the air intake and exhaust vents, to allow for proper airflow and heat dissipation.
- Electrical Connection: As noted in the safety section, a licensed electrician must connect the chiller to a suitable power source (AC 1P 220V, 60Hz). Ensure the power supply matches the chiller's requirements.
- Water Filling:
- Locate the water fill port, typically on the top or side of the unit.
- Use only clean, deionized, or distilled water. Do NOT use tap water or water containing impurities.
- Slowly fill the water tank until the water level reaches the "Normal" or "Full" mark on the sight glass/level indicator.
- After initial filling, power on the chiller briefly to allow water to circulate and fill the internal pipes. Then, power off and check the water level again, adding more water if necessary.
- Connecting to Laser System:
- Connect the chiller's "Water Outlet (Laser Circuit)" to the laser's water inlet.
- Connect the laser's water outlet to the chiller's "Water Inlet (Laser Circuit)".
- Similarly, connect the "Water Outlet (Optics Circuit)" and "Water Inlet (Optics Circuit)" to the respective ports on the laser's optical head.
- Ensure all connections are secure and leak-free. Use appropriate clamps or fittings.
6. Operating Instructions
- Power On: After ensuring all connections are secure and the water tank is filled, turn the main power switch to the "ON" position. The control panel will illuminate.
- Initial Startup: The chiller will begin circulating water and the compressor will start. Allow a few minutes for the system to stabilize.
- Setting Temperature:
- Press the "SET" button on the T-607 control panel.
- Use the "Up" and "Down" arrow buttons to adjust the desired temperature for both the "Low Temp" (optics circuit) and "High Temp" (laser circuit) displays.
- Press "SET" again to confirm the temperature.
- The chiller will automatically adjust its operation to maintain the set temperatures.
- Monitoring: Regularly check the temperature display and water pressure gauge to ensure normal operation.
- Power Off: To shut down the chiller, turn the main power switch to the "OFF" position. If shutting down for an extended period, consider draining the water.
7. Maintenance
Regular maintenance is crucial for the longevity and efficient operation of your chiller.
- Condenser Cleaning (Monthly/Quarterly): The condenser coils can accumulate dust and debris, reducing cooling efficiency. Use compressed air or a soft brush to clean the fins. Ensure the chiller is powered off before cleaning.
- Water Quality and Replacement (Every 3-6 Months):
- Drain the old water from the chiller using the drain port.
- Flush the system with clean water if necessary.
- Refill with fresh deionized or distilled water.
- Monitor water quality; if it appears cloudy or discolored, replace it more frequently.
- Check for Leaks (Weekly): Visually inspect all hoses, connections, and the chiller unit itself for any signs of water leakage. Address any leaks immediately.
- Fan Inspection (Monthly): Check the cooling fan for any obstructions or unusual noises. Ensure it spins freely.
- Winterization (If applicable): If the chiller will be stored in an environment where temperatures may drop below freezing, completely drain all water from the system to prevent damage from freezing.
8. Troubleshooting
This section provides solutions to common issues. For problems not listed here or if issues persist, contact technical support.
| Problem | Possible Cause | Solution |
|---|---|---|
| Chiller not powering on | No power supply; main switch off; faulty power connection. | Check power cord, wall outlet, and main power switch. Ensure proper electrical connection by a licensed electrician. |
| Insufficient cooling | Blocked condenser; low water level; ambient temperature too high; incorrect temperature setting. | Clean condenser fins. Check and refill water level. Ensure adequate ventilation. Verify temperature settings on the control panel. |
| Water leakage | Loose hose connections; damaged hose/fitting; crack in tank. | Tighten all hose connections. Inspect hoses and fittings for damage and replace if necessary. If tank is cracked, contact support. |
| High temperature alarm (if applicable) | Overload; poor heat dissipation; sensor error. | Reduce load on laser. Ensure proper ventilation and clean condenser. Consult manual for specific error codes from T-607 controller. |
| Low water flow alarm (if applicable) | Low water level; pump malfunction; clogged filter. | Check and refill water level. Inspect pump for operation. Clean or replace water filter. |
9. Specifications
| Attribute | Value |
|---|---|
| Model Number | CWFL-3000BN Industrial Water Chiller |
| Product Dimensions | 30 x 21.7 x 40.6 inches |
| Item Weight | 583 pounds |
| Manufacturer | Sign-in-China |
| First Available Date | April 18, 2023 |
| Temperature Control Range | 5-35 ℃ |
| Temperature Control Precision | ±0.5 ℃ |
| Power Supply | AC 1P 220V, 60Hz (Requires professional installation) |
10. Warranty and Support
For warranty information, technical support, or service inquiries, please contact the seller or manufacturer directly. Keep your purchase receipt and product model number handy when contacting support.
This product typically includes a 30-day easy returns policy from the seller. For specific warranty terms beyond this period, refer to the documentation provided at the time of purchase or contact the manufacturer, Sign-in-China.
Seller: signagewholesales


