Introduction
Thank you for choosing the Logilink Solar Power Bank 8000 mAh. This device is designed to provide portable power for your electronic devices, featuring both USB and solar charging capabilities, along with an integrated LED flashlight. This manual provides essential information for the safe and efficient use of your power bank.
Safety Information
- Do not expose the power bank to extreme temperatures (above 45°C or below -10°C).
- Avoid dropping, disassembling, or attempting to repair the device yourself.
- Keep away from water and high humidity, except for its IP44 splash-proof rating. Do not immerse in water.
- Do not use if the power bank is damaged or swollen.
- Keep out of reach of children.
- Dispose of the product responsibly according to local regulations.
Package Contents
- 1x Logilink Solar Power Bank 8000 mAh (PA0304)
- 1x USB-A to USB-C Cable
- 1x User Manual
Product Overview
Familiarize yourself with the components of your Logilink Solar Power Bank.

Image: Overview of the power bank showing the solar panel, USB-C input, USB-A outputs, and power button.
- Solar Panel: Absorbs sunlight to trickle charge the internal battery.
- USB-C Input Port: For charging the power bank via a wall adapter.
- USB-A Output Ports (x2): For charging external devices.
- Power Button: Activates charging, checks battery level, and controls the flashlight.
- LED Indicators: Blue LEDs show battery charge level; Green LED indicates solar charging.
- LED Flashlight: Integrated light source for emergencies or illumination.
- Protective Flap: Covers the USB ports for splash protection (IP44).
Setup
Initial Charging (Recommended)
Before first use, fully charge the power bank using the USB-C input port.
- Open the protective flap covering the USB ports.
- Connect the provided USB-A to USB-C cable to the power bank's USB-C input port.
- Connect the other end of the cable to a USB wall adapter (not included) or a computer's USB port.
- The blue LED indicators will illuminate, showing the charging progress. All four blue LEDs will be solid when fully charged.
- Once fully charged, disconnect the cable and close the protective flap.
Solar Charging
The integrated solar panel provides a supplementary charging method, ideal for emergencies or maintaining charge in outdoor environments. Solar charging is slower than USB-C charging and is not intended as the primary charging method.
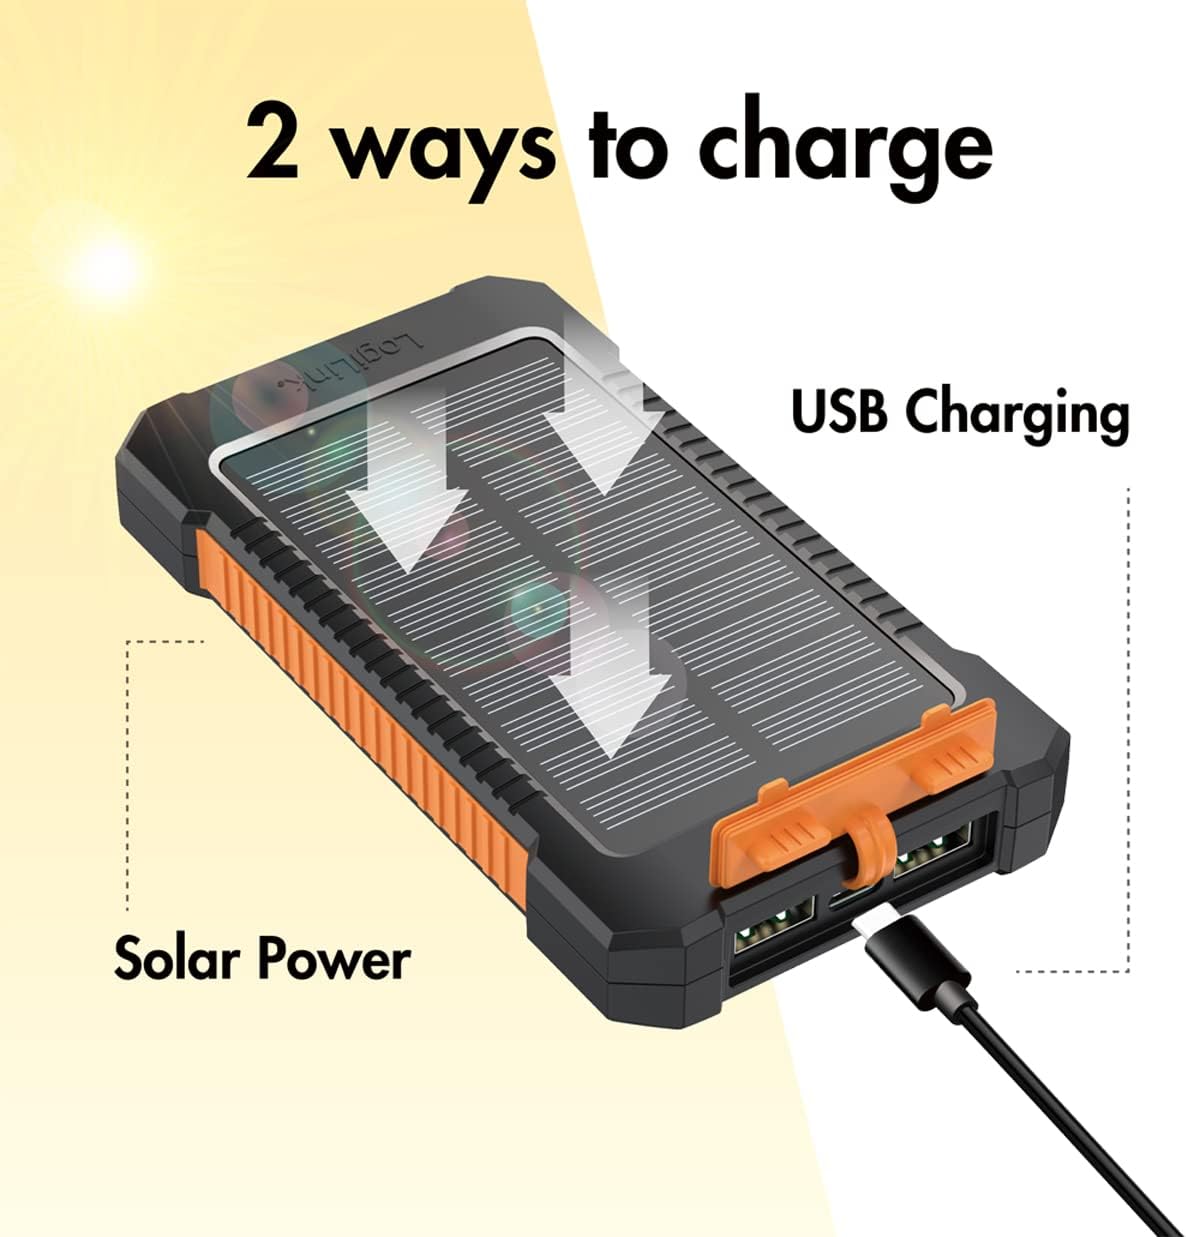
Image: Illustration of the two charging methods: solar power and USB cable charging.
- Place the power bank with the solar panel facing direct sunlight.
- A green LED indicator will light up, confirming that solar charging is active.
- For optimal solar charging, ensure the panel is clean and unobstructed.
Operating
Charging External Devices
The power bank can charge two devices simultaneously via its USB-A output ports.
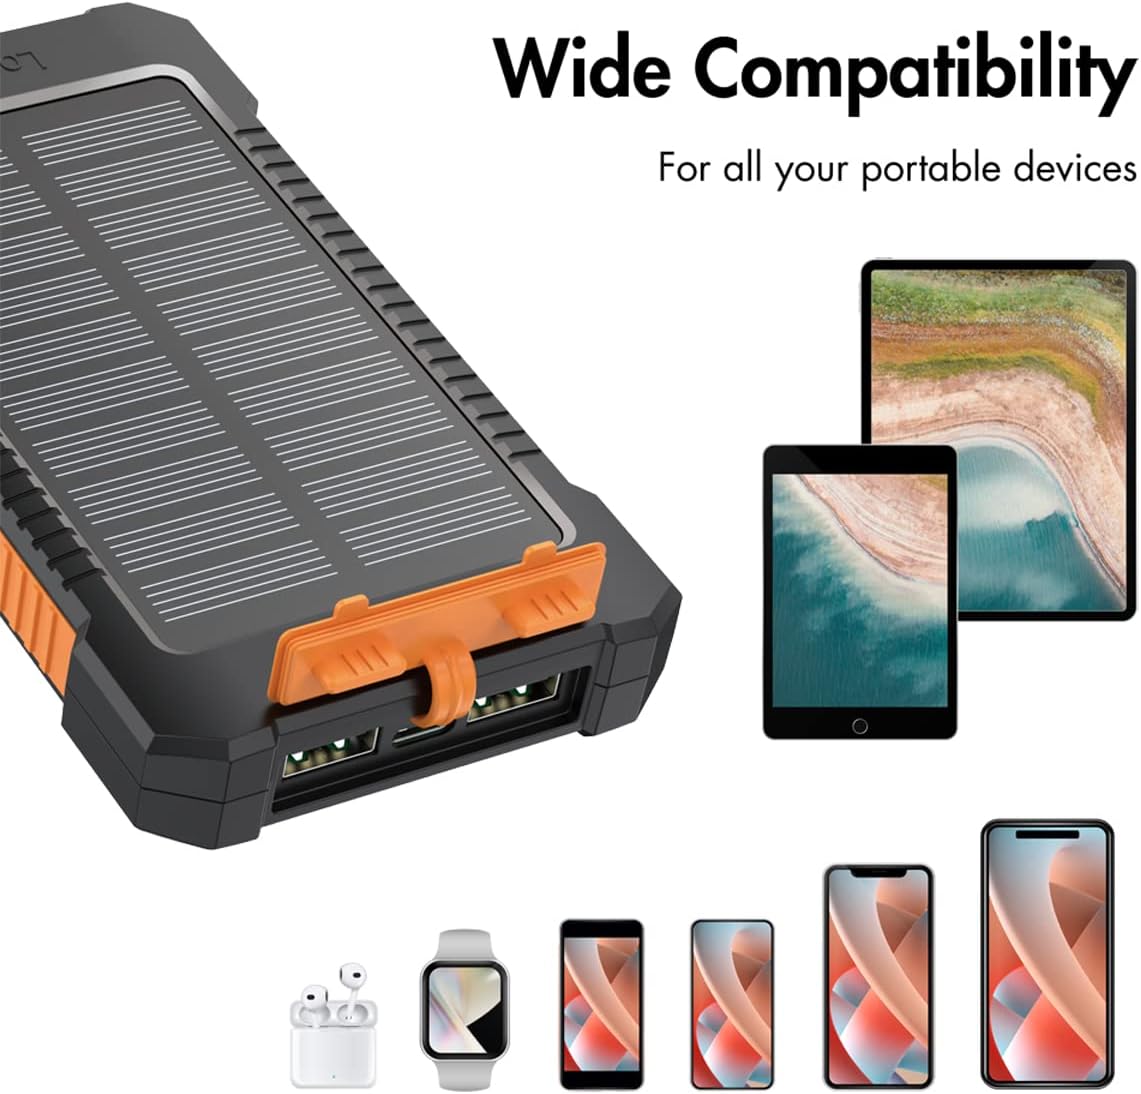
Image: A hand holding the power bank with its bright LED flashlight active, suitable for emergencies.
- Open the protective flap.
- Connect your device's USB charging cable to one of the USB-A output ports on the power bank.
- Connect the other end of the cable to your device.
- Press the power button once to initiate charging. The blue LED indicators will show the remaining battery level.
- When charging is complete, disconnect your device and close the protective flap.
Using the LED Flashlight
The integrated LED flashlight can be used for illumination in low-light conditions.

Image: A hand holding the power bank with its bright LED flashlight active, suitable for emergencies.
- To turn on: Press and hold the power button for approximately 3 seconds.
- To turn off: Press and hold the power button again for approximately 3 seconds.
Checking Battery Status
Press the power button once briefly to check the remaining battery level. The blue LED indicators will light up:
- 4 LEDs: 75-100% charge
- 3 LEDs: 50-75% charge
- 2 LEDs: 25-50% charge
- 1 LED: 0-25% charge
Maintenance
Cleaning
Wipe the power bank with a soft, dry cloth. Do not use harsh chemicals or abrasive materials.
Storage
Store the power bank in a cool, dry place away from direct sunlight and extreme temperatures. If storing for extended periods, charge the power bank to approximately 50-75% every 3 months to prolong battery life.
Troubleshooting
| Problem | Possible Cause | Solution |
|---|---|---|
| Power bank not charging via USB-C. | Cable or adapter faulty; USB-C port dirty; power bank fully charged. | Try a different USB-C cable and adapter. Ensure the port is clean. Check battery status LEDs. |
| Solar charging LED (green) not lighting up. | Insufficient sunlight; solar panel obstructed or dirty. | Place in direct, strong sunlight. Clean the solar panel surface. |
| Device not charging from power bank. | Power bank battery low; power bank not activated; faulty cable; device incompatibility. | Check power bank battery level. Press the power button to activate. Try a different charging cable. Ensure device is compatible (5V USB charging). |
| Flashlight not turning on. | Power button not held long enough; power bank battery low. | Press and hold the power button for 3 seconds. Charge the power bank. |
Specifications
| Feature | Detail |
|---|---|
| Model Number | PA0304 |
| Brand | Logilink |
| Battery Capacity | 8000 mAh (3.7V Li-polymer) |
| USB-C Input | 5V/2A (10W max) |
| Solar Panel Input | 5V/0.12A (0.6W) |
| USB-A Output 1 | 5V/2A (10W max) |
| USB-A Output 2 | 5V/2A (10W max) |
| Total USB Output | 10W max (shared) |
| Special Features | LED Flashlight, LED Indicators, Fast Charge (via USB-C input), Lightweight, IP44 Splash Protection |
| Protection Features | Overcharge, Over-discharge, Short-circuit, Over-voltage, Over-temperature, Over-current |
| Color | Black/Orange |
| Compatible Devices | Tablets, Mobile Phones (e.g., iPhone) |
Warranty and Support
Information regarding specific warranty terms and software updates for this product is not available at this time. For product support or inquiries, please refer to the contact information provided by your retailer or the manufacturer's official website.
Please retain your proof of purchase for any potential warranty claims.