1. Introduction
This manual provides essential information for the safe and effective installation, operation, and maintenance of the LiftMaster C48D06F21 3/4 HP Garage Door Opener Motor. This motor is a commercial replacement part designed for specific LiftMaster garage door opener systems. Please read this manual thoroughly before proceeding with any installation or service.
2. Safety Information
WARNING: Risk of Electric Shock or Injury.
- Always disconnect power to the garage door opener system before attempting any installation, maintenance, or repair.
- Installation should only be performed by qualified personnel familiar with electrical systems and garage door opener mechanics.
- Wear appropriate personal protective equipment, including safety glasses and gloves.
- Be aware of moving parts during operation and avoid contact.
- Ensure all wiring connections are secure and comply with local electrical codes.
3. Product Specifications
The LiftMaster C48D06F21 motor is a robust component designed for commercial garage door opener applications. Key specifications are detailed below:
- Horsepower (HP): 3/4 HP
- Voltage: 115-208/230V
- Revolutions Per Minute (RPM): 1725 RPM
- Frame: 56Y
- Material: Alloy Steel
- Item Weight: Approximately 5.51 pounds (2500 Grams)
- Part Numbers: C48D06F21, K20-1075B-2LP, 20-1075B-2LP, EMN-016604
- Compatible Operators: Logic 3, Logic 4, Logic 5.0 Operators (e.g., J751L5, H751L5, HJ751L5)
- Feature: Instant Reverse capability
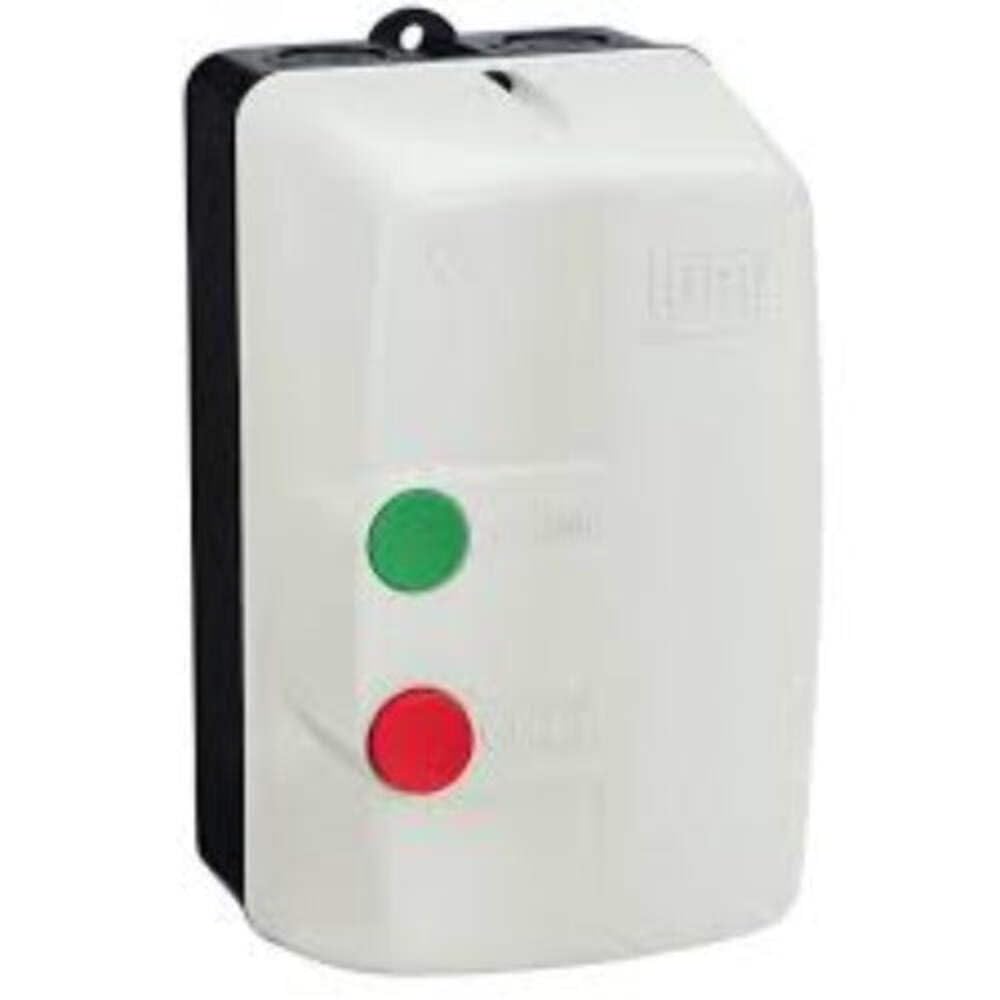
Image 1: The LiftMaster C48D06F21 3/4 HP Garage Door Opener Motor, showing its main body, wiring, and shaft.
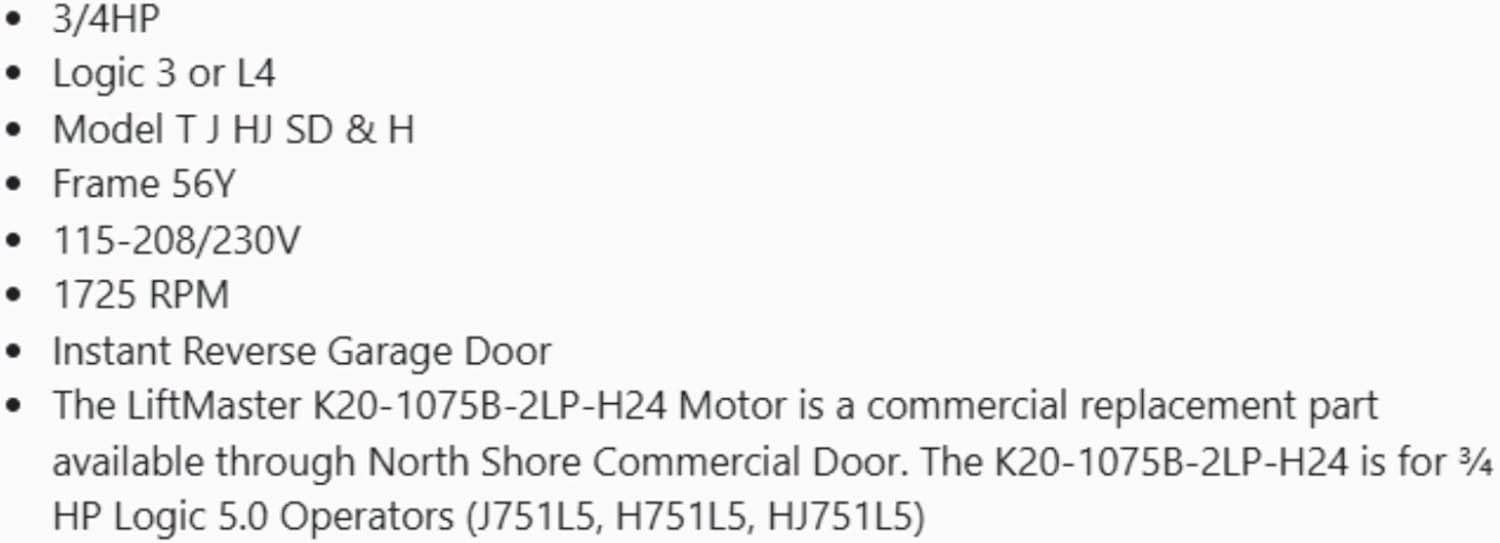
Image 2: A visual representation of key specifications for the LiftMaster K20-1075B-2LP motor, including horsepower, logic compatibility, frame type, voltage, and RPM.
4. Setup and Installation
This motor is a replacement component. Refer to the specific installation manual for your existing LiftMaster garage door opener system for detailed instructions. The following are general steps:
- Power Disconnection: Ensure the main power supply to the garage door opener is completely disconnected at the circuit breaker.
- Access Motor: Carefully open the housing of your garage door opener to access the existing motor.
- Disconnect Wiring: Document and carefully disconnect all wiring from the old motor. Pay close attention to wire colors and terminal locations.
- Remove Old Motor: Unbolt and remove the old motor from its mounting brackets.
- Install New Motor: Position the new C48D06F21 motor into the mounting brackets and secure it with appropriate fasteners.
- Connect Wiring: Reconnect all wiring to the new motor, matching the connections documented from the old motor. Ensure all connections are tight and secure.
- Reassemble and Test: Close the opener housing. Restore power and follow your garage door opener's manual for initial setup and testing procedures, including limit switch adjustments and safety reversal tests.
5. Operating Instructions
The C48D06F21 motor functions as an integral part of your LiftMaster garage door opener system. Its operation is controlled by the main opener unit and its associated accessories (e.g., wall control, remote controls, safety sensors).
- Refer to the instruction manual provided with your specific LiftMaster garage door opener model for detailed operating procedures.
- Ensure all safety features, such as photo-electric sensors, are correctly installed and functioning before operating the garage door.
- The motor's instant reverse feature is designed to enhance safety by reversing the door's direction if an obstruction is detected during closing.
6. Maintenance
Regular maintenance helps ensure the longevity and reliable performance of your garage door opener motor.
- Annual Inspection: Annually inspect the motor for any signs of wear, damage, or loose connections.
- Cleanliness: Keep the motor and surrounding area free from dust, debris, and obstructions. Use a dry cloth or compressed air for cleaning.
- Electrical Connections: Periodically check that all electrical connections to the motor are secure and free from corrosion.
- Professional Service: For any complex maintenance or if unusual noises or performance issues arise, consult a qualified garage door technician.
7. Troubleshooting
If you experience issues with your garage door opener after motor replacement, consider the following troubleshooting steps:
| Symptom | Possible Cause | Solution |
|---|---|---|
| Motor does not run | No power, loose wiring, faulty control board | Check power supply, circuit breaker. Verify all wiring connections. Consult opener manual for control board diagnostics. |
| Unusual noises from motor | Worn bearings, internal damage, obstruction | Disconnect power and inspect for obstructions. If noise persists, professional inspection is recommended. |
| Motor overheats | Excessive use, improper voltage, mechanical binding in door system | Allow motor to cool. Check for proper voltage supply. Inspect garage door for smooth operation; lubricate moving parts if necessary. |
| Door reverses unexpectedly | Safety sensors misaligned, obstruction, force settings too high | Check and align safety sensors. Clear any obstructions. Refer to opener manual for adjusting force settings. |
For issues not resolved by these steps, it is advisable to contact a certified LiftMaster service technician.
8. Warranty and Support
For warranty information regarding the LiftMaster C48D06F21 motor, please refer to the documentation provided at the time of purchase or contact the seller directly. Warranty terms typically cover manufacturing defects for a specified period.
For technical support or service inquiries, please contact LiftMaster customer service or an authorized LiftMaster dealer. You may also visit the official LiftMaster Store for additional product information and resources.


