1. Introduction
Thank you for choosing the ORICO Hard Drive Docking Station. This device provides a convenient and efficient solution for data management, offering both offline cloning capabilities and high-speed data transfer via USB 3.2 Gen 1. It supports 2.5-inch and 3.5-inch SATA HDDs and SSDs, with a total capacity of up to 40TB (2 x 20TB).
This manual will guide you through the setup, operation, and troubleshooting of your docking station to ensure optimal performance and longevity.
2. What's in the Box
- 1 x Type-C Hard Drive Docking Station
- 1 x 2-in-1 USB-C to C/A Data Cable (1m)
- 1 x 12V/3A EU Power Adapter
- 1 x User Manual
3. Product Overview
Familiarize yourself with the components and indicators of your ORICO docking station.

Image: Front and rear view of the ORICO docking station, highlighting the LED indicators, USB interface, power port, and the CLONE/PC switch.
LED Indicators:
- Blue Light ON: Indicates the device is powered on.
- Blue Light ON (Data Cable Connected): Indicates a successful connection to a device (PC, laptop, etc.).
- Blue/Red Flashing Light: Indicates data reading and writing activity.
Ports and Buttons:
- USB Interface: Connects to your computer or other compatible devices.
- DC Power Port: Connects to the 12V/3A power adapter.
- ON/OFF Switch: Powers the docking station on or off.
- CLONE/PC Switch: Toggles between Offline Clone mode and PC connection mode.
- START Button: Initiates the offline cloning process.
4. Setup Guide
Follow these steps to set up your ORICO Hard Drive Docking Station:
- Connect Power: Connect the 12V/3A power adapter to the DC Power Port on the docking station and plug it into a power outlet.
- Insert Hard Drives: Gently insert your 2.5-inch or 3.5-inch SATA HDDs/SSDs into the drive slots. Ensure they are fully seated.
- Power On: Flip the ON/OFF switch to the 'ON' position. The blue LED indicator will light up.
- Connect to Device (for PC Mode): Use the provided 2-in-1 USB-C to C/A data cable to connect the docking station to your computer's USB-C or USB-A port.

Image: The docking station connected to its 12V power adapter, illustrating the power supply connection.
5. Operating Instructions
5.1. Offline Clone Function
The offline clone function allows you to duplicate a hard drive without connecting to a computer. This is ideal for system backups or drive upgrades.

Image: The docking station with two hard drives inserted, illustrating the manual switch to clone mode and the capacity requirement for the target drive.

Image: A close-up of the rear panel of the docking station, clearly showing the CLONE/PC switch and explaining the function of each mode.
- Prepare Drives: Insert the source drive (Disk A) into the 'Source' slot and the target drive (Disk B) into the 'Target' slot. Important: The target drive's capacity must be equal to or greater than the source drive's capacity.
- Disconnect from PC: Ensure the docking station is disconnected from any computer.
- Select Clone Mode: Slide the CLONE/PC switch to the 'CLONE' position.
- Start Cloning: Press and hold the 'START' button for 3-5 seconds until the LED indicators begin to flash, indicating the cloning process has started.
- Monitor Progress: The LED indicators will show the cloning progress (25%, 50%, 75%, 100%). Once all LEDs are solid blue, the cloning is complete.
- Power Off: After cloning, power off the docking station before removing the drives.
5.2. PC Connection and Data Transfer
Use the docking station to read, write, and expand storage when connected to a computer.

Image: The docking station connected to an iMac, demonstrating high-speed data transfer (5Gbps via USB-C) compared to USB 2.0.
- Insert Drives: Insert your 2.5-inch or 3.5-inch SATA HDDs/SSDs into the drive slots.
- Select PC Mode: Slide the CLONE/PC switch to the 'PC' position.
- Connect to PC: Connect the docking station to your computer using the provided USB data cable.
- Access Drives: Your computer will recognize the drives as external storage. You can now access, transfer, and manage files. The docking station supports UASP (USB Attached SCSI Protocol) for faster data transfer speeds up to 5Gbps.
5.3. Mobile Phone Transfer (OTG Function)
If your mobile phone supports OTG (On-The-Go) functionality, you can connect the docking station directly to your phone for data transfer.
Please ensure your phone supports OTG function for this feature to work.
5.4. Automatic Sleep Mode
The ORICO docking station features an automatic sleep mode to conserve energy and extend drive lifespan. If there is no data activity for 10 minutes, the device will automatically enter sleep mode.
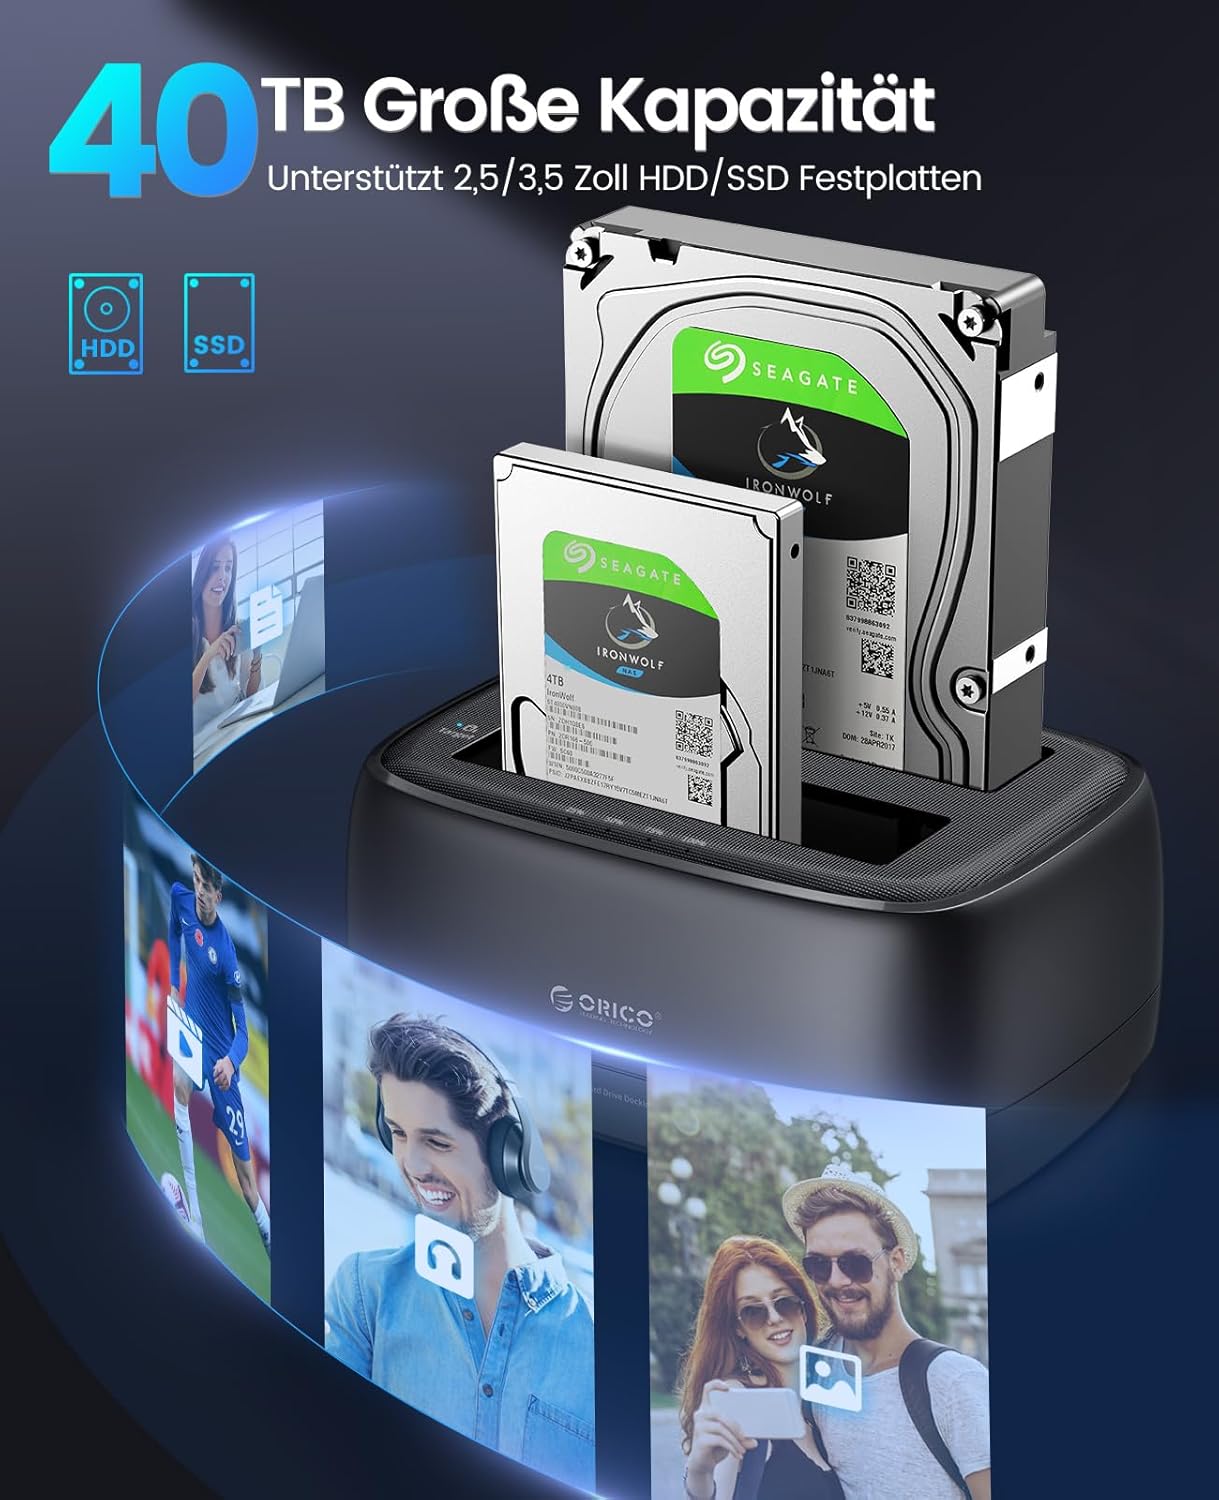
Image: The docking station showcasing its support for up to 40TB total capacity with 2.5-inch and 3.5-inch HDD/SSD.
6. Compatibility
The ORICO Hard Drive Docking Station offers wide compatibility with various devices and operating systems:

Image: A visual representation of the docking station's compatibility with various devices (PC, Laptop, TV, Router, iPad, PS5) and operating systems (Windows, Mac OS, Linux, iPad OS).
- Operating Systems: Windows, macOS, Linux, Android.
- Devices: PCs, Laptops, Xbox Series, PS3/4/5, Smart TVs, Smart Routers, and compatible Smartphones.
- Drives: All standard 2.5" and 3.5" SATA HDD/SSD.
7. Specifications
| Feature | Specification |
|---|---|
| Model Number | DD28C3-C (2 Baies+Clonage) |
| Supported Drives | 2.5" / 3.5" SATA HDD/SSD |
| Max Capacity | Up to 2 x 20TB (40TB total) |
| Interface | USB 3.2 Gen 1 Type-C (5Gbps) |
| Power Supply | 12V/3A Power Adapter |
| Dimensions (L x W x H) | 16.2 x 11.8 x 7.2 cm |
| Weight | 620 grams |
| Features | Offline Clone, UASP Support, Plug & Play, 10-min Auto Sleep Mode |
8. Safety and Protection
The ORICO docking station is designed with multiple protection features to ensure safe and stable operation for your drives and data:

Image: An illustration of the internal UASP TRIM chip, emphasizing the comprehensive protection features including overcurrent, short-circuit, overheating, static, and leakage protection.
- Overcurrent Protection: Prevents damage from excessive current.
- Short-circuit Protection: Safeguards against electrical shorts.
- Overheating Protection: Monitors temperature to prevent overheating.
- Static Protection: Protects against electrostatic discharge.
- Leakage Protection: Ensures electrical safety.
- Dust Cover: The dual-bay design includes a dust cover to protect the SATA interfaces from dust.
- Anti-slip Pads: Four rubber pads reduce friction and vibration for stable operation on your desktop.
9. Maintenance
- Keep the device in a dry, cool environment, away from direct sunlight and heat sources.
- Clean the exterior with a soft, dry cloth. Do not use liquid cleaners or aerosols.
- Ensure proper ventilation around the device during operation.
- Avoid dropping or subjecting the device to strong impacts.
10. Troubleshooting
- Drive Not Recognized:
- Ensure the drive is properly seated in the slot.
- Check if the power adapter is securely connected and the device is powered on.
- Verify the USB data cable is connected correctly to both the docking station and your computer.
- Ensure the CLONE/PC switch is in the 'PC' position for computer connection.
- Try connecting to a different USB port on your computer.
- For new drives, they might need to be initialized and formatted in Disk Management (Windows) or Disk Utility (macOS).
- Cloning Failure/Error:
- Ensure the target drive's capacity is equal to or greater than the source drive's capacity.
- Verify both drives are properly inserted.
- Ensure the docking station is disconnected from any computer during offline cloning.
- Check for bad sectors on the source drive. A damaged source drive may prevent successful cloning.
- Ensure the CLONE/PC switch is in the 'CLONE' position.
- Slow Transfer Speed:
- Ensure you are connected to a USB 3.0/3.1/3.2 port on your computer. Connecting to a USB 2.0 port will result in slower speeds.
- Verify your operating system and drivers support UASP.
- The actual speed may vary depending on the performance of your hard drive/SSD and computer system.
11. Warranty and Support
ORICO products come with a standard manufacturer's warranty. For detailed warranty information, technical support, or service inquiries, please refer to the warranty card included with your product or visit the official ORICO website.
You can also contact ORICO customer support directly through the platform where you purchased the product.


