1. Introduction
Thank you for purchasing the Acctim Pale Green Silicone Digital Alarm Clock. This manual provides detailed instructions for setting up, operating, and maintaining your new alarm clock. Please read this manual thoroughly before use and retain it for future reference.
2. Safety Information
- Keep the clock away from water and high humidity.
- Avoid exposing the clock to direct sunlight or extreme temperatures.
- Do not attempt to disassemble or repair the clock yourself. Contact qualified personnel for service.
- Dispose of used batteries responsibly according to local regulations.
- Keep batteries out of reach of children.
3. Package Contents
- Acctim Pale Green Silicone Digital Alarm Clock (1 unit)
- Instruction Manual (this document)
4. Product Overview
The Acctim Digital Alarm Clock features an easy-to-read jumbo display, a soft silicone case, and Smartlite technology for automatic backlight adjustment.
Front View
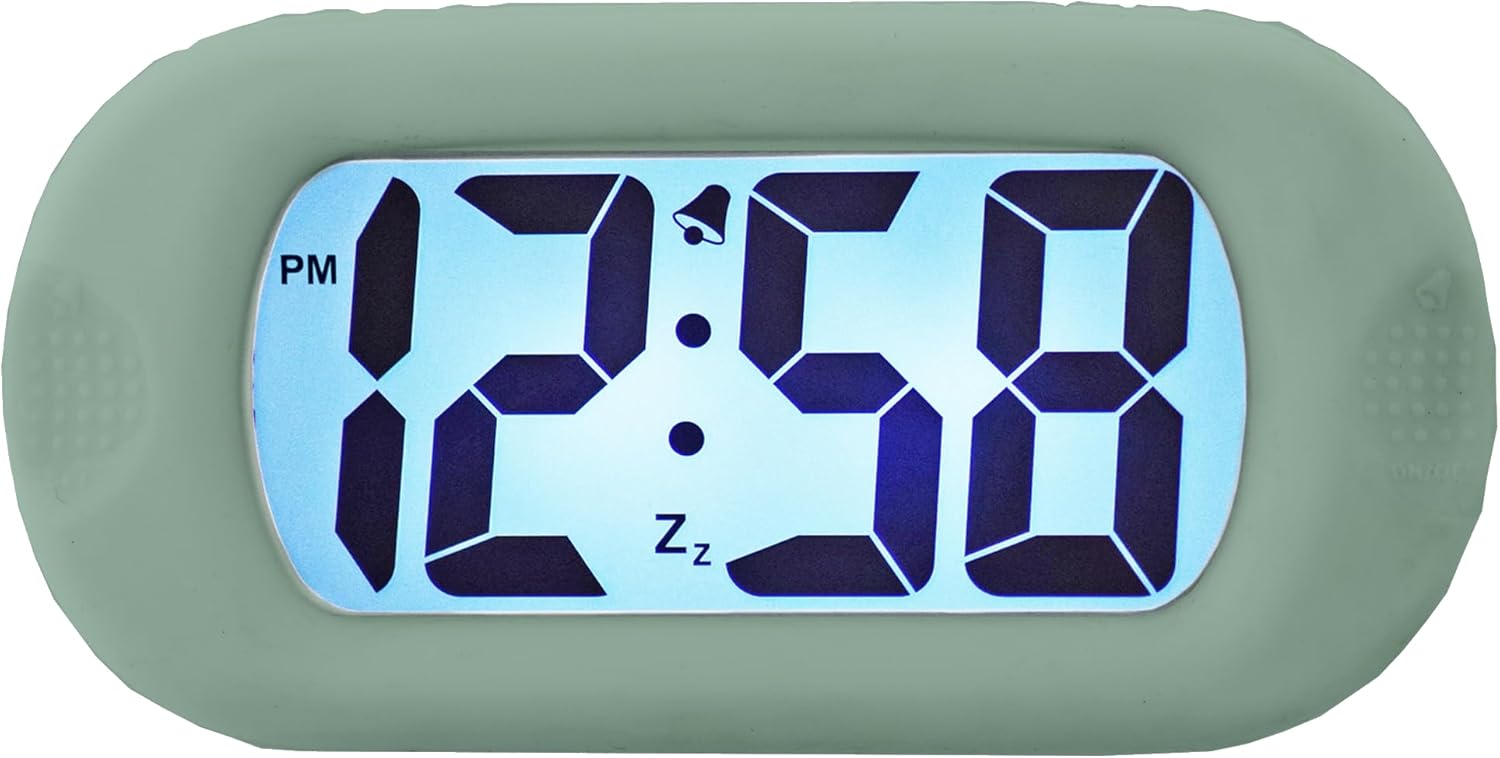
Figure 4.1: Front view of the clock display.
This image shows the main display of the clock, featuring large, clear digital numbers. It indicates the time (e.g., 12:58 PM), an alarm icon (bell), and a snooze icon (Zz).
Side Controls

Figure 4.2: Front view with side controls.
This image illustrates the clock's front, showing the 'SET' button on the left side and the 'ON/OFF' button on the right side, used for various settings and alarm control.
Back View and Battery Compartment

Figure 4.3: Back view of the clock.
The back of the clock features the 'TIME SET' button and the battery compartment, which is where batteries are inserted to power the device.
Smartlite Feature (Backlight)

Figure 4.4: Backlit display in darkness.
This image shows the clock's display illuminated in a dark setting, demonstrating the Smartlite feature which provides an automatic backlight for visibility in low light conditions.
Dimensions

Figure 4.5: Clock dimensions.
This image provides the physical dimensions of the clock, showing a height of 6.9 cm and a width of 14 cm.
5. Setup
5.1 Battery Installation
- Locate the battery compartment cover on the back of the clock (refer to Figure 4.3).
- Slide or unclip the cover to open the compartment.
- Insert the required batteries (not included) according to the polarity indicators (+ and -) inside the compartment.
- Replace the battery compartment cover securely.
5.2 Initial Power-On
Once batteries are installed, the clock display should activate. If not, ensure batteries are correctly inserted and fully charged.
6. Operating Instructions
6.1 Setting the Time
- Press and hold the SET button (left side) until the hour digits begin to flash.
- Use the TIME SET button (back) to adjust the hour. Press repeatedly to advance the hour. Pay attention to the AM/PM indicator.
- Press the SET button again to move to the minute digits.
- Use the TIME SET button to adjust the minutes.
- Press the SET button one more time to confirm the time and exit setting mode.
6.2 Setting the Alarm
- Press the SET button once (do not hold) to enter alarm setting mode. The alarm time will be displayed, and the alarm icon (bell) may flash.
- Press and hold the SET button until the alarm hour digits flash.
- Use the TIME SET button (back) to adjust the alarm hour.
- Press the SET button again to move to the alarm minute digits.
- Use the TIME SET button to adjust the alarm minutes.
- Press the SET button one more time to confirm the alarm time.
6.3 Activating/Deactivating the Alarm
To turn the alarm ON or OFF, press the ON/OFF button (right side). The alarm bell icon on the display indicates if the alarm is active.
6.4 Snooze Function
When the alarm sounds, press any button (except ON/OFF) to activate the snooze function. The alarm will temporarily stop and sound again after a few minutes (typical snooze duration is 5-9 minutes, specific duration may vary). The 'Zz' icon on the display indicates snooze is active.
6.5 Smartlite Automatic Backlight
The clock features a Smartlite sensor that automatically adjusts the backlight intensity based on ambient light conditions. In low light, the display will gently illuminate for easy viewing without manual intervention.
7. Maintenance
7.1 Cleaning
Wipe the clock with a soft, dry cloth. Do not use abrasive cleaners or solvents, as they may damage the silicone case or display.
7.2 Battery Replacement
When the display becomes dim or the clock stops functioning, it is time to replace the batteries. Follow the battery installation steps in Section 5.1.
8. Troubleshooting
| Problem | Possible Cause | Solution |
|---|---|---|
| Display is blank or dim. | Low or dead batteries. Incorrect battery installation. | Replace batteries with new ones. Ensure batteries are inserted with correct polarity. |
| Alarm does not sound. | Alarm is not activated. Alarm volume is too low (if adjustable). | Press the ON/OFF button to activate the alarm (bell icon should appear). Ensure alarm time is set correctly. |
| Time is incorrect. | Time was not set correctly. | Follow instructions in Section 6.1 to reset the time. |
9. Specifications
- Brand: Acctim
- Model: B0C2G496MT
- Color: Pale Green
- Display Type: Digital
- Special Feature: Luminous (Smartlite automatic backlight)
- Power Source: Battery Powered
- Material: Silicone
- Batteries Included: No
- Dimensions: Approximately 14 cm (Width) x 6.9 cm (Height)
10. Warranty and Support
For warranty information or technical support, please refer to the documentation provided with your purchase or contact Acctim customer service directly. Keep your proof of purchase for warranty claims.


