1. Introduction
This manual provides detailed instructions for the installation, operation, and maintenance of your Goeco 14-Petal LED Dimmable Ceiling Light. This modern flush mount ceiling light features a unique flower design, adjustable color temperature (3000K-6500K), dimmable brightness (0%-100%), and can be controlled via a remote or a smartphone application.
Key features include:
- Creative 14-petal flower design.
- Smart APP and remote control functionality.
- Stepless dimming with adjustable color temperature (3000K-6500K) and brightness (0%-100%).
- Energy-efficient LED light source with a lifespan of up to 50,000 hours.
- Memory function to retain previous settings.
- Night light mode for reduced brightness.
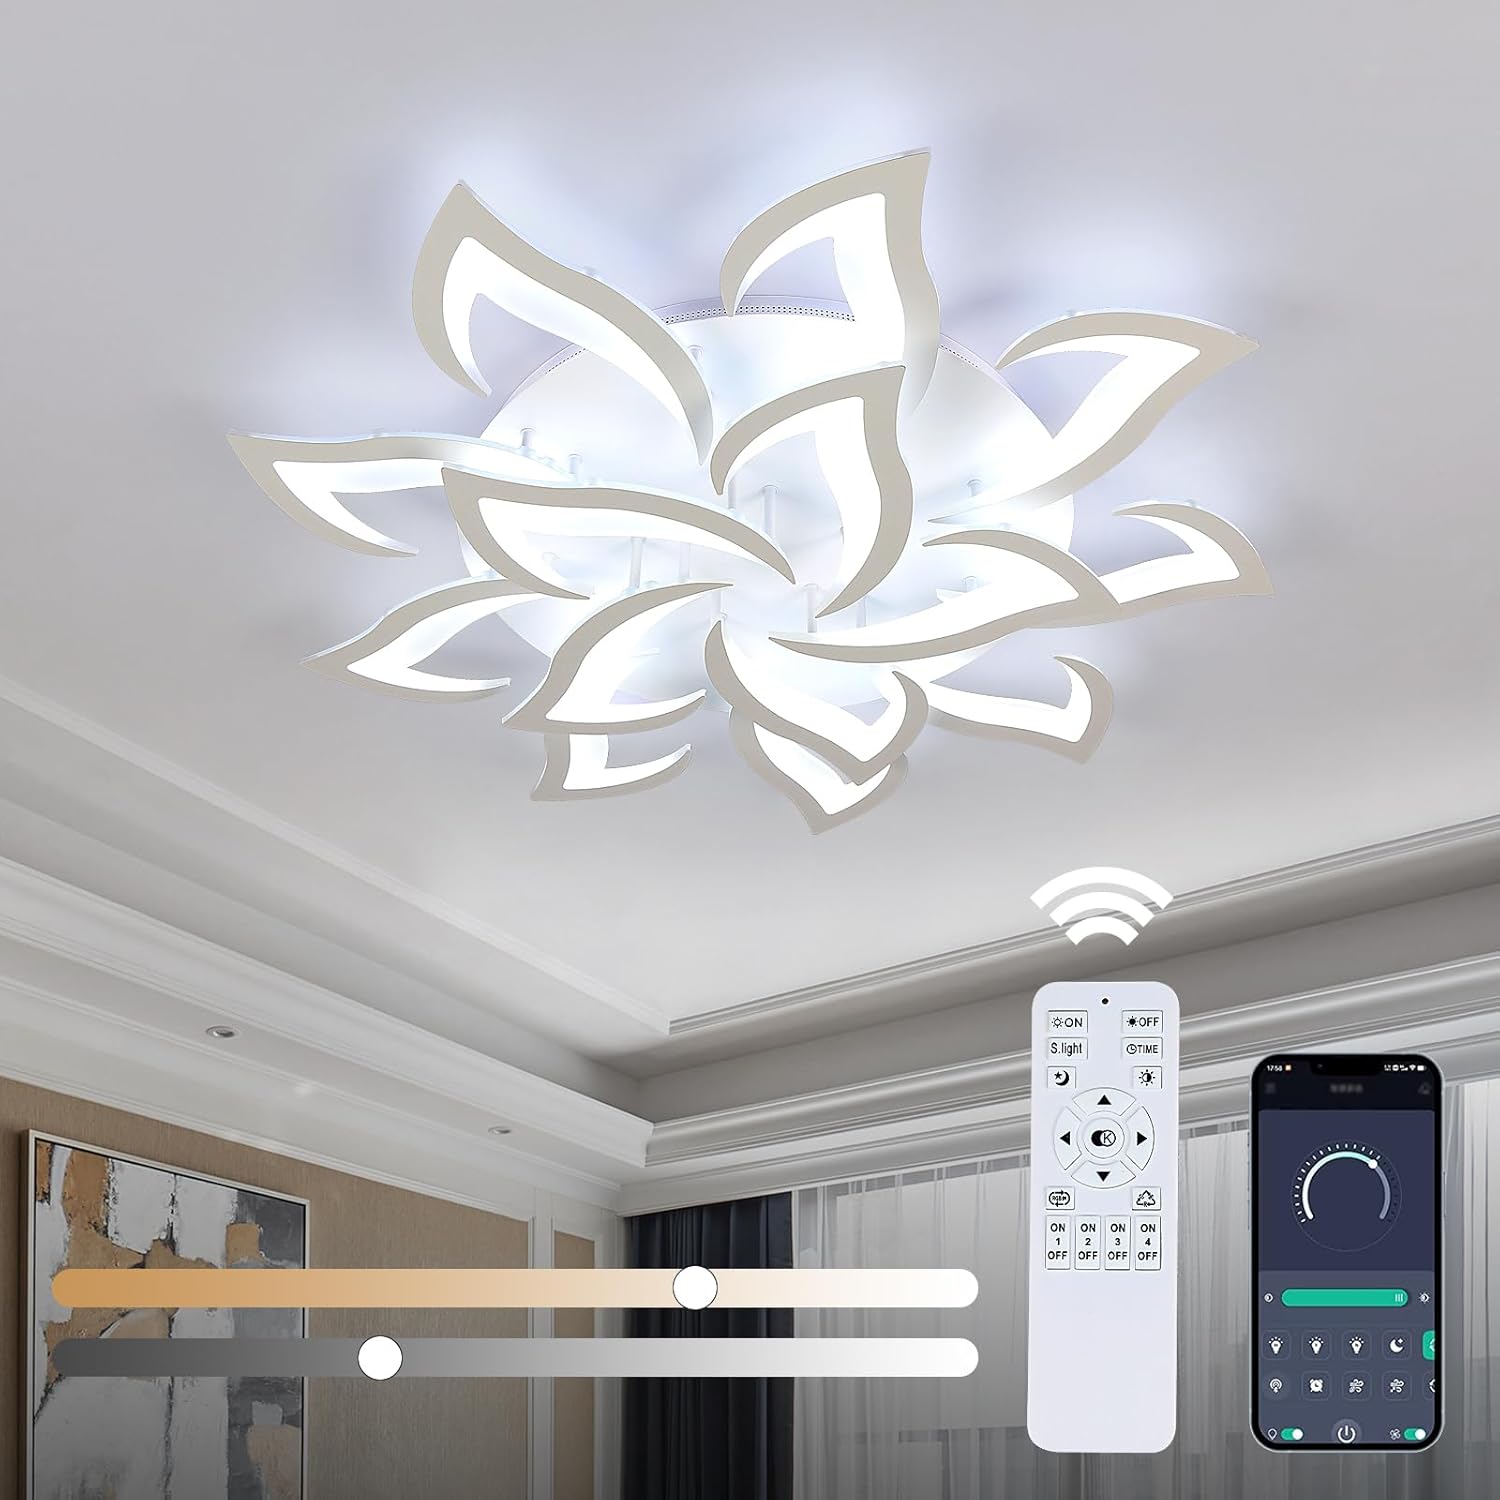
Image 1.1: The Goeco 14-Petal LED Dimmable Ceiling Light with remote and app control interfaces.
2. Safety Instructions
Please read all safety instructions carefully before installation and use. Failure to follow these instructions may result in electric shock, fire, or other hazards.
- WARNING: RISK OF ELECTRIC SHOCK. Disconnect power at the circuit breaker or fuse box before installation or servicing.
- Ensure the electrical supply voltage is compatible with the light fixture (110V).
- All wiring connections must be made in accordance with local electrical codes and ordinances. If you are unsure about wiring, consult a qualified electrician.
- Do not install the fixture on a wet surface or near water.
- Do not attempt to modify the light fixture. Any modifications may void the warranty and create safety hazards.
- Handle the acrylic components with care to prevent damage.
3. Package Contents
Verify that all components are present and undamaged before beginning installation. If any parts are missing or damaged, contact customer support.
- 1x Goeco Modern Ceiling Light
- 1x Remote Control
- 1x User Manual (this document)
- 1x Installation Package (includes mounting hardware)
4. Setup and Installation
Installation requires assembly of the light fixture components before mounting to the ceiling. It is recommended to have two people for installation due to the size of the fixture.
- Prepare the Petals: Attach the acrylic petals to the main light body. Each petal typically screws into place or uses a secure fastening mechanism. Refer to the detailed diagram for correct orientation.
- Secure Mounting Bracket: Install the mounting bracket to the ceiling junction box using the provided screws. Ensure the bracket is firmly secured and can support the weight of the fixture.
- Electrical Connections: Connect the household electrical wires to the fixture's wires. Typically, connect the live (black) wire to the live wire, the neutral (white) wire to the neutral wire, and the ground (green or bare copper) wire to the ground wire. Use wire nuts to secure connections.
- Mount the Fixture: Carefully lift the assembled light fixture and align it with the mounting bracket. Secure the fixture to the bracket using the provided nuts or screws. Ensure no wires are pinched during this step.
- Final Assembly: If any decorative caps or covers are included, attach them to complete the installation.

Image 4.1: Visual guide for the installation steps of the ceiling light.
5. Operating Instructions
5.1 Remote Control Operation
The included remote control allows for comprehensive control over the light's functions.

Image 5.1: Remote control layout and functions.
- ON/OFF: Power the light on or off.
- Brightness Adjustment: Use the '+' and '-' buttons to increase or decrease brightness (0%-100%).
- Color Temperature Adjustment: Use the 'Warm' and 'Cool' buttons (or similar icons) to adjust the color temperature from 3000K (warm white) to 6500K (cool white).
- Night Light Mode: Activates a low-brightness setting (typically 10% brightness) suitable for night use.
- Timer Function: Press once for 30 minutes, twice for 60 minutes. Press 'ON' to cancel.
- Memory Function: The light will remember your last brightness and color temperature settings when turned back on.
5.2 APP Control Operation
The light can also be controlled via a smartphone application (iOS and Android compatible).
- Download App: Scan the QR code provided in the remote control image or search for the specified app name in your device's app store.
- Pairing: Follow the in-app instructions to pair your smartphone with the ceiling light. This usually involves turning the light on and off a few times within a specific timeframe.
- Functions: The app provides similar control over brightness, color temperature, timer, and night light mode as the remote control, often with a more intuitive interface.

Image 5.2: Illustration of adjustable color temperature and dimming range.
6. Maintenance
Regular maintenance ensures optimal performance and longevity of your ceiling light.
- Cleaning: Disconnect power before cleaning. Use a soft, dry cloth to wipe the fixture. For stubborn dirt, a slightly damp cloth with mild soap can be used, followed by drying. Avoid abrasive cleaners or solvents, as they can damage the acrylic finish.
- LED Source: The LED light source is integrated and designed for long-term use (up to 50,000 hours). It does not require replacement.
- Inspection: Periodically check for any loose connections or visible damage. If any issues are found, disconnect power and consult a qualified technician.
7. Troubleshooting
If you encounter issues with your ceiling light, refer to the following common problems and solutions:
| Problem | Possible Cause | Solution |
|---|---|---|
| Light does not turn on. | No power supply; loose wiring; faulty remote/app. | Check circuit breaker. Ensure all wiring connections are secure. Replace remote batteries or re-pair app. |
| Remote control not working. | Dead batteries; remote not paired; obstruction. | Replace remote batteries. Ensure remote is pointed at the light. Re-pair remote if necessary (refer to app instructions for pairing process). |
| Light flickers or dims unexpectedly. | Unstable power supply; loose connection; incompatible dimmer (if not using provided remote/app). | Check power supply stability. Verify wiring connections. Ensure only the provided remote/app is used for dimming. |
| APP control not connecting. | Bluetooth/Wi-Fi issue; app not paired; outdated app. | Ensure Bluetooth/Wi-Fi is enabled on your device. Re-pair the app with the light. Update the app to the latest version. |
If the problem persists after attempting these solutions, please contact Goeco customer support.
8. Specifications
| Feature | Detail |
|---|---|
| Brand | Goeco |
| Model Name | Acrylic Ceiling Light |
| Item Model Number | 30839725 |
| Color | White |
| Material | Acrylic |
| Style | Modern |
| Light Fixture Form | Close to Ceiling |
| Product Dimensions | 37.8"L x 37.8"W x 4.72"H |
| Item Weight | 15.43 Pounds |
| Power Source | Corded Electric |
| Voltage | 110 Volts |
| Wattage | 100 watts |
| Light Source Type | LED |
| Brightness | 4200 Lumen |
| Efficiency | 80% efficient |
| Control Method | Remote Control, APP Control |
| Special Feature | Dimmable (3000K-6500K, 0%-100%) |
| Assembly Required | Yes |
9. Warranty and Support
The Goeco 14-Petal LED Dimmable Ceiling Light comes with a 4-year warranty from the date of purchase. This warranty covers defects in materials and workmanship under normal use.
For warranty claims, technical support, or any questions regarding your product, please contact Goeco customer service through the retailer where the product was purchased or visit the official Goeco brand store online.
10. Additional Resources
For a downloadable PDF version of the user manual, please refer to the following link:
Download Goeco 14-Petal LED Dimmable Ceiling Light User Manual (PDF)


