1. Introduction
Thank you for purchasing the Homedics TE-200-EEU Non-Contact Infrared Thermometer. This device is designed for accurate and convenient temperature measurement of the human body and various surfaces without physical contact. Please read this manual thoroughly before use to ensure safe and proper operation.
2. Safety Information
- Do not immerse the thermometer in water or other liquids.
- Keep the device away from direct sunlight, dust, and extreme temperatures.
- Do not drop the thermometer or subject it to strong impacts.
- Do not attempt to disassemble or repair the device yourself. Contact customer support for assistance.
- Keep out of reach of children.
- Consult a physician if you have concerns about temperature readings. This device is not a substitute for medical consultation.
3. Product Overview
The Homedics TE-200-EEU features a clear digital display and intuitive controls for ease of use.

Figure 1: Front view of the Homedics TE-200-EEU Non-Contact Infrared Thermometer. It shows the digital display, 'MEM' (Memory) button, 'MODE' button, and the 'SCAN' button with a power icon.
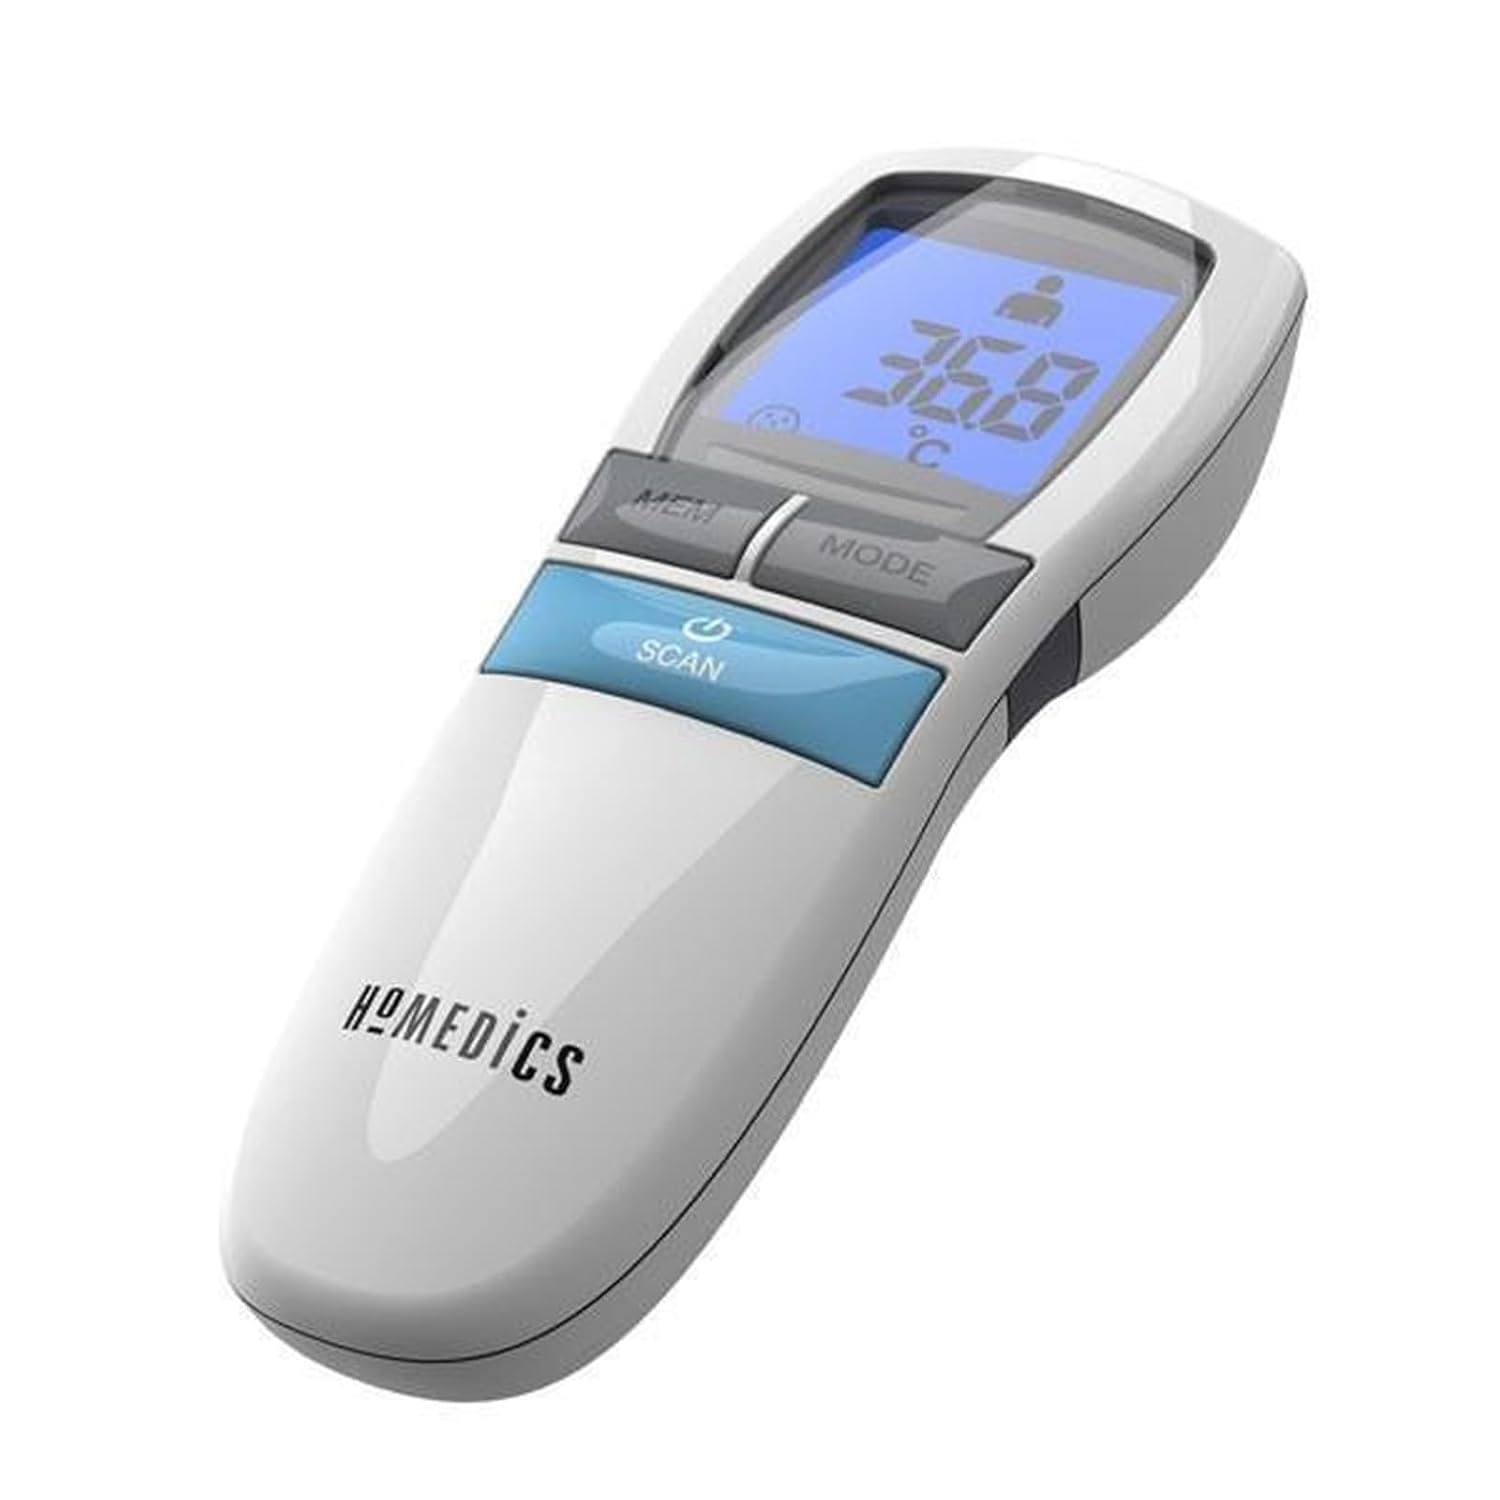
Figure 2: Angled view of the Homedics TE-200-EEU Non-Contact Infrared Thermometer, highlighting its ergonomic design and button placement.
Components:
- Infrared Sensor: Detects temperature.
- LCD Display: Shows temperature readings, mode, and other indicators.
- MEM Button: Accesses stored temperature readings.
- MODE Button: Switches between body and surface temperature modes.
- SCAN Button: Powers on the device and initiates temperature measurement.
- Battery Compartment: Located at the bottom of the handle.
4. Setup
Battery Installation:
- Open the battery compartment cover located at the bottom of the thermometer handle.
- Insert two AAA batteries, ensuring correct polarity (+ and -).
- Close the battery compartment cover securely.
Note: Always use new batteries of the specified type. Remove batteries if the device will not be used for an extended period.
5. Operating Instructions
Powering On/Off:
- Press the SCAN button to power on the thermometer. The display will show all segments briefly, then enter standby mode.
- The thermometer will automatically power off after approximately 30 seconds of inactivity to conserve battery life.
Selecting Measurement Mode (Body/Surface):
- With the thermometer powered on, press the MODE button to switch between 'Body' mode (indicated by a person icon) and 'Surface' mode (indicated by a house or object icon).
- Ensure the correct mode is selected before taking a measurement.
Taking a Body Temperature Measurement:
- Ensure the thermometer is in 'Body' mode.
- Hold the thermometer approximately 3-5 cm (1.2-2 inches) from the center of the forehead.
- Press and release the SCAN button. The temperature reading will appear on the display almost instantly.
- A short beep will indicate the measurement is complete.

Figure 3: Demonstrates the Homedics TE-200-EEU being used to measure a person's forehead temperature, showing the non-contact method.
Taking a Surface Temperature Measurement:
- Ensure the thermometer is in 'Surface' mode.
- Point the thermometer at the desired surface (e.g., baby bottle, bathwater) from a distance of 3-5 cm (1.2-2 inches).
- Press and release the SCAN button. The surface temperature will be displayed.

Figure 4: The Homedics TE-200-EEU measuring the temperature of a baby bottle, illustrating its use for surface temperature readings.
Viewing Memory Readings:
- With the thermometer powered on, press the MEM button to cycle through stored temperature readings.
- The device stores a certain number of previous readings (refer to specifications for exact capacity).
Switching Temperature Units (°C/°F):
Specific instructions for switching between Celsius and Fahrenheit are typically found in the full product manual. Often, this involves a combination of button presses (e.g., holding the MODE button while powering on) or a small switch in the battery compartment. Please refer to the included physical manual for precise steps.
6. Maintenance
Cleaning:
- Use a soft, dry cloth to clean the thermometer body.
- For the infrared sensor, gently wipe with a cotton swab lightly moistened with alcohol. Allow to dry completely before use.
- Do not use abrasive cleaners or immerse the device in water.
Storage:
- Store the thermometer in a cool, dry place, away from direct sunlight and extreme temperatures.
- If storing for an extended period, remove the batteries to prevent leakage.
7. Troubleshooting
| Problem | Possible Cause | Solution |
|---|---|---|
| Device does not power on | Low or dead batteries; incorrect battery installation. | Replace batteries; ensure correct polarity. |
| Inaccurate readings | Sensor dirty; incorrect measurement distance; device not acclimatized to room temperature. | Clean sensor; ensure proper distance (3-5 cm); allow device to sit in room for 30 minutes before use. |
| Display shows 'Lo' or 'Hi' | Temperature is outside the measurable range. | Ensure measurement is within the specified operating range. |
8. Specifications
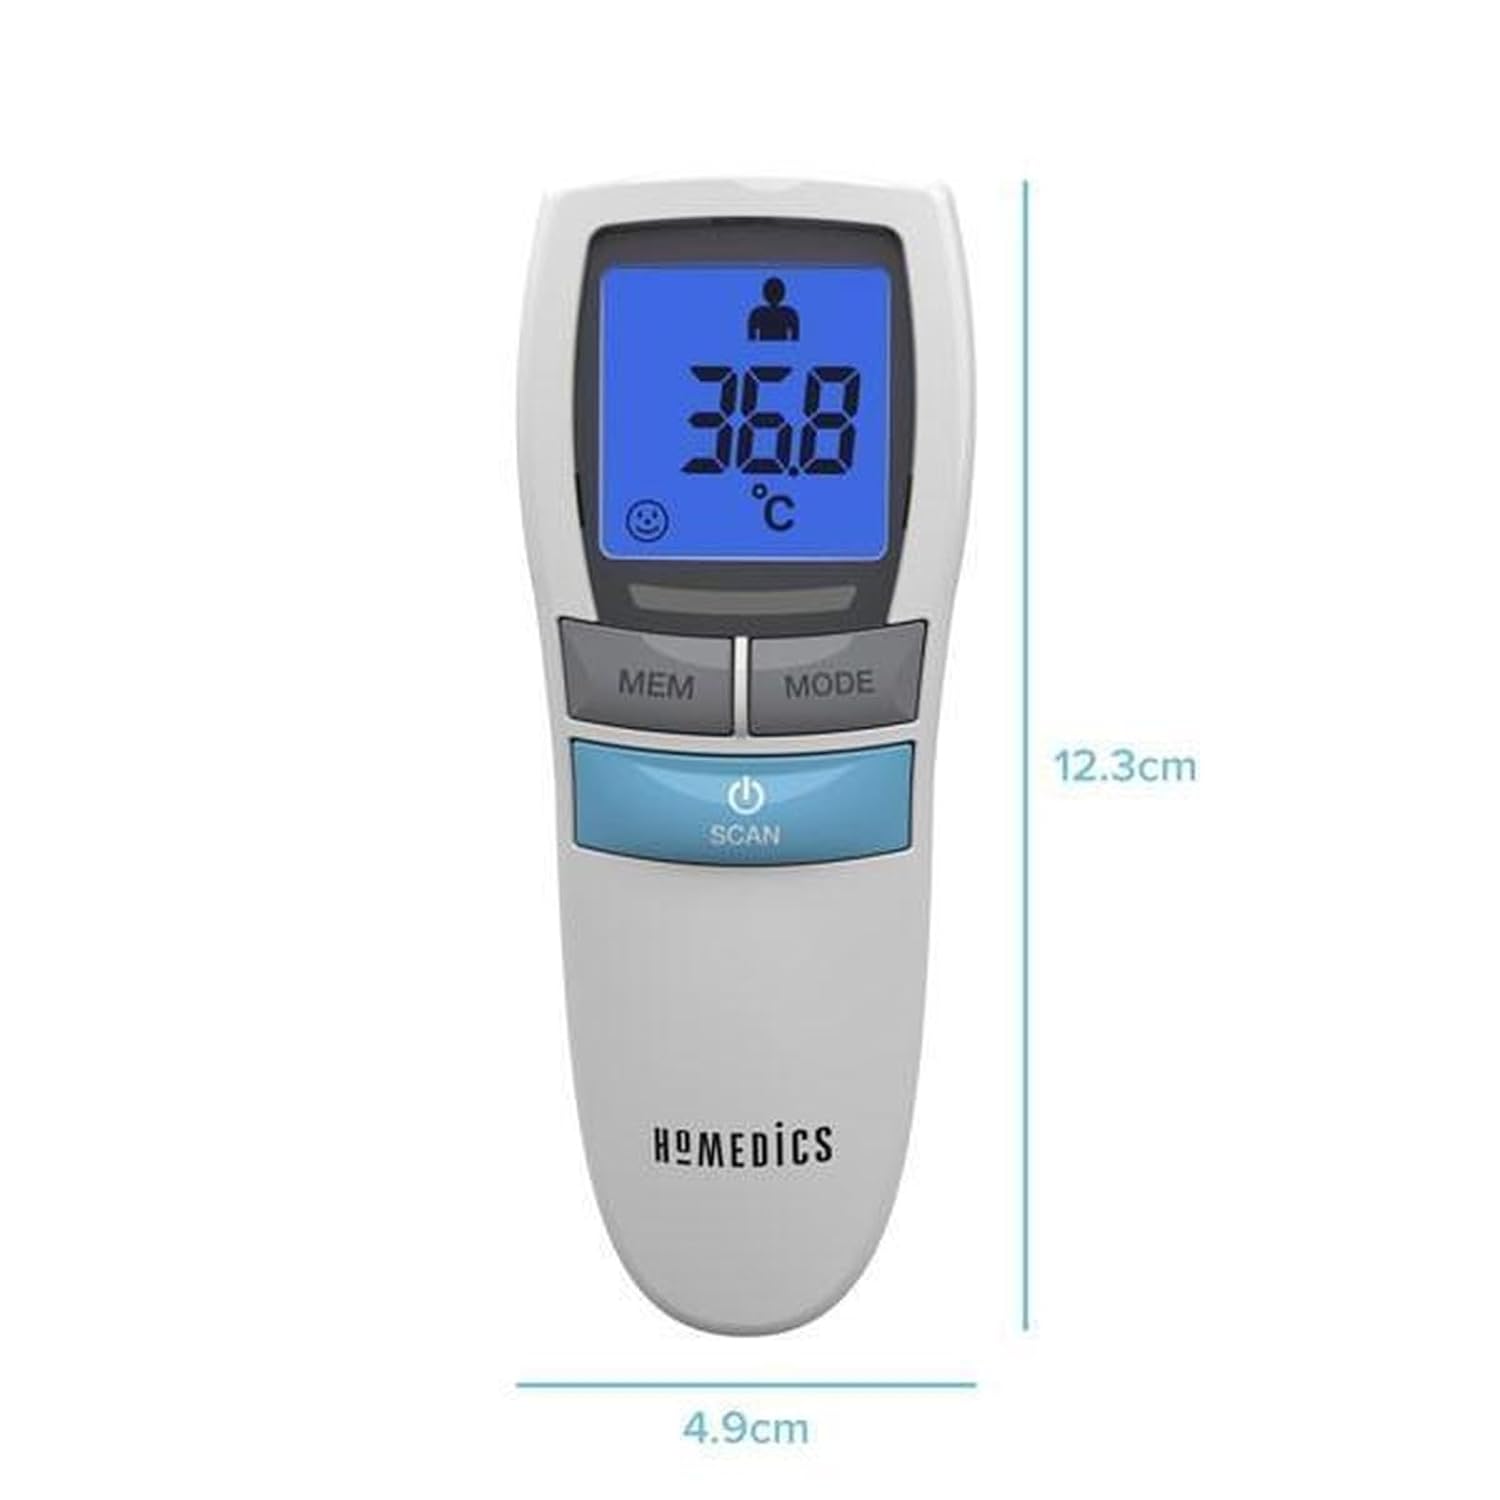
Figure 5: The Homedics TE-200-EEU thermometer with its approximate dimensions of 12.3 cm length and 4.9 cm width.
| Feature | Detail |
|---|---|
| Model Name | HoMedics TE-200 |
| Product Dimensions (L x W x H) | 11.5 x 6.83 x 4.04 cm |
| Weight | 190 grams |
| Power Source | Battery Powered (2x AAA, not included) |
| Display Type | Digital, Backlit |
| Special Features | Backlit, Non-contact |
| Color | White |
| Age Range (Description) | Adult |
9. Warranty and Support
For warranty information and customer support, please refer to the documentation included with your product or visit the official Homedics website. Keep your purchase receipt as proof of purchase.