Introduction
This manual provides instructions for the NPGLOBAL WS-8000 Portable RV Water Softener with an Integrated 2-Stage Water Filter System. This device is designed to reduce water hardness and filter impurities, providing softened and cleaner water for various applications, including RVs, trailers, boats, mobile car washing, and pressure washing.
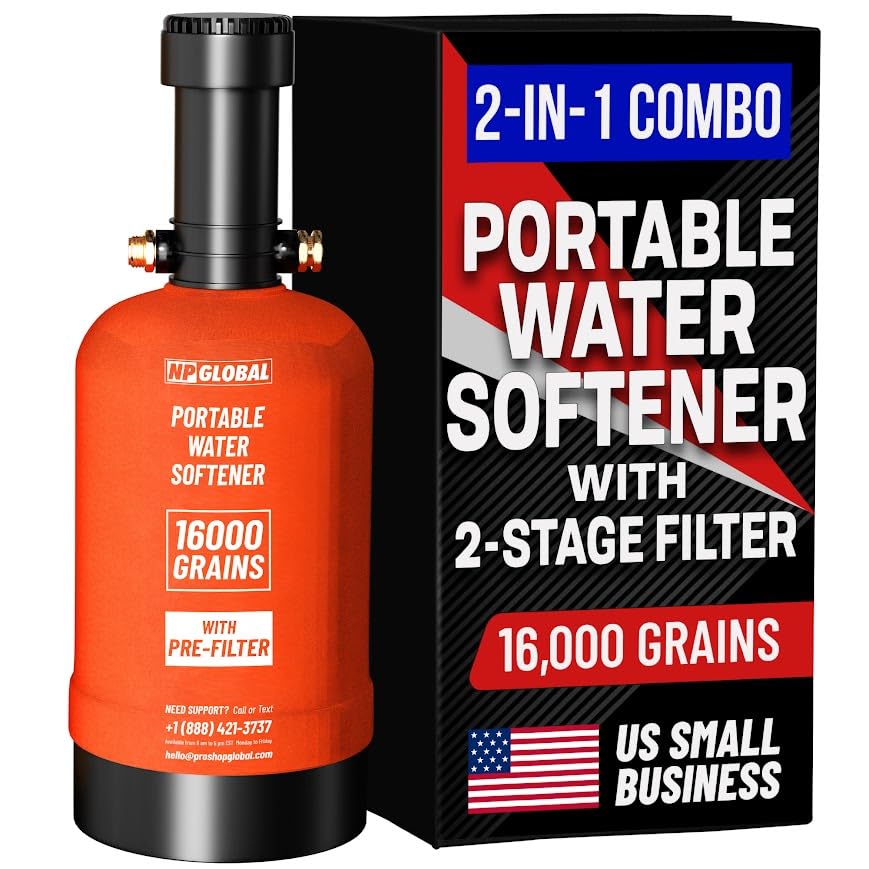
Image: NPGLOBAL RV Water Softener WS-8000 with its packaging, highlighting the 2-in-1 combo and 16,000 grain capacity.
Product Components
The NPGLOBAL WS-8000 system includes the following components:

Image: Detailed diagram illustrating all parts included with the NPGLOBAL RV Water Softener system.
- Portable Water Softener Unit
- Pre-Filter Holder
- Carrying Handle
- Neoprene Fabric Cloth Cover
- Replacement Filters (2)
- 3M Hose
- Garden Hose Shutoff Valve
- Garden Hose Y Splitter
- O-Rings (various sizes)
- O-Ring for the Cap
- PTFE Thread Seal Tape
- Brass Hose Adapter
- Female Connector
- Double Female Adapter
- Brass L Fitting
- Wrench
- Fiber Cloth
Specifications
| Feature | Detail |
|---|---|
| Model Number | WS-8000 |
| Brand | NPGLOBAL |
| Capacity | 16,000 Grains |
| Filter System | Integrated 2-Stage Water Filter |
| Fittings | 3/4" GHT |
| Product Dimensions | 9.44"L x 9.45"W x 19.68"H |
| Weight | 32.85 Pounds |
| Power Source | Manual |
| Installation Type | Freestanding |
| Supported Water TDS Level Maximum | 1000 PPM |
| UPC | 763482855635 |
Setup Instructions
Follow these steps for initial setup and connection of your water softener:
- Unpack Components: Remove all items from the packaging and verify against the 'Product Components' list.
- Prepare Connections: Ensure all fittings (3/4" GHT) are clean and free of debris. Apply PTFE thread seal tape to all threaded connections to prevent leaks.
- Connect to Water Source: Connect the inlet side of the water softener to your water source (e.g., campground spigot) using the provided hose and adapters. The inlet is typically marked or indicated by the flow direction.
- Connect to RV/Appliance: Connect the outlet side of the water softener to your RV's fresh water inlet or the appliance you wish to supply with softened water.
- Initial Flush: Before connecting to your RV, slowly turn on the water supply and allow water to flow through the softener for several minutes. This flushes out any manufacturing residue and conditions the resin. Direct the flushed water away from your RV.
- Check for Leaks: After connecting and flushing, inspect all connections for leaks. Tighten any leaking connections with the provided wrench, being careful not to overtighten.
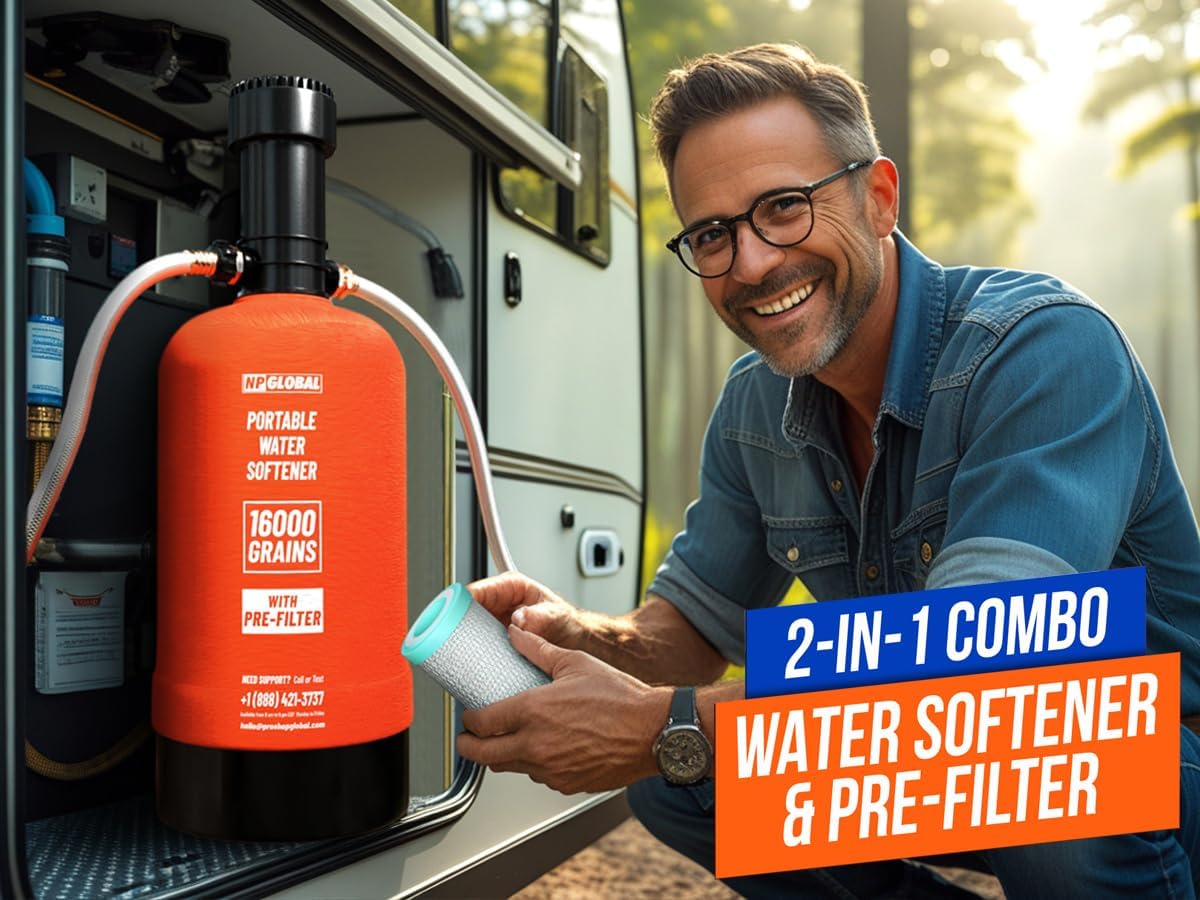
Image: A person connecting the portable water softener to an RV's external water hookup.

Image: An illustrative diagram of an RV's water system, showing where a water softener connects to the city water inlet to protect internal plumbing.
Operating Instructions: Regeneration Process
The water softener uses ion exchange resin beads to remove hardness minerals. Over time, these beads become saturated and require regeneration with common table salt to restore their softening capacity. The system is designed for quick regeneration, typically within 30 minutes.

Image: Cross-section diagram showing hard water entering, passing through the two-stage filter, then through resin beads for ion exchange, resulting in clean, soft water.
Regeneration Steps:
- Disconnect Water Supply: Turn off the water supply to the softener and disconnect it from the RV.
- Release Pressure: Briefly open a faucet to release any remaining pressure in the system.
- Prepare Brine Solution: Remove the top cap of the softener. Add approximately 2 pounds of common table salt (non-iodized is preferred) to the softener tank. Slowly add water to dissolve the salt, creating a brine solution.
- Initiate Regeneration: Re-secure the top cap. Connect a hose to the inlet side and direct the outlet hose to a drain or suitable disposal area. Slowly turn on the water supply to allow the brine solution to flow through the resin beads and out the drain. This process typically takes 20-30 minutes.
- Rinse Cycle: After the brine solution has passed through, continue flushing with fresh water for another 10-15 minutes to rinse out any excess salt.
- Test Water: Use water hardness test strips (not included) to verify the water is soft before reconnecting to your RV.
Maintenance
Regular maintenance ensures optimal performance and longevity of your NPGLOBAL water softener.
Pre-Filter Replacement:
The integrated 2-stage pre-filter reduces sand, sediment, chlorine, and other impurities. The filter should be replaced periodically, depending on water quality and usage, or when you notice a decrease in water flow or taste/odor issues.

Image: A detailed view of the 2-stage pre-filter, showing its PP layer for large sediment and carbon block for chlorine and odors.
- Turn Off Water: Disconnect the water softener from the water supply.
- Release Pressure: Open a nearby faucet to release system pressure.
- Remove Filter Housing: Use the provided wrench to unscrew the pre-filter holder from the top of the softener unit.
- Replace Filter: Remove the old filter cartridge and discard it. Insert a new replacement filter cartridge into the housing, ensuring it is seated correctly.
- Reassemble: Screw the pre-filter holder back onto the softener unit, hand-tightening first, then using the wrench for a snug fit. Do not overtighten.
- Flush: Slowly turn on the water supply and flush the system for a few minutes to remove any air and carbon fines from the new filter. Check for leaks.
General Care:
- Store the unit in a cool, dry place when not in use.
- Protect the unit from freezing temperatures, as this can damage the resin and housing.
- Periodically inspect hoses and fittings for wear or damage.
Troubleshooting Common Issues
- Low Water Pressure:
Possible Causes: Clogged pre-filter, kinked hose, partially closed valve, or air in the system.
Solutions: Replace pre-filter, check hoses for kinks, ensure all valves are fully open, and flush the system to remove air. - Water Not Softening:
Possible Causes: Resin needs regeneration, insufficient salt during regeneration, or incorrect regeneration procedure.
Solutions: Perform a regeneration cycle with the correct amount of salt, ensuring the brine solution flows through the resin properly. - Leaks at Connections:
Possible Causes: Loose fittings, damaged O-rings, or insufficient PTFE tape.
Solutions: Tighten connections, replace worn or damaged O-rings, and reapply PTFE tape as needed. - Unpleasant Water Taste/Odor:
Possible Causes: Exhausted pre-filter, or the softener resin needs flushing after regeneration.
Solutions: Replace the pre-filter. Ensure a thorough rinse cycle after regeneration to remove all salt residue.
Warranty Information
The NPGLOBAL RV Water Softener WS-8000 is backed by a 7-Year Warranty. This warranty covers defects in materials and workmanship under normal use. For specific terms and conditions, please refer to the warranty documentation included with your product or contact customer support.

Image: Graphic indicating a 7-year warranty for the product.
Customer Support
For assistance, technical support, or warranty claims, please contact NPGLOBAL customer service:
- Phone: +1 (888) 421-3737
- Email: hello@prashopglobal.com

Image: Graphic indicating US phone support availability.


