Introduction
This manual provides instructions for the safe and efficient use of your Kymate CD-41 Rapid Charger. Please read this manual thoroughly before using the charger to ensure proper operation and to prevent damage to the unit or connected devices. Keep this manual for future reference.
Safety Information
- Use only the provided PA-48 power adapter with this charger. Using unauthorized adapters may cause damage or fire.
- Do not expose the charger to rain, moisture, or extreme temperatures.
- Do not disassemble or modify the charger. Refer all servicing to qualified personnel.
- Ensure the charger is placed on a stable, flat surface away from direct sunlight and heat sources.
- Keep out of reach of children.
- Unplug the charger from the power outlet when not in use or before cleaning.
Package Contents
Verify that all items are present in the package:
- 1 x Kymate CD-41 Desktop Rapid Charger
- 1 x Kymate PA-48 Power Adapter
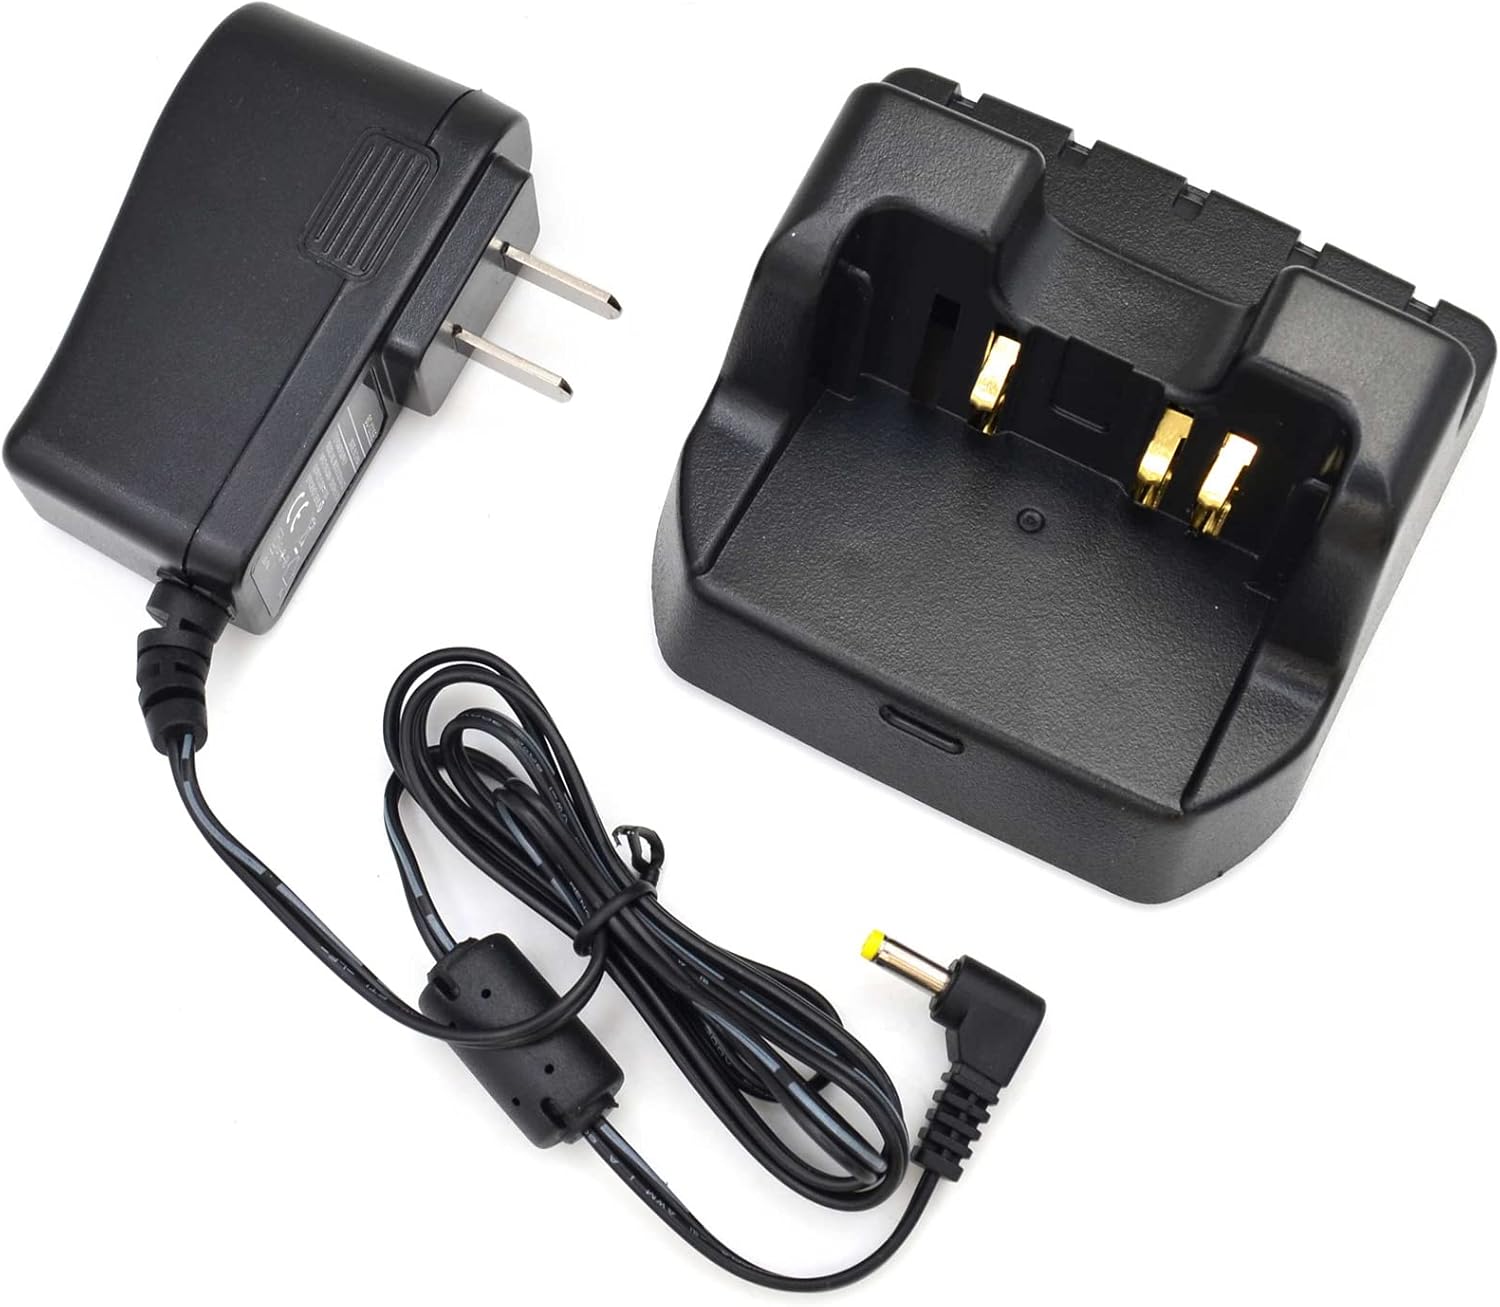
Image: The Kymate CD-41 Rapid Charger base unit shown with its accompanying PA-48 power adapter.
Compatible Models and Batteries
The Kymate CD-41 Rapid Charger is designed for use with the following YAESU handheld radio models and their specified lithium-ion batteries:
Compatible Radio Models:
- YAESU FT1DR, FT-1DR, FT-1DE, FT-1XDR, FT-1XDE
- YAESU FT2DR, FT-2D, FT-2DR, FT-2DE
- YAESU FT3DR, FT-3DR
- YAESU FT5DR, FT-5DR
- YAESU VX-8R, VX-8E, VX-8D, VX-8DR, VX-8DE, VX-8GR
Compatible Battery Part Numbers:
- FNB-101Li
- FNB-102Li
- SBR-14Li
- SBR-24Li
Note: If you are unsure about compatibility, please refer to your radio's user manual or contact customer support.
Setup
- Unpack the Charger: Carefully remove the CD-41 desktop charger and PA-48 power adapter from their packaging.
- Connect the Power Adapter: Insert the small plug of the PA-48 power adapter into the DC IN jack located on the back of the CD-41 desktop charger.
- Plug into Power Outlet: Plug the PA-48 power adapter into a standard AC wall outlet (110-240V).
- Placement: Place the charger on a stable, dry, and well-ventilated surface.

Image: The power adapter cable connected to the rear input port of the CD-41 charger base.
Operating Instructions
The CD-41 Rapid Charger is designed for efficient charging of compatible YAESU lithium-ion battery packs, either attached to the radio or as standalone units.
- Insert Battery/Radio: Carefully slide the battery pack (or the radio with the battery attached) into the charging slot of the CD-41 desktop charger. Ensure the battery contacts align with the charger's terminals.
- Verify Charging Indicator: Once properly seated, the LED indicator on the charger will illuminate to show the charging status. Refer to the "LED Indicator Status" section for details.
- Charging Completion: The charger features overcharge protection. Once the battery is fully charged, the LED indicator will change status (see below). You may remove the battery/radio when charging is complete.
- Remove Battery/Radio: Gently lift the battery pack or radio from the charging slot.
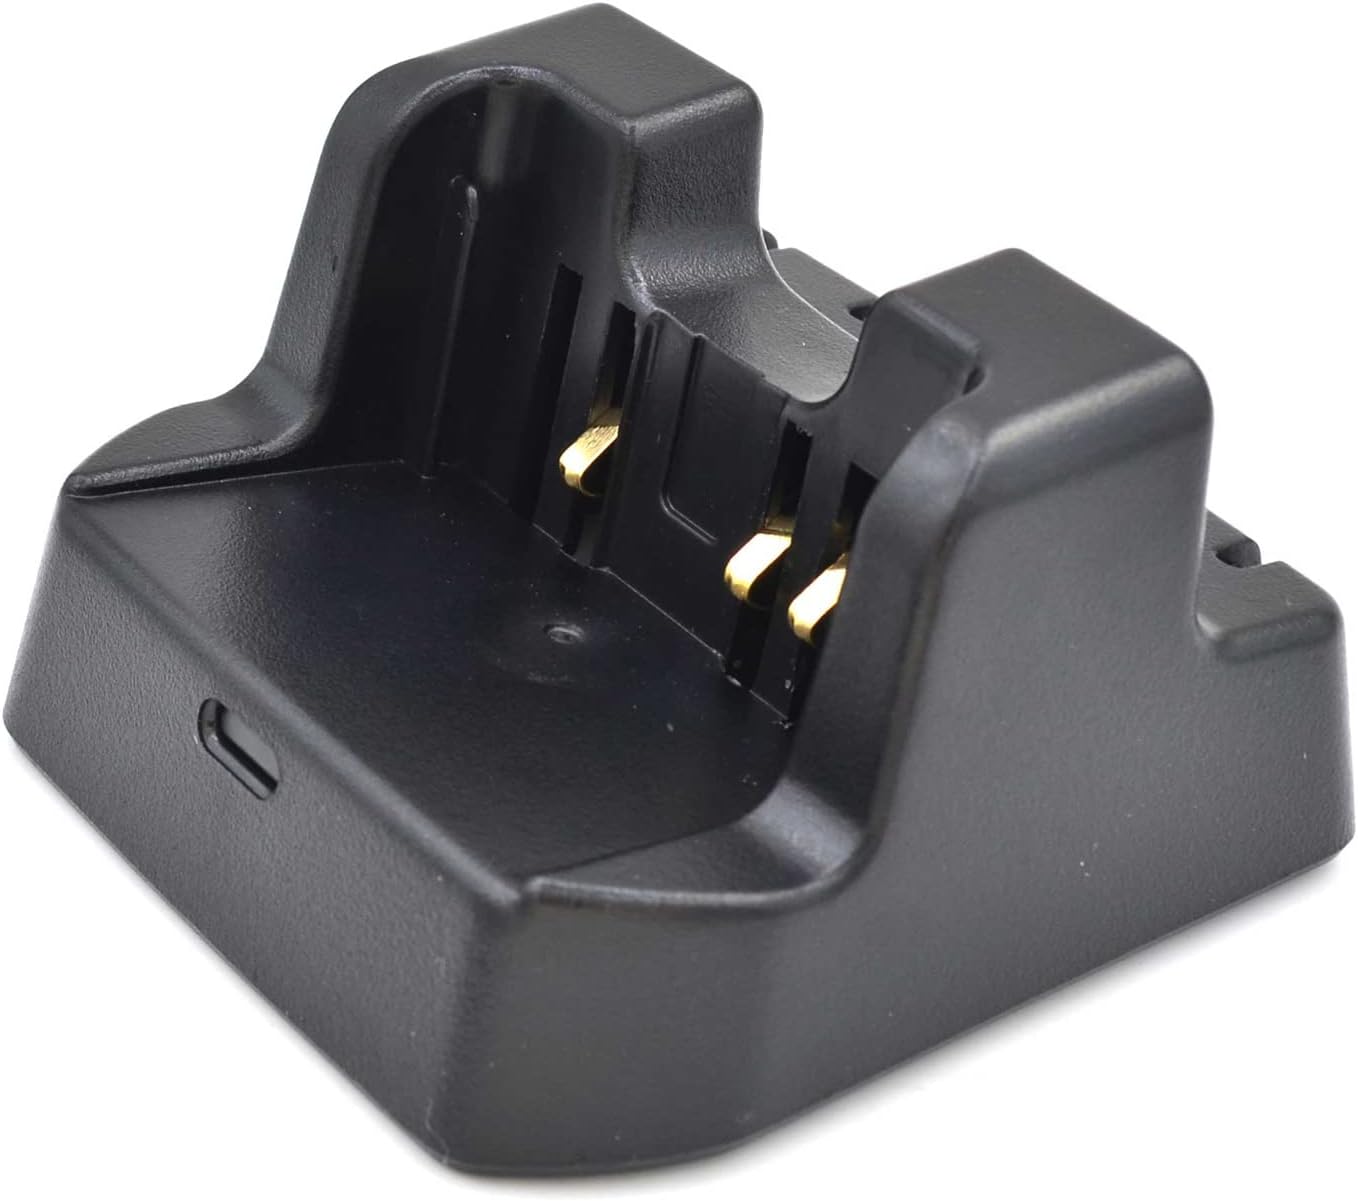
Image: A close-up view of the charging contacts within the CD-41 charger slot, where the battery or radio is inserted.
LED Indicator Status
The LED indicator on the front of the CD-41 charger provides information about the charging process:
- Red Light: Battery is charging.
- Green Light: Charging is complete.
- Flashing Red/Green: Indicates an error or improper battery insertion. Re-seat the battery or check for damage.
Maintenance
- Cleaning: Disconnect the charger from the power outlet before cleaning. Use a soft, dry cloth to wipe the exterior of the charger. Do not use liquid cleaners or solvents.
- Storage: Store the charger in a cool, dry place when not in use.
- Inspect Cables: Periodically check the power adapter cable for any signs of damage (fraying, cuts). If damaged, discontinue use and replace the adapter.
Troubleshooting
| Problem | Possible Cause | Solution |
|---|---|---|
| Charger LED does not light up. | No power to the charger; power adapter not connected; faulty outlet. | Ensure the power adapter is securely connected to both the charger and a working wall outlet. Try a different outlet. |
| LED flashes red/green. | Battery not properly seated; incompatible battery; battery fault. | Remove and re-insert the battery, ensuring proper alignment. Verify battery compatibility. If the issue persists, the battery may be faulty. |
| Battery does not charge or charges slowly. | Poor contact; battery at end of life; charger fault. | Clean battery and charger contacts. Ensure the battery is fully seated. If the battery is old, it may need replacement. Contact support if the issue continues with multiple batteries. |
Specifications
| Feature | Detail |
|---|---|
| Model Number | CD41 |
| Input Voltage (PA-48 Adapter) | AC 110-240V |
| Charger Input (from adapter) | DC 16V, 600mA |
| Charger Output | DC 10.8V, 450mA |
| Product Dimensions (Charger) | 4.13 x 3.74 x 2.36 inches (10.5 x 9.5 x 6 cm) |
| Item Weight | 7.4 ounces (approx. 210g) |
| Overcharge Protection | Yes |
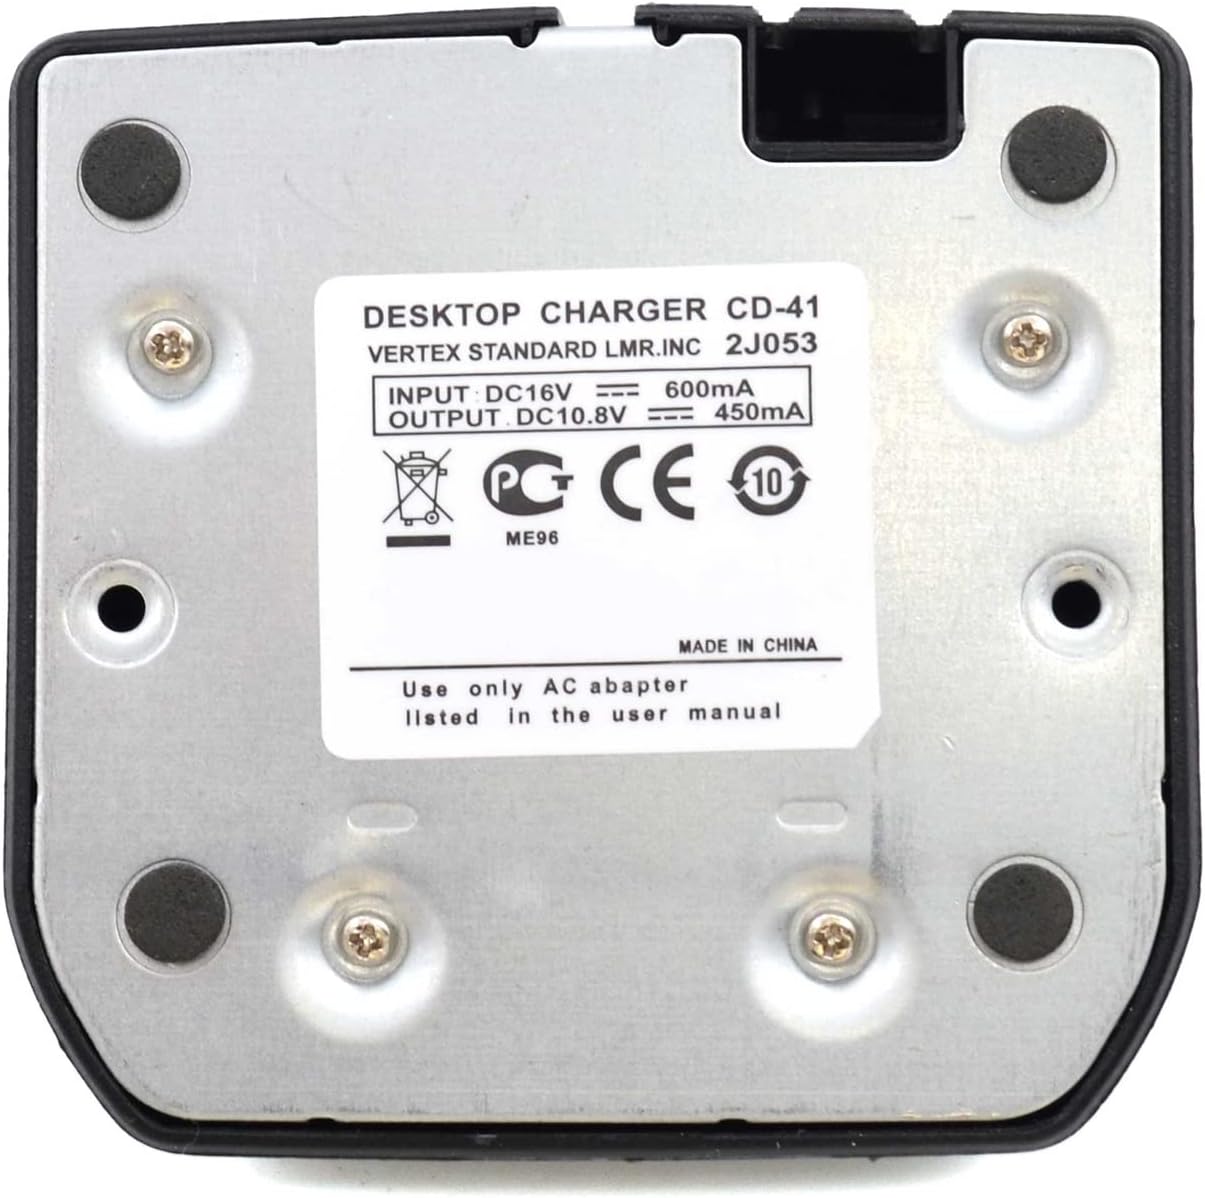
Image: The bottom label of the CD-41 charger, displaying input and output electrical specifications.
Warranty and Support
Specific warranty information for this product may vary. Please refer to the product packaging or the seller's website for details regarding warranty coverage and duration.
For technical support or inquiries, please contact the retailer or manufacturer directly. When contacting support, please have your product model number (CD41) and purchase information ready.


