Introduction
This instruction manual provides essential information for the safe and efficient operation of your West Bend 7.4 cu.ft. Apartment Refrigerator, Model WBRT73W. Please read this manual thoroughly before installation and use, and retain it for future reference. Proper installation, use, and maintenance will ensure optimal performance and longevity of your appliance.
Safety Information
Your safety and the safety of others are very important. We have provided many important safety messages in this manual and on your appliance. Always read and obey all safety messages.
- Electrical Safety: Ensure the refrigerator is connected to a grounded 110V outlet. Do not use extension cords.
- Flammable Refrigerant: This appliance contains isobutane refrigerant (R600a), a natural gas with high environmental compatibility, but which is also combustible. Handle with care during transportation and installation to avoid damaging the refrigerant circuit.
- Ventilation: Maintain adequate ventilation around the appliance to prevent overheating and ensure proper operation.
- Child Safety: Supervise children near the appliance. Old refrigerators can be dangerous if children play inside.
- Cleaning: Always unplug the refrigerator before cleaning.
- Service: Do not attempt to repair or replace any part of your refrigerator unless specifically recommended in this manual. All other servicing should be referred to a qualified technician.
WARNING: Risk of fire or explosion. Flammable refrigerant used. Do not puncture refrigerant tubing. Do not use mechanical devices to defrost refrigerator. Do not use electrical appliances inside the food storage compartments of the appliance, unless they are of the type recommended by the manufacturer.
Setup and Installation

Figure 1: West Bend 7.4 cu.ft. Apartment Refrigerator. This image shows the overall design of the white, dual-door refrigerator.
1. Unpacking
Carefully remove all packaging materials, including foam and adhesive tape. Inspect the refrigerator for any shipping damage. Keep packaging materials out of reach of children.
2. Placement
Place the refrigerator on a flat, stable surface strong enough to support the appliance when fully loaded. Ensure there is adequate space around the unit for proper ventilation. Allow at least 4 inches (10 cm) of space at the back and sides, and 12 inches (30 cm) at the top.
Figure 2: Refrigerator Dimensions. The unit measures 56.75 inches in height, 22.5 inches in width, and 21.5 inches in depth. With the door open 90 degrees, the depth extends to 44 inches.
3. Leveling
Adjust the leveling feet at the bottom front of the refrigerator to ensure it is stable and level. A level appliance operates more efficiently and prevents door alignment issues.
4. Door Reversal (Optional)
This refrigerator features reversible doors, allowing them to open from either the left or right side. Refer to the detailed instructions in the included "Care and Use Manual" for the door reversal procedure. This process typically involves moving hinges and door stops.
5. Power Connection
Before plugging in, allow the refrigerator to stand upright for at least 2-4 hours to allow the refrigerant to settle. Plug the refrigerator into a dedicated, grounded 110V electrical outlet. Do not use a multi-outlet adapter or extension cord.
6. Initial Operation
After plugging in, allow the refrigerator to operate for 2-3 hours empty to reach its operating temperature before loading food items.
Operating Instructions
1. Temperature Control
The refrigerator features a full-range mechanical temperature control located inside the fresh food compartment. Turn the dial to adjust the cooling intensity. Higher numbers indicate colder temperatures. Start with a medium setting (e.g., '3' or '4') and adjust as needed based on ambient temperature and food load.

Figure 3: Temperature Control Dial and Interior LED Light. The dial allows adjustment of the cooling level, with higher numbers indicating colder settings. The LED light illuminates the fresh food compartment.
2. Interior Features
- Adjustable Glass Shelves: The refrigerator compartment includes adjustable and removable glass shelves. These can be repositioned to accommodate items of various heights.
- Crisper Drawer: A transparent crisper drawer with a glass cover is located at the bottom of the fresh food compartment, designed to maintain optimal humidity for fruits and vegetables.
- Door Bins: Adjustable and removable door bins provide additional storage for bottles, jars, and smaller items.
- Ice Cube Tray: An ice cube tray is included for making ice in the freezer compartment.
- Interior LED Light: The fresh food compartment is illuminated by an energy-efficient LED light.
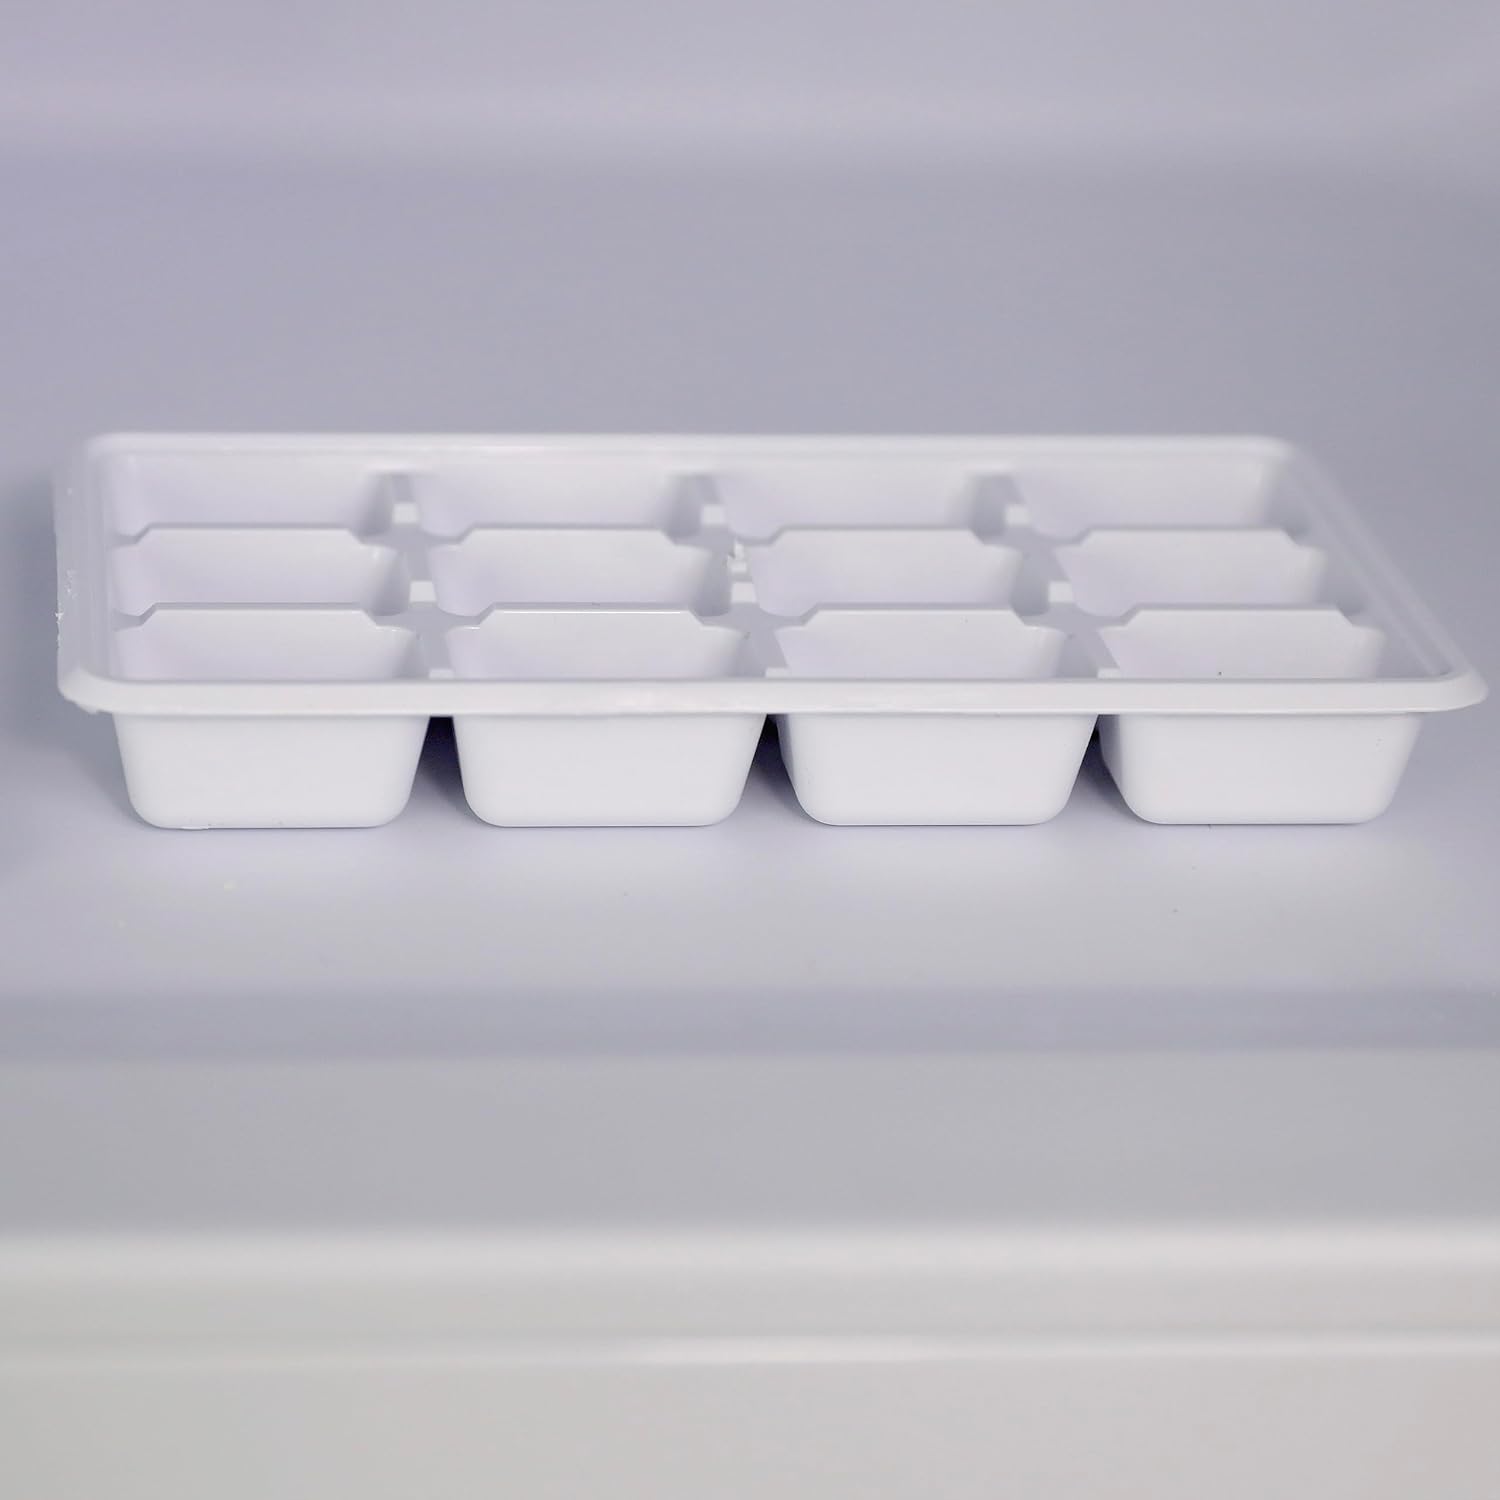
Figure 4: Crisper Drawer. This drawer helps keep fruits and vegetables fresh by maintaining appropriate humidity levels.

Figure 5: Ice Cube Tray. Use this tray to produce ice cubes in the freezer.
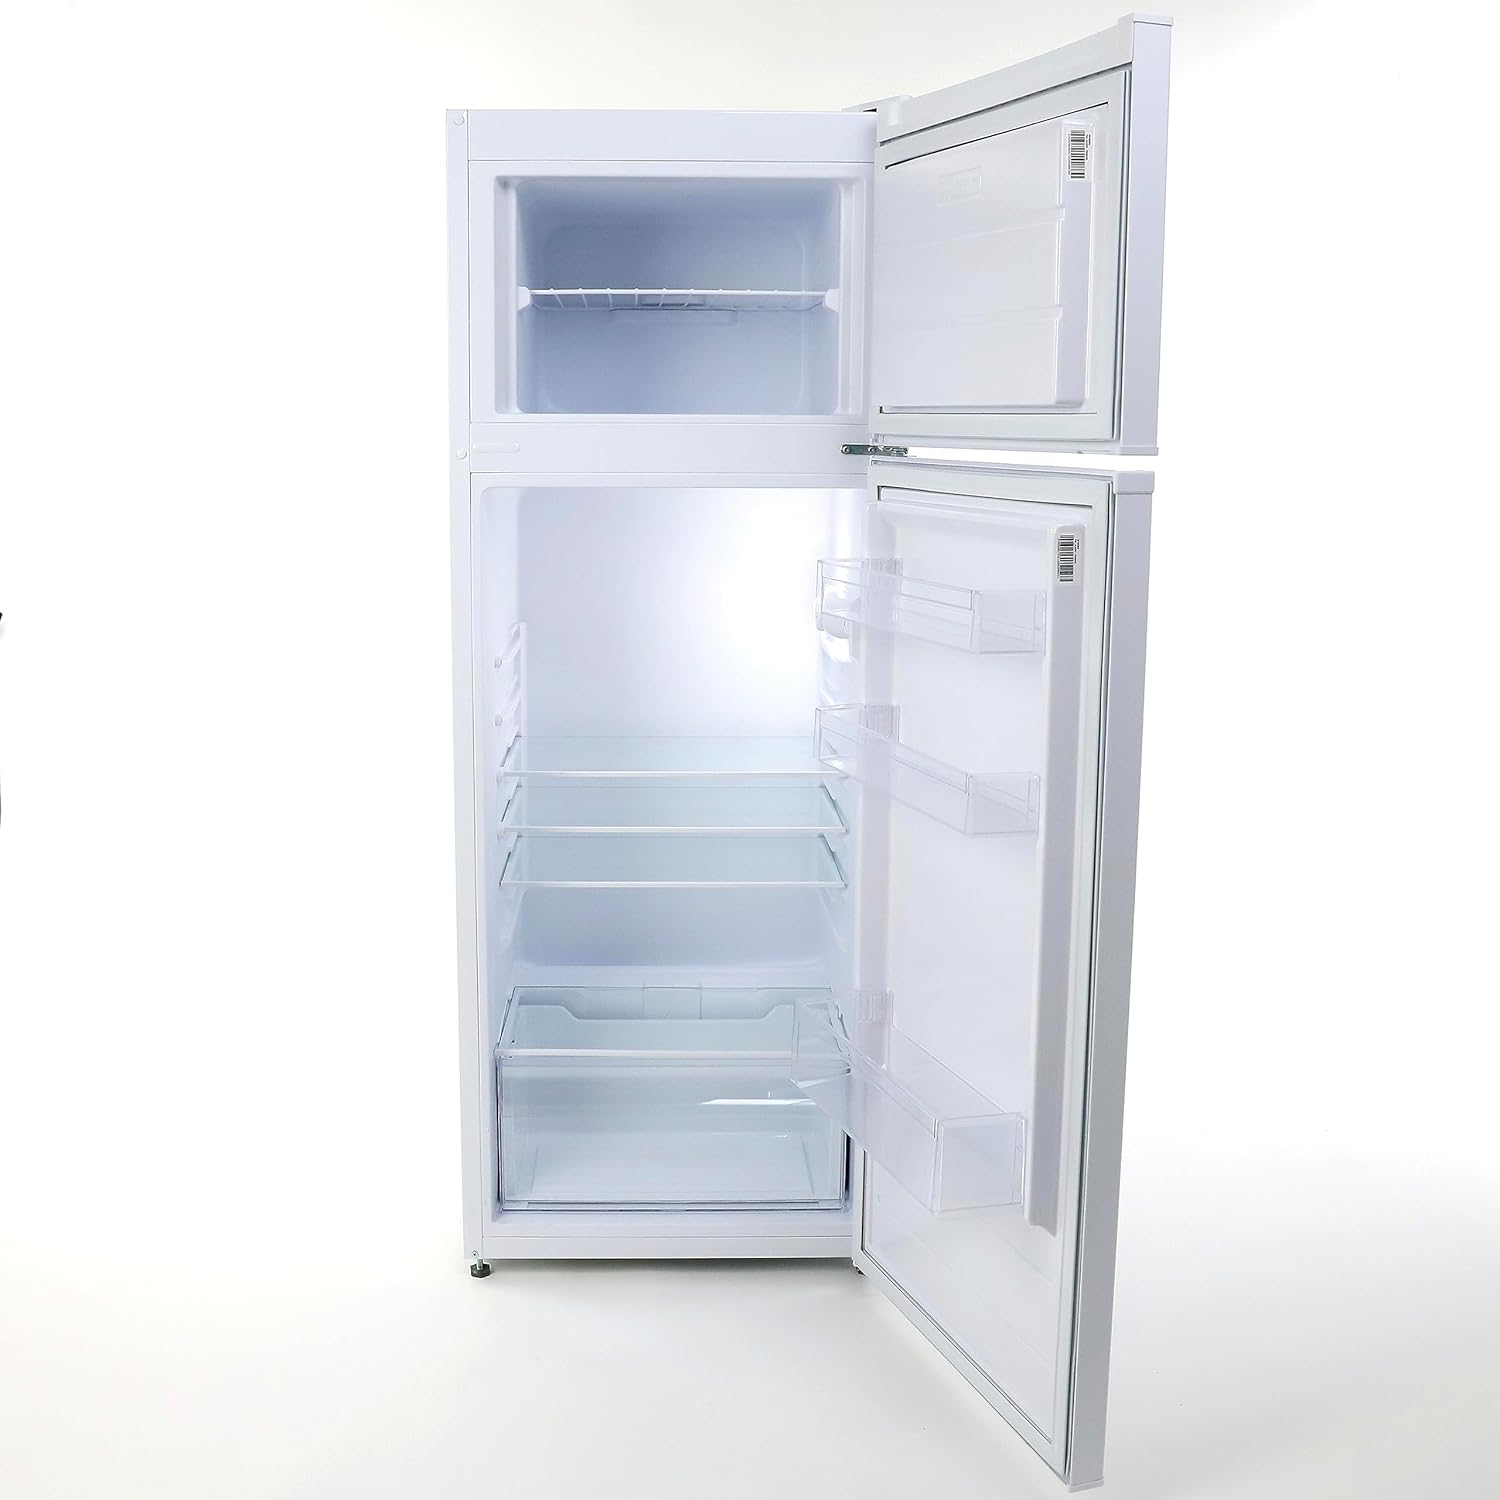
Figure 6: Refrigerator Interior. This image displays the internal layout, including the freezer, adjustable glass shelves, crisper drawer, and door storage.

Figure 7: Loaded Refrigerator Interior. An example of how food and beverages can be organized within the fresh food compartment.

Figure 8: Loaded Freezer Compartment. An example of how frozen items can be stored in the top freezer.
Maintenance
1. Cleaning
- Interior: Unplug the refrigerator. Wash interior surfaces with a solution of warm water and baking soda (2 tablespoons baking soda to 1 quart water). Rinse and dry thoroughly.
- Exterior: Clean the exterior with a mild detergent and warm water. Wipe dry with a soft cloth.
- Door Gaskets: Clean door gaskets regularly to ensure a proper seal.
- Condenser Coils: Periodically vacuum the condenser coils at the back of the unit to maintain efficiency.
2. Defrosting (Semi-Automatic)
This refrigerator features a semi-automatic defrost system. The fresh food compartment defrosts automatically. The freezer compartment requires manual defrosting when frost accumulation reaches approximately 1/4 inch (6 mm) thick.
- Unplug the refrigerator.
- Remove all food from the freezer and place it in a cooler.
- Leave the freezer door open to allow frost to melt naturally. Place towels at the bottom to absorb water.
- Do not use sharp objects or heating devices to speed up defrosting, as this can damage the freezer.
- Once defrosted, clean and dry the interior, then plug the refrigerator back in.
3. Power Outage
In case of a power outage, keep the refrigerator and freezer doors closed to maintain internal temperatures for as long as possible. Avoid opening the doors unnecessarily.
Troubleshooting
Before contacting customer service, review the following common issues and solutions:
| Problem | Possible Cause | Solution |
|---|---|---|
| Refrigerator does not operate. | Not plugged in; circuit breaker tripped; temperature control set to "OFF". | Ensure plug is secure; reset circuit breaker; adjust temperature control to a numbered setting. |
| Temperature is too warm. | Door left open frequently; large amount of warm food added; temperature control set too low; poor ventilation. | Minimize door openings; allow warm food to cool before storing; adjust temperature control to a colder setting; ensure adequate clearance around the unit. |
| Excessive noise. | Refrigerator not level; items vibrating inside; compressor noise (normal). | Adjust leveling feet; rearrange items; compressor operation is normal. |
| Condensation on back wall. | High humidity; frequent door openings; door gasket not sealing properly. | This is normal in humid conditions for semi-automatic defrost models. Ensure door is closed properly and gasket is clean. |
| Door does not close completely. | Refrigerator not level; food packages blocking door; door gasket dirty or twisted. | Level the refrigerator; rearrange food; clean or adjust door gasket. |
Specifications
| Feature | Specification |
|---|---|
| Brand | West Bend |
| Model Number | WBRT73W |
| Total Capacity | 7.4 Cubic Feet |
| Refrigerator Fresh Food Capacity | 6 Cubic Feet |
| Freezer Capacity | 1.4 Cubic Feet |
| Product Dimensions (D x W x H) | 21.5" x 22.5" x 56.75" |
| Item Weight | 90 Pounds |
| Installation Type | Freestanding |
| Color | White |
| Number of Doors | 2 (Dual Door) |
| Door Hinges | Reversible |
| Defrost System | Semi-Automatic |
| Shelf Type | Glass |
| Number of Shelves | 3 |
| Voltage | 110 Volts |
| Wattage | 1650 watts |
| Annual Energy Consumption | 345 Kilowatt Hours Per Year |
| Certification | Energy Star |
| Included Components | Refrigerator, Care and Use Manual, Glass Shelves |

Figure 9: Rear View of Refrigerator. This view shows the compressor and technical labels, including safety warnings regarding flammable refrigerant.
Warranty Information
West Bend appliances typically come with a limited manufacturer's warranty. For specific details regarding the warranty period, coverage, and terms for your Model WBRT73W refrigerator, please refer to the "Care and Use Manual" included with your purchase or visit the official West Bend website. Keep your purchase receipt as proof of purchase for warranty claims.
Customer Support
If you have questions, require technical assistance, or need to schedule service, please contact West Bend Customer Support. You can find contact information, FAQs, and additional resources on the official West Bend website:
Please have your model number (WBRT73W) and serial number ready when contacting support.


