Thank you for choosing the Estink KP-6793 Pneumatic Sander. This manual provides essential information for the safe and efficient operation, maintenance, and troubleshooting of your new tool. Please read this manual thoroughly before use and retain it for future reference.
Figure 1: Estink KP-6793 Pneumatic Sander. This image shows the overall design of the pneumatic sander, highlighting its compact and ergonomic form factor.
2. Safety Information
Always observe basic safety precautions to reduce the risk of personal injury and damage to the tool. Failure to follow these instructions may result in serious injury.
Wear Eye Protection: Always wear safety goggles or safety glasses with side shields that comply with current national standards.
Wear Hearing Protection: Prolonged exposure to noise from power tools can cause hearing damage.
Wear Respiratory Protection: When sanding, wear a dust mask or respirator to avoid inhaling dust particles.
Secure Workpiece: Always secure the workpiece firmly to prevent movement during operation.
Maintain a Clean Work Area: Cluttered areas invite accidents. Keep your work area clean and well-lit.
Inspect Tool Before Use: Check for damaged parts, misalignment, binding of moving parts, breakage of parts, and any other condition that may affect its operation.
Disconnect Air Supply: Always disconnect the air supply before changing accessories, performing maintenance, or when the tool is not in use.
Use Correct Air Pressure: Do not exceed the recommended working pressure of 0.6-0.8 Mpa.
Keep Hands Away: Keep hands and loose clothing away from moving parts.
Proper Ventilation: Ensure adequate ventilation in the work area, especially when working with materials that produce fine dust.
3. Product Components
Familiarize yourself with the main components of your Estink KP-6793 Pneumatic Sander for proper handling and operation.
Figure 2: Key components of the KP-6793 Pneumatic Sander. This image details the air inlet, beehive exhaust, sensitive speed switch, and the non-slip comfortable rubber handle, crucial for understanding the tool's functionality.
Air Inlet: Connection point for the air supply hose.
Beehive Exhaust: Outlet for expelled air during operation.
Sensitive Speed Switch: Controls the activation and speed of the sander.
Non-slip Comfortable Rubber Handle: Provides a secure and ergonomic grip.
Sanding Pad: The base where sandpaper is attached.
Figure 3: Internal components of the KP-6793 Pneumatic Sander. This image illustrates the high hardness steel movement and other internal parts, emphasizing the precision engineering for stable rotation and durability.
4. Specifications
The following table outlines the technical specifications for the Estink KP-6793 Pneumatic Sander:
Feature
Specification
Model
KP-6793
Material
Alloy Steel
Chassis Specifications
Approx. 75 x 100mm / 3.00 x 4.00in
Deflection Diameter
Approx. 2.5mm / 0.10in
No-Load Speed
10000 RPM
Working Pressure
0.6-0.8 Mpa
Item Weight
Approx. 1.84 pounds
Power Source
Air Powered
Figure 4: Dimensions of the KP-6793 Pneumatic Sander. This image provides a visual representation of the tool's measurements, showing its length and height for reference.
5. Setup
Before operating the pneumatic sander, ensure proper setup for safety and optimal performance.
Prepare Air Supply: Connect your air compressor to an air hose. Ensure the air compressor is capable of providing 0.6-0.8 Mpa (6-8 bar or 90-120 PSI) working pressure and sufficient airflow for continuous operation.
Connect Air Hose: Attach the air hose to the air inlet of the pneumatic sander. Ensure a secure connection to prevent air leaks. (Refer to Figure 2 for air inlet location).
Select Sandpaper: Choose the appropriate grit sandpaper for your application. The sander uses a 75x100mm sanding pad.
Attach Sandpaper: Align the sandpaper with the sanding pad and firmly press it onto the pad. Ensure it is centered and securely attached.
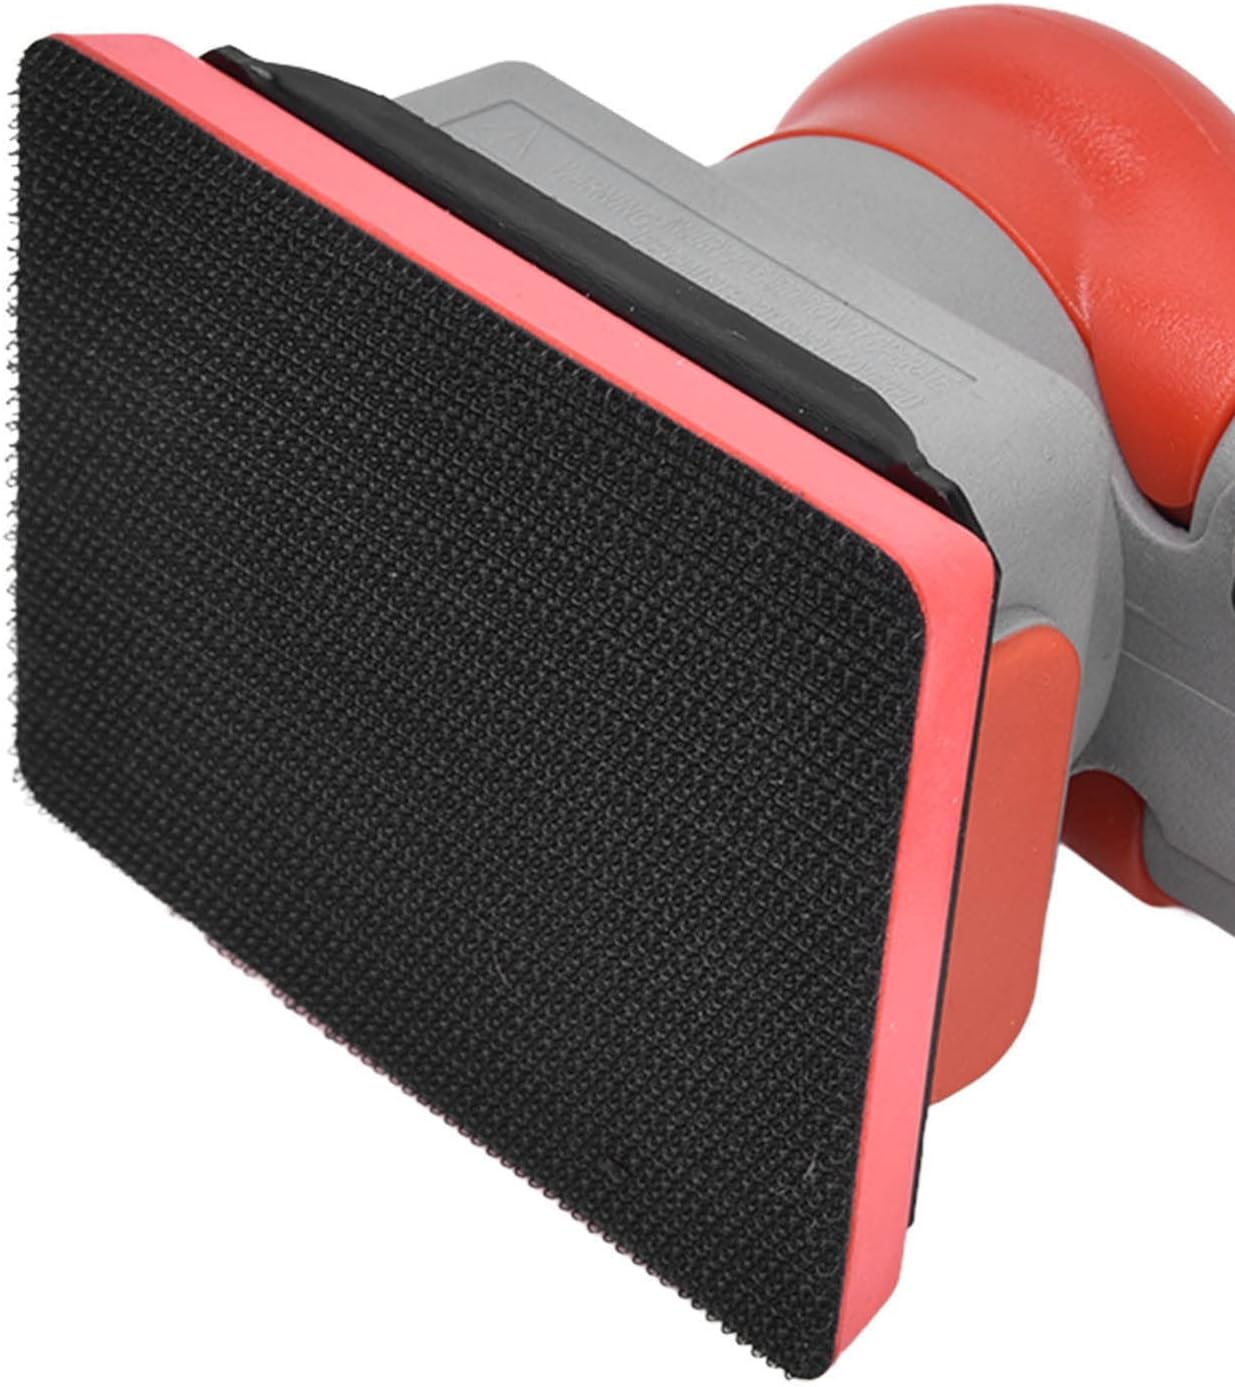
Figure 5: The KP-6793 Pneumatic Sander with its sanding pad. This image shows the sander ready for sandpaper attachment, illustrating the design of the pad.
Figure 6: Close-up view of the sanding pad. This image provides a detailed look at the texture and attachment mechanism of the sanding pad, where sandpaper is applied.
6. Operation
Follow these steps for effective and safe operation of your pneumatic sander.
Power On Air Compressor: Turn on your air compressor and allow it to reach the desired working pressure (0.6-0.8 Mpa).
Grip the Sander: Hold the sander firmly with both hands, ensuring a comfortable and secure grip on the non-slip handle.
Start Sanding: Place the sanding pad flat against the workpiece. Gently press the sensitive speed switch to start the sander. Apply even, moderate pressure and move the sander in overlapping circular or linear patterns.
Adjust Speed (if applicable): The sander operates at 10000 RPM. Maintain consistent movement to avoid creating swirl marks.
Finish Sanding: Once the desired finish is achieved, lift the sander from the workpiece and release the speed switch.
Disconnect Air Supply: After use, turn off the air compressor and disconnect the air hose from the sander.
Applications:
Wood Sanding: Ideal for preparing wood surfaces for finishing, smoothing rough edges, or removing old paint/varnish.
Car Waxing/Polishing: Can be used for applying and buffing car wax or polish, ensuring a smooth, even finish.
Metal Sanding/Polishing: Effective for smoothing metal surfaces, removing rust, or preparing for painting.
Paint Removal: Suitable for removing old paint layers from various surfaces.
Figure 7: The KP-6793 Pneumatic Sander being used for woodworking. This image demonstrates the tool in action, showing a user sanding a wooden surface, highlighting its application in carpentry.
Figure 8: Various applications of the KP-6793 Pneumatic Sander. This composite image illustrates the versatility of the tool across different tasks, including wood sanding, car waxing, metal polishing, and rust/paint removal.
7. Maintenance
Regular maintenance ensures the longevity and optimal performance of your pneumatic sander.
Daily Oiling: Apply a few drops of pneumatic tool oil into the air inlet before and after each use. This lubricates internal components and prevents corrosion. (Refer to Figure 2 for air inlet location and caution label).
Clean Exhaust Port: Periodically check and clean the beehive exhaust port to ensure unrestricted airflow.
Inspect Sanding Pad: Regularly inspect the sanding pad for wear or damage. Replace if necessary to ensure effective sanding and prevent damage to the workpiece.
Check Air Connections: Ensure all air connections are tight and free of leaks.
Storage: Store the sander in a clean, dry place away from direct sunlight and extreme temperatures.
8. Troubleshooting
This section addresses common issues you might encounter with your pneumatic sander.
Problem
Possible Cause
Solution
Sander does not start or runs slowly.
Low air pressure; Clogged air inlet/exhaust; Lack of lubrication; Damaged internal components.
Check air compressor pressure (0.6-0.8 Mpa); Clean air inlet and exhaust; Apply pneumatic tool oil; If problem persists, contact support.
Replace sandpaper; Use appropriate grit for the task; Apply consistent, moderate pressure.
9. Warranty & Support
For warranty information or technical support regarding your Estink KP-6793 Pneumatic Sander, please refer to the documentation provided at the time of purchase or contact your retailer. Keep your purchase receipt as proof of purchase.
For further assistance, you may visit the official Estink store on Amazon: Estink Store.
Ask a question about this manual
Ask about setup, troubleshooting, compatibility, parts, safety, or missing instructions. Manuals+ will review the question and use this page’s manual context to help answer it.