
1. Introduction
Thank you for purchasing the Fockety Mini Portable Projector. This compact and versatile projector is designed for various entertainment and presentation needs, featuring a TFT LCD LED imaging system, an integrated speaker, and convenient USB power options. Please read this manual thoroughly before use to ensure proper operation and to maximize your viewing experience.
2. Safety Information
To ensure safe operation and prolong the life of your projector, please observe the following safety precautions:
- Do not look directly into the projector lens when the lamp is on.
- Keep the projector away from water or other liquids.
- Do not block the ventilation openings. Ensure adequate airflow around the device.
- Use only the provided power adapter.
- Avoid placing the projector on unstable surfaces.
- Do not attempt to open or repair the projector yourself. Contact qualified service personnel.
- Keep the remote control battery out of reach of children.
3. Package Contents
Carefully unpack the box and ensure all items are present:
- Mini Projector
- Remote Control
- Power Adapter
- User Manual (this document)
- Connection Cable (likely AV cable)

Image: The Fockety Mini Portable Projector shown with its remote control and a connection cable, illustrating the typical package contents.
4. Product Overview
4.1 Front and Side View
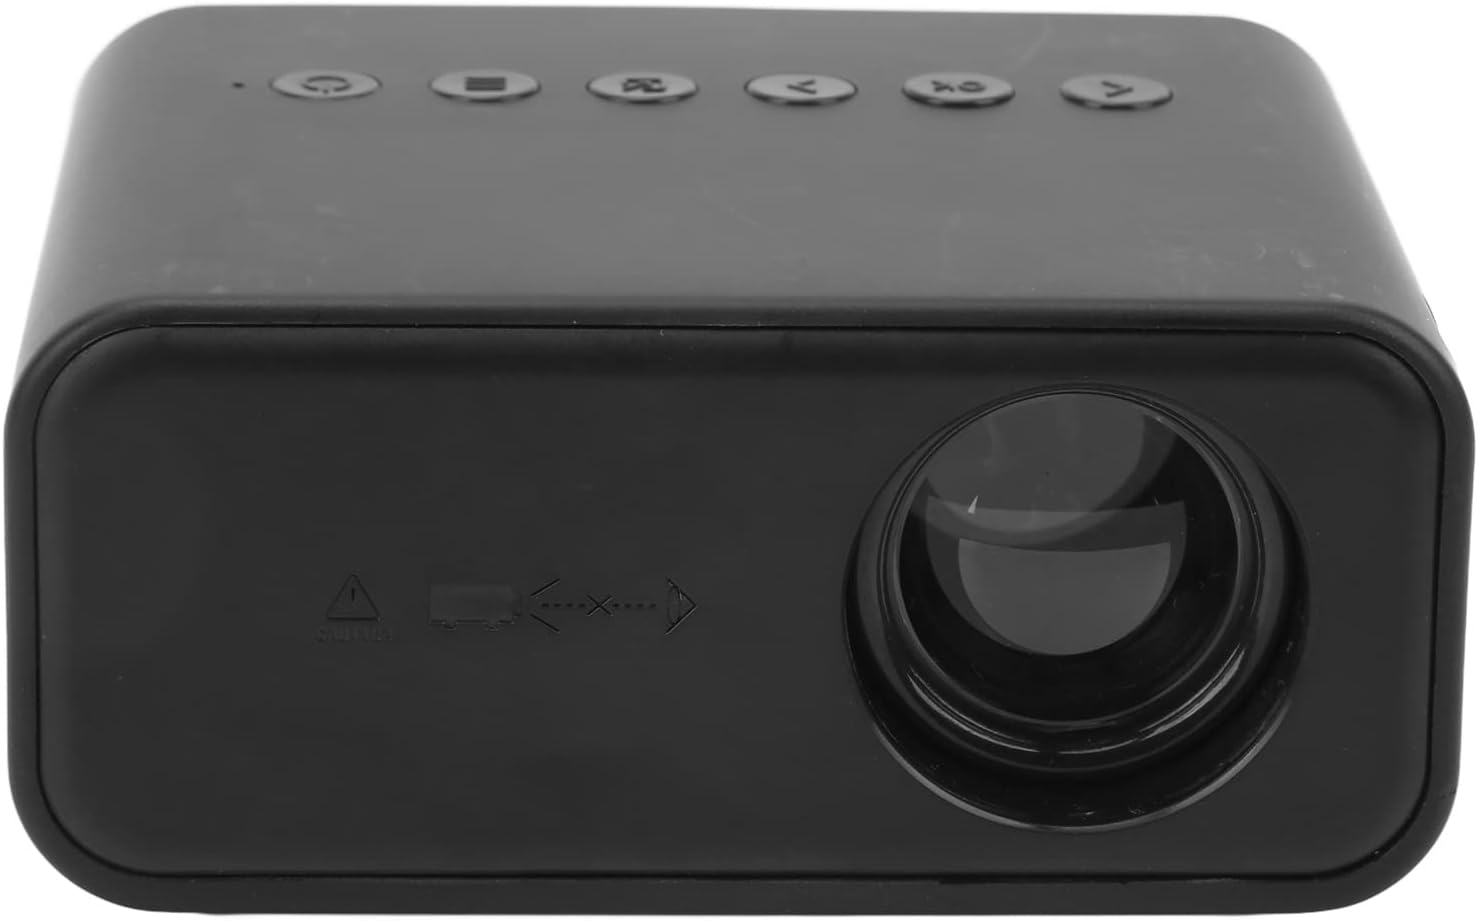
Image: A front and side view of the Fockety Mini Portable Projector, highlighting the projection lens and ventilation grilles.
4.2 Top Panel Controls
The top panel features several buttons for direct control of the projector:

Image: A top-down view of the projector, clearly displaying the power button, menu button, navigation arrows, OK button, and input source button.
- Power Button: Turns the projector on or off.
- Menu Button: Accesses the projector's settings menu.
- Navigation Buttons (Left/Right/Up/Down): Used to navigate through menus and adjust settings.
- OK Button: Confirms selections in the menu.
- Input Source Button: Selects the desired input source (e.g., USB, HDMI if available).
5. Setup
5.1 Power Connection
Connect the provided power adapter to the projector's DC input port and then plug it into a power outlet. The projector can also be powered via a USB cable connected to a power bank or laptop, offering enhanced portability.
5.2 Placement
Place the projector on a stable, flat surface. Ensure there is sufficient space around the projector for proper ventilation. Position the projector at an appropriate distance from the projection surface (wall or screen) to achieve the desired screen size. The optimal projection distance ranges from 0.4 to 2.5 meters (1.3 to 8.2 feet).
5.3 Focus Adjustment
After powering on the projector, rotate the focus ring located near the lens until the projected image appears clear and sharp.
6. Operating Instructions
6.1 Power On/Off
Press the Power button on the projector's top panel or on the remote control to turn the projector on or off.
6.2 Connecting Devices
The projector supports various input sources:
- USB Devices: Insert a USB flash drive into the USB port to play media files directly.
- Phone Projection: The projector supports wired phone projection for both Android and iOS devices. Connect your phone using a compatible USB cable. This allows for direct screen mirroring and can also charge your phone simultaneously.
- Other Devices: Use the provided connection cable (e.g., AV cable) to connect to other compatible devices.

Image: A diagram illustrating how to connect a smartphone for wired projection, compatible with both Android and iOS devices, and simultaneously charge the phone.
6.3 Remote Control Usage
The included remote control provides convenient access to all projector functions. Ensure the CR2025 button battery is correctly installed. Point the remote control towards the projector's IR receiver.
6.4 Audio Output
The projector features a built-in 4Ω3W speaker for audio playback. For a more private listening experience, you can connect headphones to the audio output jack. External speakers can also be connected if desired.
7. Maintenance
- Lens Cleaning: Use a soft, lint-free cloth specifically designed for optical lenses to gently wipe the projector lens. Do not use abrasive cleaners.
- Exterior Cleaning: Wipe the projector's exterior with a soft, dry cloth. For stubborn dirt, slightly dampen the cloth with water.
- Ventilation: Regularly check that the ventilation openings are free from dust and debris to prevent overheating.
- Storage: When not in use for extended periods, store the projector in a cool, dry place, away from direct sunlight and extreme temperatures.
8. Troubleshooting
If you encounter issues with your projector, refer to the following common problems and solutions:
| Problem | Possible Cause | Solution |
|---|---|---|
| No image projected | Power not connected; Incorrect input source; Lens cap on | Ensure power is connected; Select correct input source; Remove lens cap. |
| Image is blurry | Focus not adjusted; Projector too close/far | Adjust the focus ring; Adjust projection distance. |
| No sound | Volume too low; Muted; External audio device not connected properly | Increase volume; Unmute; Check external audio connections. |
| Remote control not working | Battery depleted; Obstruction between remote and projector | Replace CR2025 battery; Ensure clear line of sight to IR receiver. |
If the problem persists, please contact customer support.
9. Specifications
Detailed technical specifications for the Fockety Mini Portable Projector:

Image: A visual summary of key features including luminous flux, resolution, phone projection, speaker, and imaging technology.
| Feature | Detail |
|---|---|
| Model Number | Fockety50suzn98yo-12 |
| Imaging System | TFT LCD |
| Native Resolution | 320 x 240 pixels |
| Maximum Resolution | 1920 x 1080 pixels (Full HD) |
| Light Source | LED |
| Light Life | 20,000 hours |
| Focus | Manual |
| Projection Distance | 0.4 to 2.5 meters (1.3 to 8.2 feet) |
| Projection Size | 15 to 100 inches |
| Color Reproduction | 16.7 Million Colors |
| Built-in Speaker | 4Ω3W |
| Power Adapter Output | DC12V 2A |
| Remote Control Battery | 1 x CR2025 button cell (240 mAh capacity) |
| Material | ABS |
10. Warranty and Support
Information regarding product warranty and customer support was not available in the provided product details. Please refer to the product packaging or the retailer's website for specific warranty terms and contact information for support.