
1. Introduction
Thank you for choosing the EconoHome Digital Plug-in Thermostat. This device is designed to provide precise temperature control for various heating and cooling appliances by simply plugging it into a standard electrical outlet. Please read this manual thoroughly before use to ensure proper operation and safety.
2. Important Safety Information
- Read all instructions before using the thermostat.
- Do not exceed the maximum electrical load specified for this device.
- Ensure the thermostat is securely plugged into a grounded outlet.
- Do not immerse the thermostat in water or expose it to excessive moisture.
- Keep out of reach of children.
- Unplug the thermostat from the wall outlet before cleaning.
- Do not use if the device or cord is damaged.
- This thermostat is designed for indoor use only.
3. Product Overview
The EconoHome Digital Plug-in Thermostat features an LCD screen for clear temperature display and intuitive buttons for easy control.
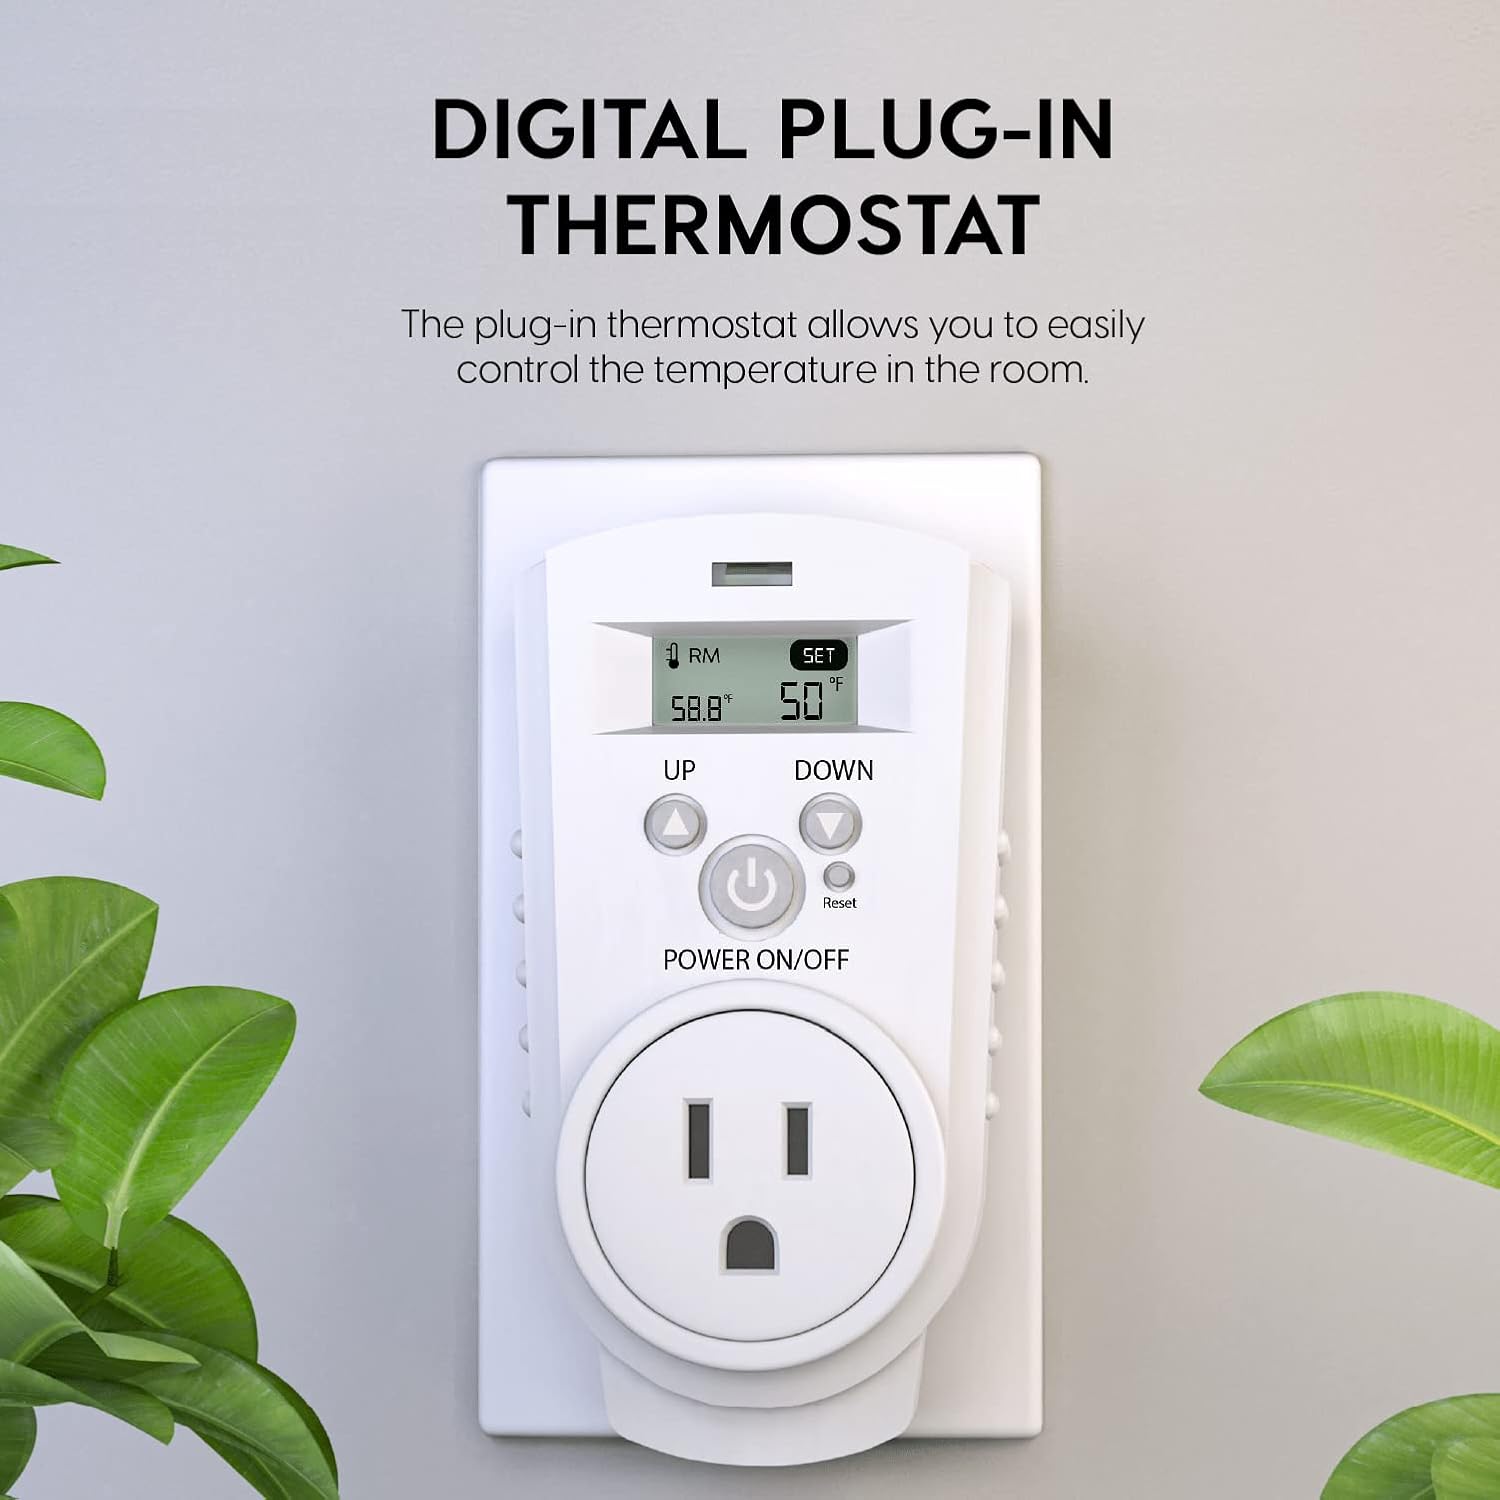
Figure 1: Front view of the EconoHome Digital Plug-in Thermostat, showing the LCD display, UP/DOWN buttons, and Power ON/OFF button.
Components:
- LCD Screen: Displays current room temperature and set temperature.
- UP Button: Increases the set temperature.
- DOWN Button: Decreases the set temperature.
- Power ON/OFF Button: Turns the thermostat on or off.
- Reset Button: Resets the thermostat to factory settings (small pinhole button).
- Power Outlet: For plugging in your heating or cooling appliance.
- Temperature Sensor: Located within the unit to detect ambient room temperature.
4. Setup Instructions
- Unpack the Thermostat: Carefully remove the thermostat from its packaging.
- Choose a Location: Select a standard 3-prong grounded electrical outlet that is not obstructed and is away from direct heat sources, drafts, or direct sunlight, which could affect temperature readings.
- Plug in the Thermostat: Insert the EconoHome Digital Plug-in Thermostat firmly into the chosen wall outlet.
- Connect Your Appliance: Plug your portable heater, air cooler, or other compatible appliance into the outlet on the front of the EconoHome thermostat. Ensure your appliance is set to its highest heat/cool setting or "ON" mode, as the thermostat will control its power supply.

Figure 2: Plugging an appliance into the thermostat, which is already plugged into a wall outlet.
5. Operating Instructions
Powering On/Off:
- Press the Power ON/OFF button to turn the thermostat on or off. The LCD screen will illuminate when the device is on.
Setting the Desired Temperature:
- With the thermostat powered on, the LCD screen will display the current room temperature (RM) and the set temperature (SET).
- Press the UP button to increase the desired temperature.
- Press the DOWN button to decrease the desired temperature.
- The temperature can be set within a range of 41°F to 86°F (5°C to 30°C).
- Once the desired temperature is set, the thermostat will automatically turn your connected appliance on or off to maintain the room temperature around your set point.
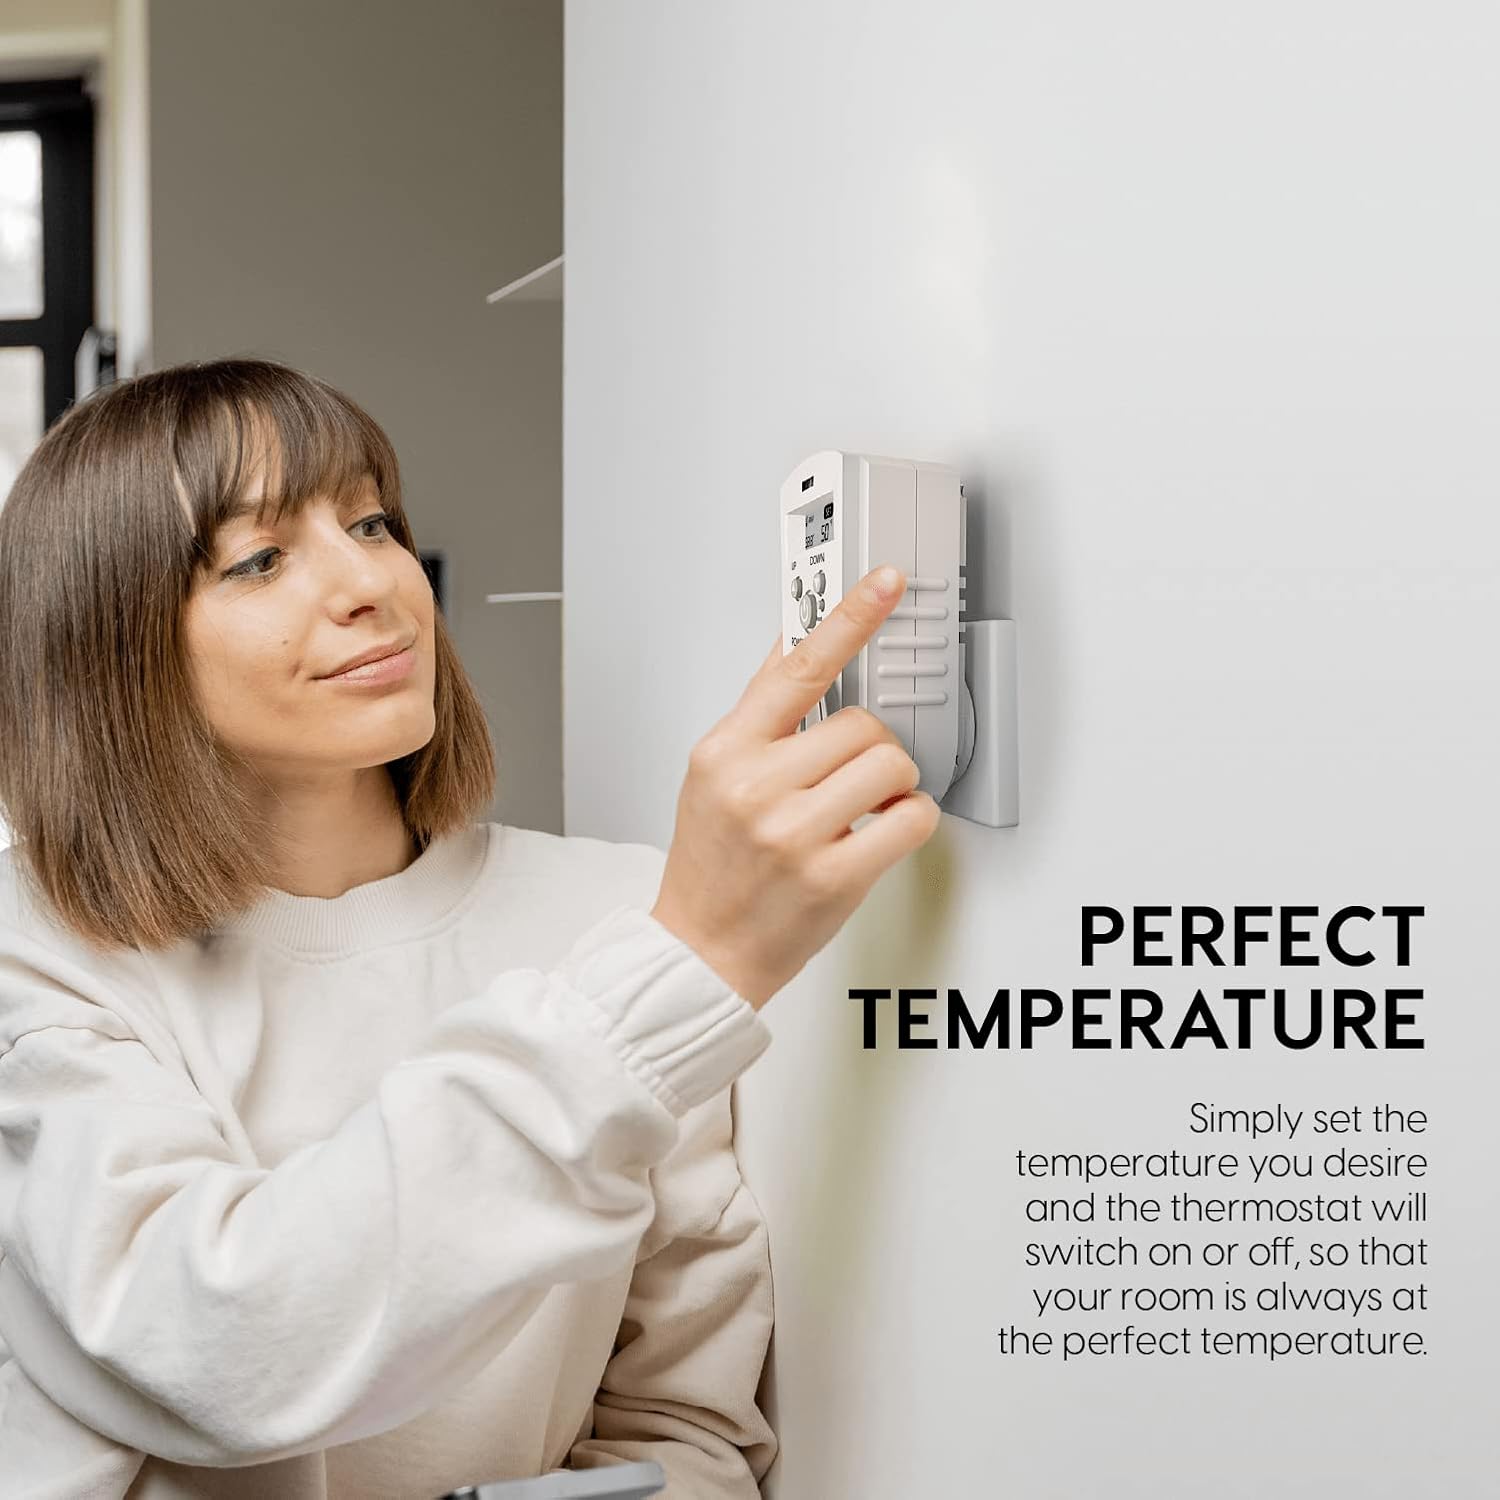
Figure 3: A user adjusting the temperature on the digital plug-in thermostat.
Resetting the Thermostat:
- To reset the thermostat to its default settings, locate the small pinhole Reset button.
- Use a thin object (like a paperclip) to gently press and hold the Reset button for a few seconds until the display clears or resets.
6. Maintenance
- Cleaning: Unplug the thermostat from the wall outlet before cleaning. Wipe the exterior with a soft, dry cloth. Do not use abrasive cleaners, solvents, or immerse in water.
- Storage: If storing the thermostat for an extended period, unplug it and keep it in a cool, dry place.
- Inspection: Periodically inspect the thermostat and its plug for any signs of damage. If damage is found, discontinue use and contact customer support.
7. Troubleshooting
| Problem | Possible Cause | Solution |
|---|---|---|
| Thermostat display is blank. | No power to the outlet or thermostat is off. | Ensure the wall outlet has power. Press the Power ON/OFF button. |
| Appliance not turning on/off as expected. | Appliance not set to ON/highest setting; set temperature not reached; thermostat malfunction. | Verify your appliance is set to continuously run. Adjust the set temperature. Reset the thermostat. If issues persist, contact support. |
| Inaccurate temperature reading. | Thermostat placed near heat sources, drafts, or direct sunlight. | Relocate the thermostat to a more central area of the room, away from interfering elements. |
8. Specifications
- Model: Digital Control
- Power Source: Corded Electric
- Operating Voltage: 125 V AC / 60 Hz
- Temperature Control Type: Digital
- Temperature Range: 41°F - 86°F (5°C - 30°C)
- Display Type: LCD
- Controller Type: Push Button
- Mounting Type: Plugs into standard wall outlet
- Dimensions: Approximately 5 x 2.5 x 2.5 inches
- Compatible Appliances: Portable heaters, air coolers, greenhouse fans, and other plug-in heating/cooling systems.

Figure 4: Dimensions of the thermostat: 2.5 inches wide, 2.5 inches deep, and 5 inches tall.
9. Warranty and Support
For warranty information and customer support, please refer to the manufacturer's official website or the documentation included with your product. You may also contact EconoHome customer service directly for assistance.
EconoHome Website: Visit EconoHome Store on Amazon