
1. Introduction
This manual provides comprehensive instructions for the installation, operation, and maintenance of your ANNKE 5MP 8-Channel PoE Security Camera System. This system includes 5MP IP cameras, a 6MP 8-channel Network Video Recorder (NVR), and a 6TB Hard Disk Drive (HDD) for continuous recording. Please read this manual thoroughly before using the product to ensure proper setup and functionality.

Image 1.1: Overview of the ANNKE 5MP 8-Channel PoE Security Camera System components.
2. Package Contents
Verify that all items listed below are included in your package. If any items are missing or damaged, please contact ANNKE customer support.
- 1 x 8-Channel H.265+ 6MP NVR
- 1 x 6TB Security-Grade Hard Drive (pre-installed in NVR)
- 6 x 5MP PoE Cameras
- 3 x 30m/100ft Network Cables
- 3 x 18m/60ft Network Cables
- 2 x Power Adapters (for NVR and cameras if not using PoE switch)
- 1 x 1m/3.2ft Ethernet Cable
- 1 x USB Mouse
- 1 x Quick Instruction Guide
3. Product Overview
3.1 Key Features
- 5MP Super HD Resolution: Cameras capture video at 2592 x 1944 pixels for clear imaging.
- Wide-Angle Lens: 2.8mm lens provides a broad field of view (horizontal FOV 98°, vertical FOV 53°, diagonal FOV 115°).
- PoE Connectivity: Power over Ethernet simplifies installation with a single cable for power and data.
- IP67 Weatherproof: Cameras are designed to withstand outdoor weather conditions.
- 100 ft Night Vision: Enhanced night vision capabilities for clear recording in low-light conditions.
- Built-in Microphone: Provides one-way audio recording for environmental sound capture.
- 6TB HDD: Pre-installed surveillance-grade hard drive supports 24/7 continuous recording.
- Remote Access: Free ANNKE Vision App for Android and iOS enables remote monitoring and control.
3.2 Camera Design
The system includes both bullet and dome-style cameras, both featuring IP67 weatherproof ratings for versatile indoor and outdoor deployment.

Image 3.1: ANNKE dome camera, demonstrating IP67 weatherproof design.

Image 3.2: ANNKE bullet camera, showcasing its IP67 weatherproof construction.

Image 3.3: Illustration of the 2.8mm wide-angle lens coverage.
4. Setup Guide
4.1 Initial NVR Setup
- Connect the NVR to a power source using the provided power adapter.
- Connect the NVR to a monitor using an HDMI or VGA cable.
- Connect the included USB mouse to the NVR for navigation.
- Follow the on-screen prompts to complete the initial setup wizard, including setting up a password and network configuration.
4.2 Camera Installation and Connection (PoE)
The ANNKE PoE system utilizes Power over Ethernet, meaning a single Ethernet cable provides both power and data transmission to each camera.
- Mounting: Choose suitable locations for your cameras, ensuring they are within range of the provided network cables and offer the desired viewing angle. Securely mount the cameras using appropriate hardware.
- Connecting: Connect one end of an Ethernet cable to the camera's RJ45 port and the other end to one of the PoE ports on the NVR. The NVR will automatically detect and power the camera.

Image 4.1: Example of a PoE camera installation, highlighting the simplicity of the plug-and-play setup.
4.3 Network Connection for Remote Access
Connect the NVR to your router using the provided Ethernet cable. This enables remote access to your security system via the ANNKE Vision App.
5. Operation Guide
5.1 Live View and Recording
Once cameras are connected, the NVR will display live feeds. The system is configured for 24/7 continuous recording to the 6TB HDD by default.

Image 5.1: Multiple camera feeds demonstrating 24/7 continuous recording.
5.2 Motion Detection and Customization
The system supports customizable motion detection zones to minimize false alarms and focus on critical areas.
- Access the NVR menu using the USB mouse.
- Navigate to the 'Event' or 'Alarm' settings.
- Select 'Motion Detection' for the desired camera.
- Draw a specific area on the screen to define the motion detection zone.
- Configure sensitivity and linkage actions (e.g., push notifications, recording).

Image 5.2: Customizing a motion detection zone to monitor a specific area like a driveway.
5.3 Remote Access via ANNKE Vision App
The ANNKE Vision App allows you to view live feeds, play back recordings, and receive alerts on your mobile device.
- Download the 'ANNKE Vision' app from the Google Play Store or Apple App Store.
- Register an account and log in.
- Add your NVR device by scanning the QR code on the NVR or manually entering its details.
- Once added, you can access your camera feeds remotely.
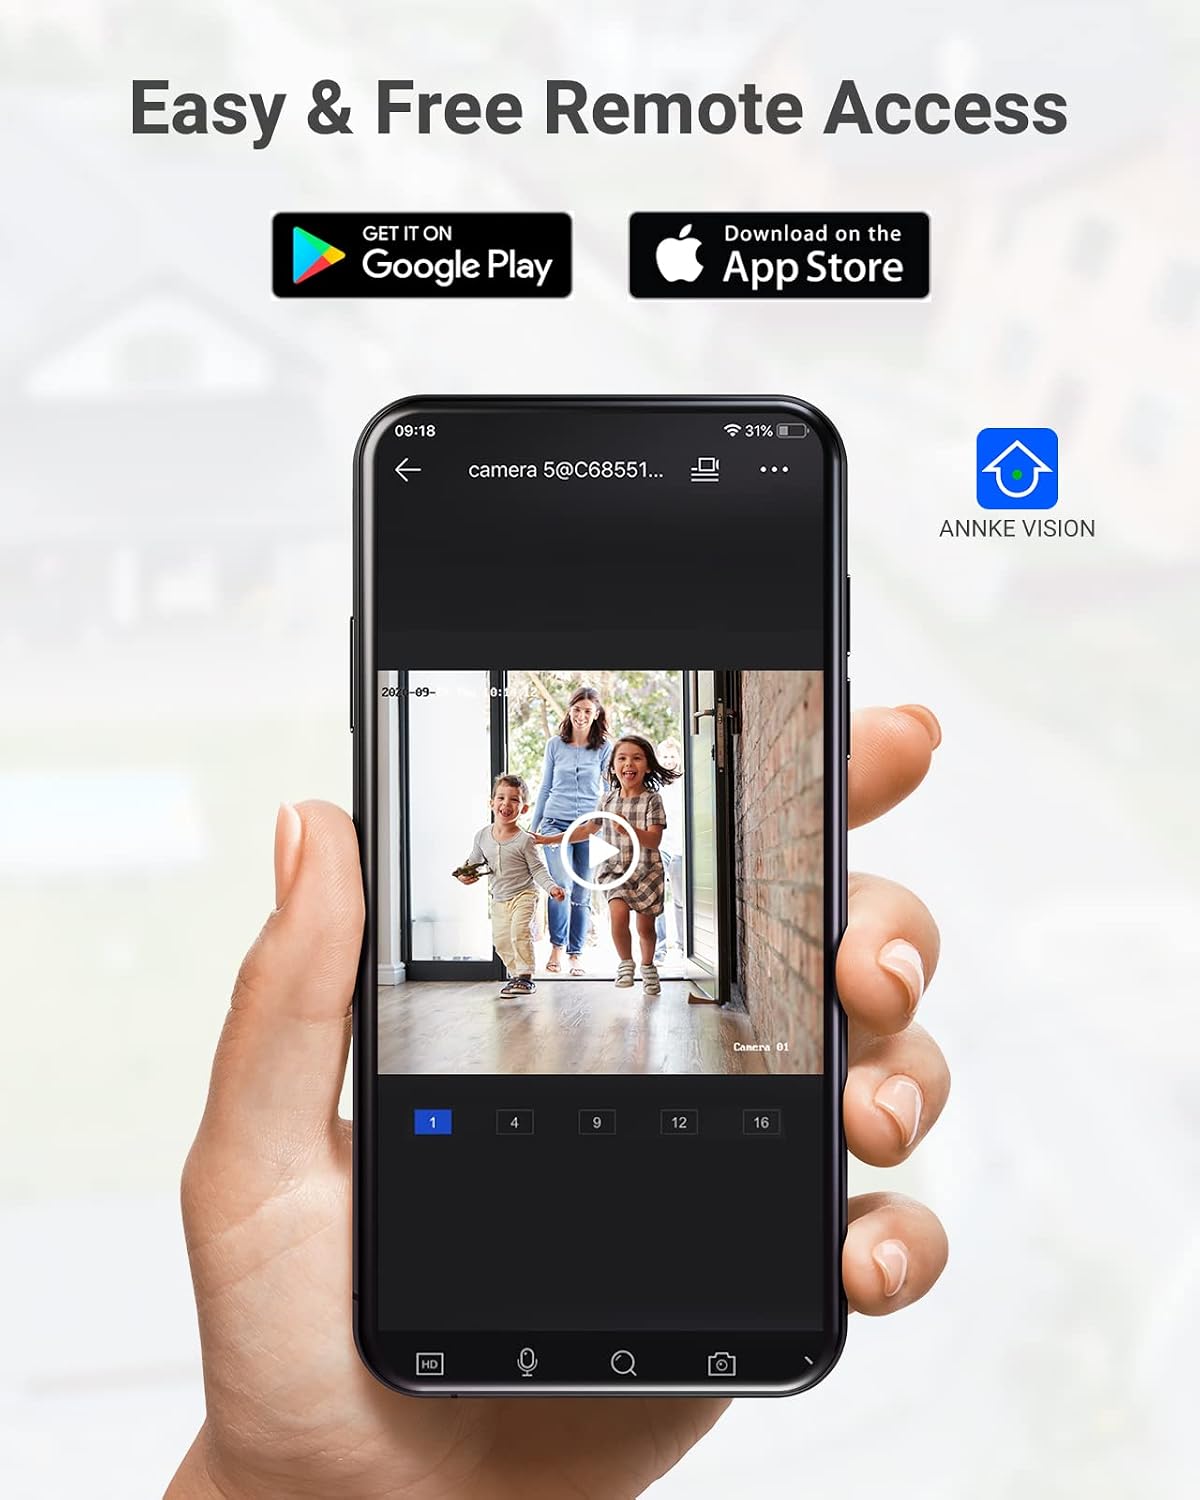
Image 5.3: The ANNKE Vision App interface on a smartphone, demonstrating remote access capabilities.
5.4 Night Vision and Audio
The cameras provide clear imaging in low-light conditions with up to 100 ft night vision. The built-in microphone captures one-way audio.

Image 5.4: Comparison illustrating the clarity of day and night vision footage.
6. Maintenance
Regular maintenance ensures optimal performance and longevity of your security system.
- Camera Cleaning: Periodically clean the camera lenses with a soft, damp cloth to remove dust, dirt, or water spots that may obstruct the view. Avoid abrasive cleaners.
- Cable Inspection: Check all network and power cables for any signs of wear, damage, or loose connections.
- Firmware Updates: Regularly check the ANNKE website or the NVR's system settings for available firmware updates to ensure your system has the latest features and security patches.
- HDD Management: The 6TB HDD is designed for continuous recording. The NVR will automatically overwrite the oldest footage when the disk is full. Back up important footage regularly if needed.
7. Troubleshooting
If you encounter issues with your ANNKE security system, refer to the following common troubleshooting steps:
- No Video Feed:
- Ensure the NVR is powered on and connected to a monitor.
- Verify that all cameras are properly connected to the NVR's PoE ports.
- Check the Ethernet cables for damage or loose connections.
- Restart the NVR.
- No Remote Access:
- Confirm the NVR is connected to your router and has internet access.
- Ensure your mobile device has a stable internet connection.
- Verify that the ANNKE Vision App is updated to the latest version.
- Check NVR network settings to ensure DHCP is enabled or static IP is correctly configured.
- Poor Image Quality:
- Clean the camera lens.
- Ensure the camera is securely mounted and not vibrating.
- Check for obstructions in the camera's field of view.
- Motion Detection Not Working:
- Review the motion detection zone settings and sensitivity levels in the NVR menu.
- Ensure the camera is not obstructed.
For further assistance, please refer to the ANNKE support website or contact their customer service.
8. Specifications
8.1 IP Camera Specifications
| Feature | Specification |
|---|---|
| Image Sensor | 1/3" Progressive Scan CMOS |
| Main Stream Max. Frame Rate | 50 Hz: 20 fps (2592 X 1944, 2560*1440), 25 fps (2304 X 1296, 1920 X 1080, 1280 X 720) 60 Hz: 20 fps (2592 X 1944, 2560*1440), 30 fps (2304 X 1296, 1920 X 1080, 1280 X 720) |
| Substream Max. Frame Rate | 50 Hz: 25 fps (640 X 480, 640 X 360, 320 X 240) 60 Hz: 30 fps (640 X 480, 640 X 360, 320 X 240) |
| Video Compression | H.265+/H.265/H.264+/H.264 |
| Video Bitrate | 32 Kbps - 8 Mbps |
| Audio Compression | G.711ulaw/G.711alaw/G.722.1/G.726/MP2L2/PCM/AAC |
| Audio Input | Built-in Microphone |
| Lens | 2.8 mm |
| Min. Illumination | Color: 0.028 Lux @(F2.0, AGC On) |
| Angle of View | Horizontal FOV 98°, Vertical FOV 53°, Diagonal FOV 115° |
| Night Vision Distance | Up to 100 ft/30 m |
| DNR | 3D DNR |
| Wide Dynamic Range | 120 dB WDR |
| IR-Cut Filter | Yes |
| Ethernet | RJ45 X1 (10 M/100 M) |
8.2 DVR Specifications
| Feature | Specification |
|---|---|
| Video Compression | H.265+/H.265/ H.264+/H.264 |
| IP Video Input | 8CH POE |
| Video Output | HDMI & VGA Up to 1080P |
| Incoming Bandwidth | 60M |
| Max Recording/Playback Resolution | Up to 6MP |
| Max Playback Channel | 8CH |
| Max Playback Capacity | 4-ch@1080P, 1-ch@6MP@25fps |
| HDD | 1 SATA interface (6TB pre-installed) |
| Network Interface | RJ45x1 (10/100M) |
| POE | 8 Ports (IEEE802.3af/at) |
| USB | 2x USB 2.0 |
| Operating Power | DC48V |
| Power Consumption | ≤10W (without HDD and POE) |
| POE Max Power | 25.5W for single port |
| Working Temperature | 14 °F ~ 131 °F / -10 °C ~ +55 °C |
9. Warranty and Support
ANNKE products are designed for reliability and performance. For specific warranty details, please refer to the warranty card included with your product or visit the official ANNKE website. If you require technical assistance or have questions not covered in this manual, please contact ANNKE customer support through their official channels.
The system is UL, CE, FCC & HDMI certified, ensuring safe operation.