1. Overview
This manual provides instructions for the Canon PowerShot ELPH 360 HS Digital Camera. It covers initial setup, basic operation, maintenance, and troubleshooting to help you get the most out of your camera.
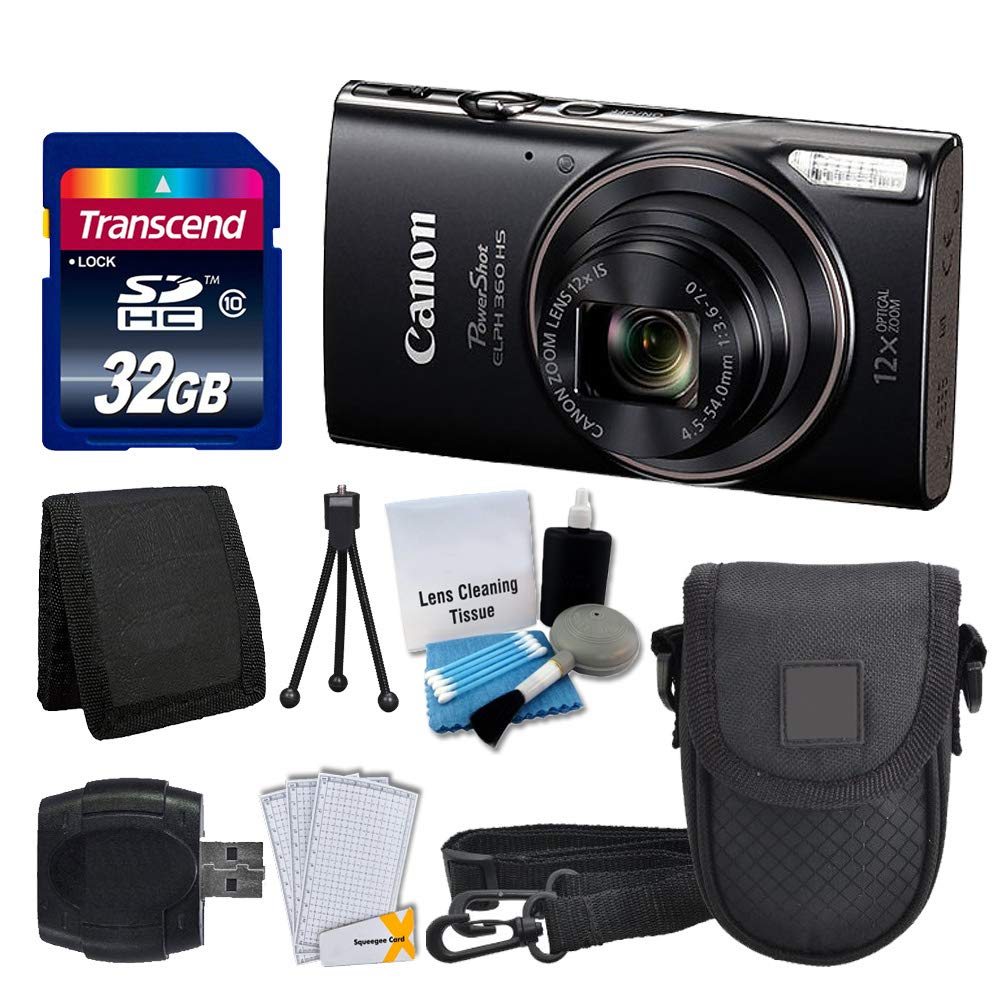
Image 1.1: Front view of the Canon PowerShot ELPH 360 HS Digital Camera.
2. What's in the Box
Please check that all the following items are included in your package:
- Canon PowerShot ELPH 360 HS Digital Camera (Black)
- Transcend 32GB Memory Card
- Camera Case
- USB Card Reader
- LCD Screen Protectors
- Memory Card Wallet
- Battery Pack and Charger
- Wrist Strap
- Cleaning Kit (Lens Cleaning Tissue, Blower, Brush, Cotton Swabs)

Image 2.1: The Canon PowerShot ELPH 360 HS camera with its battery, charger, and wrist strap.
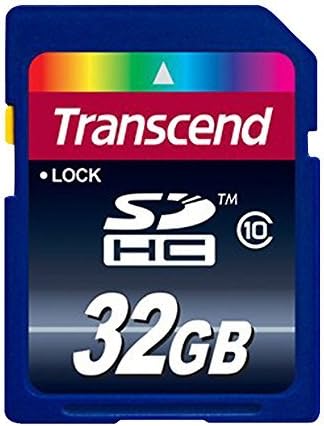
Image 2.2: A Transcend 32GB SDHC Memory Card, included for storage.
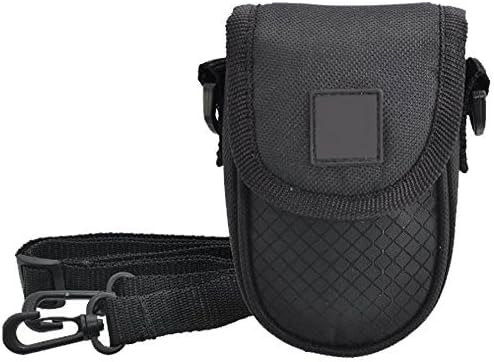
Image 2.3: A black camera case for protection and portability.

Image 2.4: The included cleaning kit for maintaining the camera's lens and body.
3. Setup
3.1. Charging the Battery
- Insert the battery pack into the battery charger. Ensure the battery is correctly oriented.
- Plug the charger into a power outlet. The charging indicator light will illuminate.
- Charging is complete when the indicator light changes color or turns off (refer to charger specific indicators).
3.2. Inserting the Battery and Memory Card
- Open the battery/card compartment cover on the camera.
- Insert the charged battery pack into the compartment, ensuring the contacts align. Push until it clicks into place.
- Insert the Transcend 32GB SDHC memory card into the card slot with the label facing the correct direction. Push until it clicks.
- Close the compartment cover securely.
3.3. Attaching the Wrist Strap
Thread the wrist strap through the strap mount on the camera body to prevent accidental drops.
4. Operating the Camera
4.1. Power On/Off
Press the [POWER] button to turn the camera on or off.
4.2. Taking Photos
- Turn on the camera.
- Select your desired shooting mode (e.g., Automatic) using the mode dial or menu.
- Frame your shot using the LCD screen.
- Press the shutter button halfway down to focus. The focus frame will appear.
- Press the shutter button fully down to take the picture.
4.3. Using the Zoom
Use the zoom lever around the shutter button to adjust the optical zoom (12x) for closer or wider shots.
4.4. Recording Videos
- In a shooting mode, press the dedicated [MOVIE] button to start recording.
- Press the [MOVIE] button again to stop recording.
4.5. Reviewing Images and Videos
Press the [PLAYBACK] button to enter playback mode. Use the directional buttons to navigate through your photos and videos.
4.6. Connecting to a Computer (USB)
Connect the camera to a computer using a USB cable to transfer photos and videos. The camera will appear as a removable drive.
4.7. Wi-Fi and NFC Connectivity
The camera supports Wi-Fi and NFC for wireless transfer of images to compatible devices or for remote control. Refer to the camera's on-screen menu for detailed setup instructions for these features.
5. Maintenance
5.1. Cleaning the Camera
- Lens: Use a lens brush or a soft, clean microfiber cloth with lens cleaning solution (from the included kit) to gently wipe the lens. Avoid touching the lens with your fingers.
- LCD Screen: Use a soft, dry cloth to clean the LCD screen. For stubborn smudges, use a screen protector cleaning solution.
- Camera Body: Wipe the camera body with a soft, dry cloth. Do not use organic solvents or strong cleaning agents.
5.2. Battery Care
- Store batteries in a cool, dry place when not in use.
- Avoid fully discharging the battery frequently to prolong its lifespan.
- Do not expose batteries to extreme temperatures.
5.3. Storage
When storing the camera for extended periods, remove the battery and memory card. Store the camera in a dry, dust-free environment, preferably in its camera case.
6. Troubleshooting
| Problem | Possible Cause | Solution |
|---|---|---|
| Camera does not power on. | Battery is depleted or incorrectly inserted. | Charge the battery fully and ensure it is inserted correctly. |
| Cannot take pictures. | Memory card is full, locked, or not inserted. | Insert a memory card, unlock it, or delete unnecessary files. |
| Images are blurry. | Camera shake, incorrect focus, or dirty lens. | Hold the camera steady, ensure proper focus, and clean the lens. |
| Wi-Fi/NFC connection fails. | Incorrect settings or device incompatibility. | Check camera and device settings. Ensure devices are compatible and within range. |
7. Specifications
- Model Name: PowerShot ELPH 360 HS
- Brand: Canon
- Photo Sensor Resolution: 20.2 MP
- Optical Zoom: 12x
- Image Stabilization: Optical
- Lens Type: Zoom (25-300 mm equivalent)
- Screen Size: 3 Inches LCD
- Connectivity: Wi-Fi, NFC, USB
- Supported File Format: JPEG, RAW
- Video Resolution: 1080p
- Memory Card Type: SD, SDHC (32GB included)
- Battery Type: Lithium Ion
- Color: Black
8. Warranty and Support
8.1. Warranty Information
This Canon PowerShot ELPH 360 HS Digital Camera comes with a 90 days limited warranty. Please retain your proof of purchase for warranty claims.
8.2. Customer Support
For further assistance, technical support, or service inquiries, please refer to the official Canon support website or contact their customer service. Contact information can typically be found on the manufacturer's website or in the original product packaging.


