Introduction
Thank you for choosing the KASINGS Stereo Record Player Needle. This replacement stylus is designed to provide clear and accurate sound reproduction for your compatible record player models. This manual provides essential information for proper installation, operation, maintenance, and troubleshooting to ensure optimal performance and longevity of your new needle.
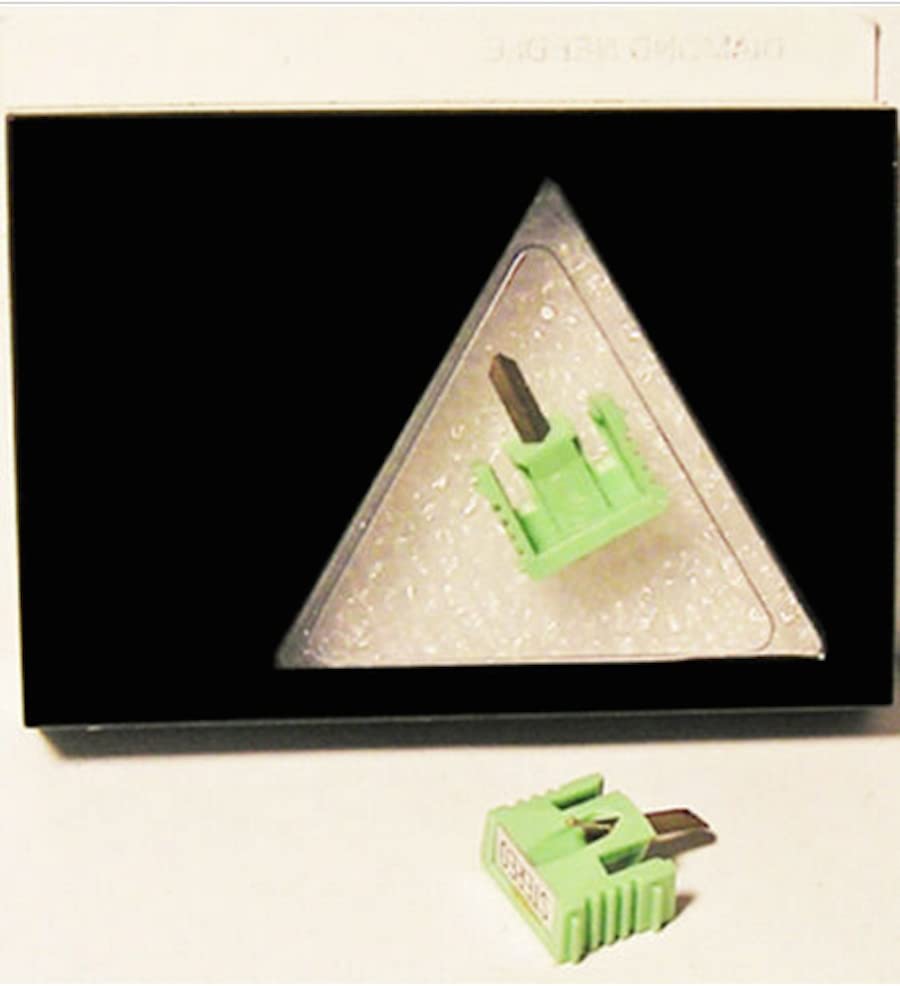
Image: The KASINGS stereo record player needle, typically featuring a stylus tip and cantilever assembly.
Setup and Installation
Proper installation is crucial for sound quality and to prevent damage to your records. Always handle the stylus with care, avoiding contact with the needle tip.
1. Unpacking
- Carefully remove the new stylus from its packaging.
- Retain the protective stylus guard for future use.
2. Removing the Old Stylus
- Ensure your record player is turned off and unplugged.
- Gently grasp the old stylus assembly (usually a plastic housing) and pull it forward and slightly downward from the cartridge body. It should detach with minimal force.
- Avoid touching the cantilever or needle tip of the old stylus.
3. Installing the New Stylus
- Align the new stylus with the cartridge body. The stylus typically slides into grooves on the cartridge.
- Gently push the stylus upwards and backwards until it clicks securely into place. Do not force it.
- Verify that the stylus is seated firmly and straight within the cartridge.
- Replace the stylus guard if not immediately playing a record.
Image: A close-up view of a record player cartridge with a stylus being carefully inserted or removed. This illustrates the general process of stylus installation.
Operating Instructions
Follow these guidelines for optimal performance and to protect your records.
1. Stylus Guard
- Always use the protective stylus guard when the record player is not in use or when transporting it. This prevents accidental damage to the delicate needle tip.
- Remove the guard carefully before playing a record.
2. Record Handling
- Handle records by their edges or label to avoid transferring oils and dirt to the playing surface.
- Ensure records are clean and free of dust before playing.
3. Playing a Record
- Place the record on the turntable platter.
- Carefully lower the tonearm, allowing the stylus to gently rest in the lead-in groove of the record.
- Avoid dropping the tonearm or dragging the stylus across the record surface.
Maintenance
Regular maintenance extends the life of your stylus and preserves sound quality.
1. Cleaning the Stylus
- Dust and debris can accumulate on the stylus tip, affecting sound quality and potentially damaging records.
- Use a soft stylus brush, specifically designed for this purpose, to gently brush the stylus tip from back to front (in the direction of play). Never brush side-to-side or front-to-back.
- For stubborn dirt, a specialized stylus cleaning fluid can be used sparingly with the brush, following the fluid manufacturer's instructions.
2. When to Replace the Stylus
- A stylus has a finite lifespan, typically ranging from 500 to 1000 hours of play, depending on the type and care.
- Signs of a worn stylus include distorted sound, sibilance (hissing on 's' sounds), or a dull, lifeless sound.
- Visually inspect the stylus tip for wear or damage. A worn tip may appear flattened or chipped under magnification.
- Replace the stylus promptly when signs of wear appear to prevent damage to your valuable record collection.
Image: A close-up of a stylus being gently cleaned with a specialized stylus brush, moving from back to front.
Troubleshooting
If you encounter issues, refer to the following common problems and solutions.
1. No Sound or Distorted Sound
- Check Connections: Ensure all cables from the record player to the amplifier/receiver are securely connected.
- Stylus Installation: Verify the stylus is correctly and fully seated in the cartridge.
- Stylus Condition: Inspect the stylus for damage or excessive dirt. Clean or replace if necessary.
- Amplifier Settings: Confirm the correct input (e.g., 'Phono') is selected on your amplifier.
2. Skipping or Jumping
- Record Condition: Ensure the record is clean and free of scratches or debris.
- Stylus Condition: A worn or damaged stylus can cause skipping. Inspect and replace if needed.
- Tracking Force: If your record player allows, check and adjust the tracking force according to your record player's manual. Too light or too heavy can cause skipping.
- Level Surface: Ensure the record player is on a stable, level surface.
3. Humming Noise
- Ground Wire: Ensure the record player's ground wire (if present) is properly connected to your amplifier/receiver.
- Cable Interference: Keep audio cables away from power cables or other sources of electromagnetic interference.
- Cartridge Alignment: Incorrect cartridge alignment can sometimes contribute to hum. Refer to your record player's manual for alignment procedures.
Specifications
| Brand | KASINGS |
| Compatibility | EV PM 3101D, SHARP STY-100, SANSUI SN-34, MGA MITSUBISHI 3D-34M |
| Stylus Type | Stereo Record Player Needle (Diamond Tip) |
| Expected Lifespan | Approximately 500-1000 hours of play (varies with usage and maintenance) |
Warranty Information
This KASINGS product comes with a 30-Day Money Back Guarantee, ensuring your satisfaction. It is guaranteed to fit and function as intended. For any manufacturing defects or issues arising from normal use within this period, please contact customer support for assistance.
Support
For further assistance, technical support, or warranty claims, please refer to the contact information provided by your retailer or visit the official KASINGS website. When contacting support, please have your product model information and purchase details ready.


