
1. Introduction
Thank you for choosing the KONIX 61 Keys Roll Up Piano, Model PS61B. This portable electronic keyboard is designed for beginners, children, and adults, offering a versatile and convenient way to learn and play music. Its compact, rollable design and various features make it suitable for practice anywhere. Please read this manual carefully to understand the product's functions and ensure proper use.
2. Product Overview
2.1 Package Contents
- KONIX 61 Keys Roll Up Piano (PS61B)
- USB Charging Cable
- Power Adapter
- User Manual

Image 2.1: The KONIX 61 Keys Roll Up Piano unrolled, alongside its USB charging cable, power adapter, and instruction manual.
2.2 Key Features
- 61 Standard Keys: Provides a full range for learning and playing.
- Portable & Rollable Design: Made from environmental silicone, allowing for easy storage and transport.
- Dual Stereo Speakers: Integrated speakers for clear sound output.
- MIDI & Bluetooth Functionality: Connects to smart devices for music creation and learning apps.
- Multiple Playability Modes: 128 tones, 128 rhythms, 14 demo songs, recording, editing, playback, sustain, vibrato, teaching, and chord functions.
- Rechargeable Battery: Built-in Lithium battery for 6-8 hours of playtime per charge.
- Headphone Jack: For private practice.

Image 2.2: A child playing the KONIX 61 Keys Roll Up Piano, illustrating its multifunctional capabilities including 128 tones, 128 rhythms, 14 demo songs, and a durable battery.
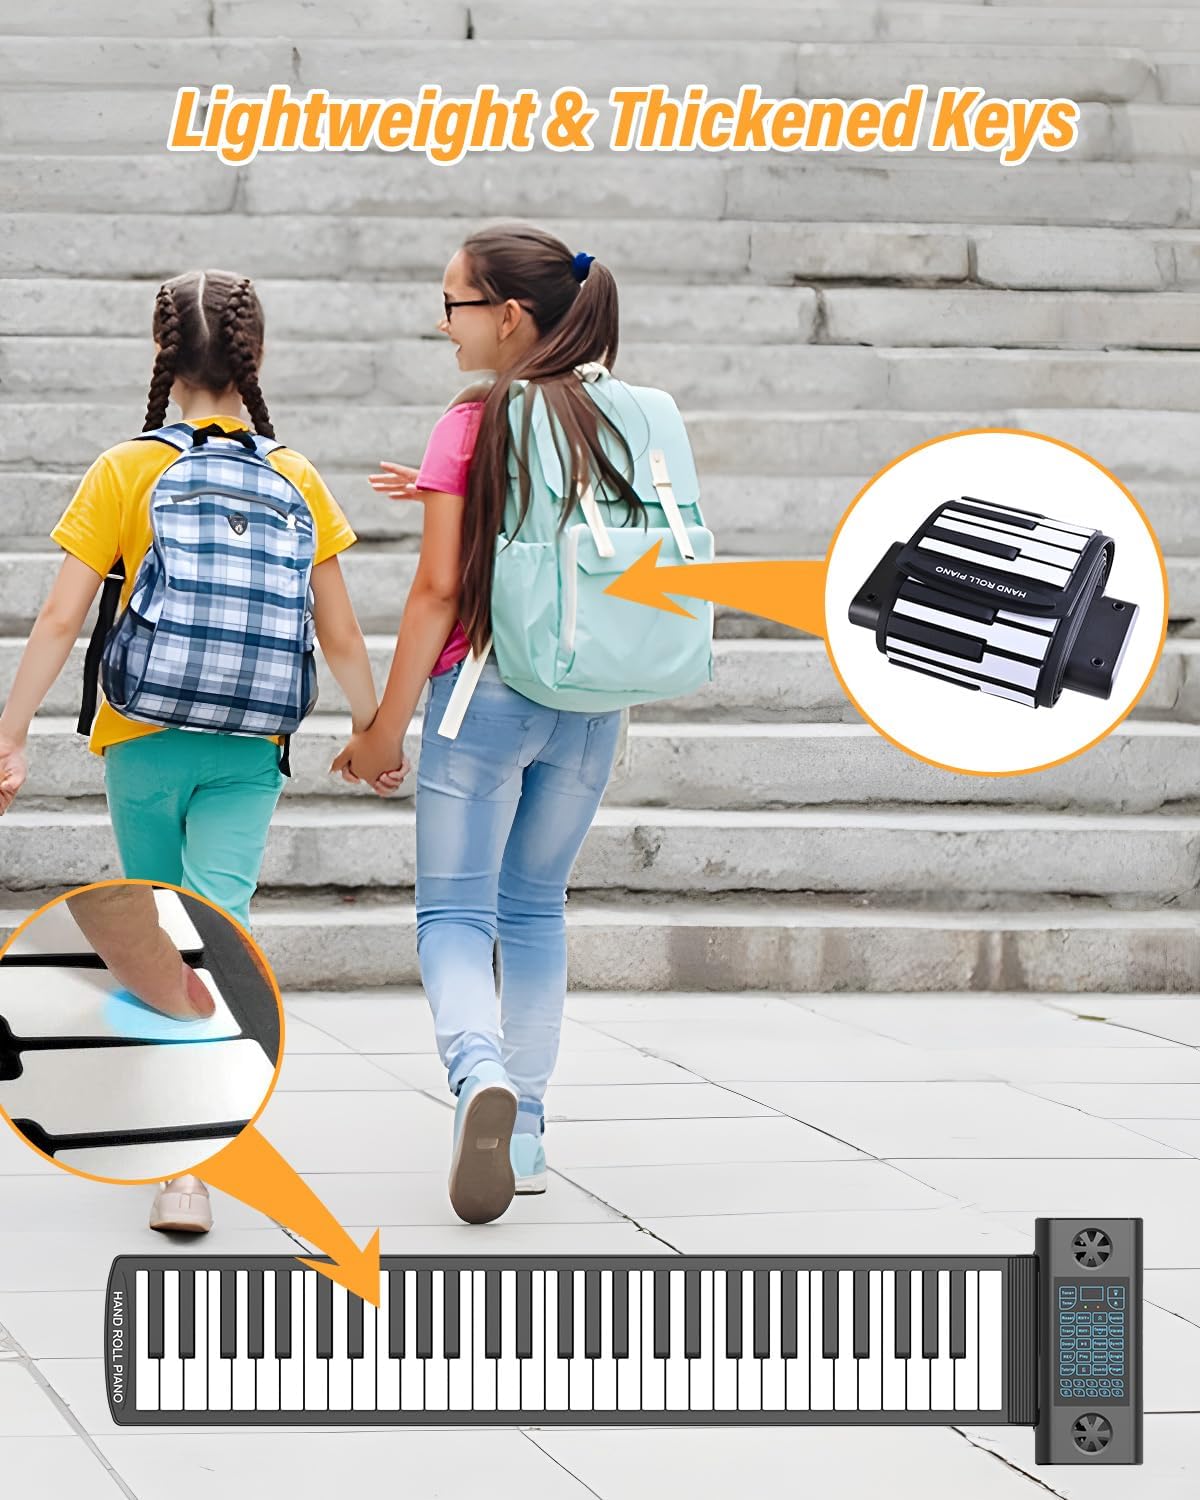
Image 2.3: The roll-up piano's lightweight and thickened keys, demonstrating its portability as it can be easily rolled up and carried in a backpack.
3. Setup
3.1 Unpacking and Placement
- Carefully remove all components from the packaging.
- Unroll the piano keyboard on a flat, stable surface. Ensure the surface is clean and free of debris to prevent damage to the silicone keys.
- Place the control panel section on a stable part of the surface.
3.2 Charging the Piano
Before first use, fully charge the piano. The built-in Lithium battery provides extended playtime.
- Connect the USB charging cable to the USB/DC 5V port on the control panel.
- Connect the other end of the USB cable to the provided power adapter.
- Plug the power adapter into a standard electrical outlet.
- The charging indicator light will illuminate. Once fully charged, the light may change color or turn off (refer to the LED display for battery status).
- A full charge typically takes 6-8 hours for optimal playtime.
3.3 Connecting Headphones or External Speakers
For private practice or louder output, connect headphones or external speakers.
- Headphones: Insert a 3.5mm headphone jack into the 'Headphone Jack' port on the control panel. The internal speakers will automatically mute.
- External Speakers: Connect an audio cable (not included) from the 'Audio Output' port to your external speaker system.

Image 3.1: The control panel of the roll-up piano, detailing the various input and output ports including ON/OFF, USB/MIDI, Headphone, Audio Output, Microphone, and Sustain Pedal connections.

Image 3.2: A visual representation of the piano's multifunctional jacks, demonstrating connections to a computer for MIDI, headphones for private listening, a microphone, and a sustain pedal.
4. Operating Instructions
4.1 Power On/Off
Press and hold the ON/OFF button on the control panel to turn the piano on or off.
4.2 Adjusting Volume
Use the Volume Up (+) and Volume Down (-) buttons on the control panel to adjust the sound level.
4.3 Selecting Tones and Rhythms
- Tones: Press the Tone button, then use the number keys (0-9) or the +/- buttons to select from 128 available tones.
- Rhythms: Press the Rhythm button, then use the number keys (0-9) or the +/- buttons to select from 128 available rhythms. Press Start/Stop to begin or end the rhythm.
4.4 Playing Demo Songs
Press the Demo button to cycle through the 14 built-in demo songs. Press Demo again or any key to stop playback.
4.5 Recording and Playback
- Press the REC button to enter recording mode. The indicator will light up.
- Play your desired melody on the keyboard.
- Press Play to stop recording and play back your recorded melody.
4.6 Sustain and Vibrato Functions
- Sustain: Press the Sustain button to enable or disable the sustain effect.
- Vibrato: Press the Vibrato button to enable or disable the vibrato effect.
4.7 Teaching Mode and Chord Functions
Refer to the detailed instructions in the included quick start guide for specific steps on utilizing the teaching mode and various chord functions (e.g., single-finger chord, fingered chord).
4.8 Bluetooth/MIDI Connectivity
The PS61B supports Bluetooth and MIDI functions for enhanced connectivity.
- Bluetooth: Activate Bluetooth on your smart device (phone, tablet, computer). Search for available devices and select "KONIX PS61B" to pair. This allows for wireless MIDI connection to compatible apps.
- MIDI (USB): Connect the piano to a computer using the USB/MIDI cable. The piano will be recognized as a MIDI input device. This enables use with music software like Cakewalk, Sonar, Cubase, Nuendo, VST/VSTi, Garage Band, and various piano learning games.

Image 4.1: An adult and child engaging with the roll-up piano, demonstrating its use in music education and highlighting its MIDI, Bluetooth, and headphone connectivity options.
5. Maintenance and Care
- Cleaning: Wipe the silicone keyboard and control panel with a soft, dry cloth. For stubborn dirt, a slightly damp cloth can be used, but ensure no liquid enters the control panel or ports. Do not use harsh chemicals or abrasive cleaners.
- Storage: When not in use, roll up the piano gently and store it in a cool, dry place away from direct sunlight and extreme temperatures. Avoid sharp objects that could puncture the silicone.
- Handling: The silicone material is durable but avoid excessive stretching or pulling of the keyboard.
- Water Resistance: The keyboard section is water-resistant, allowing for easy cleanup of spills. However, the control panel is not waterproof; avoid exposing it to liquids.

Image 5.1: The foldable portable piano's characteristics, including its soft silicone material, waterproof nature, ease of cleaning, and convenient portability for storage.
6. Troubleshooting
| Problem | Possible Cause | Solution |
|---|---|---|
| No sound | Piano is off; Volume is too low; Headphones are connected; Battery is low. | Ensure piano is on; Increase volume; Disconnect headphones if using speakers; Charge the piano. |
| Keys not responding | Piano not fully unrolled on a flat surface; Control panel issue; Low battery. | Ensure the piano is laid flat and smooth; Restart the piano; Charge the piano. |
| Bluetooth not connecting | Bluetooth not enabled on device; Piano not in pairing mode; Interference. | Enable Bluetooth on your device; Restart both devices; Try pairing in a different location. |
| Short battery life | Battery not fully charged; Old battery. | Ensure full charge before use; If battery life significantly degrades, contact support. |
7. Specifications
| Feature | Detail |
|---|---|
| Model Name | PS61B |
| Number of Keys | 61 |
| Tones | 128 |
| Rhythms | 128 |
| Demo Songs | 14 |
| Connectivity | Bluetooth, MIDI USB |
| Power Source | Battery Powered (Rechargeable Lithium Battery) |
| Headphones Jack | 3.5mm Jack |
| Product Dimensions | 1.57"D x 1.16"W x 1.07"H (Control Panel) |
| Item Weight | 2.94 pounds |
| Material | Environmental Silicone |
| Supported Software | Cakewalk, Sonar, Cubase, Nuendo, VST/VSTi, Garage Band, Pop Piano music games (and others) |
| Operating System Compatibility | Windows XP/Vista/7/8, Mac OSX |
8. Warranty and Support
KONIX products are manufactured to high-quality standards. For warranty information, please refer to the warranty card included with your purchase or contact KONIX customer support directly. Keep your proof of purchase for warranty claims.
If you encounter any issues not covered in the troubleshooting section, or require further assistance, please contact KONIX customer support through the retailer where you purchased the product or visit the official KONIX website for contact details.


