1. Introduction
Thank you for choosing the ZAFRO Nugget Ice Maker. This manual provides essential information for the safe and efficient operation, maintenance, and troubleshooting of your new appliance. Please read these instructions thoroughly before use and retain them for future reference.
2. Safety Instructions
- Ensure the ice maker is connected to a grounded power outlet with the correct voltage (110V).
- Do not immerse the appliance, power cord, or plug in water or other liquids.
- Keep the ice maker away from heat sources and direct sunlight.
- Place the unit on a stable, level surface to prevent tipping and ensure proper operation.
- Allow at least 4 inches of clearance around the unit for adequate ventilation.
- Unplug the ice maker before cleaning or when not in use for extended periods.
- Do not operate the appliance with a damaged cord or plug.
- This appliance is for household use only.
3. Product Overview
3.1 Components
- ZAFRO Nugget Ice Maker Unit
- Ice Basket
- Ice Scoop
- User Manual (this document)
3.2 Specifications
| Specification | Detail |
|---|---|
| Brand | ZAFRO |
| Model Number | Z5820BN-BLACK |
| Product Dimensions | 9"D x 13"W x 15"H |
| Ice Production Capacity | Up to 45 lbs per 24 hours |
| Wattage | 110.00 W |
| Ice Type | Nugget (Chewable Pellet) |
3.3 Product Diagram

Image 1: Front view of the ZAFRO Nugget Ice Maker, showcasing its compact design and control panel.

Image 2: Dimensions of the ZAFRO Nugget Ice Maker, measuring 9 inches deep, 13 inches wide, and 15 inches high.
4. Setup
4.1 Unpacking
- Carefully remove the ice maker from its packaging.
- Remove all packing materials, including tape and protective films.
- Inspect the unit for any shipping damage. If damaged, do not operate and contact customer support.
4.2 Placement
- Place the ice maker on a flat, stable, and level surface.
- Ensure there is at least 4 inches of space around the unit for proper air circulation. Avoid enclosed spaces.
- Keep the unit away from direct sunlight, heat sources, and corrosive gases.
4.3 Initial Cleaning
Before first use, it is recommended to clean the unit. Refer to the "Maintenance" section for detailed cleaning instructions. After cleaning, allow the unit to sit upright for at least 2 hours before plugging it in.
4.4 First Use
- Open the top lid and fill the water reservoir with clean, potable water up to the MAX fill line. Do not overfill.
- Close the lid and plug the unit into a grounded electrical outlet.
- Press the ICE/CLEAN button to begin ice production.
- The first few batches of ice may be smaller or irregular. Discard the first 2-3 batches of ice to ensure optimal taste and hygiene.

Image 3: Illustration of the ice maker's efficient ice production, highlighting the powerful compressor, 44 lbs daily capacity, and 6-minute cycle for 9 pieces of ice.
5. Operating Instructions
5.1 Control Panel
The ice maker features an intuitive LCD control panel with the following main functions:
- Power Button (⏻): Turns the unit on or off.
- ICE/CLEAN Button: Initiates ice making or the self-cleaning cycle (press and hold for 5 seconds).
- Timer Button (⏱): Activates the timer function.
- Up/Down Arrows (▲/▼): Adjusts timer settings.
- LCD Display: Shows current status, error codes, and timer settings.
5.2 Making Ice
- Ensure the water reservoir is filled with water.
- Press the Power Button to turn on the unit.
- Press the ICE/CLEAN button. The unit will begin the ice-making process.
- The ice maker will automatically produce nugget ice and dispense it into the ice basket.
- When the ice basket is full, the unit will pause ice production. It will resume once ice is removed.
- When the water level is low, the unit will indicate a low water warning and pause production. Refill the reservoir to resume.

Image 4: Visual comparison illustrating the chewable nugget ice produced by the machine versus standard hard ice cubes.
5.3 Timer Setting
The 24-hour timer allows you to preset the operation time for convenience.
- Press the Timer Button (⏱). The display will show a flashing time.
- Use the Up/Down Arrows (▲/▼) to set the desired delay time (0-24 hours) for the unit to start or stop.
- Press the Timer Button (⏱) again to confirm the setting.
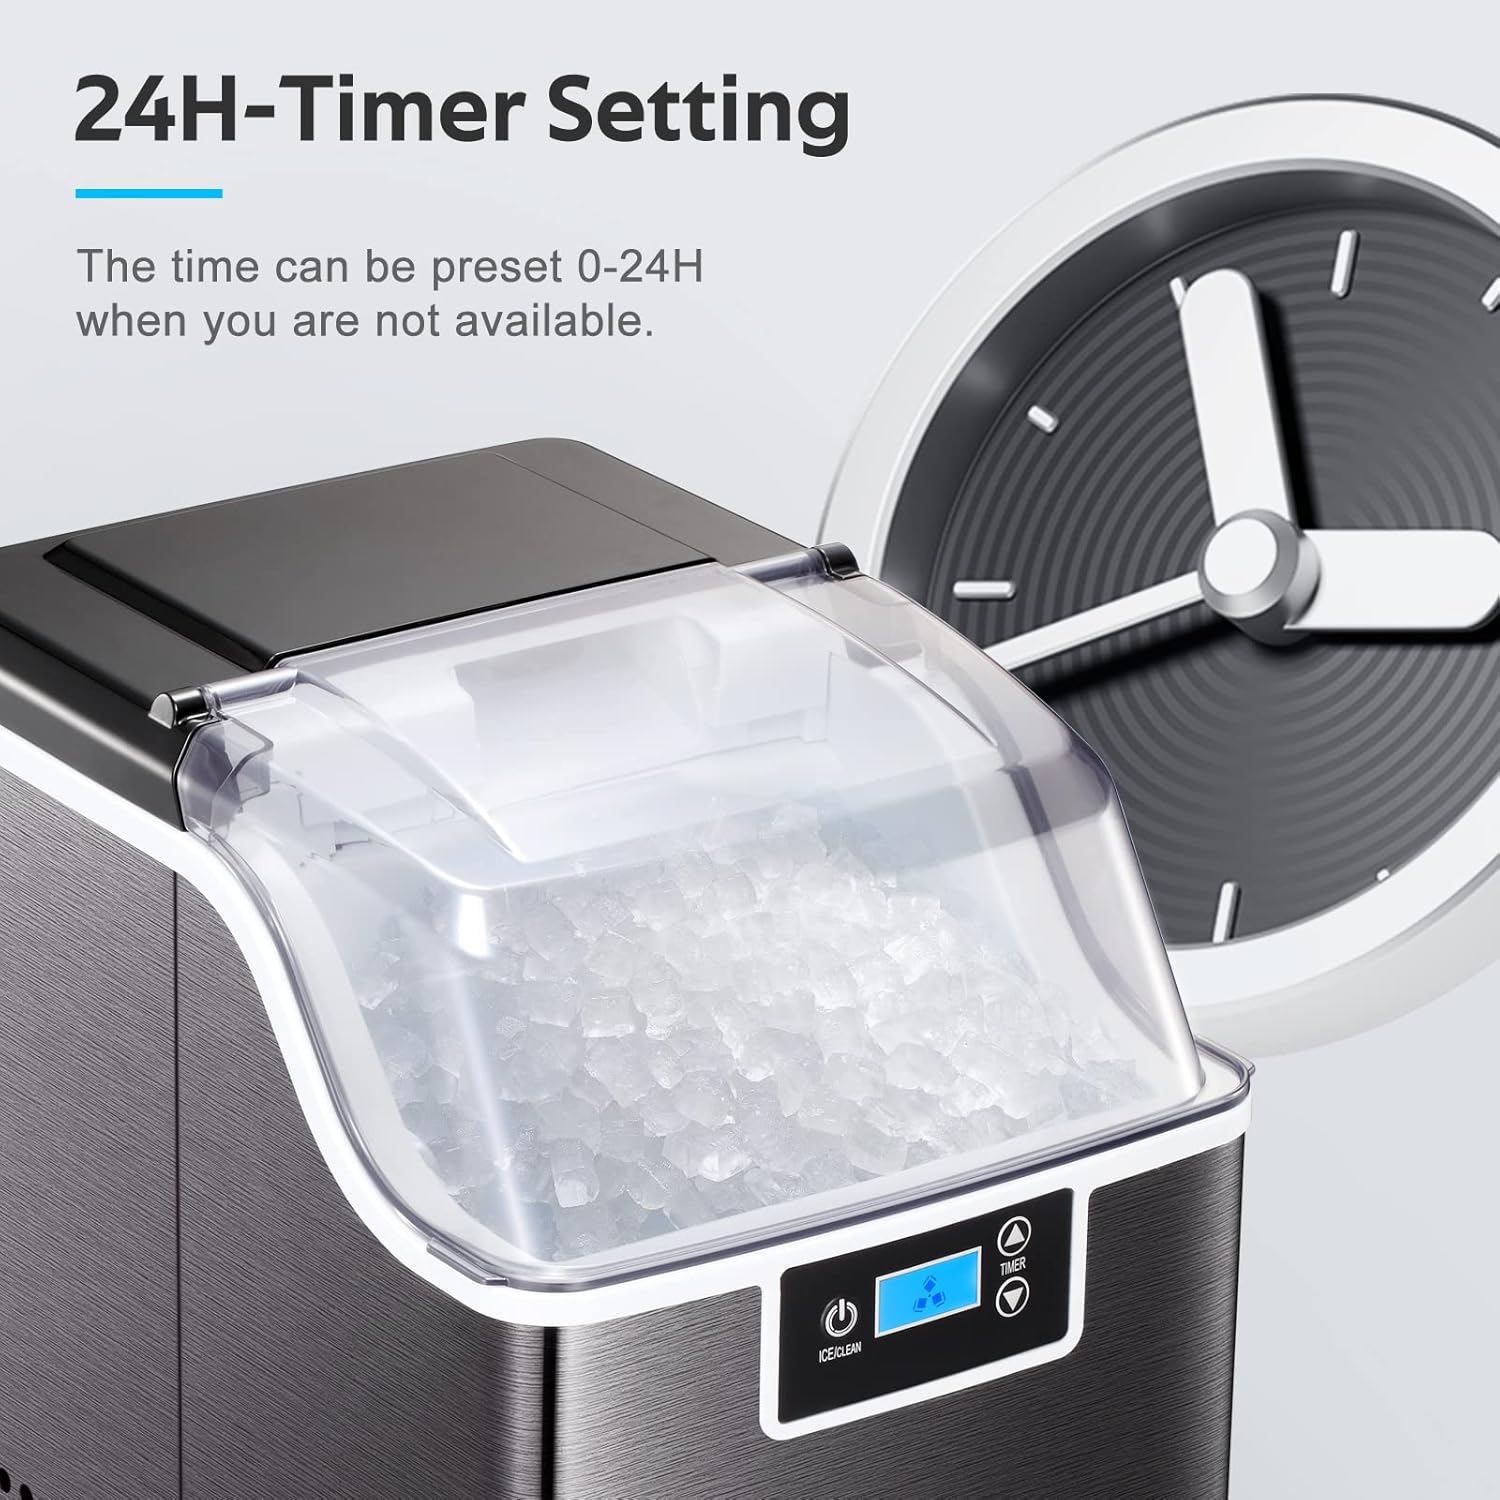
Image 5: The ice maker's 24-hour timer setting feature, allowing users to schedule operation.
6. Maintenance
6.1 Self-Cleaning Function
The ice maker is equipped with a self-cleaning feature to simplify maintenance.
- Ensure the water reservoir is filled with clean water.
- Press and hold the ICE/CLEAN button for 5 seconds to activate the self-cleaning cycle.
- The unit will run through a cleaning process, circulating water.
- Once the cycle is complete, drain the water from the unit as described in the regular cleaning section.

Image 6: Depiction of the self-cleaning function, showing water circulating within the unit for automatic cleaning.
6.2 Regular Cleaning
Regular cleaning helps maintain ice quality and extends the life of your ice maker.
- Exterior: Wipe the exterior with a soft, damp cloth. Do not use harsh chemicals or abrasive cleaners.
- Interior: For thorough cleaning, unplug the unit. Remove the ice basket. Drain any remaining water from the reservoir using the drain plug (usually located at the bottom or back). Clean the water reservoir and ice-making components with a solution of water and mild detergent or a vinegar solution. Rinse thoroughly with clean water.
- Ice Basket & Scoop: Wash with warm, soapy water, rinse, and dry completely.
- Ensure all parts are dry before reassembling and operating the unit.
7. Troubleshooting
| Problem | Possible Cause | Solution |
|---|---|---|
| Ice maker not producing ice | No power; Low water level; Ambient temperature too high. | Check power connection; Refill water reservoir; Ensure unit is in a cool, well-ventilated area. |
| Ice production is slow or ice is small | First use; High ambient temperature; Mineral buildup. | Discard first few batches; Ensure proper ventilation; Perform self-cleaning or manual cleaning. |
| Unit is noisy | Normal operation sounds; Unit not level; Internal components settling. | Some noise is normal, especially during initial cycles; Ensure unit is on a stable, level surface. Noise should decrease after a few minutes of operation. |
| Water leakage | Drain plug not secured; Unit not level; Overfilling water reservoir. | Check and secure the drain plug; Ensure unit is on a level surface; Do not exceed MAX fill line. |
| Ice has an unusual taste | Unit needs cleaning; Stale water. | Perform a thorough cleaning cycle; Use fresh, potable water. |
8. Warranty and Support
The ZAFRO Nugget Ice Maker is manufactured by ZAFRO. For any product-related inquiries, technical support, or warranty claims, please contact ZAFRO customer service. Refer to your purchase documentation for specific warranty terms and contact information.
Please have your model number (Z5820BN-BLACK) and purchase date available when contacting support.


