
Introduction
This manual provides detailed instructions for the safe and effective use of your HOTO KE1000 Golf Rangefinder. Please read this manual thoroughly before operating the device and retain it for future reference.

Figure 1: HOTO KE1000 Golf Rangefinder. This image displays the sleek, compact design of the rangefinder, highlighting its dual lenses and the "Designed by HOTO" branding on the side panel.
Safety Information
- Do not look directly into the laser emitter or directly at the sun through the eyepiece. This can cause permanent eye damage.
- Keep the device away from extreme temperatures and direct sunlight.
- Do not attempt to disassemble or modify the device. Repairs should only be performed by authorized service personnel.
- Ensure the USB-C charging port is dry before charging.
- This device is IPX4 water-resistant, meaning it is protected against splashing water from any direction. It is not designed for submersion.
Package Contents
Verify that all items are present in your package:
- HOTO KE1000 Golf Rangefinder
- USB-C Charging Cable
- Protective Carrying Case
- Lanyard
- User Manual (this document)
Device Overview
Familiarize yourself with the components of your rangefinder.
- Eyepiece: For viewing through the device.
- Focusing Knob: Adjusts the focus of the eyepiece.
- Laser Emitter/Receiver: Sends and receives laser signals for measurement.
- Power/Measurement Button: Powers on the device and initiates measurements.
- Mode Button: Switches between measurement modes.
- USB-C Charging Port: For recharging the internal battery.
- Magnetic Strip: Allows attachment to magnetic surfaces.
- Lanyard Hole: For attaching the included lanyard.
Setup
1. Charging the Device
Before first use, fully charge the rangefinder. The device features a built-in 730mAh lithium-ion battery.
- Locate the USB-C charging port, typically covered by a silicone flap.
- Connect the provided USB-C cable to the rangefinder and the other end to a compatible USB power adapter (not included).
- The charging indicator will illuminate during charging and change color or turn off when fully charged.
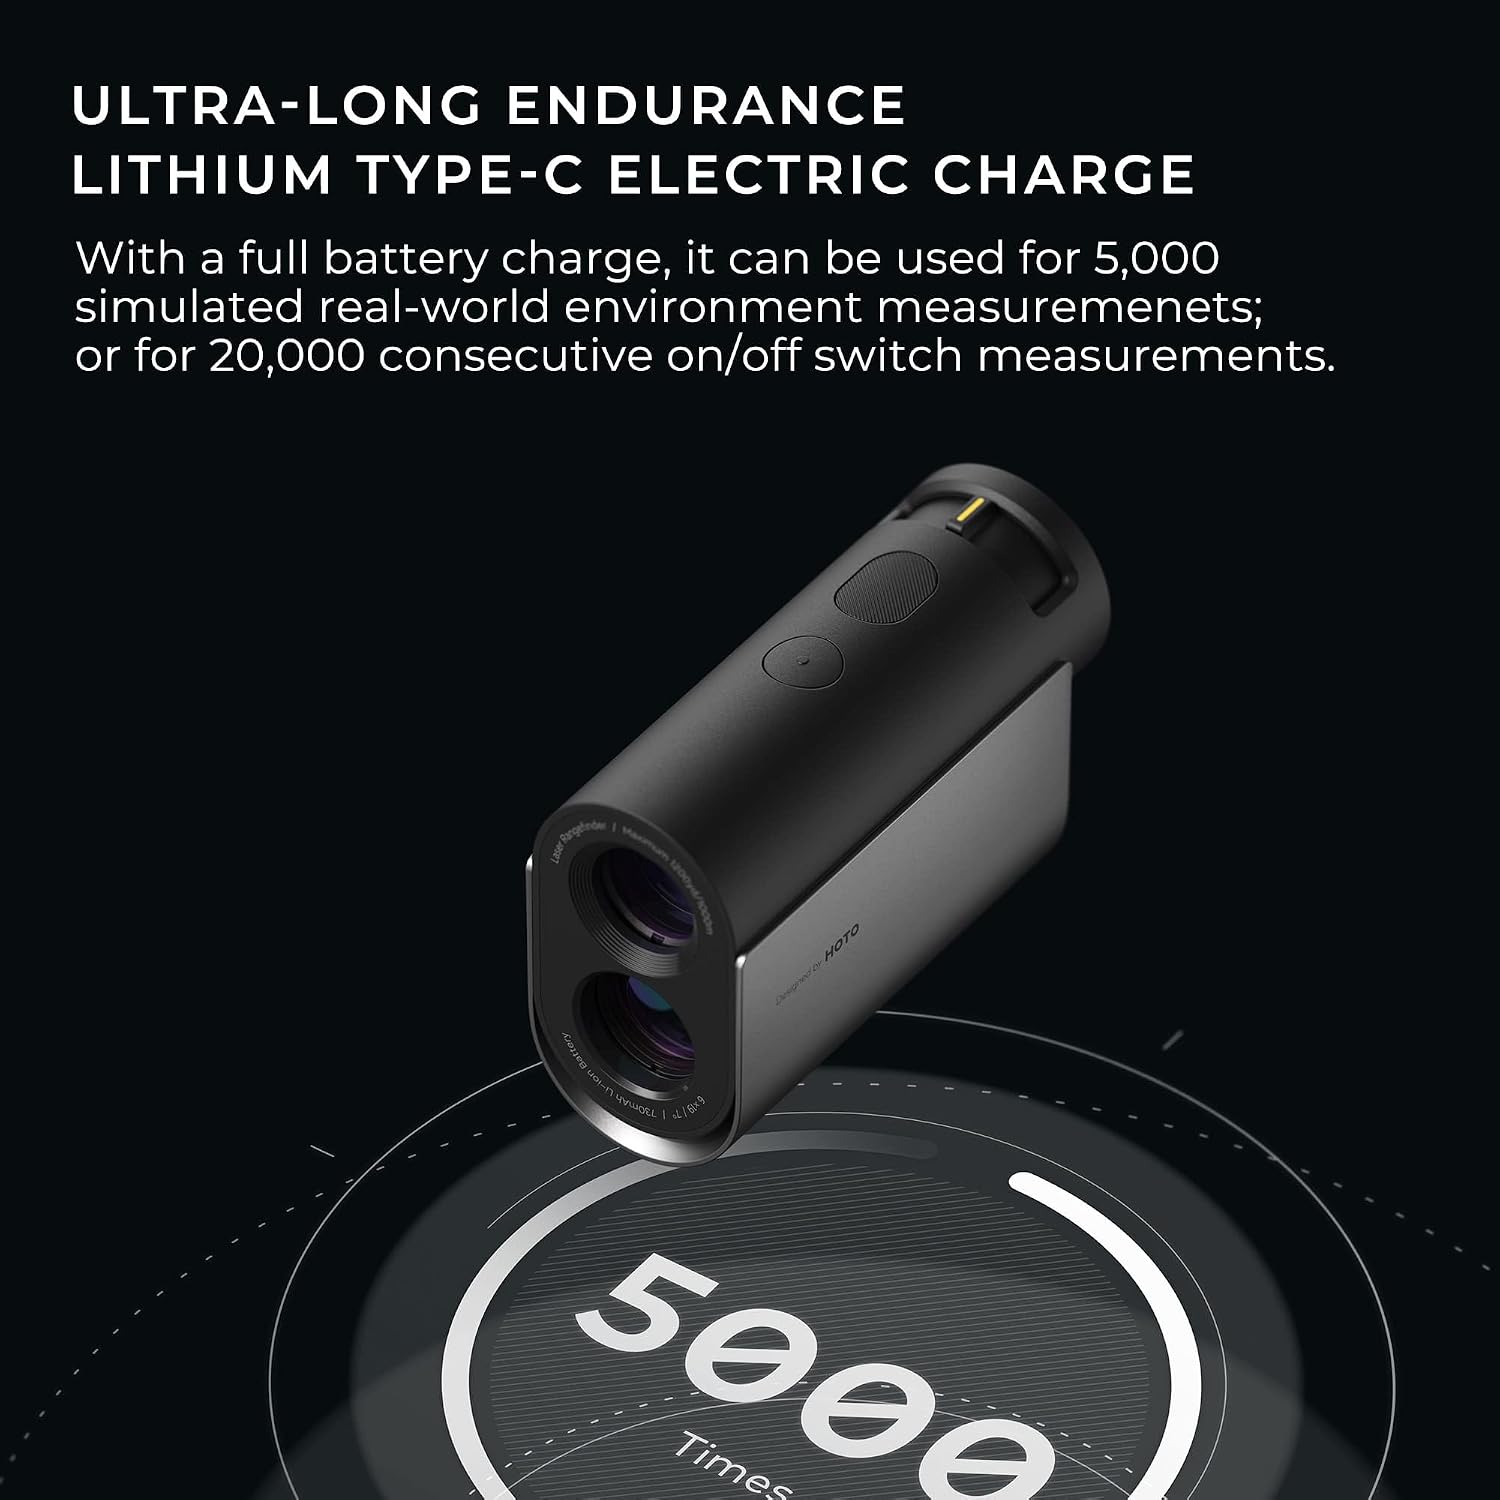
Figure 2: USB-C Charging Port. This image shows the rangefinder's USB-C port, indicating where to connect the charging cable. The device is designed for ultra-long endurance with its rechargeable battery.
2. Powering On/Off
- To power on: Press the Power/Measurement Button briefly.
- To power off: The device automatically shuts down after 10 seconds of inactivity to conserve battery.
3. Adjusting Focus
Rotate the focusing knob on the eyepiece until the display and target appear clear and sharp.
4. Unit Selection (Yards/Meters)
While the device is powered on, press and hold the Mode Button to switch between Yards (Y) and Meters (M).
Operating Instructions
1. Basic Measurement
- Look through the eyepiece and aim the reticle at your target.
- Press the Power/Measurement Button once to get a single measurement. The distance will be displayed instantly.
- For continuous scanning, press and hold the Power/Measurement Button. The distance will update as you scan across targets.

Figure 3: Rangefinder Display. This image illustrates the view through the rangefinder's eyepiece, showing a clear display of the measured distance (e.g., 1100 yards) and other indicators against a golf course background.
2. Mode Selection
Press the Mode Button briefly to cycle through available modes:
- Standard Mode: Provides direct line-of-sight distance.
- Slope Compensation Mode: Adjusts the distance based on elevation changes, providing an "effective" playing distance. An indicator (e.g., 'S' or 'Slope') will appear on the display.
- Flag Lock Mode: Prioritizes the closest object (e.g., a flagstick) and vibrates or provides a distinct indicator when locked onto the flag, filtering out background objects.
3. Magnetic Attachment
The rangefinder features integrated magnets on its right side, allowing it to be securely attached to magnetic surfaces, such as a golf cart frame or metal accessories, for convenient access during play.

Figure 4: Magnetic Attachment Feature. This image demonstrates the rangefinder's magnetic side attaching to a metal bar, illustrating how it can free your hands during use.
Maintenance
1. Cleaning
- Use a soft, clean cloth to wipe the exterior of the device.
- For lenses, use a lens cleaning cloth and solution specifically designed for optical surfaces. Avoid abrasive materials.
- Do not use harsh chemicals or solvents.
2. Storage
- Store the rangefinder in its protective carrying case when not in use.
- Keep it in a cool, dry place, away from direct sunlight and extreme temperatures.
3. Battery Care
- Recharge the battery regularly, even if the device is not used frequently, to maintain battery health.
- Avoid fully discharging the battery for extended periods.
Troubleshooting
| Problem | Possible Cause | Solution |
|---|---|---|
| Device does not power on. | Low or depleted battery. | Charge the device using the provided USB-C cable. |
| Inaccurate measurements or difficulty locking onto target. |
|
|
| Flag Lock mode not working as expected. |
|
|
Specifications
| Feature | Detail |
|---|---|
| Model Number | KE1000 |
| Brand | HOTO |
| Measurement Range | Up to 1100 yards (approx. 1000 meters) |
| Magnification | 6X |
| Measurement Accuracy | ±1 yard |
| Measurement Speed | Within 0.5 seconds |
| Battery Type | Built-in 730mAh Lithium-Ion Polymer |
| Charging Port | USB-C |
| Water Resistance | IPX4 |
| Dimensions | 10.1L x 4W x 6.9H cm (approx. 10 x 4 x 6.8 cm) |
| Weight | Approx. 190 grams (7.05 ounces) |
| Material | Acrylonitrile Butadiene Styrene (ABS) |
| Automatic Shut-off | After 10 seconds of inactivity |
Warranty and Support
For warranty information and customer support, please refer to the documentation provided with your purchase or contact the retailer/manufacturer directly. Keep your proof of purchase for warranty claims.
Manufacturer: HOTO
Disposal
This product contains a built-in lithium-ion battery. Do not dispose of the device with general household waste. Please follow local regulations for the proper recycling of electronic devices and batteries.