Introduction
This manual provides essential instructions for setting up, operating, and maintaining your HP Z1 Entry Tower G5 Workstation. This workstation is designed for professional use, offering robust performance for demanding applications. Please read this manual thoroughly to ensure proper use and longevity of your device.
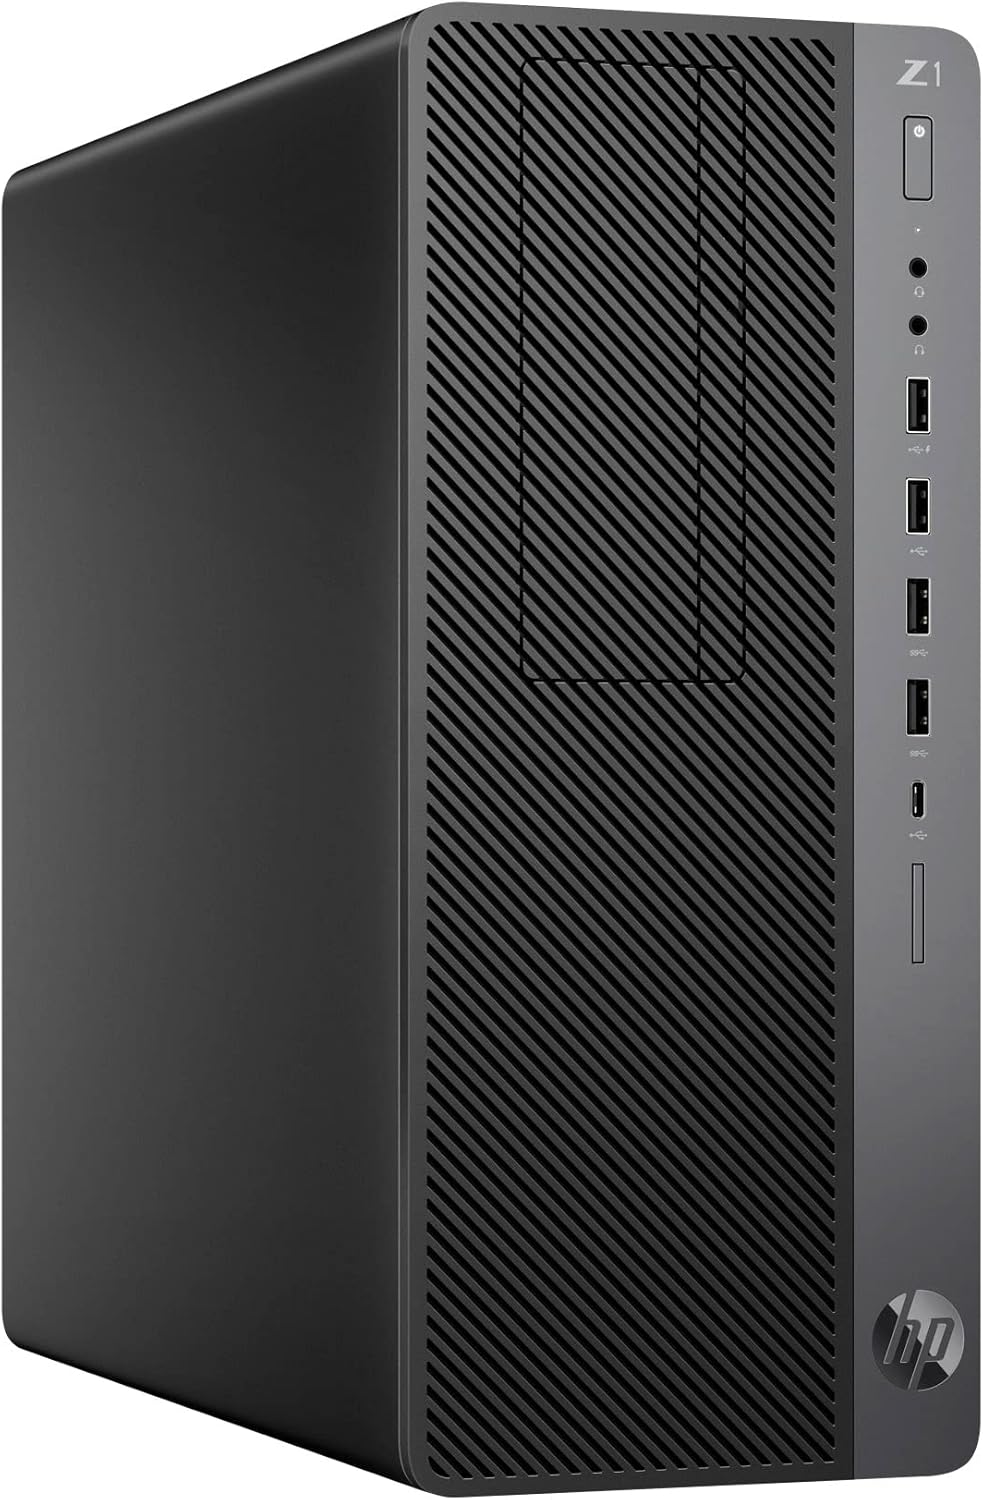
Figure 1: HP Z1 Entry Tower G5 Workstation. This image shows the workstation from an angled front view, highlighting its compact tower design and front panel features.
Setup
1. Unpacking and Initial Inspection
Carefully remove the workstation from its packaging. Inspect the unit for any signs of damage that may have occurred during transit. The package should contain:
- HP Z1 Entry Tower G5 Workstation
- Power Cord
Note: Keyboard, mouse, Wi-Fi adapter, and monitor are not included and must be acquired separately.
2. Connecting Peripherals
Before powering on, connect your essential peripherals:
- Monitor: Connect your monitor to one of the DisplayPort outputs on the rear of the workstation.
- Keyboard and Mouse: Connect your USB keyboard and mouse to any available USB ports on the front or rear panel.
- Network: For wired internet access, connect an Ethernet cable to the RJ-45 (network) port on the rear panel.
- Audio: Connect speakers or headphones to the audio output jack.

Figure 2: Front and Rear Port Diagram. This diagram illustrates the location and function of all ports on the HP Z1 Entry Tower G5 Workstation, including USB, DisplayPort, audio jacks, and network connections.
3. Power Connection
Connect the provided power cord to the power connector on the rear of the workstation, then plug the other end into a grounded electrical outlet.
4. Initial Boot and Windows Setup
Press the power button located on the front panel. The workstation comes with a fresh installation of Windows 10 Pro, activated via your unit's unique digital license. Follow the on-screen prompts to complete the initial Windows setup, including user account creation and network configuration.
Operating Instructions
1. Power On/Off
- Power On: Press the power button on the front panel.
- Power Off: In Windows, go to Start > Power > Shut down. Alternatively, press and hold the power button for several seconds to force a shutdown (use only if the system is unresponsive).
2. Using USB Ports
The workstation features various USB ports for connecting devices such as external drives, printers, and other peripherals:
- Front Panel: Includes USB 3.1 Gen 2 Type-C (1), USB 3.1 Gen 2 Type-A (2), USB 2.0 (2, one with fast charging).
- Rear Panel: Includes USB 3.1 Gen 1 Type-A (2), USB 2.0 Type-A (2).
Refer to Figure 2 for exact port locations.
3. Display Connections
The workstation is equipped with two Dual-Mode DisplayPort™ 1.2 (DP++) outputs for connecting monitors. Some units may also include optional VGA or serial ports.
4. Optional Components
This workstation does not include integrated Wi-Fi. If wireless connectivity is required, a separate USB Wi-Fi adapter must be installed.
Maintenance
1. General Care
- Keep the workstation in a clean, dust-free environment.
- Ensure proper ventilation by not blocking the air vents.
- Clean the exterior with a soft, damp cloth. Avoid harsh chemicals.
2. Software Updates
Regularly update your Windows 10 operating system and drivers to ensure optimal performance and security. Windows Update can be accessed via Settings > Update & Security > Windows Update.
3. System Recovery
In case of system issues or hard drive failure, recovery media can be created using the Windows Media Creation Tool. This free tool from Microsoft allows you to create a bootable DVD or USB device to fully recover the operating system. It is recommended to create this media on the workstation before any potential hard disk failures to prevent data loss. For instructions, visit the official Microsoft support website.
Disclaimer: The seller is not responsible for any loss of data.
Troubleshooting
This section addresses common issues you might encounter with your HP Z1 Entry Tower G5 Workstation.
1. No Power
- Ensure the power cord is securely connected to both the workstation and a working electrical outlet.
- Verify the power outlet is functional by plugging in another device.
2. No Display on Monitor
- Check that the monitor is powered on and correctly connected to a DisplayPort on the workstation.
- Ensure the correct input source is selected on your monitor.
- If using multiple monitors, try connecting only one to isolate the issue.
3. System Slowdown or Freezing
- Close unnecessary applications to free up system resources.
- Check for and install any pending Windows updates.
- Run a system scan for malware or viruses.
- Consider creating recovery media and performing a system restore if issues persist.
4. Peripheral Not Detected
- Ensure the peripheral is properly connected to a functional USB port.
- Try connecting the peripheral to a different USB port.
- Install or update the drivers for the peripheral if necessary.
Specifications
The following table details the key specifications of the HP Z1 Entry Tower G5 Workstation:
| Component | Specification |
|---|---|
| Operating System | Windows 10 Pro x64 |
| CPU | Intel Core i7-9700 (8 Cores, 8 Threads, 3.0GHz, 12MB Cache, 65W) |
| Memory (RAM) | 32GB DDR4 |
| Storage | 1TB NVMe PCIe M.2 SSD |
| Graphics | Intel UHD Graphics 630 |
| USB 3.1 Gen 2 Type-C | 1 Port |
| USB 3.1 Gen 2 Type-A | 4 Ports |
| USB 3.1 Gen 1 Type-A | 2 Ports |
| USB 2.0 Type-A | 4 Ports |
| Display Ports | 2 (Dual-Mode DisplayPort™ 1.2) |
| Ethernet | 10/100/1000 Mbps, Gigabit |
| Dimensions (LxWxH) | 14.6 x 14.4 x 6.1 inches |
| Optical Drive | None |
| Wi-Fi | Not Included (Sold Separately) |
Warranty and Support
This HP Z1 Entry Tower G5 Workstation is a renewed product. It has been thoroughly tested under the guidelines of the Microsoft Refurbisher program and is guaranteed to be in perfect working order by the seller.
For specific warranty details regarding renewed products, please refer to the terms provided by your seller at the time of purchase. For general product information and support resources from HP, please visit the official HP Support website.
For assistance with Windows 10, including creating recovery media, please visit the official Microsoft Support website.