
1. Setup and Initial Use
Before first use, please ensure all packaging materials are removed and the humidifier is assembled correctly. It is recommended to use purified or distilled water for optimal performance and longevity of the device.

Figure 1.1: Overview of humidifier components and initial setup steps. Ensure all protective tapes and foam are removed from the unit before assembly.

Figure 1.2: Detailed instructions for removing protective tape from the humidifier's body and foam from the base. This ensures proper function and prevents damage during operation.
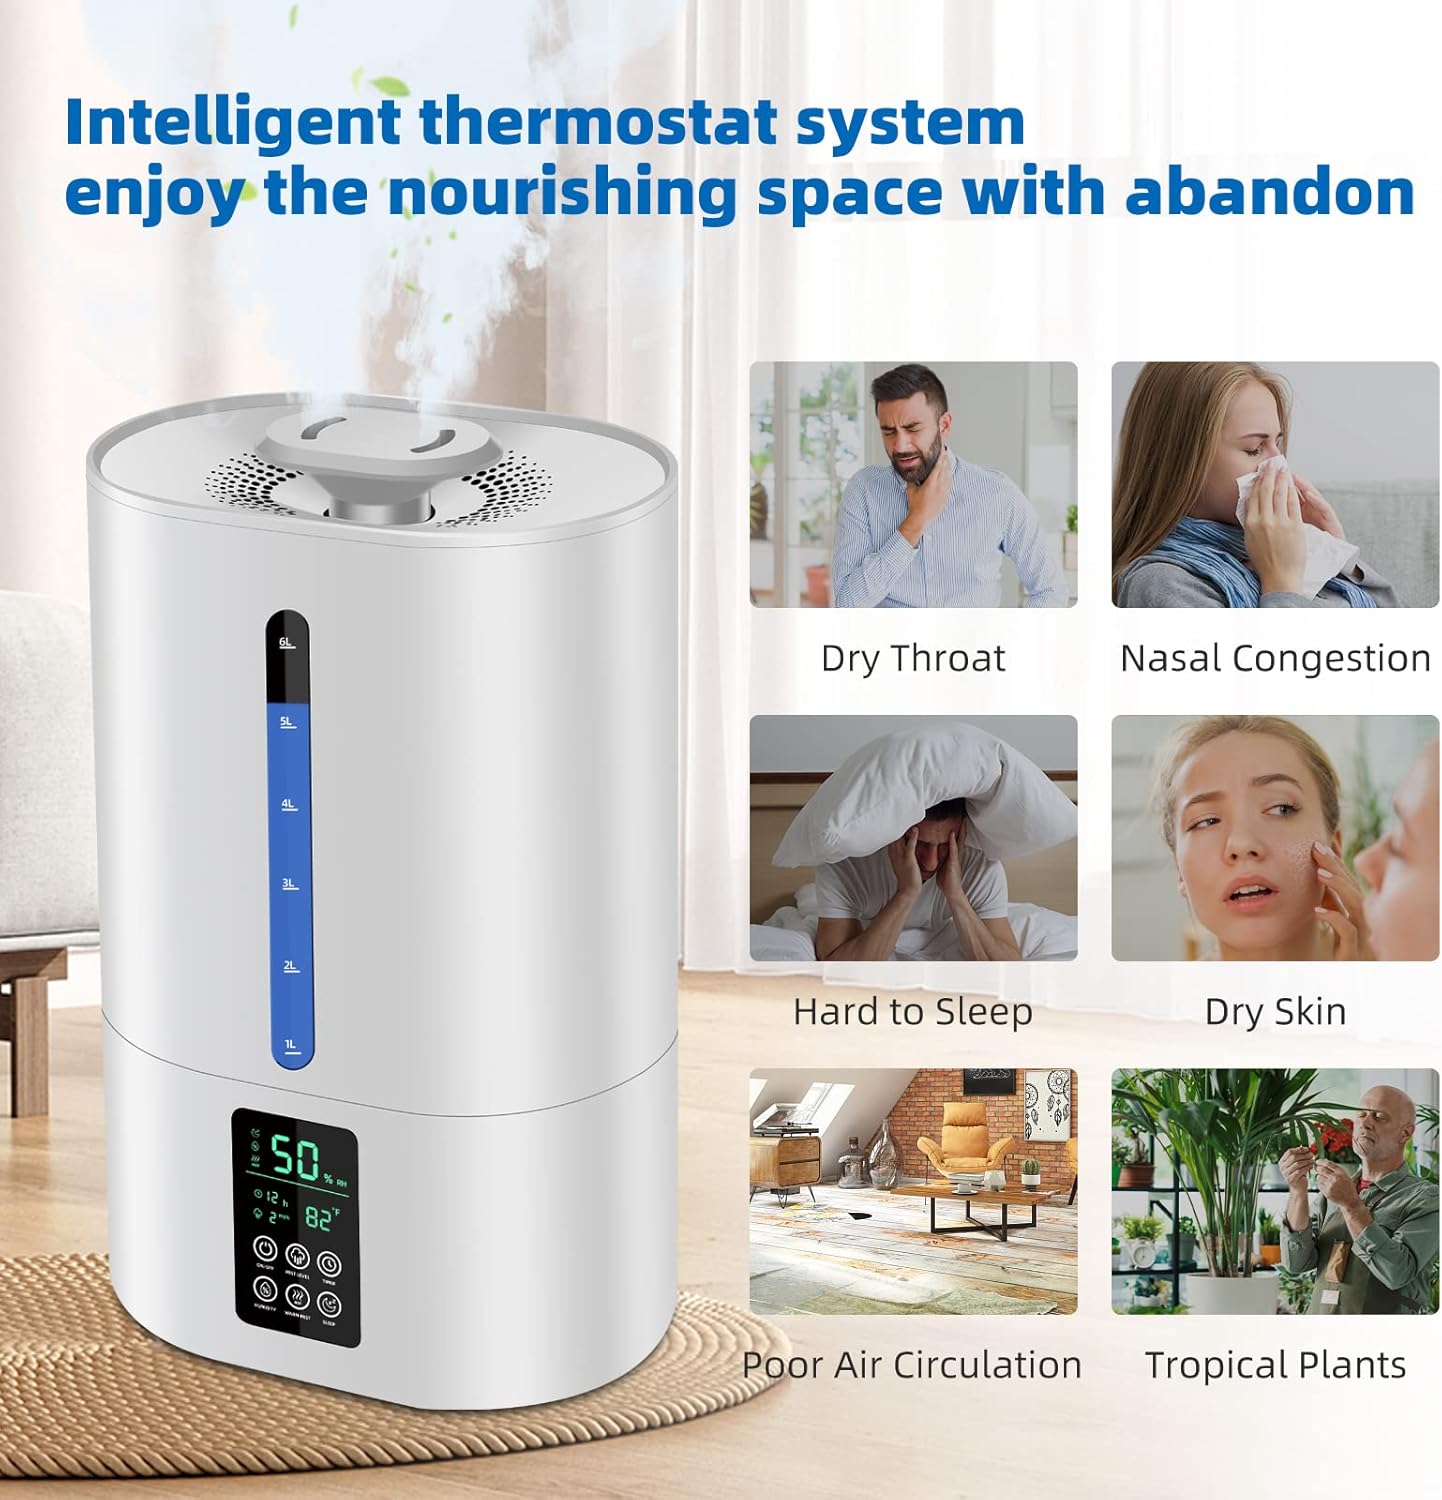
Figure 1.3: Proper installation of the water purification device and filters into the bottom of the water tank. These components help maintain water quality and prevent mineral buildup.

Figure 1.4: Illustrates the convenient top-fill method for adding water. Water can be poured directly into the top opening, or by removing the top lid for easier access. Do not pour water directly into the mist vent.
Video: Humidifier Setup Guide
Video 1.1: This official seller video provides a comprehensive guide to setting up your Coolfiqu humidifier, including unboxing, component assembly, and initial water filling. It demonstrates how to properly prepare the unit for its first use.
2. Operating Instructions
The Coolfiqu humidifier features an intuitive touch control panel for easy operation. Familiarize yourself with the various settings to customize your humidification experience.
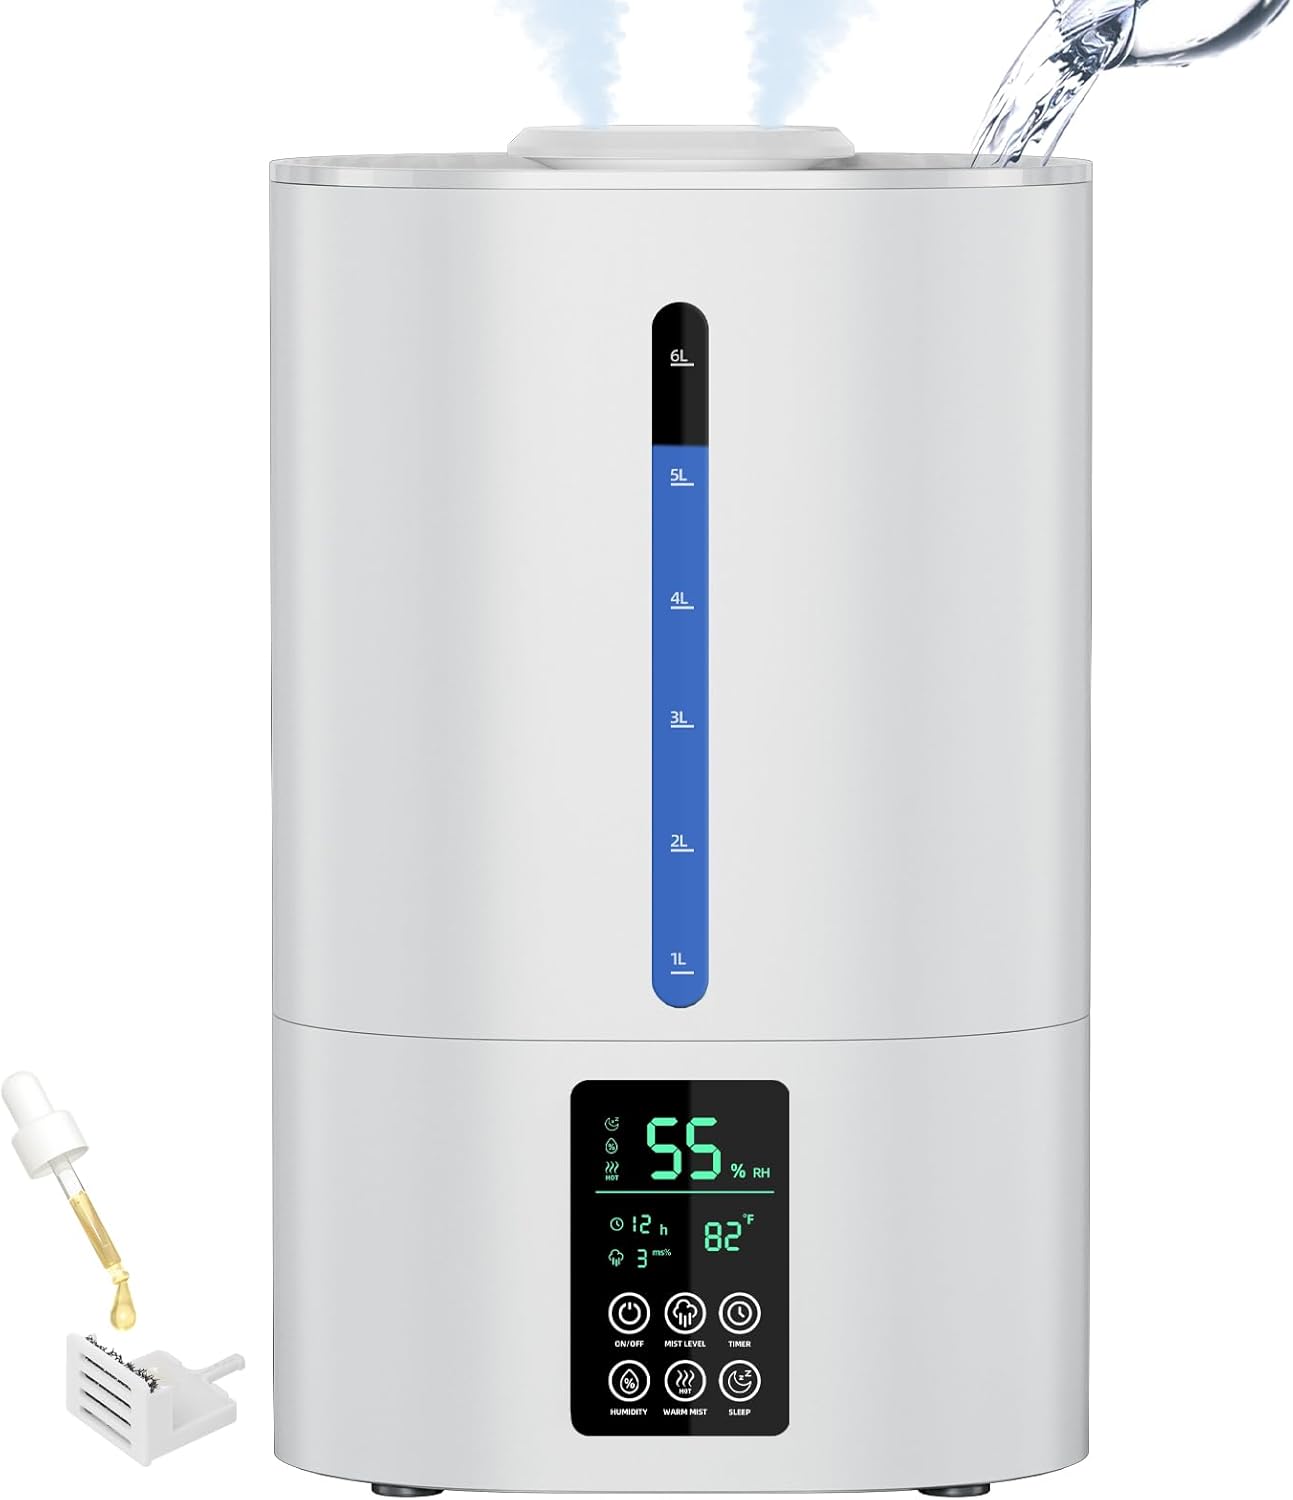
Figure 2.1: The main control panel displays current humidity and temperature. Touch buttons allow for easy adjustment of settings.

Figure 2.2: Adjust mist output with three distinct mist levels: low, medium, and high. Each level provides a different rate of humidification to suit your needs.

Figure 2.3: The essential oil diffuser tray allows you to add a few drops of your favorite fragrance for aromatherapy benefits. Ensure the tray is properly inserted after adding oils.

Figure 2.4: The sleep mode feature turns off the LCD display while maintaining humidification, ensuring a dark and quiet environment for undisturbed rest.
Video: Humidifier Operating Features
Video 2.1: This official seller video demonstrates the various operating features of the humidifier, including power on/off, mist level adjustment, timer settings, humidity control, warm mist function, and sleep mode activation.
Video: Mist Output Demonstration
Video 2.2: Observe the different mist outputs for each level (1, 2, and 3) and the distinction between cool and warm mist. This video highlights the humidifier's quick and accurate response to setting changes.
3. Maintenance
Regular cleaning and maintenance are crucial for the efficient and hygienic operation of your humidifier. Always unplug the unit before cleaning.
3.1 Cleaning the Water Tank and Base
Separate the water tank from the base. Gently scrub the interior of the base and the water tank with a soft brush to remove any mineral deposits or buildup. Ensure all components are thoroughly rinsed and dried before reassembly.
Figure 3.1: The humidifier base, showing internal components that require gentle cleaning. Use a soft brush to avoid damage.
Figure 3.2: The wide top opening of the water tank facilitates easy access for thorough cleaning, ensuring no areas are missed.
3.2 Cleaning the Purification Device and Water Filter
The purification device and water filter can be easily removed for cleaning. Squeeze the tabs on the water filter to release it. Lightly scrub both components with a brush under running water. Reinstall them securely after cleaning.
Video: Humidifier Cleaning and Precautions
Video 3.1: This video demonstrates the proper steps for cleaning the humidifier's base, water tank, and internal filters. It also highlights important precautions to take during the cleaning process to prevent damage.
Video: Humidifier Precautions for Use
Video 3.2: This official seller video outlines essential precautions for using the Coolfiqu humidifier, ensuring safe and effective operation. It covers tips for maintaining the unit and avoiding common issues.
4. Troubleshooting
If you encounter any issues with your Coolfiqu humidifier, please refer to the common problems and solutions below. For persistent issues, contact customer support.
| Problem | Possible Cause | Solution |
|---|---|---|
| No mist or low mist output | Low water level; clogged transducer/filter; improper assembly. | Refill water tank; clean transducer/filter; ensure tank is seated correctly. |
| Unusual odor from mist | Stagnant water; mineral buildup; dirty tank. | Change water daily; clean tank and components thoroughly. |
| Water leakage | Tank not properly sealed; overfilling; damaged components. | Ensure tank lid is secure; do not overfill; inspect for cracks or damage. |
| Display not working | Sleep mode activated; power issue. | Press any button to exit sleep mode; check power connection. |
5. Specifications
- Brand: Coolfiqu
- Model Number: LP-2113
- Product Dimensions: 9 x 6.29 x 14.76 inches
- Item Weight: 5.39 pounds
- Room Type: Baby, Bedroom, Living Rooms
6. Warranty and Support
For warranty information, please refer to the documentation included with your product or visit the official Coolfiqu website. If you require further assistance or have questions not covered in this manual, please contact Coolfiqu customer support.
Coolfiqu Customer Support: Visit the Coolfiqu Store on Amazon