
1. Introduction
Thank you for choosing the EJEAS V7 Motorcycle Helmet Bluetooth Intercom. This device is designed to provide clear and reliable wireless communication for motorcyclists, enhancing safety and convenience during rides. It features Bluetooth 5.1 technology, CVC noise reduction, and supports multi-rider intercom functionality. Please read this manual thoroughly before use to ensure proper installation and operation.

Figure 1: EJEAS V7 Intercom Unit
2. Product Overview and Features
The EJEAS V7 intercom offers a range of features for an improved riding experience:
- Bluetooth 5.1: For stable and fast wireless connections.
- 1200m Intercom Distance: Supports communication between two riders up to 1200 meters.
- Multi-Rider Support: Connects up to 7 devices, with 2 riders talking simultaneously.
- CVC Noise Reduction: Automatically reduces ambient noise for clear audio.
- Dual Phone Connectivity: Connect two mobile phones simultaneously.
- Auto-Answering: Automatically answers incoming calls after 5 seconds.
- Voice Assistant: Access your phone's voice assistant.
- IP65 Waterproof: Designed for use in various outdoor weather conditions.
- Long Battery Life: 850mAh battery provides extended talk and music playback time.
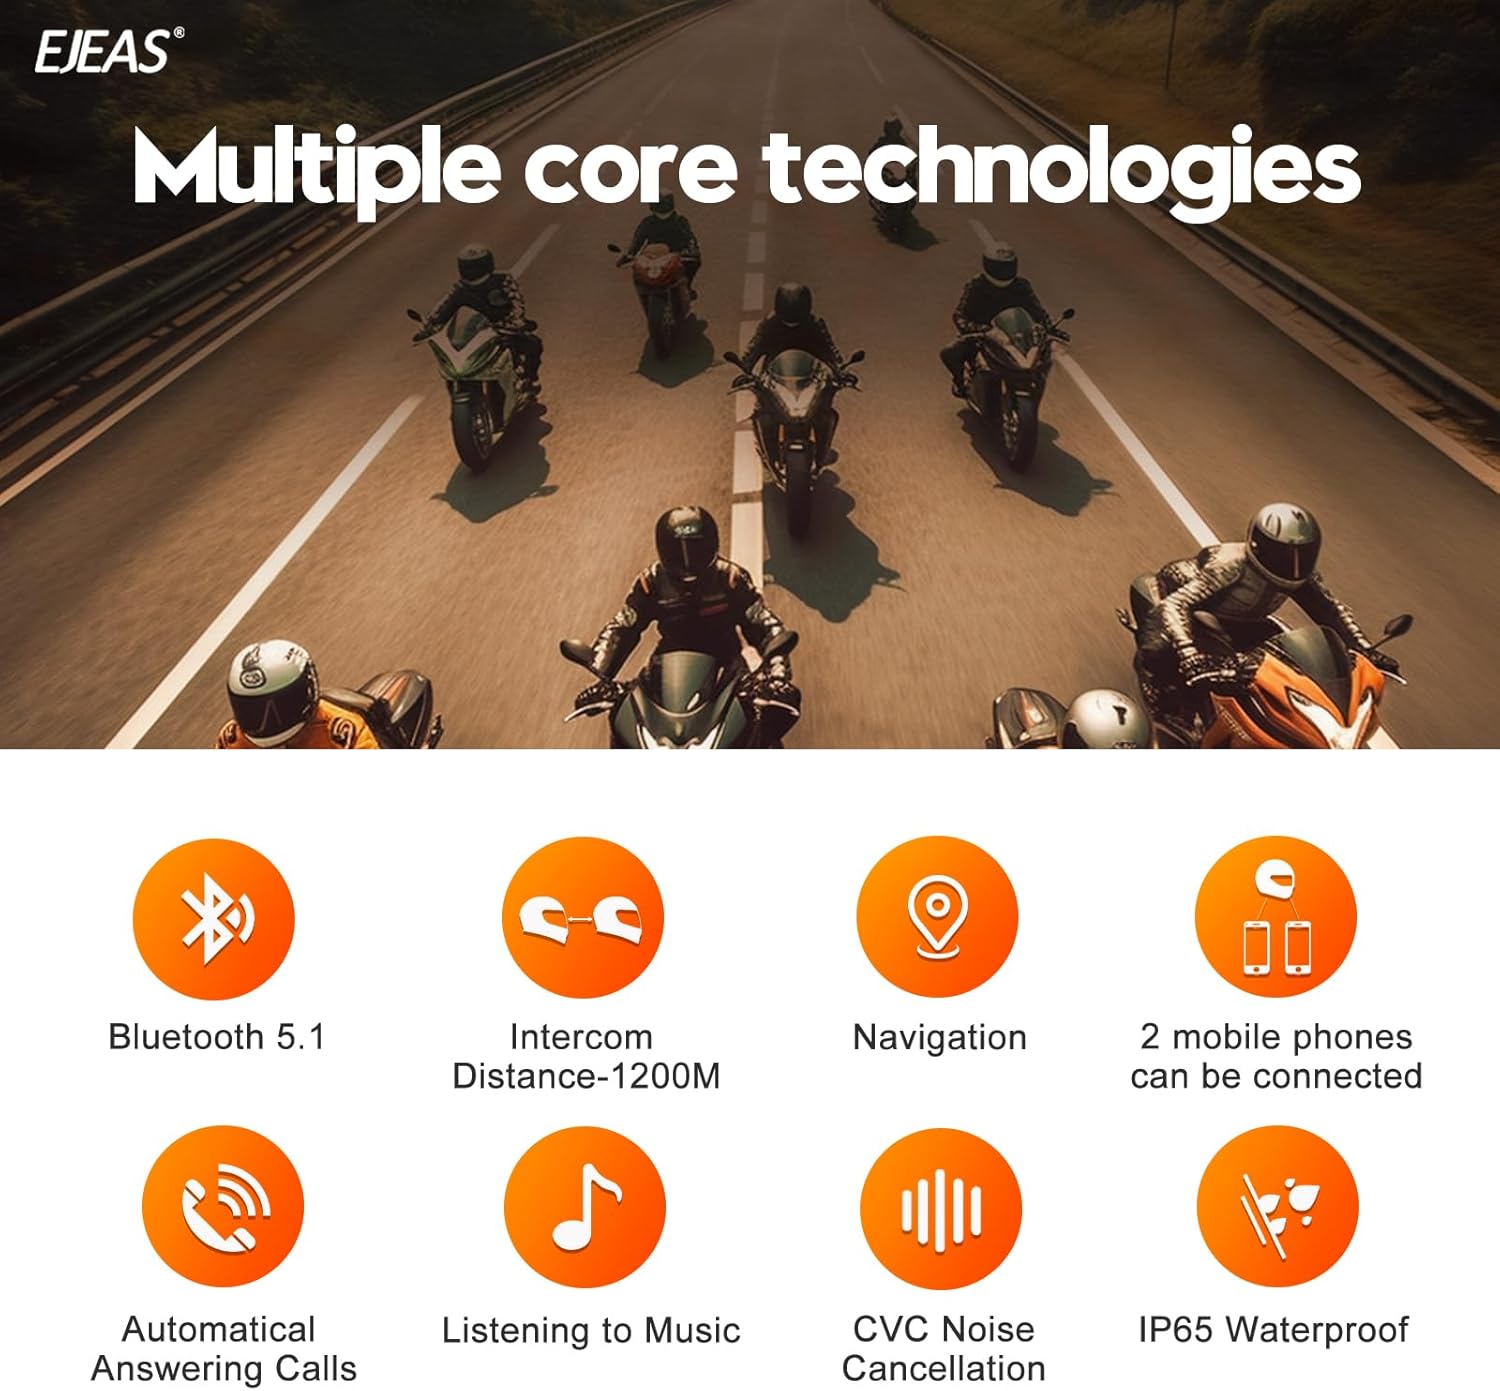
Figure 2: EJEAS V7 Key Features Overview
2.1. Device Components

Figure 3: EJEAS V7 Button Layout and Functions
- Power Button (A): Power on/off, Intercom activation.
- Volume Up Button (B): Increase volume.
- Phone Button (C): Answer/end calls, activate voice assistant.
- Volume Down Button (D): Decrease volume.
- Function Button (E): Music control, FM radio.
- Headphone/Charging Port: Type-C port for charging and connecting headphones.
3. Package Contents
Verify that all items are present in your package:
- EJEAS V7 Intercom Unit
- Headphones with Microphone
- USB Type-C Charging Cable
- Helmet Mounting Clips (Adhesive and Clamp)
- Speaker Velcro Pads
- User Manual

Figure 4: EJEAS V7 Package Contents
4. Specifications
| Feature | Specification |
|---|---|
| Bluetooth Version | 5.1 |
| Intercom Distance | Up to 1200m (between 2 riders) |
| Battery Capacity | 850mAh |
| Charging Time | Approx. 2-3 Hours |
| Talk Time | Up to 16 Hours |
| Music Playback Time | Up to 22 Hours |
| Standby Time | Up to 160 Hours |
| Waterproof Rating | IP65 |
| Charging Port | Type-C |
| Noise Control | CVC Noise Cancellation |

Figure 5: EJEAS V7 Detailed Specifications
5. Installation
5.1. Charging the Device
Before first use, fully charge the EJEAS V7 intercom. Connect the provided USB Type-C cable to the charging port on the unit and a suitable USB power adapter (DC5V/1A recommended). The indicator light will show charging status and turn off when fully charged.

Figure 6: Type-C Charging Interface and Battery Life
5.2. Mounting the Intercom Unit
The EJEAS V7 can be mounted to your helmet using either the adhesive mount or the clamp mount. Choose the method most suitable for your helmet type.
- Adhesive Mount: Clean the desired area on the side of your helmet. Peel off the protective film from the adhesive mount and firmly press it onto the helmet surface. Allow sufficient time for the adhesive to cure before attaching the intercom unit.
- Clamp Mount: Loosen the screws on the clamp mount. Slide the clamp between the helmet shell and the inner padding. Tighten the screws to secure the clamp.
- Slide the EJEAS V7 intercom unit onto the chosen mount until it clicks securely into place.
5.3. Headphone and Microphone Installation
Install the speakers and microphone inside your helmet for optimal audio quality and comfort.
- Attach the speaker Velcro pads to the inside of your helmet, positioning them directly over your ears.
- Secure the speakers to the Velcro pads. Ensure they are flat against the helmet lining and centered over your ears.
- Route the microphone cable and position the microphone in front of your mouth, ensuring it is close enough for clear voice pickup but not obstructing your vision or comfort.
- Connect the headphone/microphone cable to the Type-C port on the EJEAS V7 intercom unit.

Figure 7: Headphone Installation Steps
6. Operation
6.1. Power On/Off
- Power On: Long press the Power Button (A) for 3 seconds until the indicator light flashes.
- Power Off: Long press the Power Button (A) for 3 seconds until the indicator light turns off.
6.2. Pairing with Mobile Phone
- Ensure the EJEAS V7 is powered off.
- Press and hold the Phone Button (C) and Function Button (E) simultaneously for 5 seconds until the red and blue lights flash alternately, indicating pairing mode.
- On your mobile phone, enable Bluetooth and search for "EJEAS V7".
- Select "EJEAS V7" to connect. Once connected, the blue light will flash slowly.
6.3. Intercom Pairing (Multi-Rider)
The EJEAS V7 supports pairing with up to 7 devices, allowing 2 riders to talk simultaneously. The host unit can switch between the other 6 sub-devices.
- Ensure both intercom units are powered on.
- On the first unit (Host), press and hold the Power Button (A) for 5 seconds until the red and blue lights flash alternately.
- On the second unit (Client), press and hold the Power Button (A) for 5 seconds until the red and blue lights flash alternately.
- Once both units are in pairing mode, short press the Power Button (A) on either unit. The units will automatically search and connect. A successful connection is indicated by a slow blue light flash on both units.
- Repeat the process for additional units, pairing each new unit with the Host unit.

Figure 8: 1200m Intercom Range
6.4. Music Playback
- After pairing with your phone, open your music player.
- Short press the Function Button (E) to play/pause music.
- Short press Volume Up (B) for next track, Volume Down (D) for previous track.
6.5. Call Management
- Answer Call: Short press the Phone Button (C) when an incoming call rings.
- Auto-Answer: The device will automatically answer calls after 5 seconds if enabled.
- End Call: Short press the Phone Button (C) during a call.
- Reject Call: Long press the Phone Button (C) for 2 seconds when an incoming call rings.
6.6. Voice Assistant
- Long press the Phone Button (C) for 2 seconds to activate your phone's voice assistant (e.g., Siri, Google Assistant).
6.7. EUC Handle Pairing and Control (Optional)
The EJEAS V7 can be paired with an optional EJEAS EUC handle for convenient control without removing your hands from the handlebars.
- Clear EUC Pairing: On the EUC handle, long press the FM key and Volume - key simultaneously to clear previous pairings.
- Enter V7 Pairing Mode: Power on the V7 unit. Press and hold the Phone Button (C) and Function Button (E) for 5 seconds until the red and blue lights flash alternately.
- Pair EUC: On the EUC handle, press any key to enter pairing mode.
- Once paired, the blue light on the EUC will blink slowly, indicating a successful connection.

Figure 9: EJEAS V7 with Optional EUC Handle Control
Video 1: EJEAS V7 Pairing with EUC Handle. This video demonstrates the steps to pair the EJEAS V7 intercom with the optional EUC handle for remote control.
7. Maintenance
- Clean the device regularly with a soft, dry cloth. Do not use harsh chemicals or abrasive cleaners.
- Ensure the Type-C port cover is securely closed when not charging to maintain its IP65 waterproof rating.
- Store the device in a cool, dry place when not in use.
- Avoid exposing the device to extreme temperatures or direct sunlight for prolonged periods.
8. Troubleshooting
| Problem | Possible Solution |
|---|---|
| Device does not power on | Ensure the battery is charged. Connect to a power source and try again. |
| Cannot pair with phone/intercom | Ensure both devices are in pairing mode. Clear previous pairings if necessary. Move devices closer together. |
| No audio or low volume | Check speaker connections. Adjust volume using buttons. Ensure speakers are correctly positioned in the helmet. |
| Intercom connection drops frequently | Ensure devices are within range. Avoid obstacles that may interfere with the signal. |
| Microphone not picking up voice | Check microphone connection. Ensure microphone is positioned correctly in front of your mouth. |
9. Warranty and Support
For warranty information, technical support, or further assistance, please refer to the official EJEAS website or contact their customer service directly. Keep your purchase receipt as proof of purchase for warranty claims.
You can visit the EJEAS store for more products and support: EJEAS Store