
RCA CURRPJ241BK
Contents
RCA DVD Projector User Manual
Model: CURRPJ241BK
Introduction
Thank you for purchasing the RCA DVD Projector. This compact and versatile projector features a built-in DVD player, Bluetooth connectivity, and multiple input options, making it ideal for home entertainment. This manual provides detailed instructions for setup, operation, maintenance, and troubleshooting to ensure optimal performance and longevity of your device.
Important Safety Information
Please read all safety warnings and instructions carefully before using this product. Keep this manual for future reference.
- Do not expose the projector to rain or moisture to prevent fire or electric shock.
- Do not open the projector casing. There are no user-serviceable parts inside. Refer all servicing to qualified service personnel.
- Ensure proper ventilation. Do not block any ventilation openings.
- Use only attachments/accessories specified by the manufacturer.
- Unplug the projector during lightning storms or when unused for long periods.
- Avoid direct eye exposure to the projector lens when the lamp is on.
- Position the projector on a stable, flat surface to prevent it from falling.
Package Contents
Verify that all items listed below are included in your package:
- RCA DVD Projector (Model: CURRPJ241BK)
- Remote Control
- A/C Power Adapter
- 100" Projection Screen
- User Manual (this document)

Image: RCA DVD Projector and its accessories, including the remote control, A/C power adapter, and the bonus 100-inch projection screen.
Product Overview
Familiarize yourself with the various parts and controls of your RCA DVD Projector.
Front View

Image: Top view of the projector with the DVD lid open, revealing the disc tray and control panel buttons (Volume, OK, Menu, Source, Power).
- Lens: Projects the image onto the screen.
- Focus Ring: Adjusts image clarity.
- Keystone Correction: Adjusts image shape (if applicable).
Rear/Side View (Ports and Controls)

Image: Side view of the projector highlighting its multi-device support and input ports, including Micro SD, VGA, AV, and HDMI.
- DVD Player: Top-loading tray for DVD, CD, VCD, MP3 discs.
- HDMI Ports (x2): For connecting external devices like cable boxes, gaming consoles, Blu-ray players, and streaming devices.
- AV Port: For connecting older devices using RCA cables.
- VGA Port: For connecting computers.
- Micro SD Card Slot: For playing media directly from a Micro SD card.
- USB Port: For playing media directly from a USB flash drive (not explicitly listed in ports but implied by "Multidevice Support" image).
- Power Input: Connects to the A/C power adapter.
- Control Panel: Buttons for Power, Menu, Source, OK, Volume +/-.
Setup
1. Powering On
- Connect the A/C power adapter to the projector's power input port.
- Plug the power adapter into a wall outlet.
- Press the Power button on the projector or remote control to turn on the device.
2. Screen Placement and Image Adjustment
Place the projector on a stable surface, facing the projection screen or a flat, light-colored wall. The optimal projection distance will vary based on desired screen size.

Image: Illustration of the projector's ability to project screen sizes up to 150 inches, showing examples of 30", 100", and 150" displays.
- Focus: Rotate the focus ring on the projector lens until the image appears sharp and clear.
- Keystone Correction: If the image appears trapezoidal (wider at the top or bottom), adjust the keystone correction dial (if present) to square the image.
3. Connecting External Devices
The projector supports various input sources:
- HDMI: Connect your device (e.g., laptop, gaming console, streaming stick) to one of the two HDMI ports using an HDMI cable.
- AV: Use the included AV cable to connect devices with RCA outputs (yellow for video, red/white for audio).
- VGA: Connect a computer to the VGA port using a VGA cable.
- Micro SD/USB: Insert a Micro SD card into the Micro SD slot or a USB flash drive into the USB port.
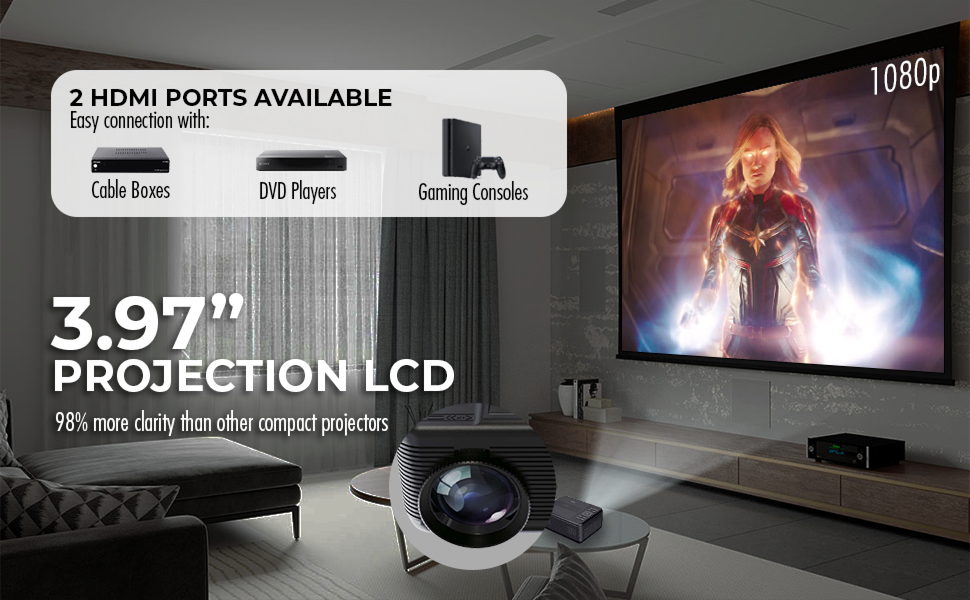
Image: The projector's two HDMI ports allow for easy connection to various devices such as cable boxes, DVD players, and gaming consoles.
Operating Instructions
1. Selecting Input Source
After connecting your device, press the "Source" button on the projector or remote control to cycle through the available input sources (HDMI1, HDMI2, AV, VGA, Media (for USB/SD), DVD).
2. DVD Playback
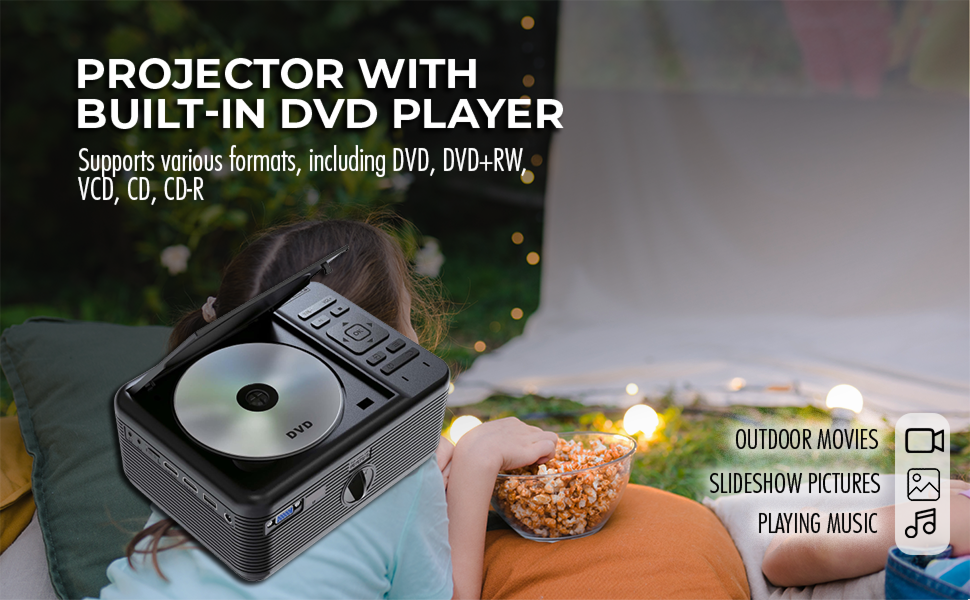
Image: The projector features a built-in DVD player, supporting formats like DVD, DVD+RW, VCD, CD, and CD-R, making it suitable for outdoor movies, slideshows, and music playback.
- Gently open the DVD disc cover on top of the projector.
- Place a compatible disc (DVD, DVD+RW, VCD, CD, CD-R/RW, MP3) onto the disc tray, label side up.
- Close the disc cover.
- Select "DVD" as the input source. The disc should begin playing automatically.
- Use the remote control for playback functions (Play, Pause, Stop, Skip, Menu).
3. Bluetooth Connectivity
Connect external Bluetooth speakers or headphones for enhanced audio.

Image: The projector supports Bluetooth connection, allowing wireless pairing with various audio devices such as earbuds, portable speakers, and headphones.
- Ensure your Bluetooth audio device is in pairing mode.
- On the projector, navigate to the Bluetooth settings menu (refer to the on-screen display).
- Select "Scan" or "Pair New Device".
- Choose your Bluetooth device from the list to connect.
4. Audio Output
The projector has built-in speakers. For a more immersive experience, connect external audio systems via Bluetooth or the audio output port (if available).
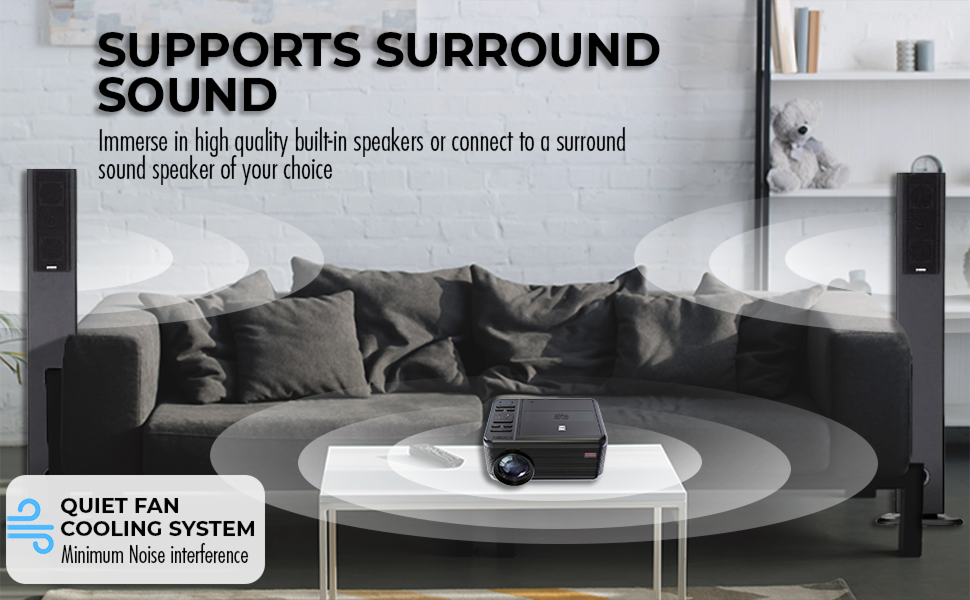
Image: The projector supports surround sound, allowing users to immerse themselves in high-quality audio through its built-in speakers or by connecting to an external surround sound system.
5. Menu Navigation and Settings
Use the "Menu" button on the projector or remote to access settings such as Picture Mode, Aspect Ratio, Sound Mode, and Sleep Timer. Use the arrow keys and "OK" button to navigate and confirm selections.
Maintenance
- Cleaning the Lens: Use a soft, lint-free cloth specifically designed for optical lenses. Do not use abrasive cleaners or cloths.
- Cleaning the Casing: Wipe the projector's exterior with a soft, dry cloth. For stubborn marks, use a slightly damp cloth and then dry thoroughly.
- Ventilation: Ensure the ventilation openings are clear of dust and debris. Use a soft brush or compressed air to gently clean them.
- Storage: When not in use for extended periods, store the projector in a cool, dry place, away from direct sunlight and extreme temperatures.
Troubleshooting
| Problem | Possible Cause | Solution |
|---|---|---|
| No image on screen |
|
|
| Image is blurry |
|
|
| No sound |
|
|
| DVD not playing |
|
|
Specifications
| Feature | Detail |
|---|---|
| Brand | RCA |
| Model Number | CURRPJ241BK |
| Display Resolution | 640 x 480 (Supports 1080P input) |
| Connectivity Technology | HDMI (x2), AV, VGA, Micro SD, USB, Bluetooth |
| Special Features | Built-In DVD Player, Built-In Media Player, Bluetooth Connectivity, Quiet Fan System |
| Recommended Uses | Home Cinema, Outdoor Movies, Gaming, Slideshows |
| Product Dimensions | 6.3 x 8 x 3.7 inches |
| Item Weight | 4.58 pounds |
| Included Screen Size | 100 inches |
Warranty and Support
For warranty information or technical support, please refer to the contact details provided on the RCA official website or the product packaging. Keep your proof of purchase for warranty claims.
Online Support: www.rca.com
Ask a question about this manual
Ask about setup, troubleshooting, compatibility, parts, safety, or missing instructions. Manuals+ will review the question and use this page’s manual context to help answer it.